

Easily follow this free crochet mini roses pattern to crochet elegant floral designs that add beauty and charm to your accessories or home décor projects.
I had so much fun making a small and lovely crochet project, tiny roses that can be used in many creative ways. These delicate flowers are made using a Free Crochet Mini Roses Pattern that’s easy to follow and perfect for adding a special handmade touch to your items. Whether you want to make decorations or little gifts, these mini roses are a fun and satisfying project.
The mini roses look sweet and realistic with their soft, layered petals that curl gently to form a beautiful rose shape. The texture is smooth and detailed, thanks to the combination of tight stitches and small loops. They are lightweight and have a gentle, elegant style that makes them perfect for attaching to hair clips, clothing, bags, or even home decorations. Their small size and simple but charming design make them stand out as lovely accents.
Crochet Mini Roses Free Pattern & Assembly Tips
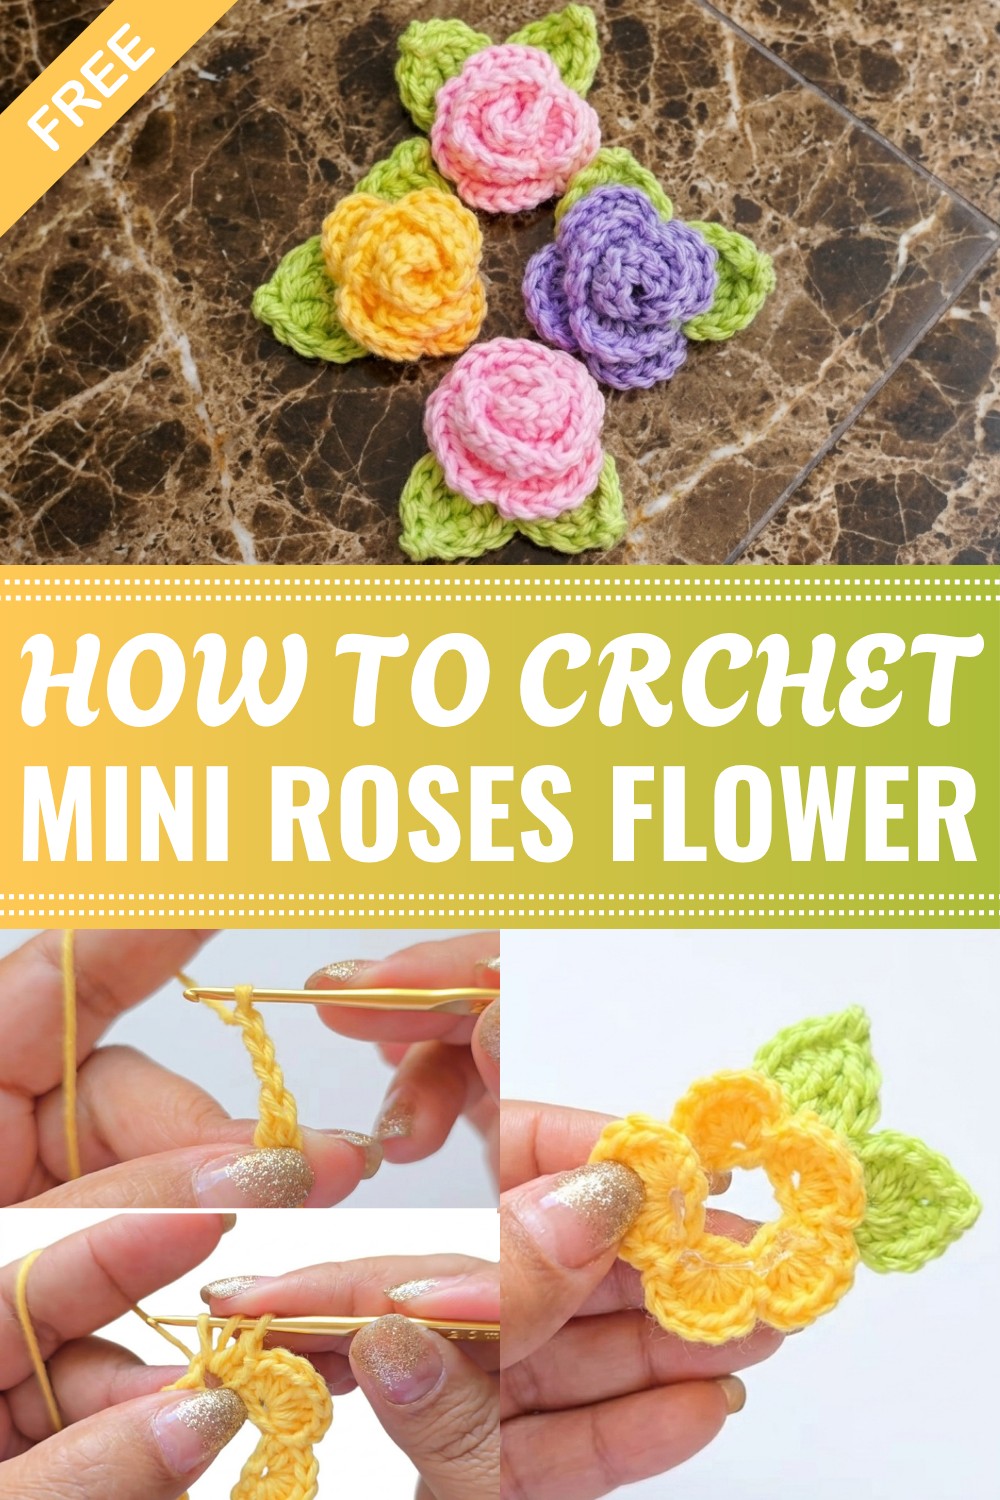
These roses are made with basic crochet stitches like double crochet, chains, and slip stitches, with some special steps such as forming picots for the petal edges. The pattern uses a small 2 mm crochet hook and thin thread, letting you create detailed shapes without much bulk. This project suits someone with a beginner to intermediate skill level and helps practice control and shaping techniques. With a few small adjustments, you can also make bigger flowers or create different looks by using other colors and threads.
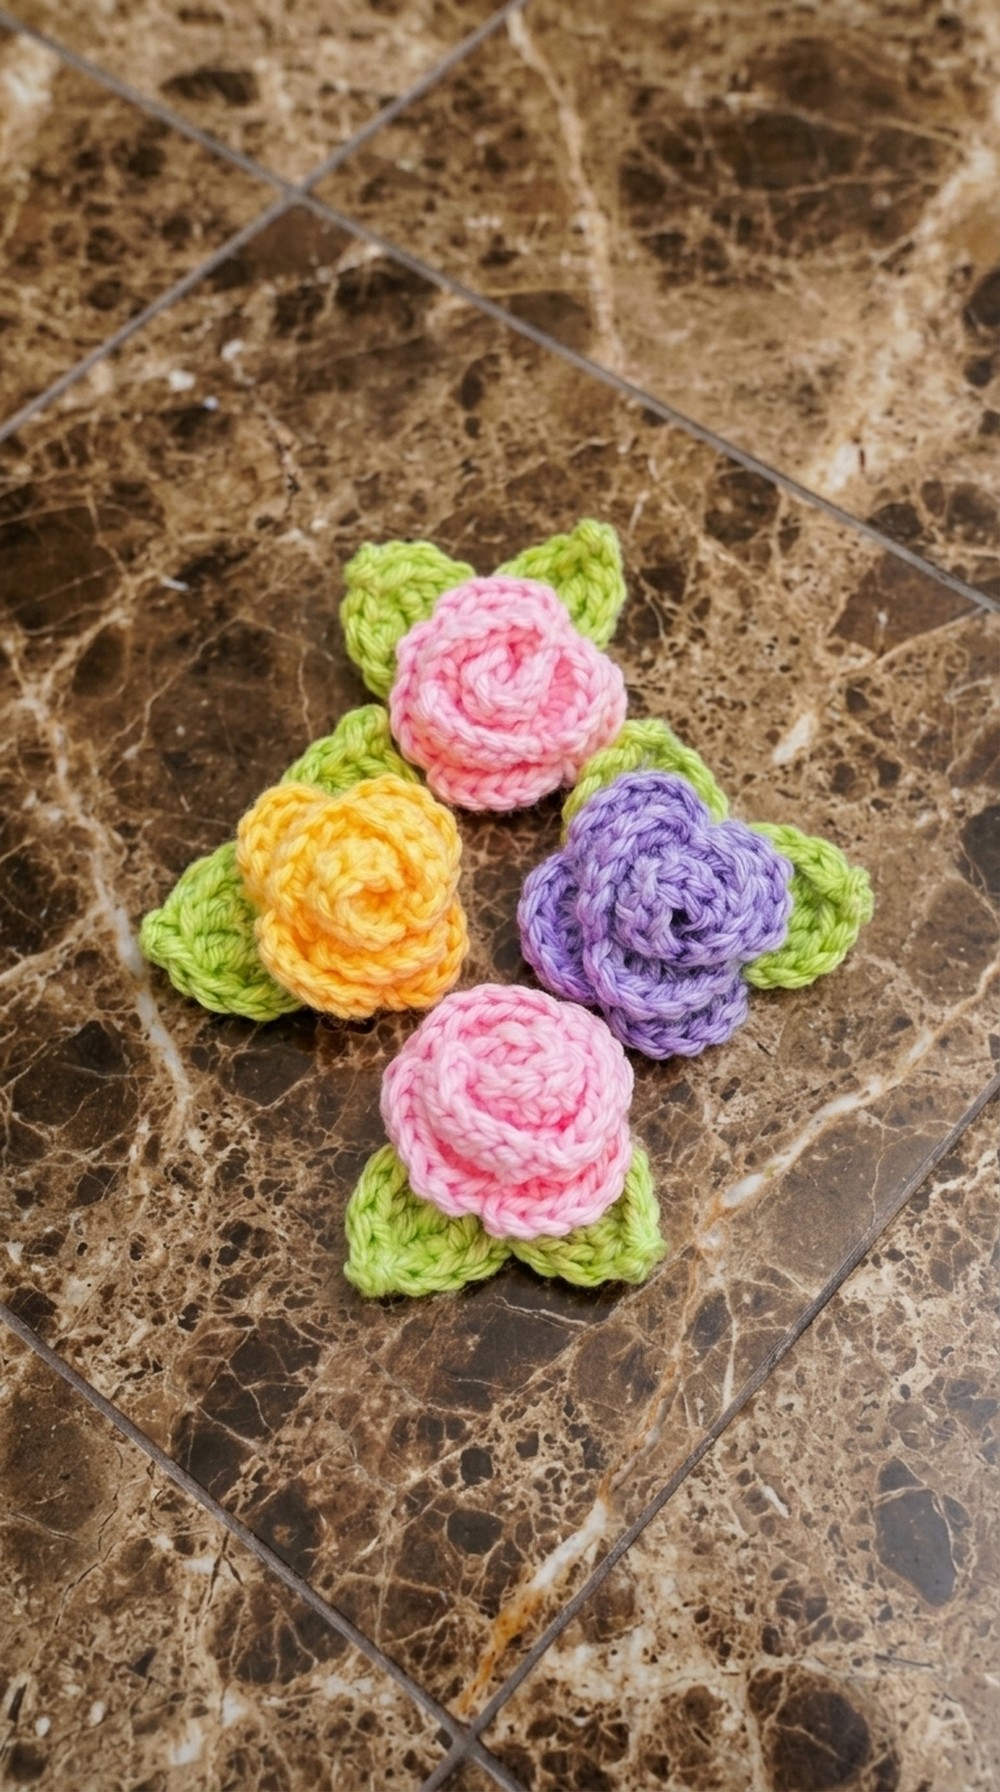
This project offers lots of practical uses — from personalizing your clothing and accessories to creating charming gifts that show you care. The mini crochet roses are also great for home decorating, adding a soft, handmade feel wherever you place them. If you enjoy simple yet satisfying crochet projects that produce beautiful results, this free mini roses pattern is a wonderful choice to try. You’ll be proud to display or share these sweet little flowers!
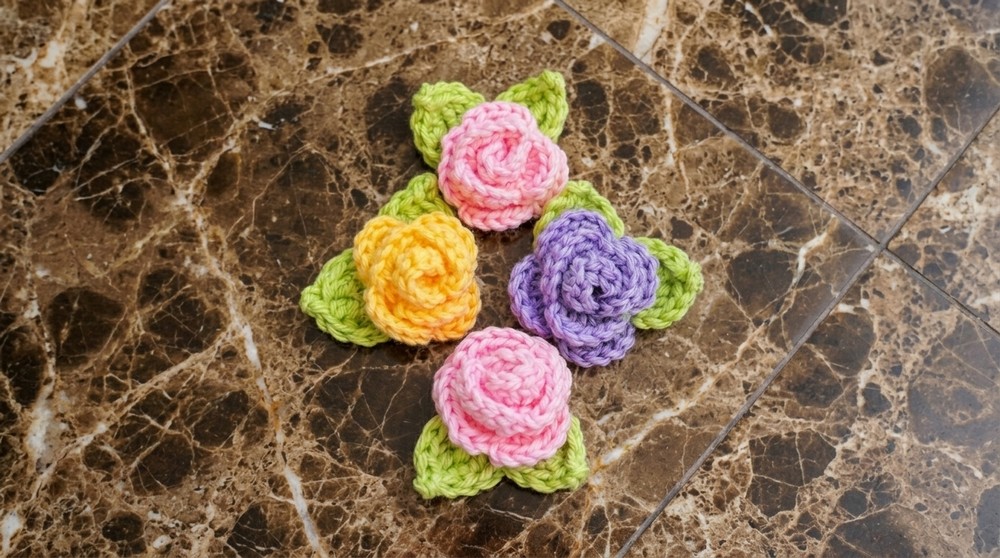
Crochet Mini Rose Flower Pattern
Crochet flowers are a beautiful and versatile addition to any handmade project, from hair accessories to clothing embellishments. Today, we will create a stunning mini rose with a small leaf detail, perfect for assembling into hair pieces or decorative arrangements. This pattern guides you step-by-step to crochet these roses using basic stitches, and shows how to finish and assemble them easily. Even beginners can achieve lovely results with a little patience and attention to detail.
You can start this pattern by making a foundation chain and working tall stitches (double, treble) to form the rose shape. The leaf uses a mix of stitches like single crochet, double crochet, and treble crochet to create a textured edge. Throughout, you'll use chains, slip stitches, and picots to add decorative flair.
Skill Level & Terminology
- Skill Level: Beginner to Intermediate.
- Terminology: US crochet terms are used throughout the pattern.
Materials & Tools
- Crochet hook: 2 mm (or size that fits your yarn/thread)
- Yarn or thread: 2 mm acrylic, in your preferred colors (suggest yellow and green for a classic rose and leaf)
- Scissors
- Yarn needle (for weaving ends and assembly)
- Hot glue or silicone glue (for final assembly)
Gauge
Gauge is not crucial for this mini flower, but for reference:
- Using a 2 mm hook and thin acrylic thread, each rose should measure about 1.5 to 2 inches across when finished.
- Threads should be light to achieve a delicate rose.
Abbreviations List
- ch = chain
- sc = single crochet
- dc = double crochet
- tr = treble crochet
- sl st = slip stitch
- picot = 2 chains, slip stitch in second chain
- st(s) = stitch(es)
Special Stitch Instructions
- Picot: Chain 2, slip stitch into the first chain to form a tiny loop (used for leaf points).
- Treble Crochet: Yarn over twice, insert hook into stitch, yarn over, pull up loop, (yarn over, pull through two loops) three times.
- Slip Stitch: Insert hook into stitch, yarn over, pull through both loops.
- Leaf Edging: Combination of stitches as written creates the signature leaf shape.
The Pattern Itself
Flower Center
- With yellow or main color:
- Chain 3.
- In the first chain, make 1 dc (double crochet).
- Chain 3, slip stitch in the same chain to make a small ring.
- Repeat creating 1 dc, chain 3, and slip stitch into the ring until you have 10 spaces formed. (Each space is chain 3 plus dc.)
- Turn your work, and in each chain 3 space:
- Pull up a loop, yarn over, and make 1 dc in the space.
- Repeat for all 10 chain spaces. You should have a circle with 10 tall stitches on top.
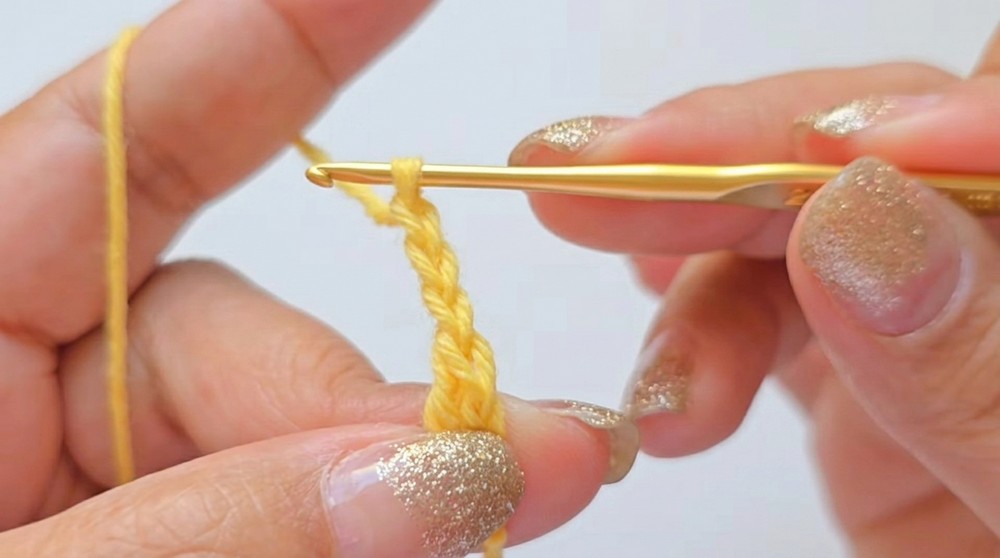
Summary for Flower Center: You start by making a small ring and adding tall stitches in each space, forming the initial petals and center of your rose.
Rose Petals
- Still using the flower color (yellow or pink):
- In each chain 3 space (formed in previous round):
- Crochet 7 dc (double crochets).
- After completing 7 dc in a space, slip stitch into the base between next group.
- Continue to the next chain space.
- Repeat for all spaces around (this will build layered petals).
- Finish with a slip stitch in the last space. Fasten off.
- In each chain 3 space (formed in previous round):
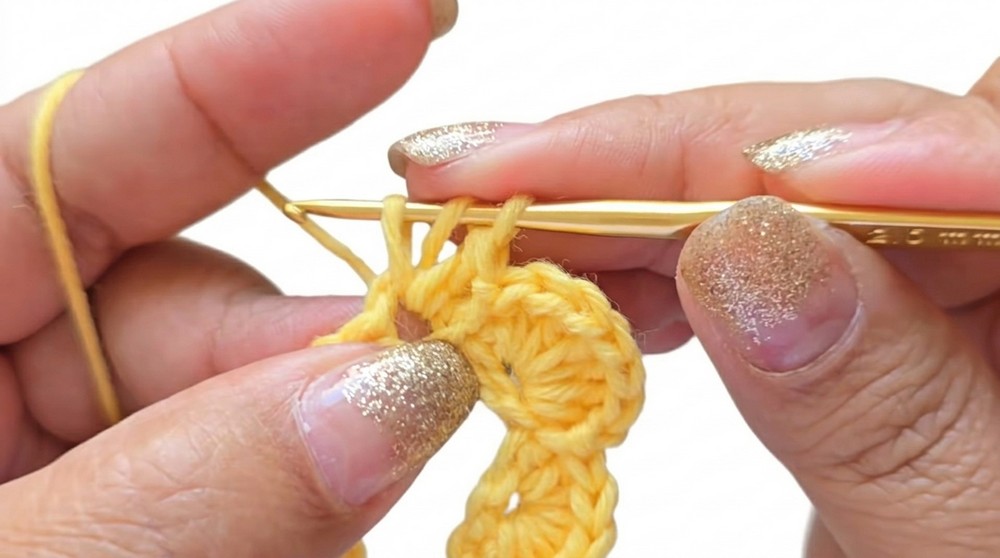
Summary for Rose Petals: Work clusters of 7 double crochets in each chain space, slip stitching between clusters. This forms the petals and lush ruffled rose shape.
Leaf
- Change to green yarn for leaf.
- Attach yarn to any chain space on flower edge.
- In the space: sc (single crochet), dc (double crochet).
- Remove previous flower color from hook.
- tr (treble crochet), picot (chain 2, slip stitch in first chain).
- tr again, dc again, sc again and slip stitch to finish in the same or next space.
- This forms a single leaf.
- Move to next chain space to make another leaf, repeating the above steps for multiple leaves as desired.
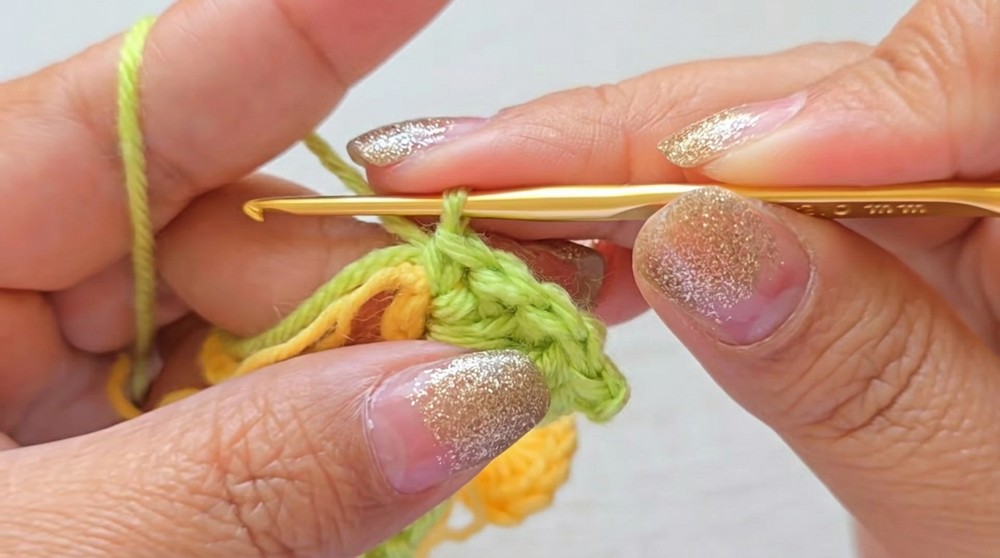
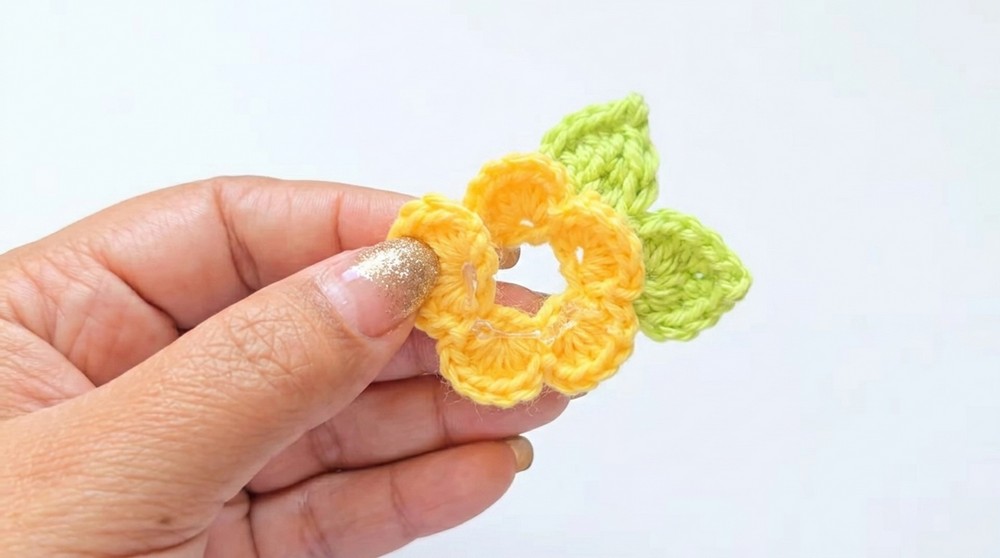
Summary for Leaf: Attach green yarn, work a mix of single, double, treble crochet, and picot in sequence to form a textured leaf motif. Repeat for as many leaves as you want.
Finished Size
- Each rose is about 1.5–2 inches across.
- Leaves measure about 0.5 inch each.
Assembly & Finishing
- After completing the flower and leaf arrangement, cut all yarn ends.
- Use a yarn needle or crochet hook to weave in ends securely.
- Shape the flower gently with your hands; arrange the petals for a natural rose look.
- Use hot glue or silicone adhesive to affix the flower to your chosen project (hair clip, headband, brooch, etc.).
- Press gently to set, taking care with hot glue.
Summary for Assembly: Once your flower and leaf are crocheted, tidy up the loose ends, and shape the petals. You can glue your rose onto any project using silicone or hot glue.
Conclusion
This mini crochet rose is quick and satisfying to make. With basic stitches and attention to color changes, you can create a realistic flower to brighten any accessory or garment. The pattern starts from a simple chain ring, builds up petals in rounds, and finishes with an easily worked leaf. You can create multiple flowers in different shades for a bouquet effect, or use them individually. The whole process—from starting chain to gluing petals—takes about 15–30 minutes.
Whether you are new to crochet or seeking a quick decorative idea, this pattern delivers charming results. Experiment with different yarn weights and colors for unique flowers, and enjoy adding handmade beauty to your projects!
For readers who prefer plain instructions: Start by chaining and forming the flower center, then work double crochet clusters for petals. Add leaves using a mix of stitches and finish by weaving ends and gluing the flower to your project. The stitches used throughout are chain, slip stitch, double crochet, treble crochet, and picot, making the project both easy and decorative.
Leave a Reply