

Add a whimsical touch to your holiday wardrobe with a delightful accessory that brings festive cheer and cozy charm. This handcrafted headband features an adorable reindeer design, perfect for holiday parties, family gatherings, or as a thoughtful handmade gift. Its playful personality makes it a standout piece, whether worn as a fun winter accessory or gifted to someone special who loves unique crochet creations.
Sweet Mini Crochet Reindeer Headband Free Pattern With Festive Details
Measuring comfortably to fit most head sizes, this cozy headband showcases charming reindeer antlers and a sweet face detail. The design cleverly combines shaping techniques to create 3D elements that truly bring the reindeer motif to life. Its snug yet gentle fit ensures it stays comfortably in place while adding a warm holiday flair.
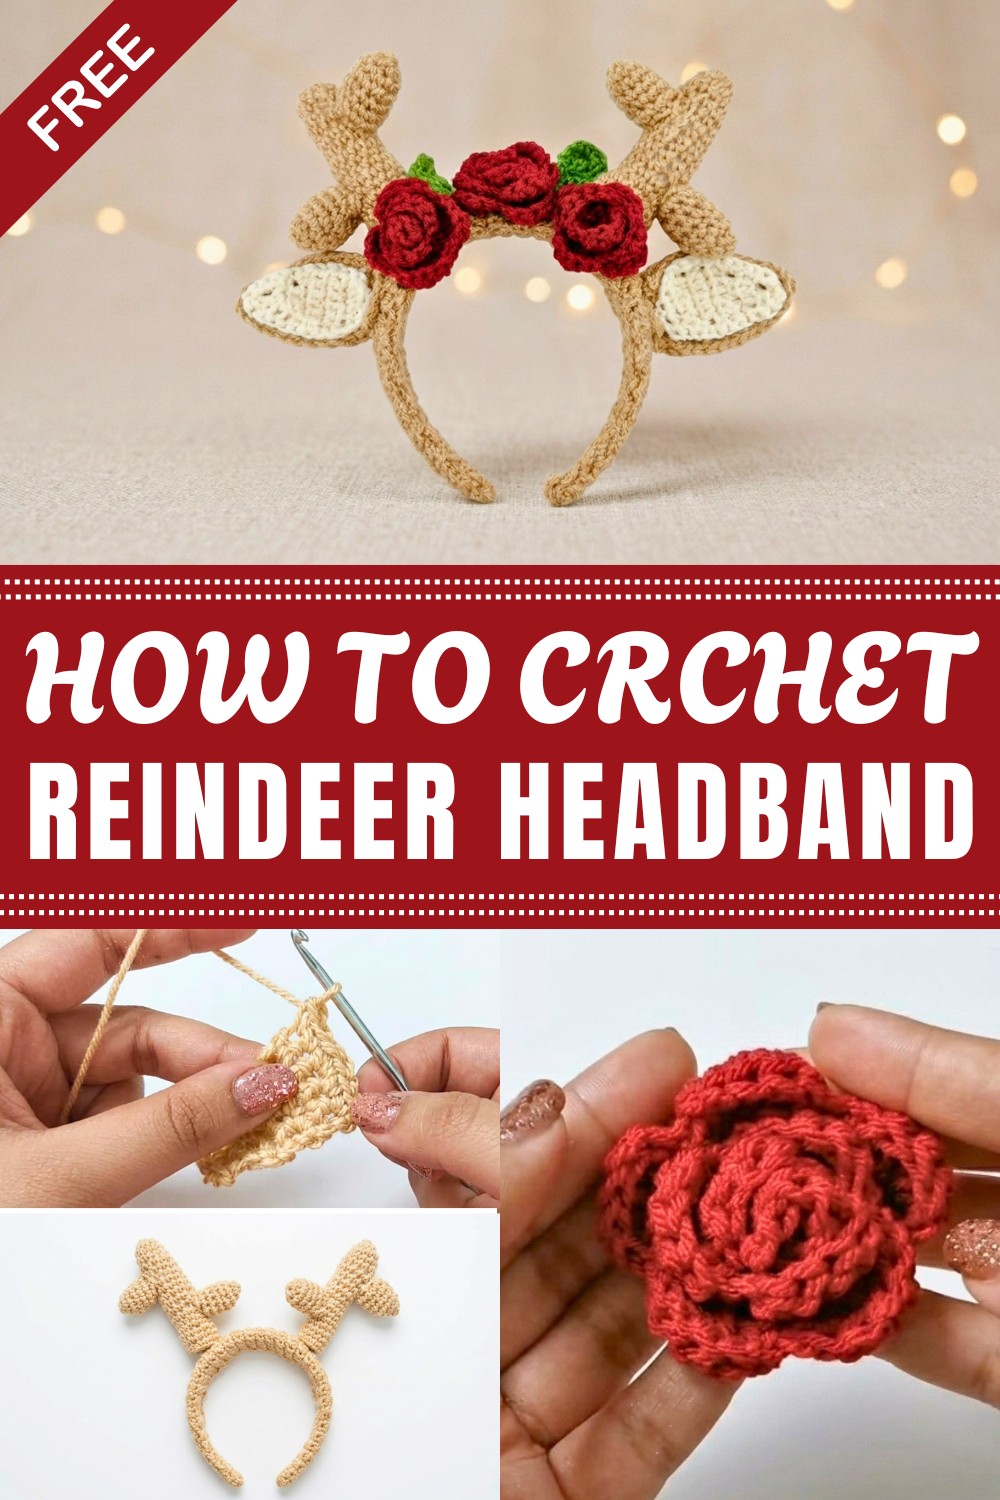
This project is ideal for beginner to intermediate crocheters looking to enhance their skills with stitches such as single crochet, increasing, decreasing, and slip stitches. The tutorial recommends using a soft medium-weight acrylic yarn in shades of brown, cream, and red, perfect for capturing the festive palette and ensuring the headband is both durable and comfortable to wear.
The construction focuses on basic crochet techniques but also introduces creative shaping to form the antlers and facial features, offering a fun challenge without overwhelming complexity. A suitably sized 3.5 mm crochet hook is perfect for crocheting neat, consistent stitches that contribute to the headband’s polished look.
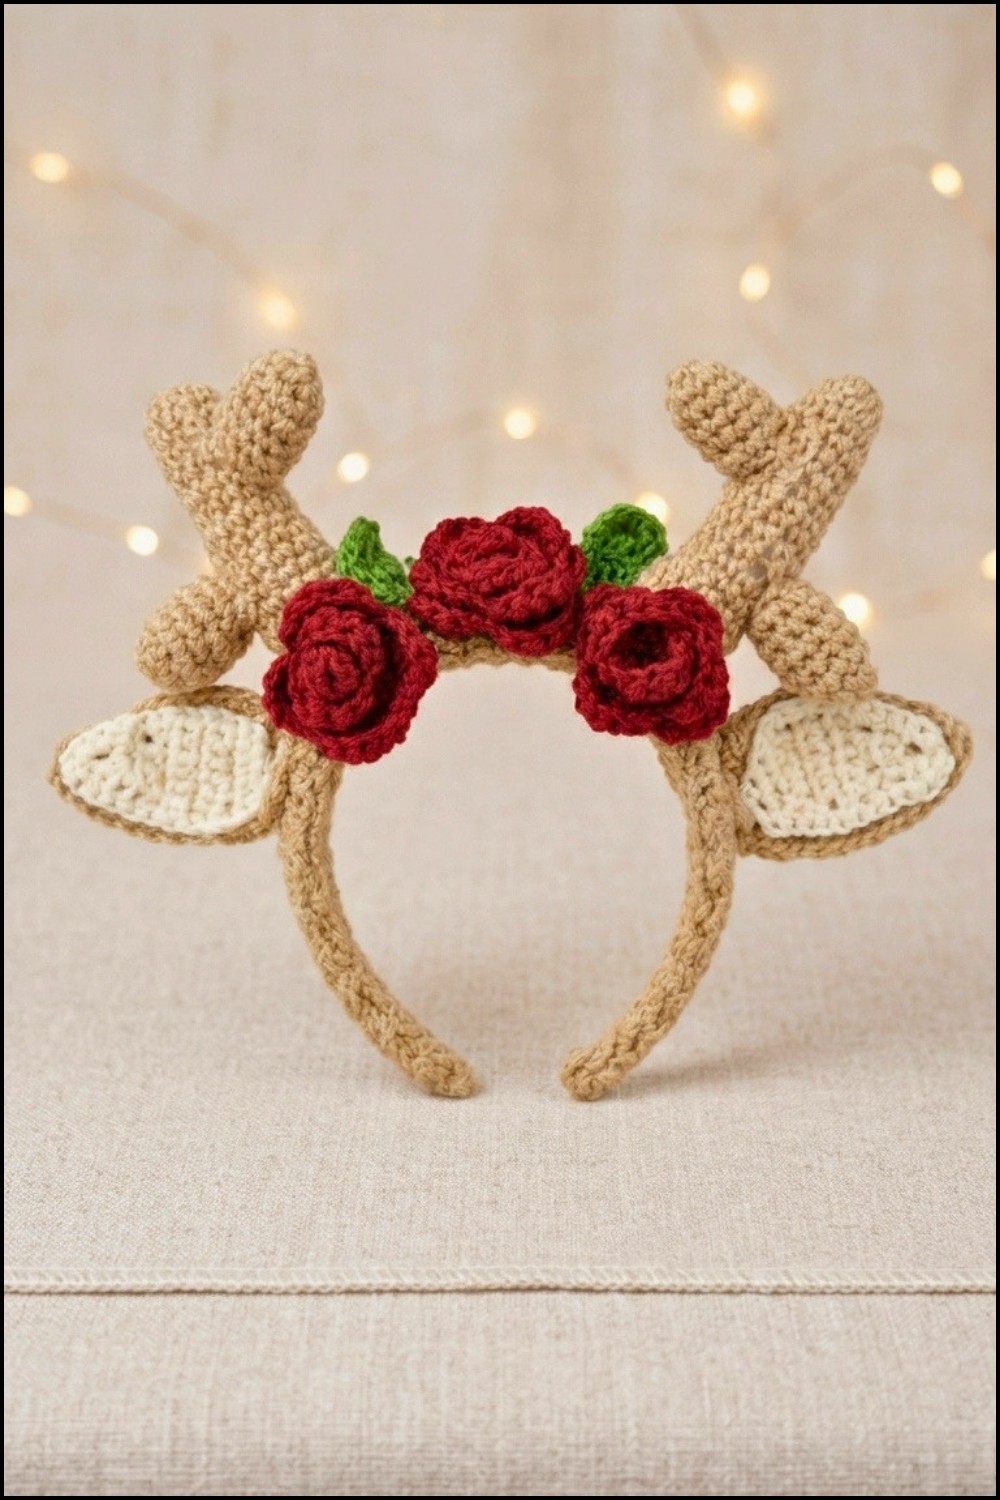
Crochet Reindeer Headband and Flower Crown
The crochet reindeer headband with a flower crown is a delightful festive accessory that combines functionality and charm. This pattern features simple elements that are assembled to create an eye-catching design, including a crocheted headband cover, reindeer antlers, ears, and floral accents. Perfect for seasonal celebrations or costumes, this pattern allows for creative customization with colors and designs.
Skill Level
This pattern is suitable for intermediate crocheters. It involves techniques such as single crochet increases and decreases, magic rings, assembly, and decorative elements. Basic knowledge of crochet stitches is necessary.
Materials
- Plastic Headband Base
- Used as a structure for the crochet cover and decorations.
- Yarn:
- Light brown (for the headband cover).
- Dark brown (for antlers and outer ears).
- White or cream (for inner ear accents).
- Red, green, and other flower-colored yarns (for roses, berries, and leaves).
- Hook:
- 3.5 mm crochet hook.
- Notion(s):
- Stitch marker (optional, for keeping track of rounds).
- Scissors.
- Sewing needle or tapestry needle (for assembly).
Special Stitches Used
- Magic Ring (MR):
- Form a loop with the yarn. Insert the hook into the circle, yarn over, pull up a loop, and chain 1. Continue working the stitches into the ring. Pull the yarn tail tight to close the circle.
- Single Crochet (SC):
- Insert the hook into the stitch, yarn over, pull up a loop (two loops on the hook). Yarn over again and pull through both loops.
- Increase (INC):
- Work two single crochet stitches into the same stitch.
- Decrease (DEC):
- Insert the hook into the next stitch, yarn over and pull up a loop. Insert the hook into the following stitch, yarn over and pull up another loop (three loops on hook). Yarn over and pull through all loops to decrease.
Stitch Abbreviations
- CH: Chain
- SC: Single Crochet
- INC: Increase
- DEC: Decrease
- MR: Magic Ring
- SL ST: Slip Stitch
Useful Tips
- Plastic Headband Prep: Choose a lightweight and durable headband for the best results, ensuring it fits comfortably.
- Even Tension: Maintain consistent tension throughout to create neat stitches that fit well onto the headband.
- Magic Ring: When creating magic ring-based elements (antlers, berries), pull the tail firmly to ensure no gaps remain in the center.
- Assembly: Position all elements carefully before sewing them onto the headband. Use pins if needed to help you plan the layout.
- Customizations: Experiment with alternate colors for the flowers or even add extras like glitter yarn for a festive touch.
Pattern Instructions
Part 1: Headband Cover (Base)
Foundation:
- Using light brown yarn, chain 5 to form a ring.
- Join with a SL ST into the first stitch.
Round 1:
- Chain 1, work 1 SC in each stitch around.
Round 2:
- Chain 1, turn. Place 1 SC into each stitch across.
Rounds 3–26 (Shaping & Increasing/Decreasing):
- Continue working rows of SC, following the specified increases and decreases in the pattern:
- Gradually increase to 7 or 10 stitches in specific rows.
- Add decreases to shape the cover to fit the curve of your plastic headband.
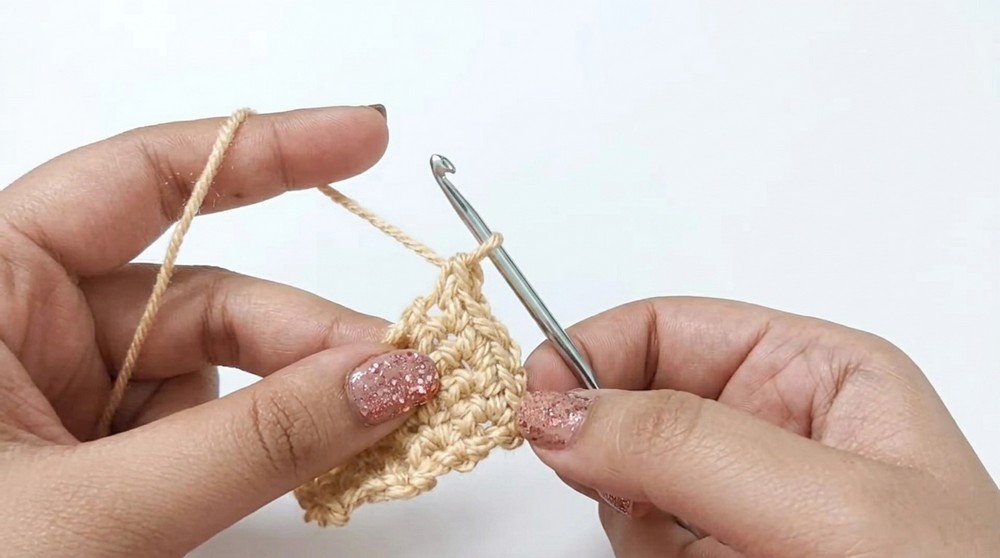
Assembly:
- Wrap the crocheted piece around the plastic headband.
- Use matching yarn and a tapestry needle to sew the edges together at the back side, enclosing the headband fully.
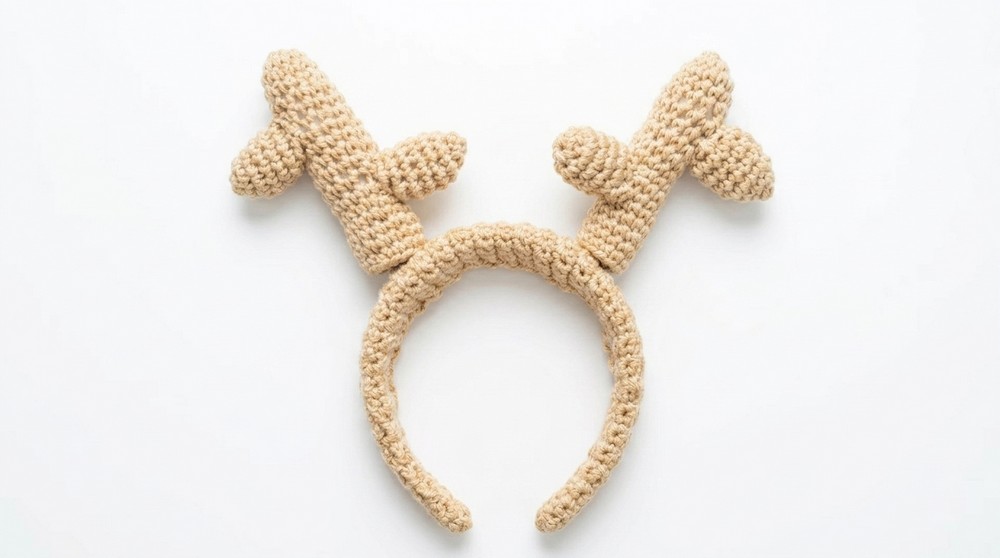
Part 2: Antlers (Make 2 Large, 4 Small)
Large Antler
Foundation:
- Create a MR, then work 6 SC into the ring. Pull the tail tight to close the ring.
Rounds 2–3:
- Complete rounds of SC, adding incremental increases to shape the main antler branch.
Finishing:
- Fasten off, leaving a long tail for sewing onto the headband.
Small Antler
Foundation:
- Start with a MR, working SC stitches.
Rounds 2–3:
- Work increases and even rows of SC to form the smaller branching antler piece.
Finishing:
- Fasten off, leaving a tail for assembly.
Part 3: Reindeer Ears (Make 2)
Foundation:
- Using dark brown yarn, chain 5.
Row 1:
- Beginning with the second chain from the hook, work 4 SC stitches.
Row 2 (Increase):
- Chain 1, turn, increase by working 2 SC in the first and last stitches (stitch count increases to 6).
Row 3:
- Chain 1, work 1 SC into each stitch across.
Row 4 (Increase):
- Chain 1, increase again in the first and last stitches (stitch count increases to 8).
Rows 5–8 (Taper the Ear):
- Work even SC rows, adding a DEC near the top of the ear to taper its shape.
Rows 9–11 (Final Taper):
- Continue working decreases until the stitch count reduces to 2 SC. Fasten off.
Inner Ear Accent:
- Using white or cream yarn, follow a similar mini ear shaping pattern and sew the smaller inner ear detail onto the front of the dark brown ear.
Part 4: Leaves & Flowers
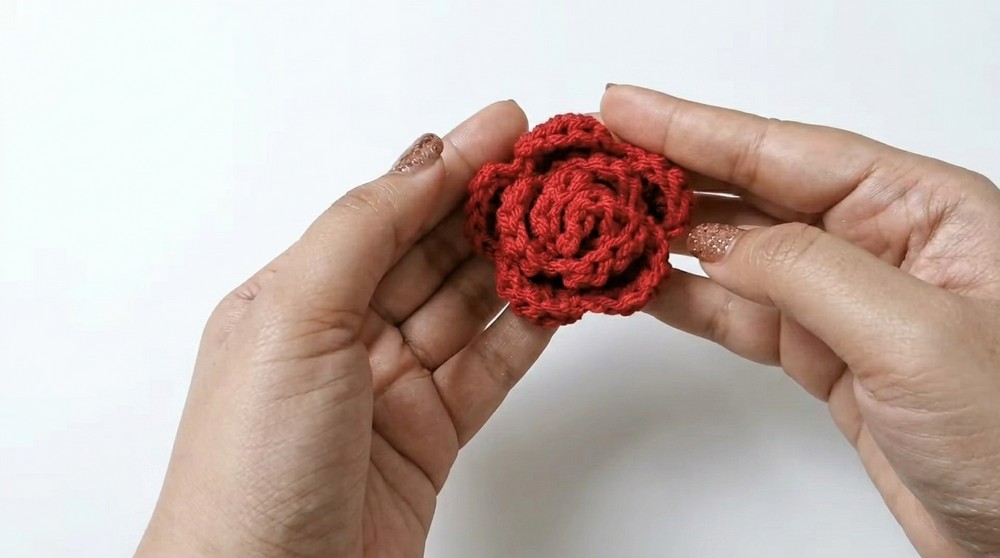
Roses:
- Create a foundation chain, then work clusters of double crochets and single crochets along the chain.
- Roll the resulting strip into a spiral shape, forming a rose flower. Secure the layers at the base with stitches.
Leaves:
- Work small leaves using green yarn by starting chains and single crochet stitches, following a minimal leaf pattern for realistic detailing.
Berries:
- Using a MR technique, create small circular berries with a bright accent-colored yarn.
Part 5: Final Assembly
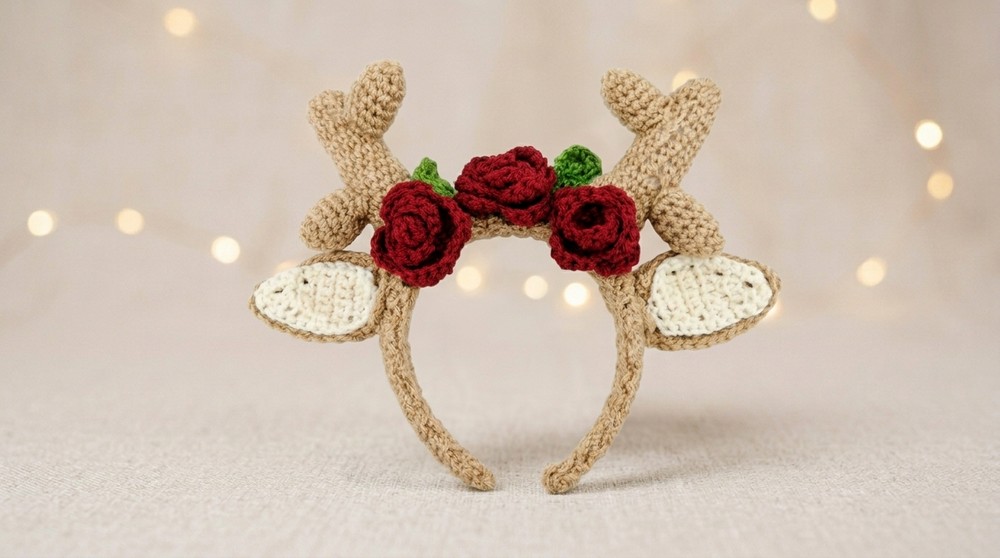
- Antlers: Securely sew the two large antlers to the top center of the headband cover using the tails left during crochet. Position them for balance.
- Small Antlers: Attach the smaller antler branches to each large antler to form the full reindeer antler shape.
- Ears: Position and sew the ears on either side of the antlers for an even look.
- Flowers, Leaves, and Berries: Arrange the roses, leaves, and berries around the base of the antlers to form the festive crown. Sew them into place securely.
Conclusion
The crochet reindeer headband and flower crown is a joyful and functional accessory perfect for holiday celebrations. Its layering of antlers, ears, and detailed floral elements allows plenty of room for creativity and customization. By combining simple crochet techniques with a thoughtful arrangement process, this pattern provides a unique seasonal design that brings plenty of charm to festive occasions.
Leave a Reply