

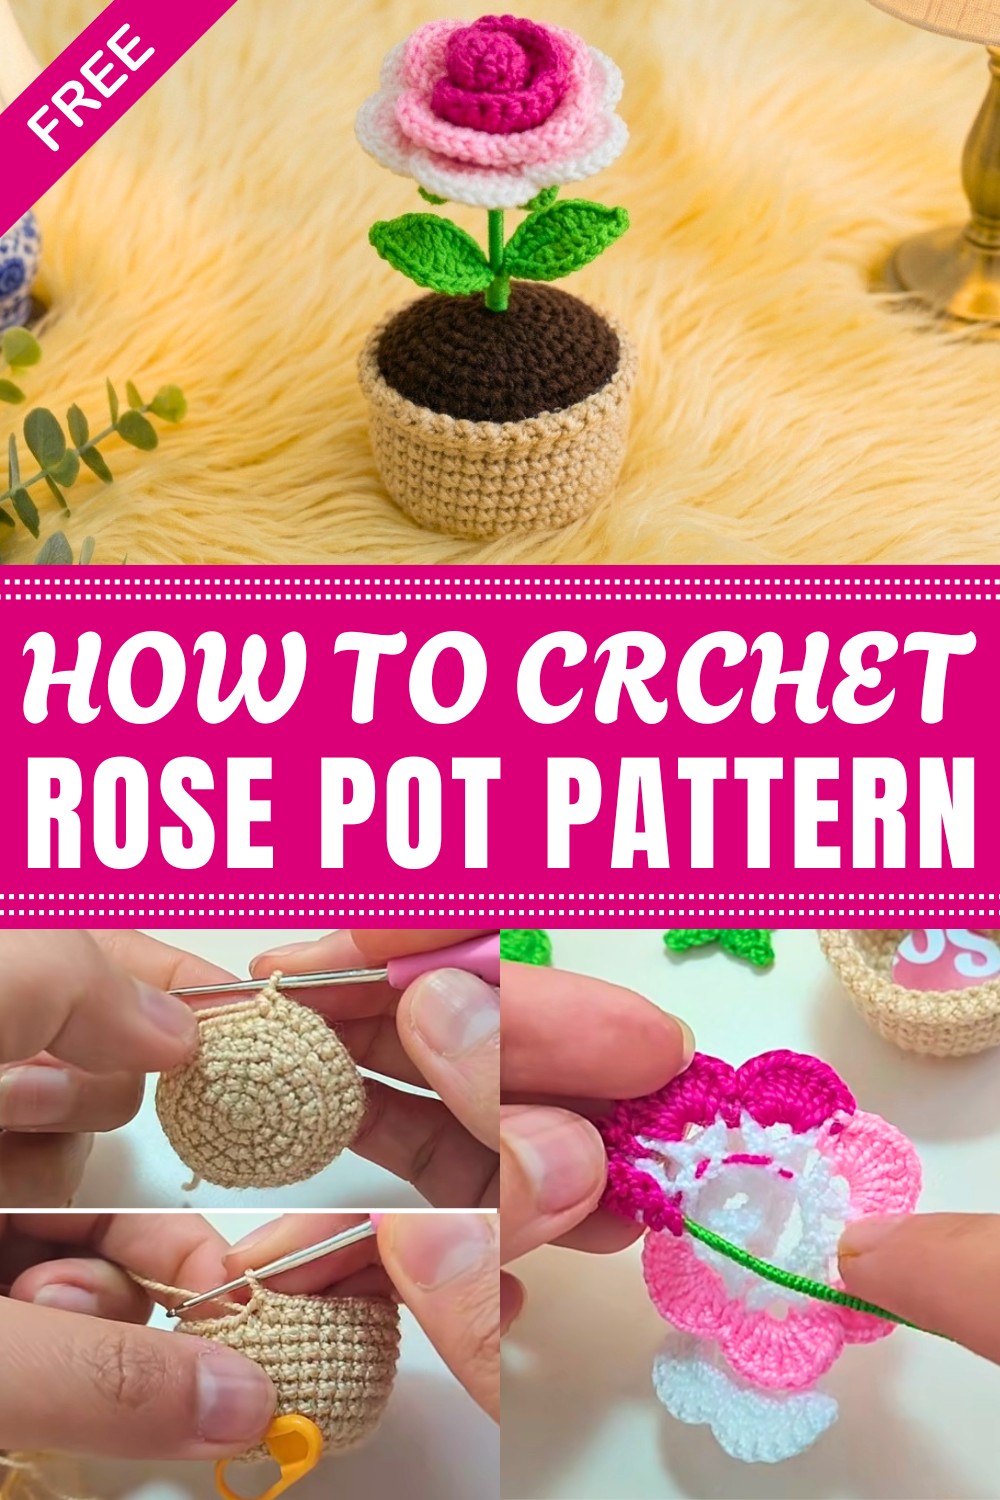
Bring nature indoors with a cozy handmade feel using our free crochet rose pot pattern crocheted to impress with intricate detail and style.
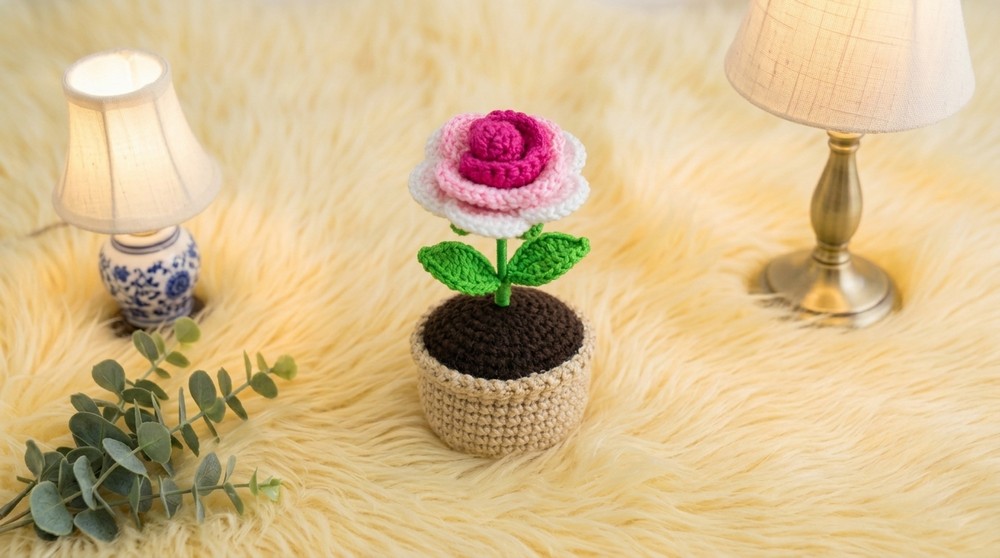
For those who appreciate handmade decor with a personal touch, this delightful rose in a pot offers a wonderful blend of artistry and warmth. Perfect as a thoughtful gift or a cozy accent for your home, this crochet flower captures the elegance of a blooming rose paired with a quaint, sturdy pot, adding a splash of color and charm to any space.
Quick and Fun Free Crochet Rose Pot Pattern for All Skill Levels
The Free Crochet Rose Pot pattern beautifully combines textured petals with a solid base, creating a compact yet eye-catching flower pot that fits effortlessly on shelves, desks, or windowsills. Using a combination of 1 mm acrylic yarns in soft whites, pinks, and vibrant fuchsia for the petals, along with earthy greens and browns for the leaves and soil, this project embraces a natural and inviting palette. Its size makes it an adorable collectible or a sweet centerpiece accent.
This project suits those with beginner to intermediate crochet skills, featuring stitches like single crochet, double crochet, slip stitch, and the magic ring technique. These elements come together to shape the pot’s circular form and layered petals, while crocheting the leaves and delicate picot details adds a satisfying finishing touch. Incorporating thin wire within the stems and leaves enhances structure, allowing you to bend and position your rose just right.
Using lightweight acrylic yarn ensures the piece is durable yet soft, perfect for year-round display without fading or fraying. Whether you’re looking to brighten a corner of your home or create a heartfelt handmade gift, this crochet rose pot stands out as a timeless accessory.
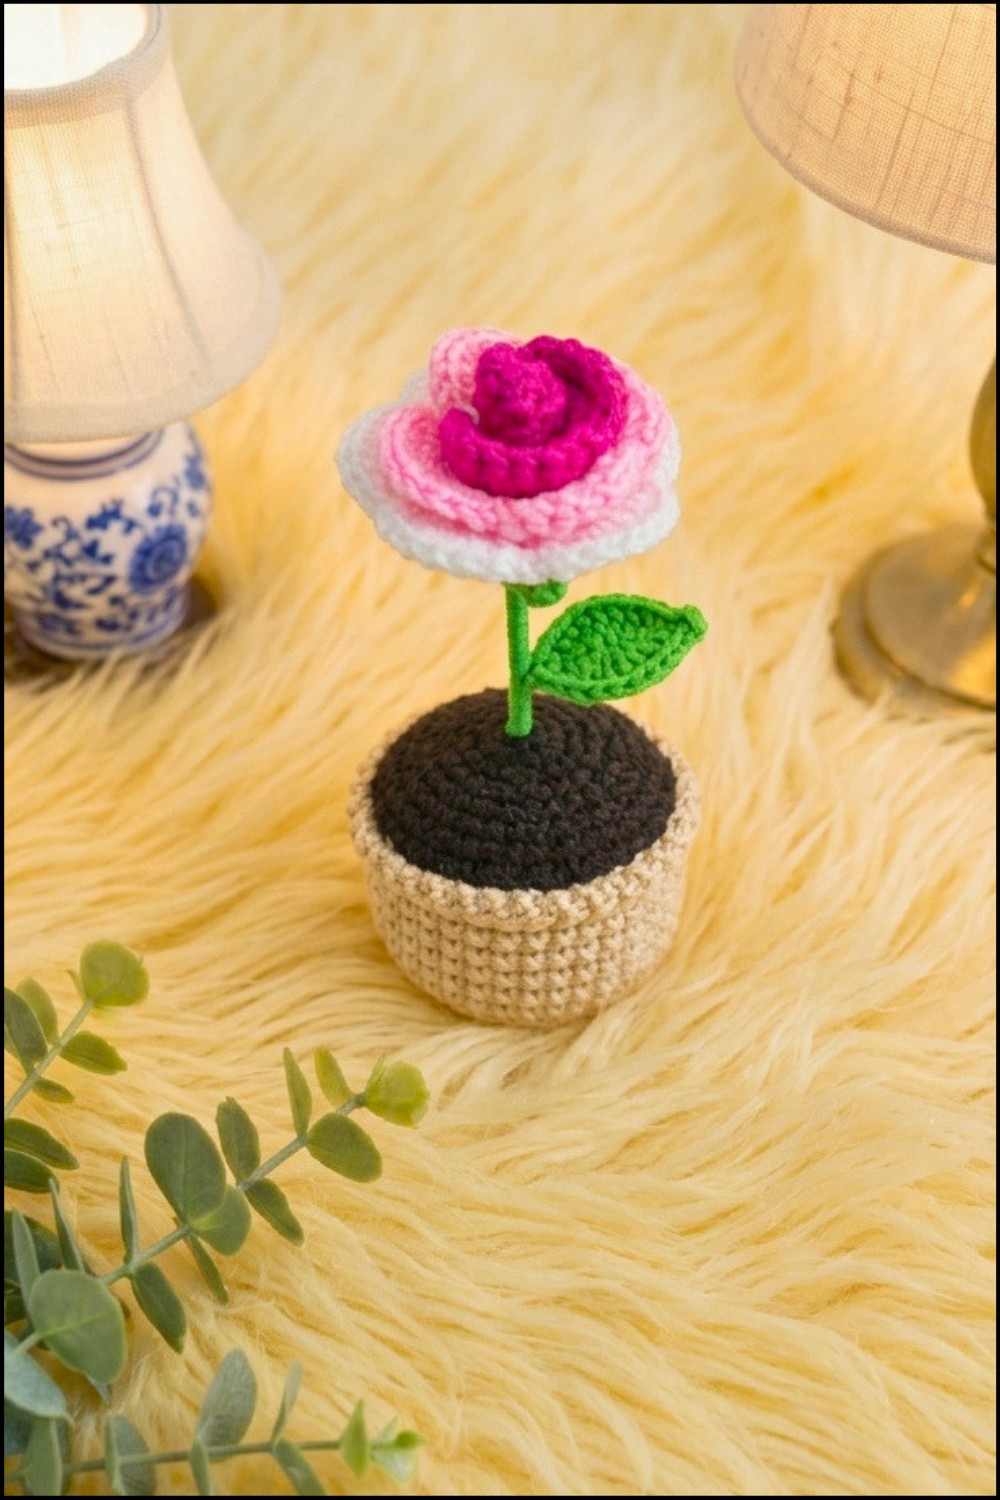
Mini Amigurumi Rose Pot "Pilar" – Crochet Pattern
In this tutorial, you will learn how to crochet a beautiful and stable mini rose pot named Pilar. This charming project features delicate petals in three shades, a slender handwrapped stem, and detailed leaves, all set inside a petite flowerpot. Every component is constructed with care and then brought together with glue and hand sewing for a finished, gift-worthy piece.
Quick Overview Of Pattern
- Create a mini flowerpot using basic crochet rounds
- Make a round ‘soil’ piece to fill the pot
- Crochet a three-tone spiral rose with color changes for realistic petals
- Sculpt a calyx in green to embrace the rose bud
- Add wired leaves with mirrored shapes
- Wrap a slender wire in yarn to form a realistic stem
- Use fiberfill, glue and precise assembly for a sturdy finish
Notes
- The entire project uses acrylic yarn (about 1 mm thickness) in coordinated shades: white, pink, fuchsia, beige, brown, and green.
- Thin crafting wire is essential for the structure of both the stem and leaves. Use a small template or plastic lid to help shape the pot’s base.
- The pattern is worked in continuous rounds (“amigurumi style”) unless another method is indicated.
- You need a 1 mm crochet hook for the miniature size and a thick sewing needle for assembly details.
- Score markers and instant glue help provide form and finish, especially when closing sections or gluing petals.
- Adjust lengths of yarn and wire as needed to suit your own personal style or size preference.
Skill Level
Advanced Beginner/Intermediate
The project requires comfort with magic rings, increases, color changes, and a bit of hand-finishing and craft assembly.
Materials
- Acrylic yarn (1 mm):
- White, pink, fuchsia (petals)
- Beige, brown (pot/soil)
- Green (leaves and stem)
- 1 mm crochet hook
- Thin floral wire (for stem and leaves, about 7 cm and 14 cm pieces)
- Scissors
- Thick sewing needle
- Score markers
- Small circle template or plastic lid (for shaping base)
- Instant glue or super bonder
- Polyester or synthetic stuffing
Measurements / Sizing
- Height: Total height (pot + stem + bloom) approximately 6–8 cm (excluding bending)
- Pot: About 2–2.5 cm across and 2.5–3 cm tall
- Rose bloom: ~2 cm diameter
- Leaf: ~2.5–3 cm long, including small stem
Gauge
Gauge is not strictly applied due to miniature scale, but a magic ring of 6 sc in brown yarn should measure about 1–1.2 cm across. Keep stitches tight so stuffing does not show.
Stitch Abbreviations
- ch – chain
- sc – single crochet
- hdc – half double crochet
- dc – double crochet
- tr – treble (triple) crochet
- inc – increase (work 2 sc in same stitch)
- sl st – slip stitch
- MR – magic ring
- st/sts – stitch/stitches
- blo – back loop only
- flo – front loop only
Special Stitches
- Magic Ring (MR): Make a loop, crochet into the loop as directed, then pull tight.
- Picot: Ch 2, sl st into the base of the previous stitch.
- Invisible Fasten Off: Finish round, pull working yarn through final loop, weave needle through front loops of first and last stitches to create a seamless join.
The Pattern
Flowerpot (Brown/Beige Yarn, 1 mm Hook)
Base
- Rnd 1: In a magic ring (MR), 6 sc. [6]
- Rnd 2: 2 sc in each st around. [12]
- Rnd 3: (sc in next st, inc) repeat around. [18]
- Rnd 4: (sc in next 2 sts, inc) repeat around. [24]
-Flatten your circle and check against the template or lid. Edge should slightly extend for a stable pot. - Rnd 5: (Work in back loop only (BLO)) (sc in next 3 sts, inc) repeat around. [30]
- Rnd 6: (sc in next 4 sts, inc) repeat around. [36]
- Rnd 7–Rnd 12 (6 rounds): sc in each st around. [36]
Move marker up each round.
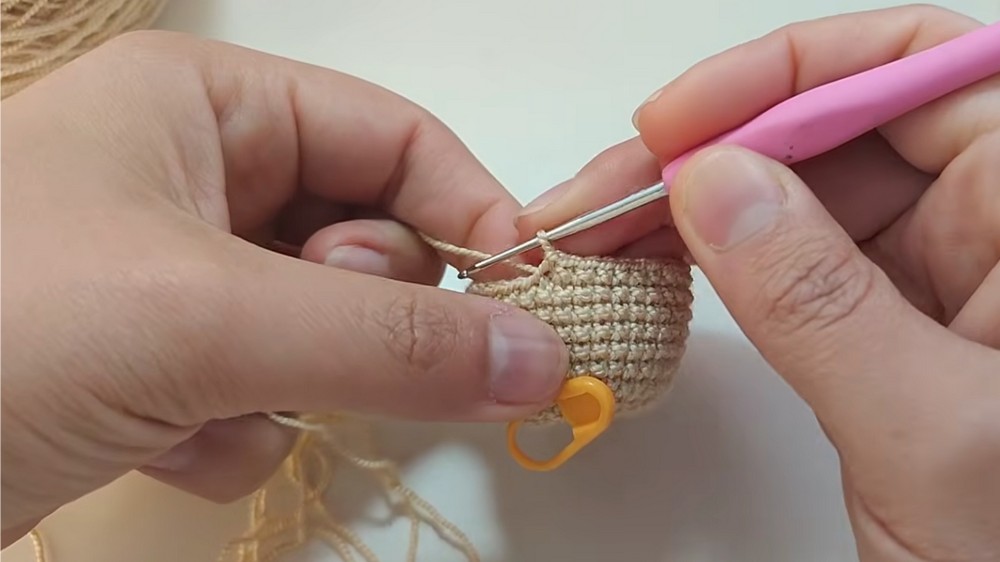
Pot Rim
- Rnd 13: (Work in front loop only (FLO)) (sl st in next st, ch 1) repeat around to make ruffled edge.
- Fasten off, leave long tail for invisible closure. Use yarn needle to pull through front loops of first and last st, then secure on inside.
Soil Insert (Brown Yarn)
- Rnd 1: MR, 6 sc (don’t fully close ring; leave a hole for the stem). [6]
- Rnd 2: 2 sc in each st. [12]
- Rnd 3: (sc in next st, inc) around. [18]
- Rnd 4: (sc in next 2 sts, inc) around. [24]
- Rnd 5: (sc in next 3 sts, inc) around. [30]
- Rnd 6: (sc in next 4 sts, inc) around. [36]
- Fasten off, leave a long tail for sewing to pot.
Rose (Petals in 3 Colors)
Rose Base
- Using white: Ch 38
- Row 1: Starting in 5th ch from hook, (dc, ch 2, dc) in same ch, skip 2 ch, (dc, ch 2, dc) in next ch, repeat to end (finish just before last 2 chains).
- Row 2: Ch 2, turn. In each ch-2 space: 7 dc, then sc in gap between clusters to anchor petal.
Repeat for 5 petals in white.
First Color Change (Light Pink)
- In last white petal’s last sc, finish off white and join light pink; continue working 8 dc in next ch-2 space, sc for 4 petals.
Second Color Change (Fuchsia)
- In last light pink petal’s last sc, finish off light pink and join fuchsia.
- Work 8 dc in next ch-2 space, sc for 3 petals in fuchsia.
- Fasten off, weave in all ends. Coil into a spiral to form rose bud/flower.
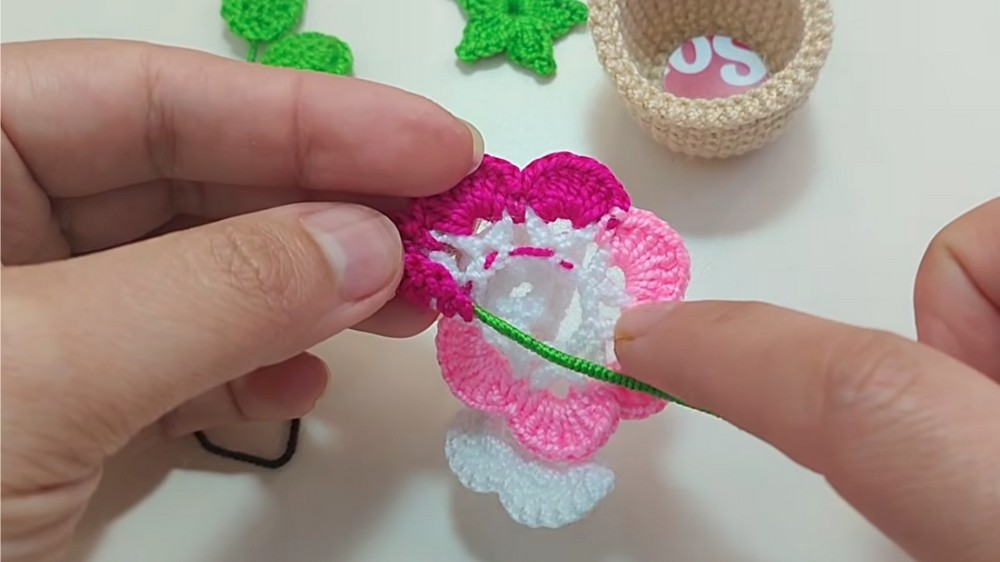
Calyx (Green Yarn)
- Rnd 1: MR, ch 2, dc in ring, ch 2, tr in ring, ch 2, sl st (picot), dc in ring, ch 2*; repeat so you have 5 points in total.
- Leave a small open hole in MR for stem. Pull ends to back, tie knot, hide within work; do not close ring fully.
Leaves (Make 2, Green Yarn, With Wire)
- Ch 7
- Lay 7 cm thin wire below chain.
- Working over wire:
- In 2nd ch from hook: sc
- In next ch: hdc
- In next 2 ch: dc, dc
- In next ch: hdc
- In last ch: 2 sc (inc at tip)
- Turn, work on other side of foundation chain (mirror image):
- hdc
- dc, dc
- hdc
- sc
- Slip stitch to starting sc for a complete round.
- Fasten off with a long tail for wrapping wire base and assembly.
Stem (Green Yarn, 14 cm Wire)
- Fold 14 cm wire in half. Apply glue and wrap with green yarn tightly from top to bottom. Tuck in or glue end.
Assembly – By Component
- Form Pot: Use the circle template to shape base after round 4. After round 13, finish with invisible join at rim.
- Insert Soil: Put soil insert inside pot. Align holes for stem.
- Make Rose & Calyx: Spiral rose base, glue or stitch into shape. Glue calyx underneath, with hole for stem.
- Attach Stem: Insert stem into rose/calyx assembly. Glue if needed.
- Attach Leaves: Twist leaf wire bases around stem, just below flower.
- Insert Rose into Soil/Pot: Thread stem through soil and flowerpot (using holes left in MR). Position leaves attractively.
- Stuff Pot: Add fiberfill around soil as needed for stability.
- Sew Soil to Pot: Using soil’s tail, sew outer edge to inside rim of pot. Leave a small gap, fill firmly, then fully close.
- Finishing Touch (Pot Base): Make slip stitches around leftover loops on pot base for neat edge, fasten off, weave in tail, and knot securely on inside.
- Final Shaping: Adjust stem and bloom, gently bend for desired shape.
Conclusion & Ending Words
Congratulations! You have finished your exquisite amigurumi mini rose pot, "Pilar." This small, detailed project merges basic crochet with wirework, shaping, and assembly techniques to create a delicate, stable, and beautifully realistic miniature rose in its own pot. The stepwise construction—worked by rounds—ensures sturdy petals, life-like leaves, and a finished look that impresses in decor or as a special gift. By following the rounds and assembly, you’ve practiced both fine crochet skills and thoughtful finishing. Enjoy your beautiful new piece, and let it add a handcrafted bloom to your day!




Leave a Reply