

Find a charming crochet Christmas tree that adds festive cheer to your home and makes a delightful handmade gift using simple crochet techniques today.
Bring a cozy touch of holiday magic to your home with a charming handmade accessory that's as versatile as it is festive. This delightful little tree features a classic pine shape with a textured, layered design that perfectly captures the spirit of the season. Whether perched atop a mantle, nestled among holiday decor, or gifted as a thoughtful token of cheer, this sweet project adds warmth and personality to any space.
Free Crochet Christmas Tree Pattern for Christmas Centerpieces
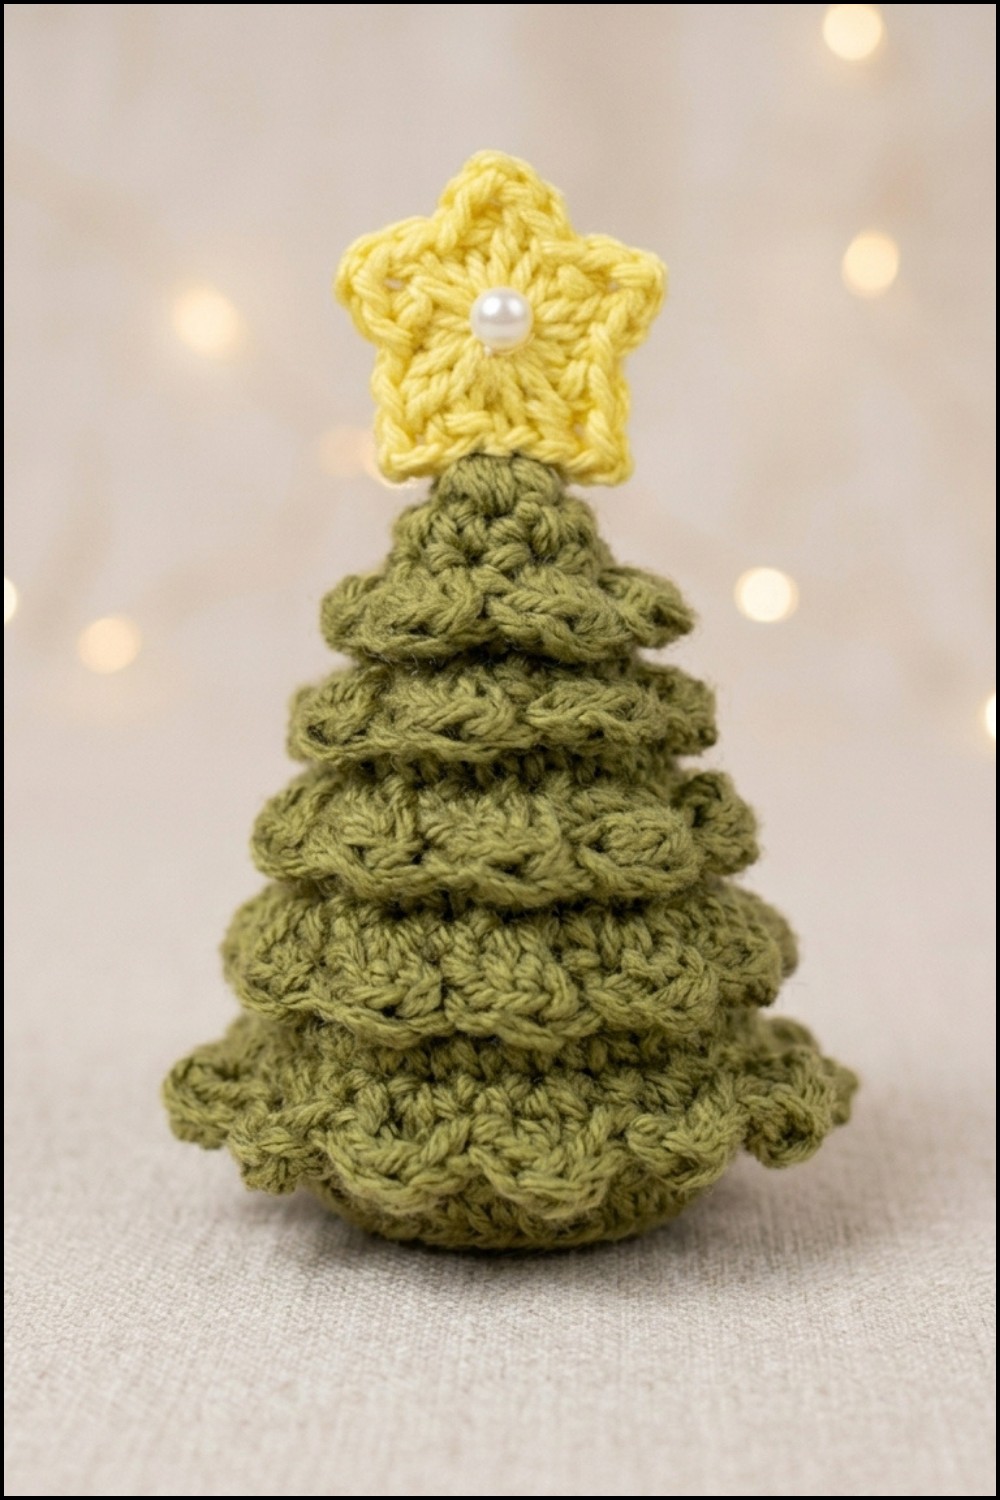
Measuring compactly to fit on tabletops or as a cute topper for wine or cider bottles, this piece showcases a beautifully tapered silhouette crafted through clever stitch work. Its tiers gently curl, creating dimension and depth reminiscent of real pine needles. The addition of a small decorative star or beads brings the whole design to life, making it a perfect collectible or seasonal ornament.
This Free Crochet Christmas Tree pattern is well suited for beginner and intermediate crocheters eager to practice foundational techniques like single crochet, half double crochet, slip stitch, and working in rounds. The pattern’s gradual size increases and working with back loops add interesting texture and shape control. Crocheted with medium-light acrylic yarn and a 1.5 mm crochet hook, this project strikes a lovely balance between sturdiness and softness, ensuring your tree holds form while remaining easy to work.
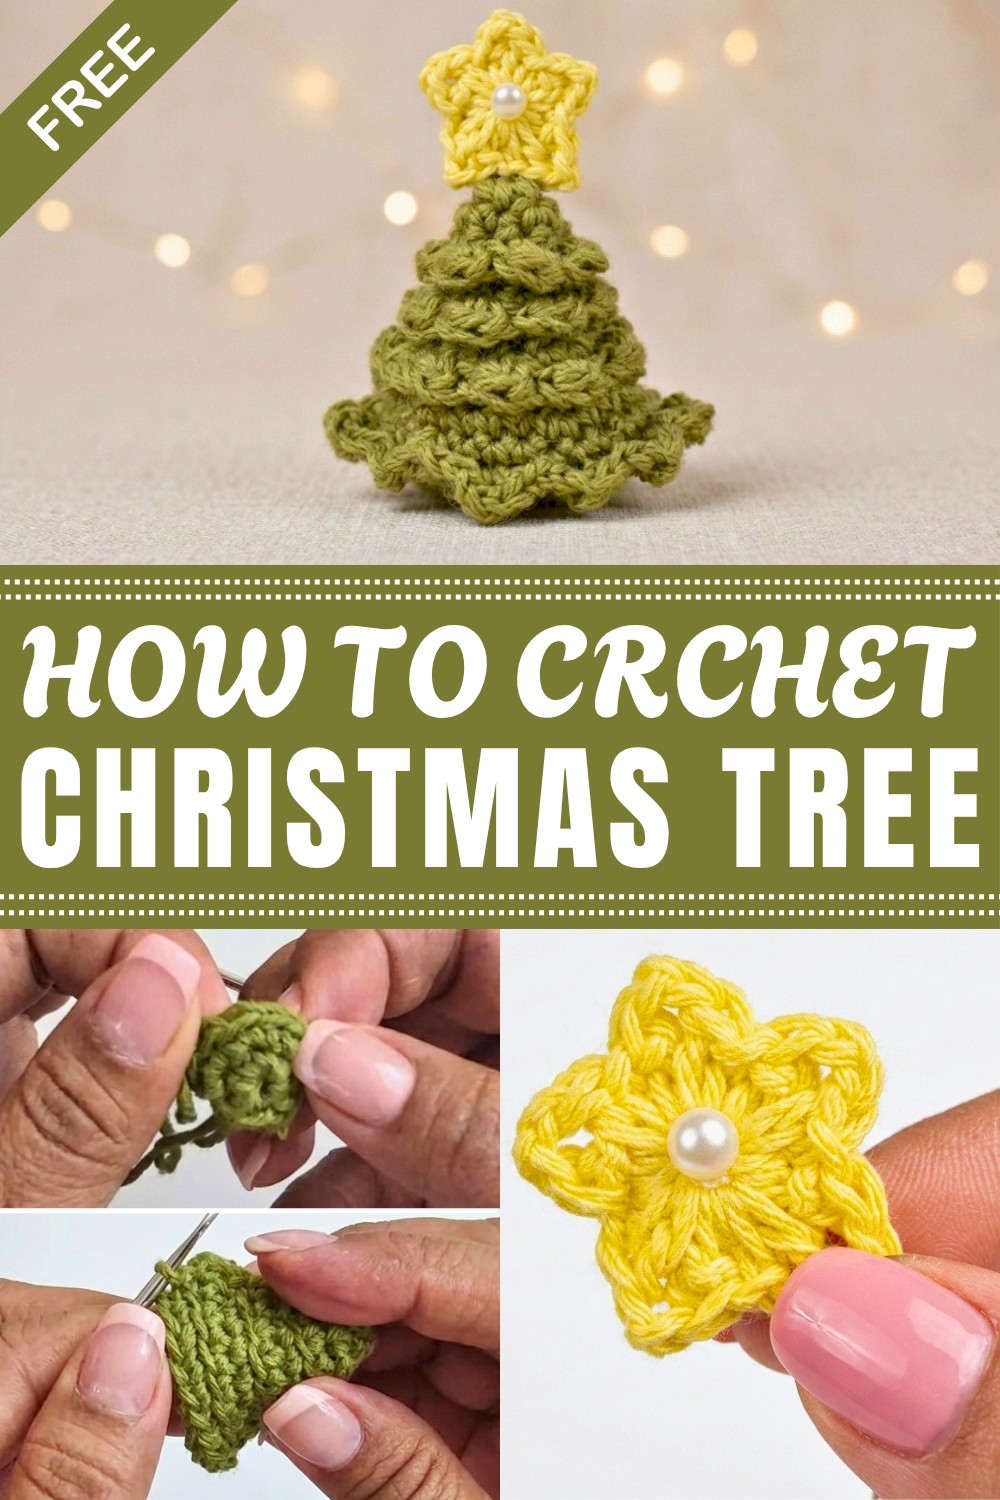
Mini Crochet Pine Tree (Hat/Ornament) Pattern
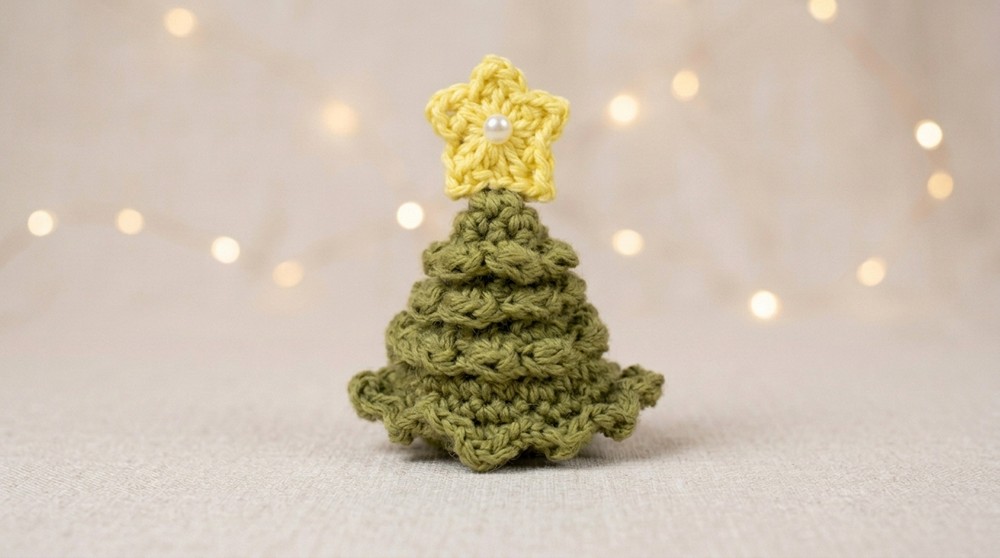
This mini crochet pine tree is a versatile accessory for decor, toys, wine bottles, or as a festive Barbie hat. Its simple cone structure is enhanced with textured “branches,” back-loop work, and a border that mimics the fullness of tree boughs. Topped with a small star, it provides creative potential as a holiday ornament or as part of playful projects. Optional bead and pearl embellishments can be added for sparkle or to match your theme.
Pattern Basic Points
Construction
- Begins with a tight cone worked from a small chain “ring”
- Rounds alternate between single crochet and increase rounds
- Texture and shaping come from periodic back loop rounds and increases
- Finished tree is bordered at the base and further detailed at three “tiers” with a mix of slip, single, and half double crochets
Decoration
- A star is crocheted separately and sewn or glued on top
- Additional decorations: pearls, beads, embroidery, or sequins
Versatility
- Adjust size by changing hook or adding rounds for larger cones
- Serves as a doll hat, bottle topper, ornament, or soft toy
Special Notes
- Working tightly prevents holes; ideal for crisp shaping
- Back loop stitches make textured rows that resemble tree layers
- The number of stitches may not always align perfectly; minor adjustments or extra single crochets at the end of a round can be used without issue
- Rounds for "tiers" require careful attention to working in the correct loops for nice edges
Skill Level
Beginner to Advanced Beginner
Basic stitches (single crochet, increase, back loop only, slip stitch, half double crochet, double crochet). Some experience with crocheting in the round and post-stitch finishing is helpful for best results.
Materials
- Cotton or acrylic yarn in green and yellow (or any preferred tree and star colors)
- Crochet hook: 1.50 mm (for small/fitted pine) or up to 2.5–3 mm for a bigger version
- Yarn/tapestry needle
- Scissors
- Small pearls, beads, or sequins (optional for decoration)
- Glue (optional, for attaching beads or the star)
- (Optional) Hair clip or elastic for use as a doll accessory
Measurements / Sizing
- Using 1.5 mm hook: fits as a Barbie or small doll hat, approx. 3–5 cm tall
- Larger hook or extra increase/height rounds: fits bottle tops or larger toy heads
- Finished ornament is small enough for most decorative uses
Gauge (and Stitch Pattern if applicable)
- No strict gauge, but work tightly to keep structure; sample stitches:
6 sc ≈ 1.7 cm
10 rounds ≈ 4–5 cm high (using fine cotton thread, 1.5 mm hook)
Stitch Abbreviations
| Abbreviation | Meaning |
|---|---|
| ch | Chain |
| sc | Single crochet |
| sl st | Slip stitch |
| hdc | Half double crochet |
| dc | Double crochet |
| inc | Increase (2 sc in one stitch) |
| BLO | Back loop only |
| MR | Magic ring (for star) |
Special Stitches
- Back Loop Only (BLO): Insert hook only under the back horizontal bar of the stitch
- Increase (inc): 2 single crochets in the same stitch
- Slip Stitch (sl st): Used for smooth tier transitions
- Chain Space Embellishment: Used for star points
Pattern
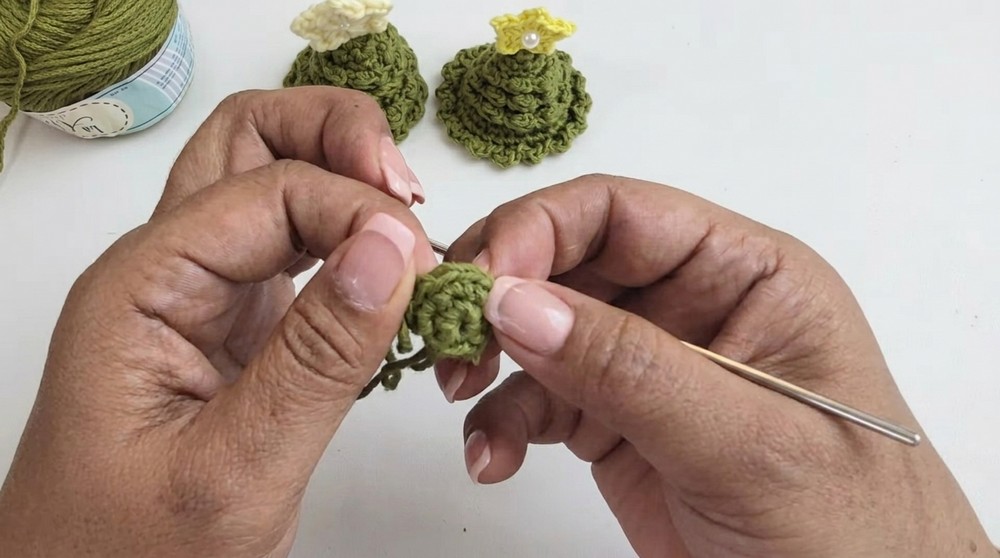
Pine Tree Cone
- Start: Ch 2.
- In second chain from hook, make 6 sc. Join with sl st. (6 sts)
- Round 2: Ch 1, sc in next 2 sts, inc; repeat to end. (8 sts)
- Round 3: Ch 1, sc in next 3 sts, inc, repeat to end. (10 sts)
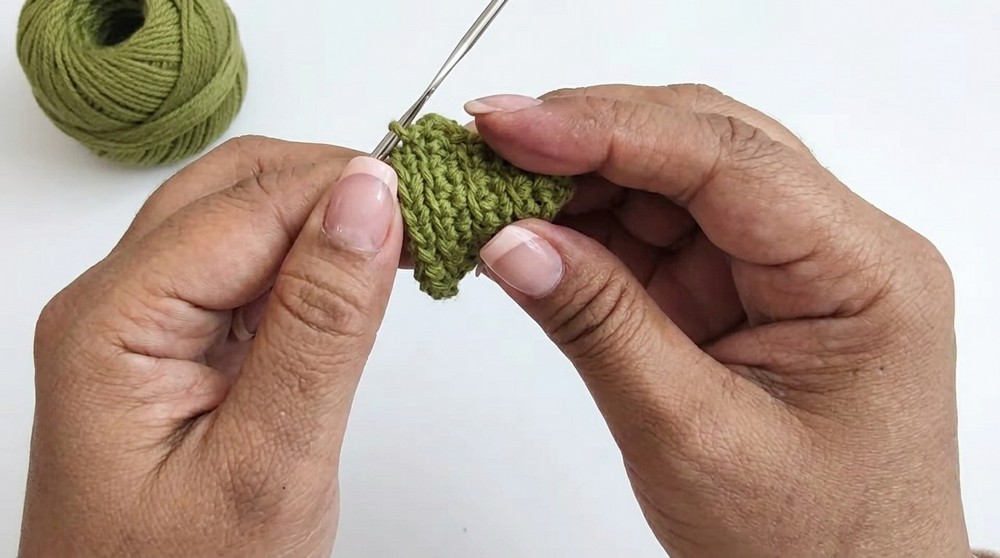
- Round 4 (BLO): Ch 1, sc in next 2 sts, inc; repeat once, then sc in next 4 sts, inc. (12 sts)
- Round 5: Ch 1, sc in next 5 sts, inc, sc in next 5 sts, inc (or as possible based on your count). (14 sts)
- Round 6 (BLO): Ch 1, sc in next 3 sts, inc; repeat. (16 sts)
- Round 7: Ch 1, sc in next 7 sts, inc, repeat. (18 sts)
- Round 8 (BLO): Ch 1, sc in next 2 sts, inc; repeat around. (20 sts)
- Round 9: Ch 1, sc in next 9 sts, inc, repeat (22 sts)
- Round 10: Ch 1, sc in next 5 sts, inc, repeat to end (24 sts)
- Adjust as needed: End this section when hat reaches desired height for your project use (doll head, bottle, etc.)
Border Tier (First Layer of Boughs)
- Work in front/top loop only:
- [Ch 1, sc, hdc in same st, sl st in next st] repeat all around.
- Repeat for another two rows lower (along visibly protruding BLO rows from previous rounds), for a three-tier “tree” effect.
Finishing & Hiding Threads
- Weave/cut ends at the inside or base of tree
- If making a hat, secure threads invisibly under the brim
Star (Optional Topper)
- Make a magic ring (MR) in yellow.
- [sc, ch 1, sc, dc, ch 2, dc, sc] into MR for the first point.
- Repeat until you have 5 star points (sc, ch 1, sc, dc, ch 2, dc, sc) into MR, turning slightly each time for spacing.
- Pull MR closed, sl st to join to starting sc.
- Cut yarn, weave tail to back and use for sewing or gluing star to treetop.
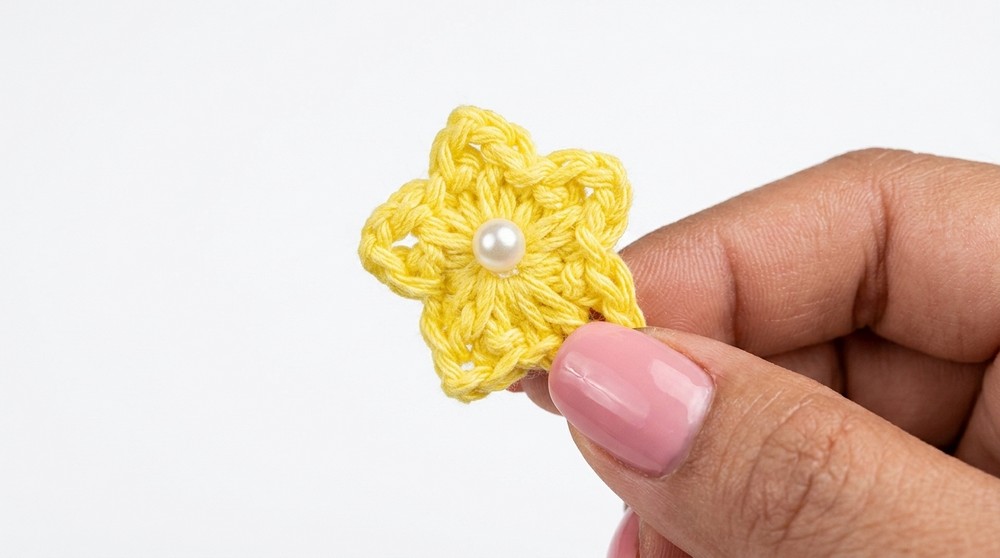
Assembly & Finished Size
- Shape finished tree and flatten boughs if needed
- Use for dolls, wine bottles, or as an ornament
- Attach the star securely on top
- Decorate tree with pearls, beads, or tiny buttons, sewing or gluing in place as you choose
Conclusion
This small pine tree brings festive character to your creative repertoire and can be customized for a range of holiday and decorative uses. The alternating use of back loop stitches and textured borders offers a convincingly “branched” result, while the top star and optional beads add personality. By adjusting hook size or increasing round count, you can create matching trees in various sizes for coordinated décor. The approachable technique encourages experimentation and adaptation, making this design suitable for gifting, play, and celebration within your handmade collection.
Leave a Reply