

Create a cute and colorful Crochet Strawberry Keychain with this free pattern that is perfect for beginners and makes a fun handmade gift or charming accessory.
A lovely tutorial by Hobihobiku offers a step-by-step guide to making an adorable Crochet Strawberry Keychain, and credit goes to this creative mind for sharing such a sweet and charming project. This keychain is a small, hand-crocheted strawberry that adds a splash of color and fun to your keys, bags, or even as a decorative piece.
Easy Crochet Strawberry Keychain Free Pattern Steps
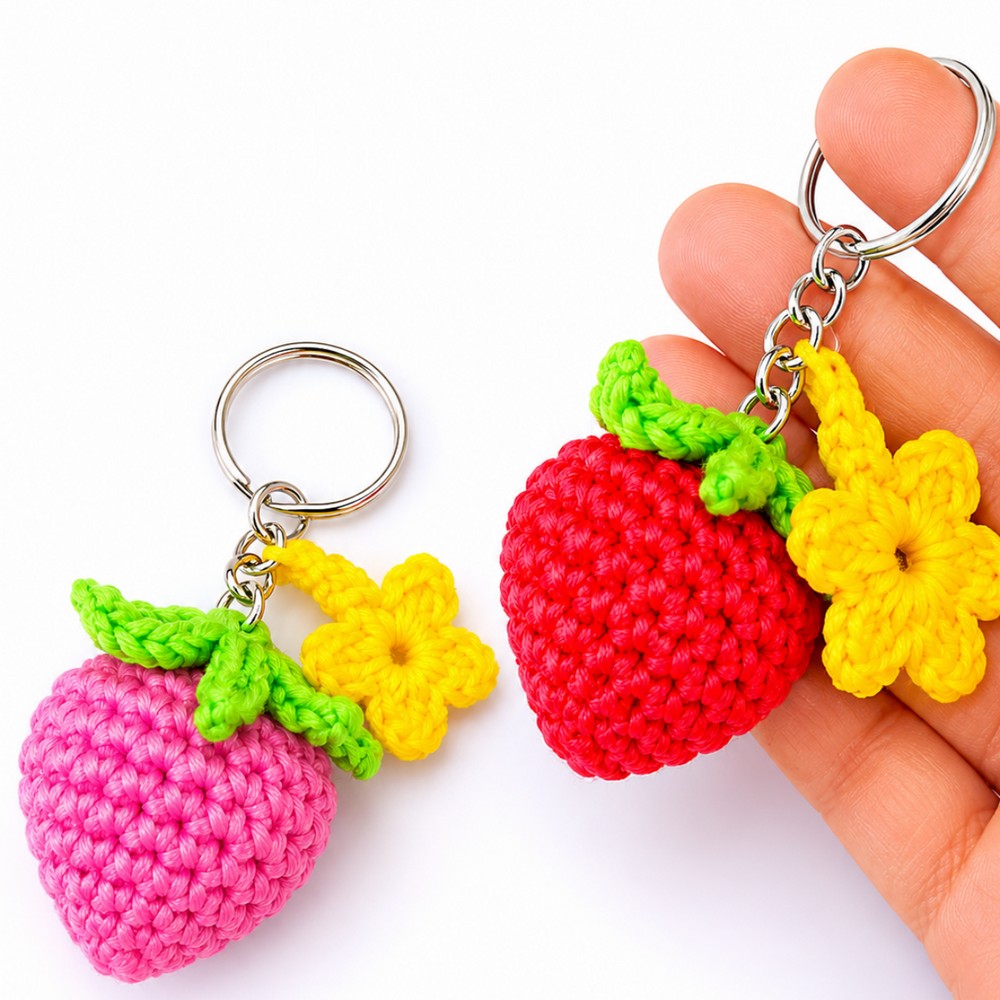
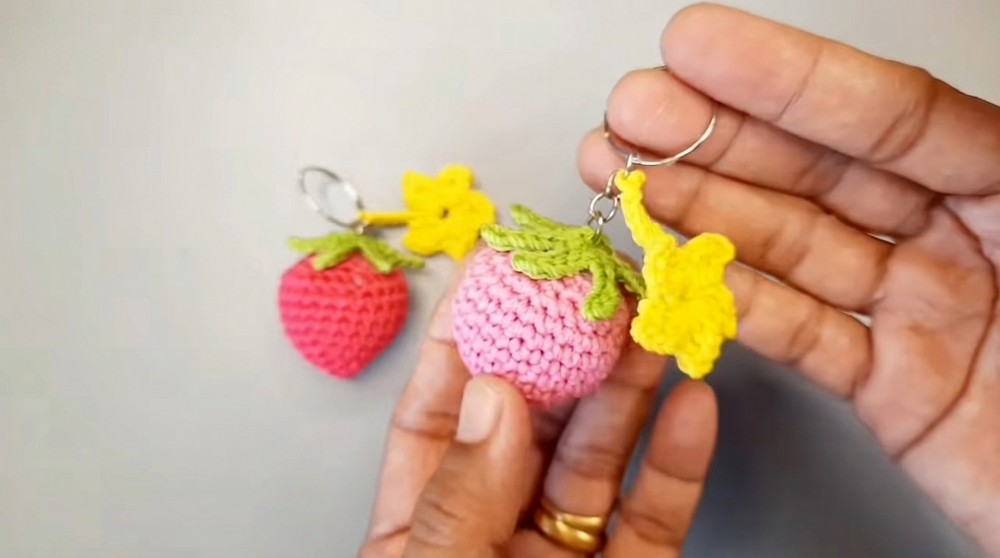
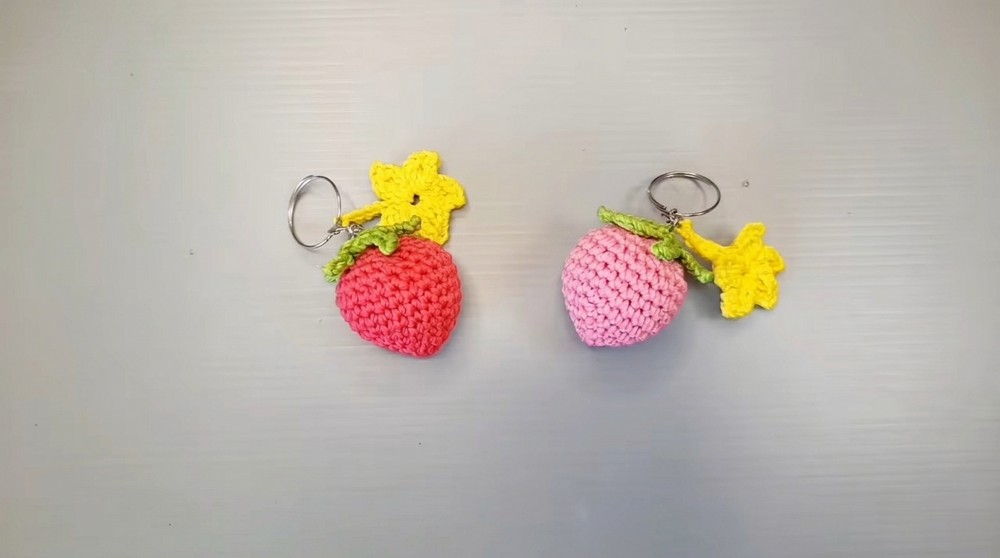
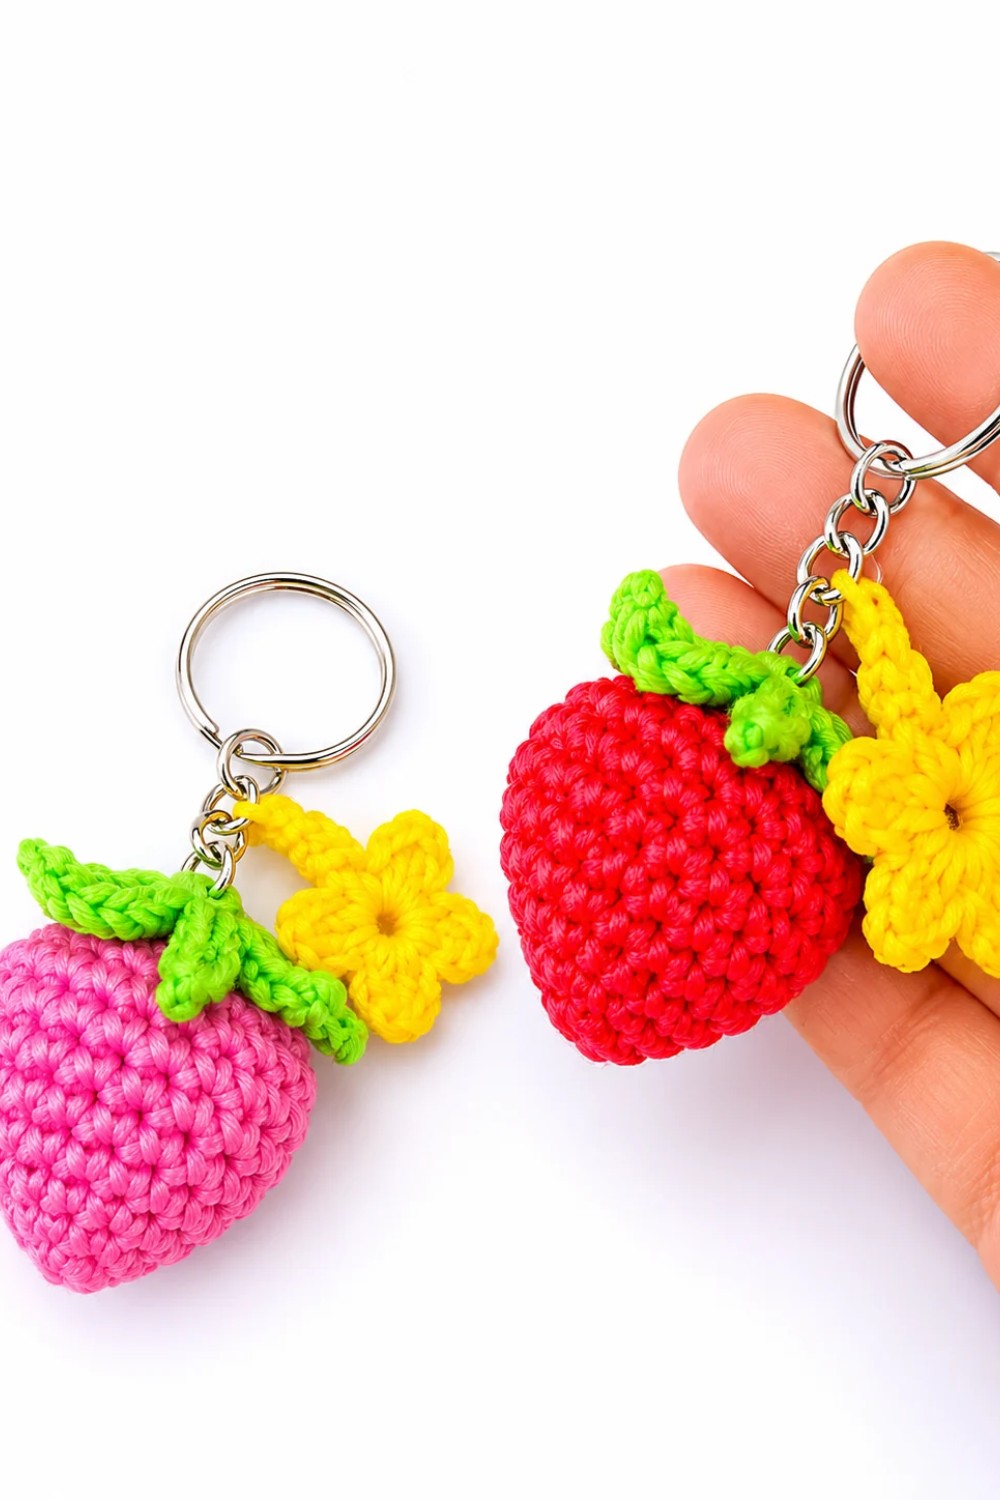
The Crochet Strawberry Keychain is beautifully designed with bright red yarn dotted with tiny yellow or white stitches to mimic strawberry seeds, topped with a vibrant green leafy crown. Its compact size makes it a perfect little accessory to carry around or gift to friends and family. The charming design captures the essence of a real strawberry, making it both cute and eye-catching.
One of the special features of this project is the ability to customize it with different sizes, colors, or even add small beads to resemble seeds for extra sparkle. The tutorial by Hobihobiku walks you through basic crochet stitches like single crochet, increases, and decreases to shape the strawberry, plus simple steps to create the leafy top. You also learn how to stuff the strawberry lightly to give it a nice rounded shape and attach the keyring securely.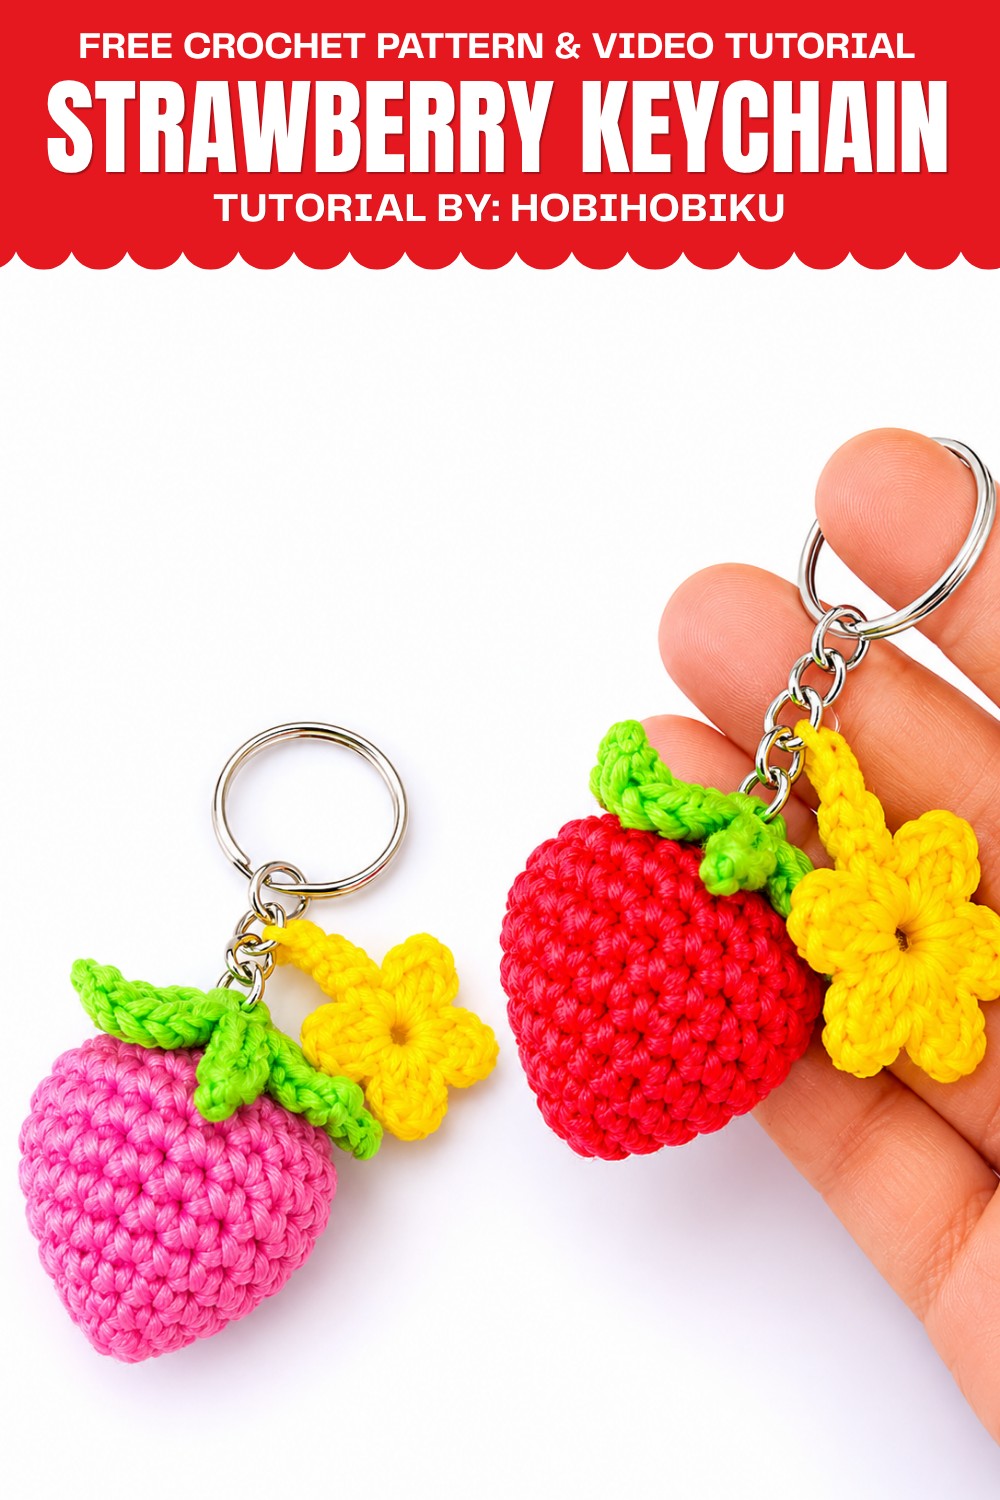
This project is fun, quick, and perfect for crocheters looking to make something delightful and useful. Try this free pattern and enjoy creating your very own little strawberry charm today!
Crochet Strawberry Keychain Pattern
Pattern Overview
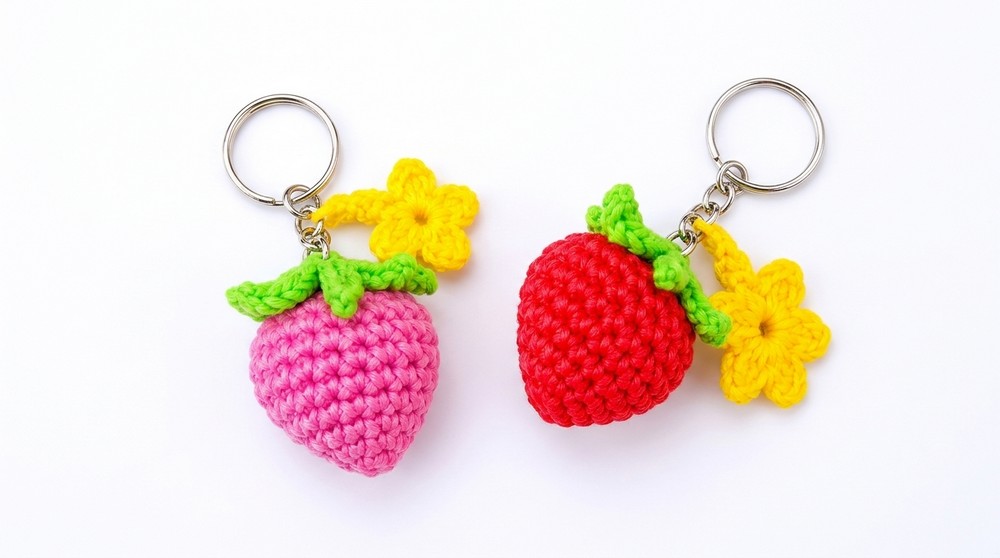
This project creates a cute crochet strawberry keychain consisting of three main parts: the strawberry body, a flower with a keychain loop, and a textured green top leaf. The finished keychain is soft, sturdy, and perfect for bag decorations or gifts. Each section is worked separately and assembled at the end for a seamless, realistic look.
Quick Details
- Structure: Three sections (body, flower, top leaf)
- Finished Product: Strawberry shape with flower, leaf, and keychain attachment
- Techniques: Amigurumi and motif crochet, simple joining
Important Tips
- Use a stitch marker to track round beginnings.
- Stuff the strawberry firmly for best shape.
- Make sl st stitches neatly for clean edges.
- Leave long tails for sewing sections together.
- Ensure all pieces are securely sewn for durability.
- Optionally, use glue for extra strength at the top.
Skill Level
- Easy/Beginner
Materials
- Pink yarn for the strawberry body
- Yellow yarn for the flower
- Green yarn for the leaf
- Fiberfill for stuffing
- Crochet hooks suited to yarn (typically 2.5-3 mm)
- Keychain ring
- Tapestry needle
- Scissors
- Glue gun (optional)
Measurements
- Finished strawberry: Small, keychain-sized (exact size depends on yarn and tension)
Gauge
- Gauge is not critical. Aim for tight stitches so stuffing does not show.
Abbreviations
- MR – Magic Ring
- SC – Single Crochet
- INC – Increase (2 SC in same hole)
- DEC – Decrease (SC two stitches together)
- CH – Chain
- DC – Double Crochet
- SL ST – Slip Stitch
Special Stitches
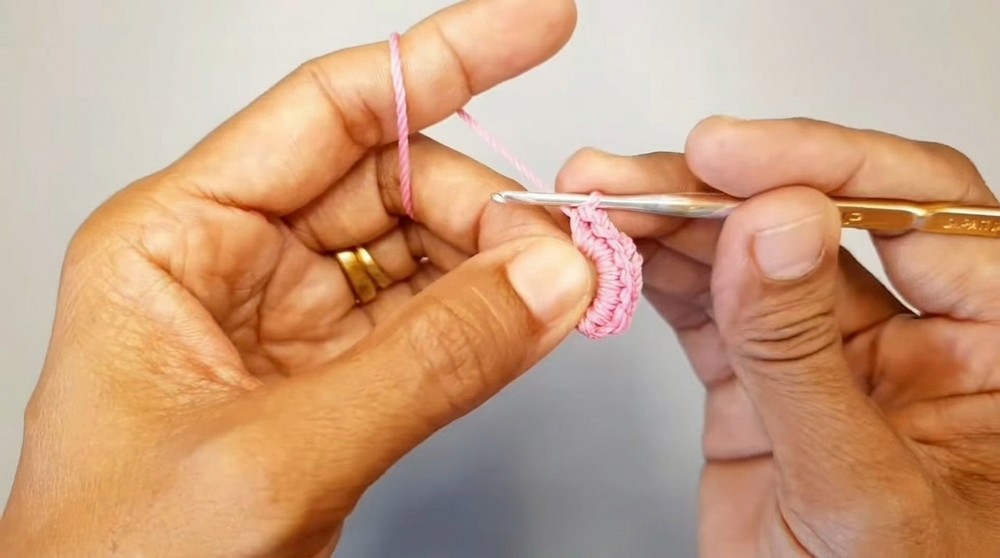
- Magic Ring (MR): Make a loop, insert hook, pull up a loop, then crochet stitches into ring and pull tail to close.
- Increase (INC): 2 SC in same stitch.
- Decrease (DEC): SC two stitches together.
- Slip Stitch (SL ST): Insert hook, pull up a loop, pull through both loops on hook.
Step-by-Step Instructions
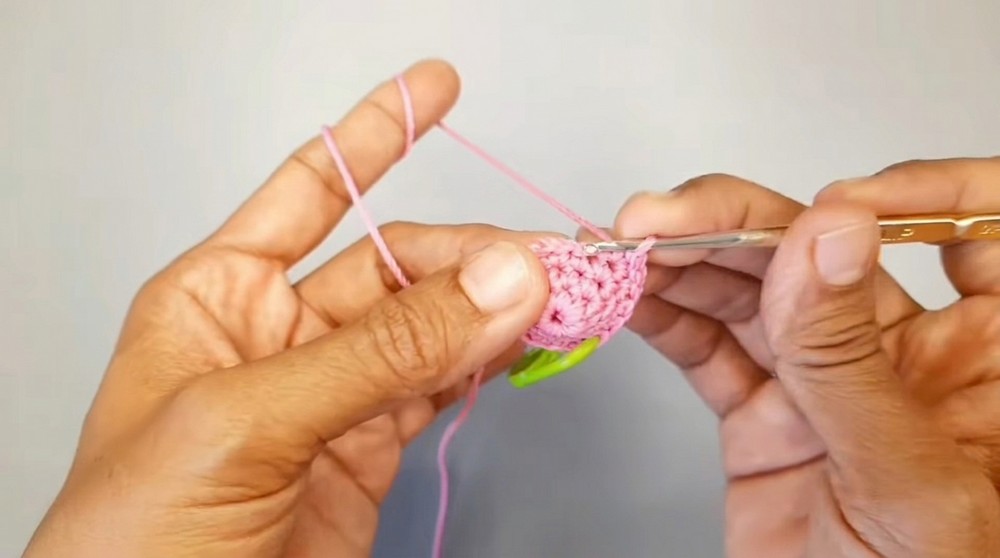
Strawberry Body (Pink Yarn)
- Round 1: Begin with a magic ring, work 8 SC into the ring.
- Round 2: 1 SC, INC in each hole, repeat 4 times around.
- Round 3: 2 SC, INC, repeat 4 times.
- Round 4: 3 SC, INC, repeat 4 times.
- Round 5: 4 SC, INC, repeat 4 times.
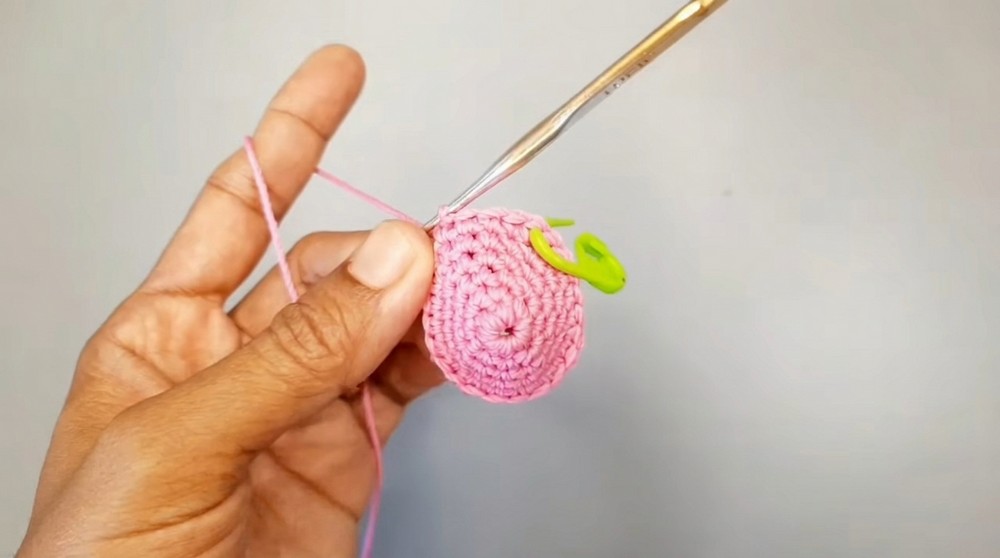
- Rounds 6–9: Work 1 SC in each hole for 4 rounds (no increases).
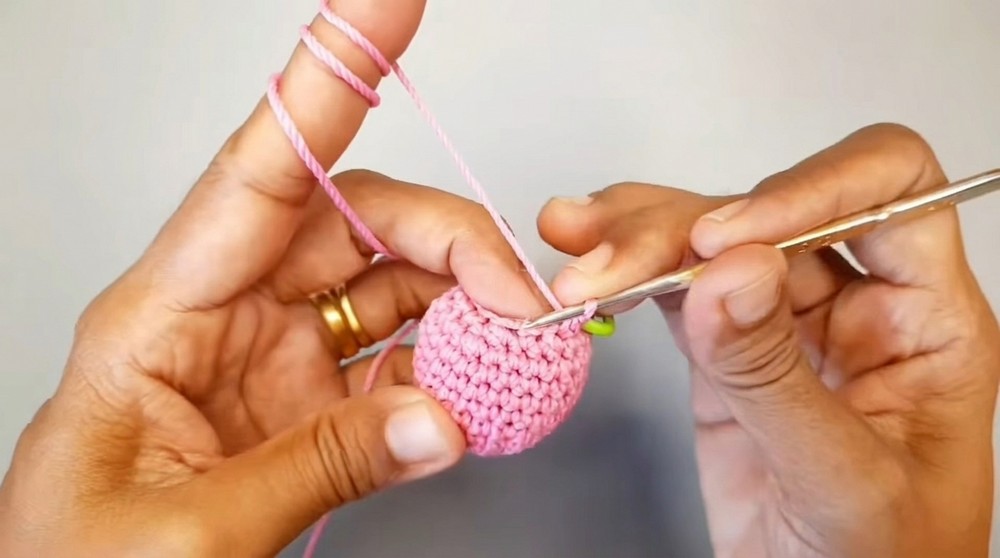
- Round 10: 2 SC, DEC, repeat until the round ends.
- Round 11: 1 SC, DEC, repeat until the round ends.
- Stuff: the strawberry body with fiberfill before closing.
- Round 12: 1 SC, DEC, repeat 6 times to close. Fasten off.
Flower (Yellow Yarn)
- Base: Start with a magic ring.
- Petals: For each petal (repeat 5 times):
- CH 2
- 1 DC in ring
- CH 1
- SL ST into the top of the DC
- 1 DC in ring
- CH 2
- SL ST into the ring
- Keychain Loop: After the fifth petal, CH 7, attach to the keychain ring, then work 6 SL ST back down the chain to return to the flower base.
Green Top Leaf (Green Yarn)
- Base: Start with a magic ring.
- Leaf Strands: For each strand (repeat 6 times):
- 1 SC in ring
- CH 5
- Work 4 SL ST back down the chain (to create the leaf strand)
- Repeat until there are 6 leaf strands.
Assembly
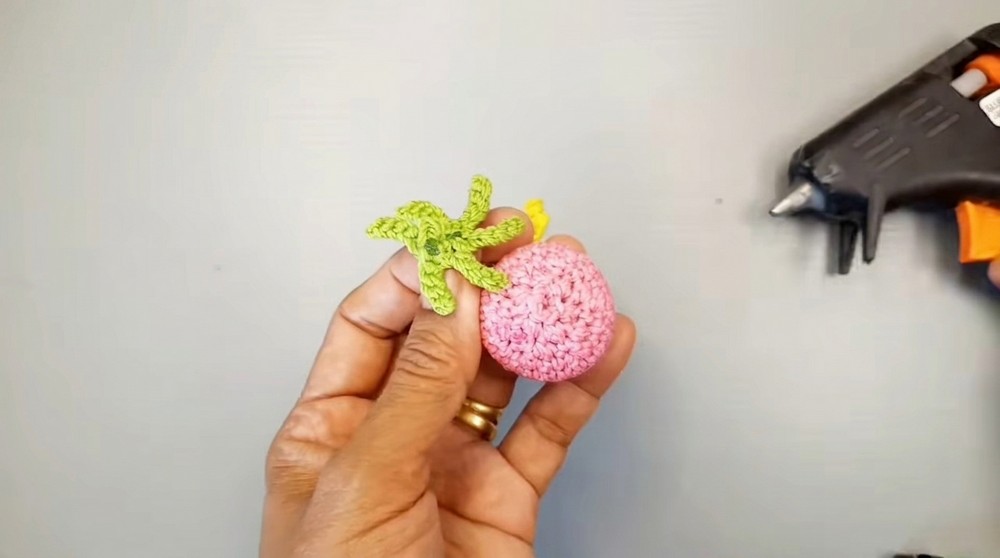
- Weave in the strawberry ends and trim excess yarn.
- Place the green top leaf over the center of the strawberry, covering the top hole.
- Pass the keychain loop (from the flower) through the center of the green leaf.
- Sew the flower and green leaf securely to the strawberry body using a tapestry needle, stitching through all three pieces for stability.
- Optionally, use a glue gun to fix final positioning of the green leaf and flower for extra security.
Final Notes
- This strawberry keychain makes a playful accessory with realistic texture and secure construction.
- Adjust the number of rounds for larger or smaller strawberries.
- Be sure to attach the flower and leaf tightly, especially if the keychain will experience regular use.
- Experiment with other yarn types or color combinations for a variety of fruit-themed keychains.
Leave a Reply