

Create a charming Crochet Granny Square Keychain with this free pattern and add a colorful handmade touch to your keys in no time.
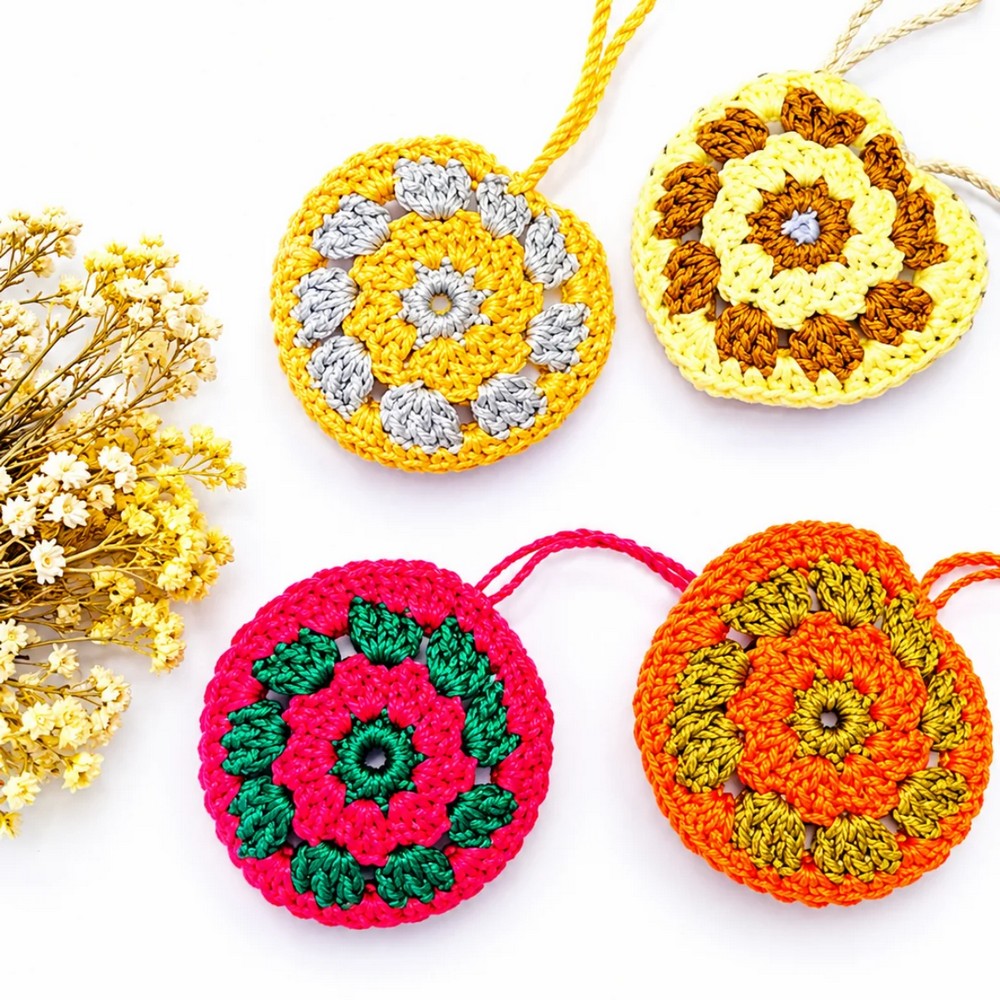
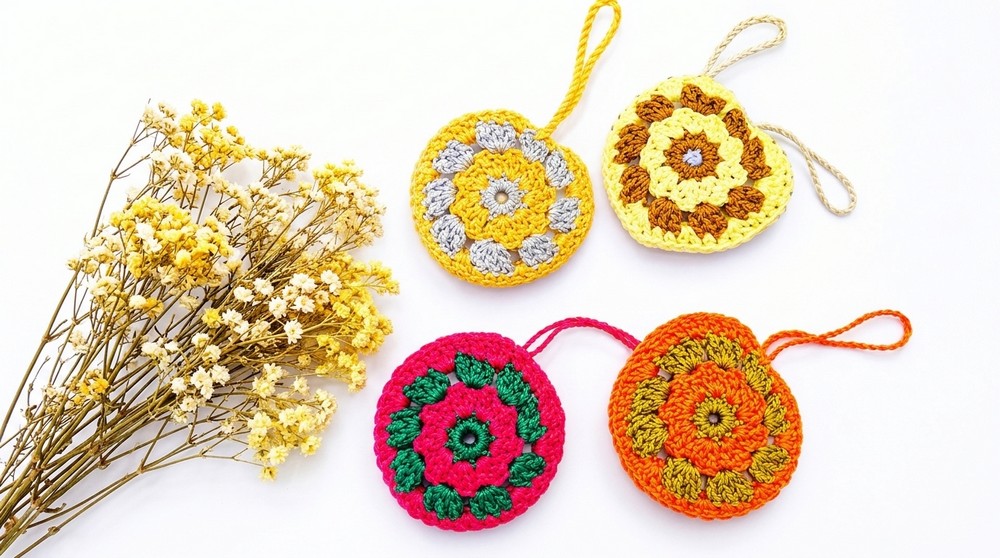
Hobihobiku brings us a delightful and creative design in the form of the Crochet Granny Square Keychain, a charming project perfect for both beginners and experienced crocheters. This keychain features the classic granny square pattern made with colorful yarn, resulting in a small, sturdy, and eye-catching accessory usually about 2 to 3 inches square when finished, making it an ideal size to carry around without bulk.
Quick & Cute Crochet Granny Square Keychain Pattern For Gifts
This project highlights the key aspects of crocheting granny squares—simple clusters of double crochet stitches arranged in a square. Its main features include vibrant colors that can be customized to your liking, portability as a small accessory, and practicality as a keychain. The skill level is beginner-friendly, requiring basic crochet stitches like chains, double crochets, and slip stitches, making it an excellent choice for those learning or wanting a quick, satisfying project.
The Crochet Granny Square Keychain is perfect for adding a personal touch to your keys or backpacks and also makes a sweet handmade gift. The process allows crocheters to practice tension control, stitch consistency, and color changes, while finishing with neat edging and attaching a keyring. Its quick and rewarding nature boosts confidence and creativity without overwhelming the maker.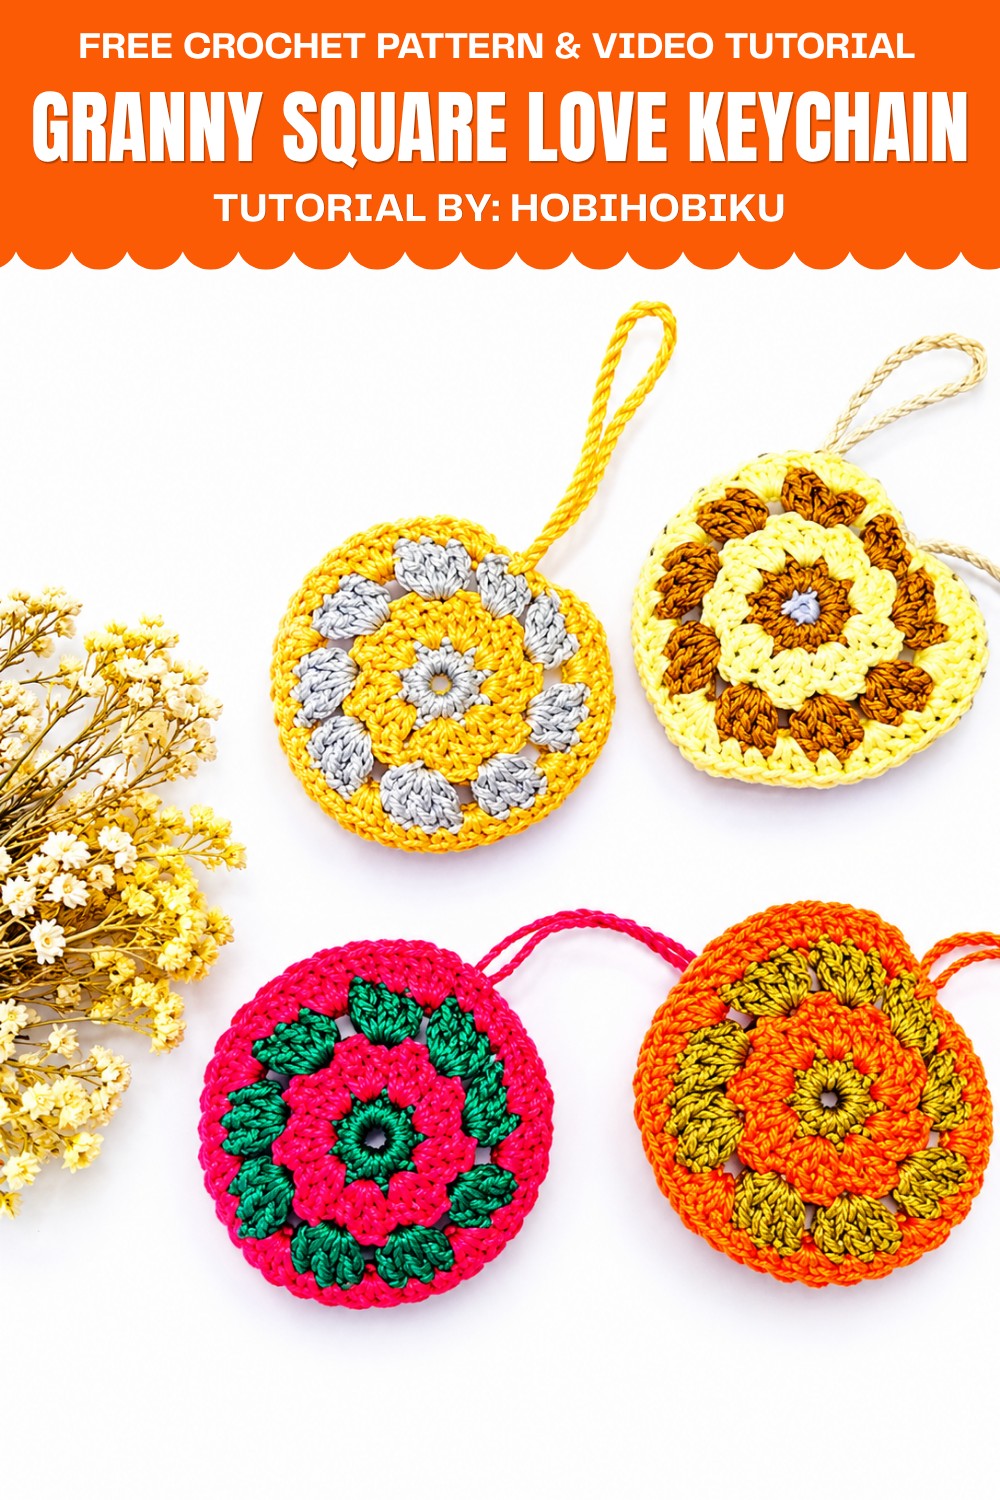
Give your keys a splash of handmade charm—embrace this fun project and unlock your creativity with this free pattern today!
Pattern Overview
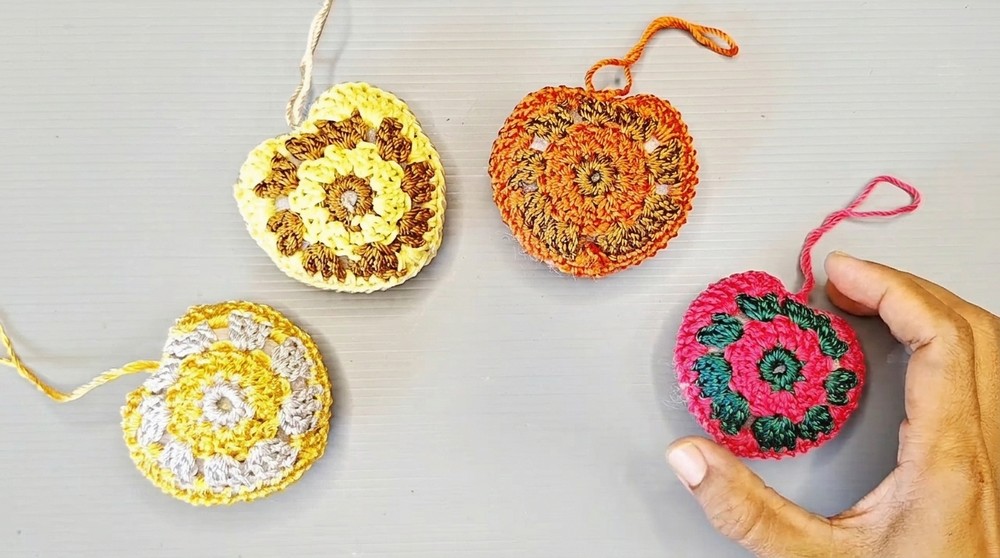
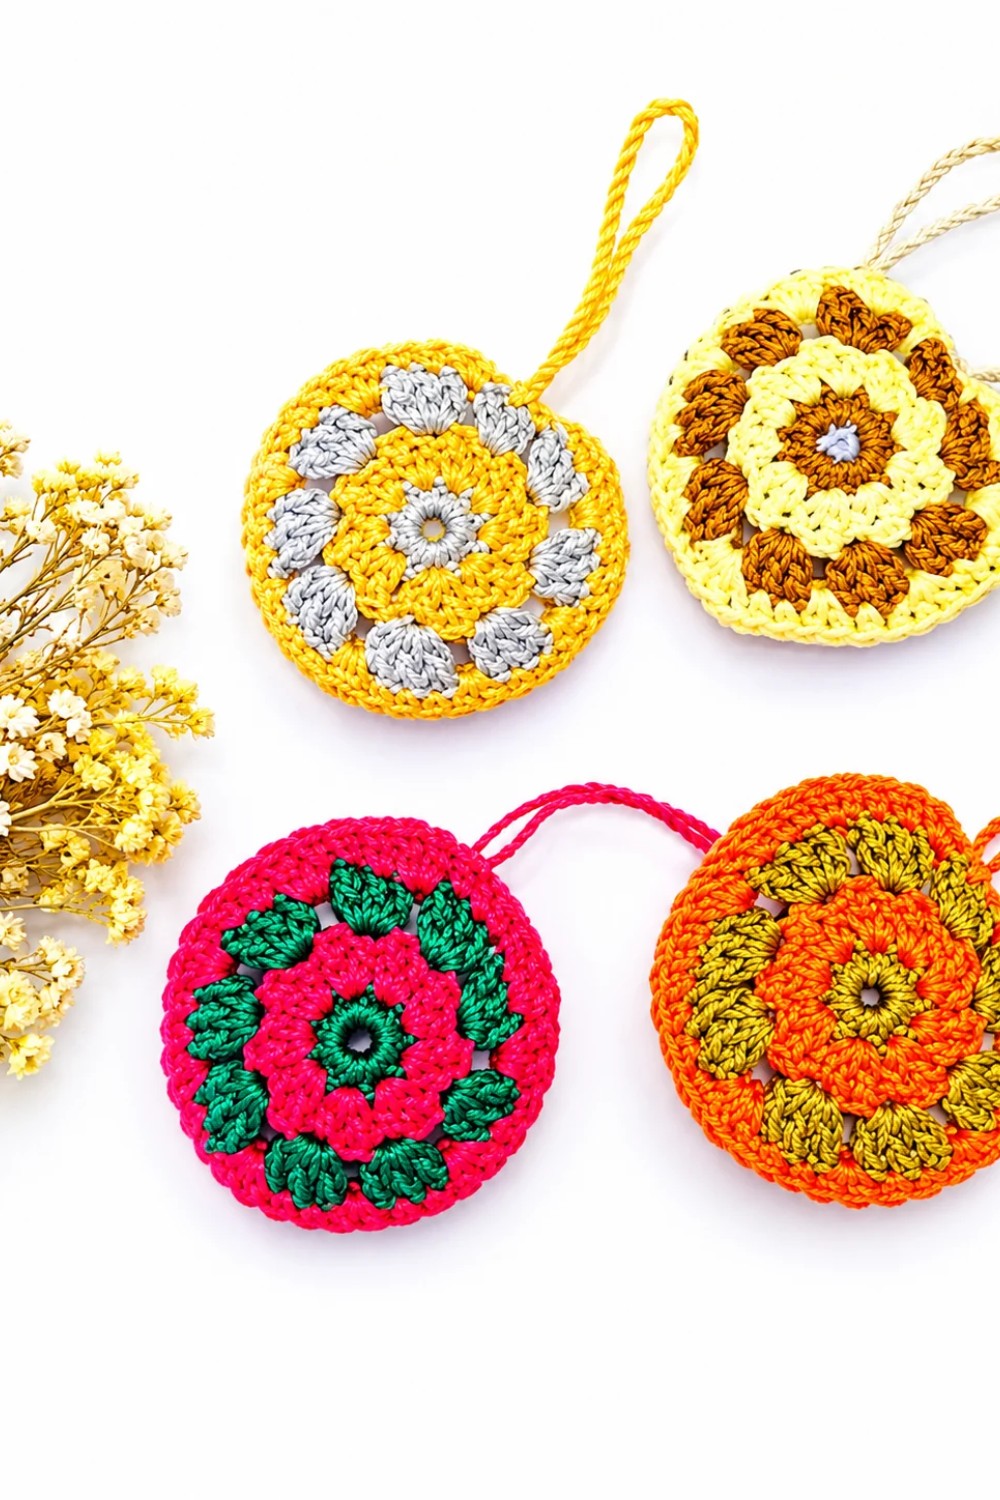
This easy crochet tutorial will guide you through creating a heart-shaped granny square keychain. You'll shape the heart motif using a classic granny square approach, then transform it into a 3D stuffed keychain. The pattern uses basic crochet stitches and includes step-by-step instructions for making the heart, joining it, stuffing, and finishing your keychain.
Quick Details
- Project: Heart-shaped granny square keychain
- Technique: Crochet
- Shape: Granny square with heart motif
- Finish: Stuffed, loop for attaching to keychain
Important Tips
- Always use a stitch marker to track your rounds and avoid losing count.
- Secure your rounds with an invisible join for neat edges.
- Stuff the heart gently with dacron to avoid stretching the stitches.
- Use tight, even stitches for a well-formed heart shape.
- When joining, align stitches carefully for a symmetric finish.
- Make sure your loop is sturdy enough to attach to your keychain ring.
Skill Level
- Beginner to Intermediate: Basic crochet stitches are used. Some attention to detail is needed for shaping, joining and invisible finish.
Materials
- Yarn (your color choices for up to 3 rounds and final color for shaping)
- Dacron fiberfill for stuffing
- Stitch marker
- 3.0mm crochet hook
- Keychain ring (optional for attaching)
- Scissors
- Yarn needle (for whip-stitch joining and weaving in ends)
Measurements
- Finished heart size depends on yarn thickness and tension. Using a 3.0mm hook and standard yarn, each heart piece will be small enough to fit comfortably in your palm, ideal for a keychain accessory.
Gauge
- No specific gauge. You should aim for a tight fabric so the stuffing does not show through.
- If your stitches are loose, switch to a smaller hook or tighter tension.
Abbreviations
- SC: Single Crochet
- DC: Double Crochet
- HDC: Half Double Crochet
- SL: Slip Stitch
- Ch: Chain
- Magic ring: Adjustable starting loop
Special Stitches
- Magic Ring: Create an adjustable loop to start crocheting, allowing you to pull it tight and close the starting hole.
- Invisible Join: Finishing method for joining rounds neatly; slip stitch from the back for seamless look.
Step-by-Step Instructions
Creating the Heart-Shaped Granny Square
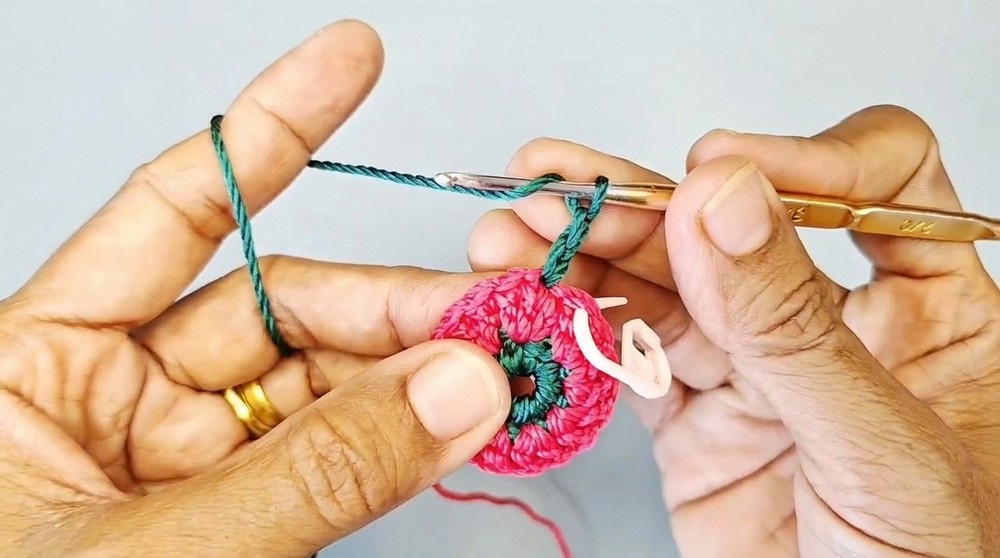
Round 1
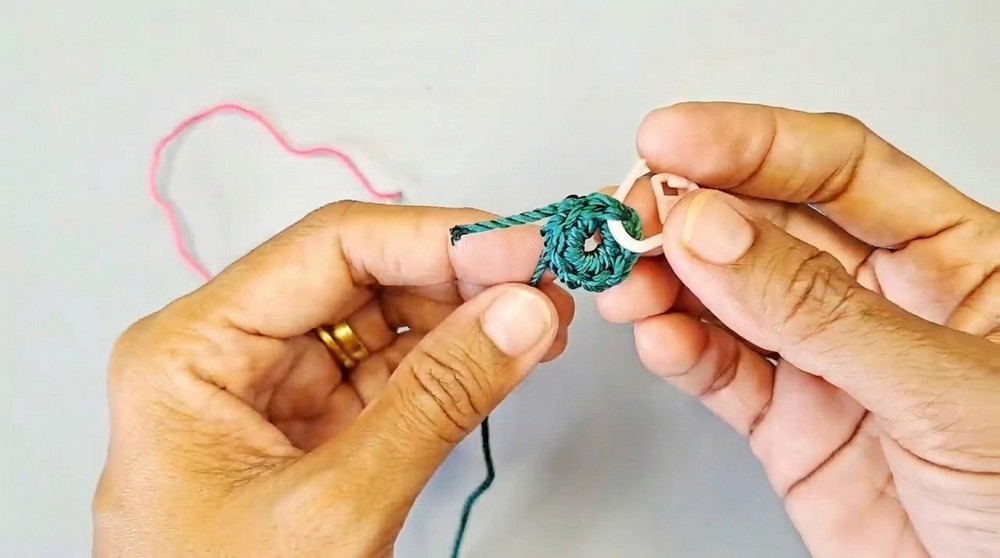
- Start with a magic ring.
- Work 9 SC into the ring.
- Pull ring tight to close gap.
- Use a slip stitch (SL) from the back to finish for a clean join.
Round 2
- Join new yarn (if desired).
- Ch 2.
- In each stitch around: work an increase of 2 DC (double crochet) in every stitch.
- Continue until you have completed the round.
- Finish with the same invisible join method for a tidy edge.
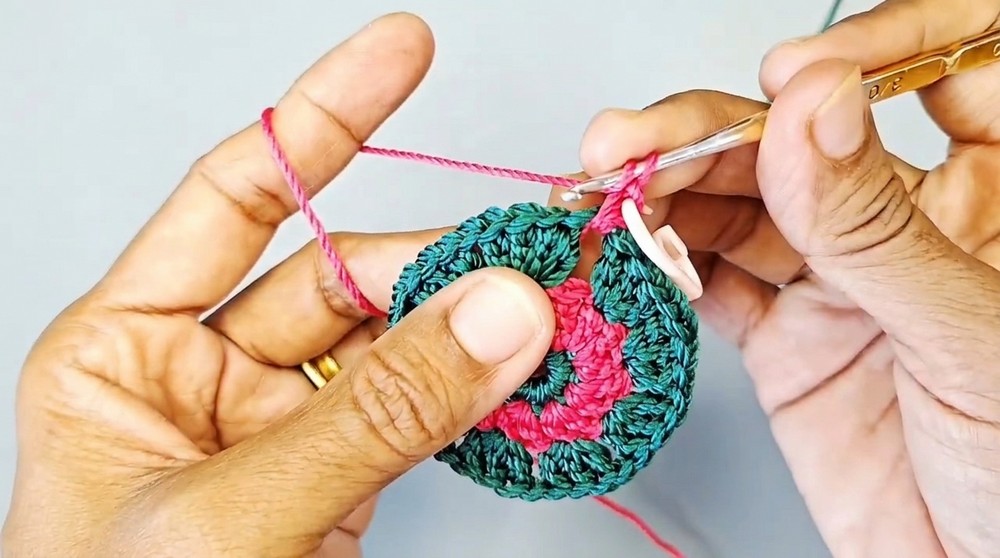
Round 3
- Ch 2.
- In the first stitch, work 3 DC.
- Ch 1, skip 1 stitch.
- Repeat this sequence (3 DC, ch 1, skip 1) a total of 9 times around.
- Complete the round by joining as previously.
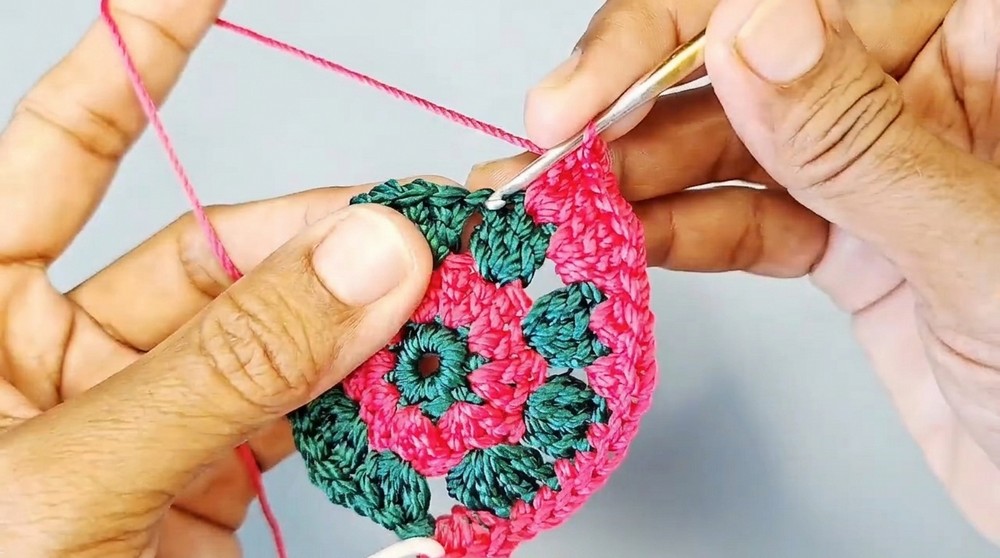
Round 4 (Shaping the Heart)
- Join your chosen final color yarn.
- Ch 1.
- In each chain-1 space, work carefully specified stitch sequences to shape the heart:
- Tip/Bottom: In the first chain-1 space, work 1 SC, 1 DC, 1 SC.
- Sides: In the next space, work 5 SC; in the following space, 3 HDC.
- Upper Curves: In the next chain-1 space, 2 HDC. In the next space, 4 DC. In the following space, another 4 DC.
- Top Center: In the next space, 1 SC, then a SL.
- Complete the other side: Reverse the sequence from top center back down to the tip:
- Mirror the steps above as you continue round the circle, ending at the bottom tip.
Assembly
Preparation
- Make two identical heart pieces using the steps above.
Joining
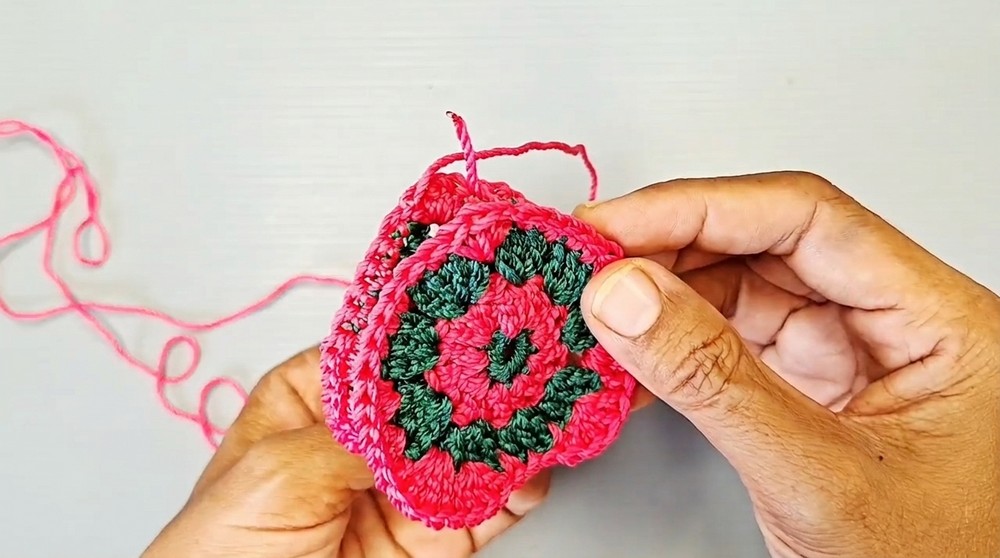
- Place the two hearts right sides facing outward, back-to-back.
- Using the long yarn tail from one piece, whip-stitch the edges together by inserting through the corresponding stitches on both hearts.
- Continue whip-stitching around, tightening with each stitch for a secure seam.
Stuffing
- Before closing the final gap, insert a small amount of dacron stuffing into the opening. Make sure to fill the heart evenly so it holds its shape, but don't overstuff.
Finishing
- Close the seam completely with whip-stitches.
- Use the remaining yarn tail to create a sturdy loop at the top of the heart. This loop will be used to attach the heart to a keychain ring or hook.
Final Notes
- Use a contrasting color for the last round to make your heart motif really pop.
- The heart motif works well as a simple keychain, bag charm, or even as a decorative accessory.
- Adjust yarn color for each round if you want stripes or gradients.
- Make sure stuffing is soft and even, for a smooth finish.
- Finish with a strong, tight loop to ensure long-lasting durability for the keychain.
- If gifting to someone, consider embellishing with a small charm or bead at the top loop.
Summary of Pattern Steps
- Crochet a magic ring, then single crochets for a tight, solid start.
- Increase with double crochets all around for a base.
- Work granny-style clusters of DC separated by chains to form the granny square shape.
- Shape the heart contours in the final round with specific stitches placed in chain spaces.
- Make two hearts, stitch together, stuff lightly, and add a loop.
- Attach your finished heart keychain to a ring and enjoy!
Leave a Reply