

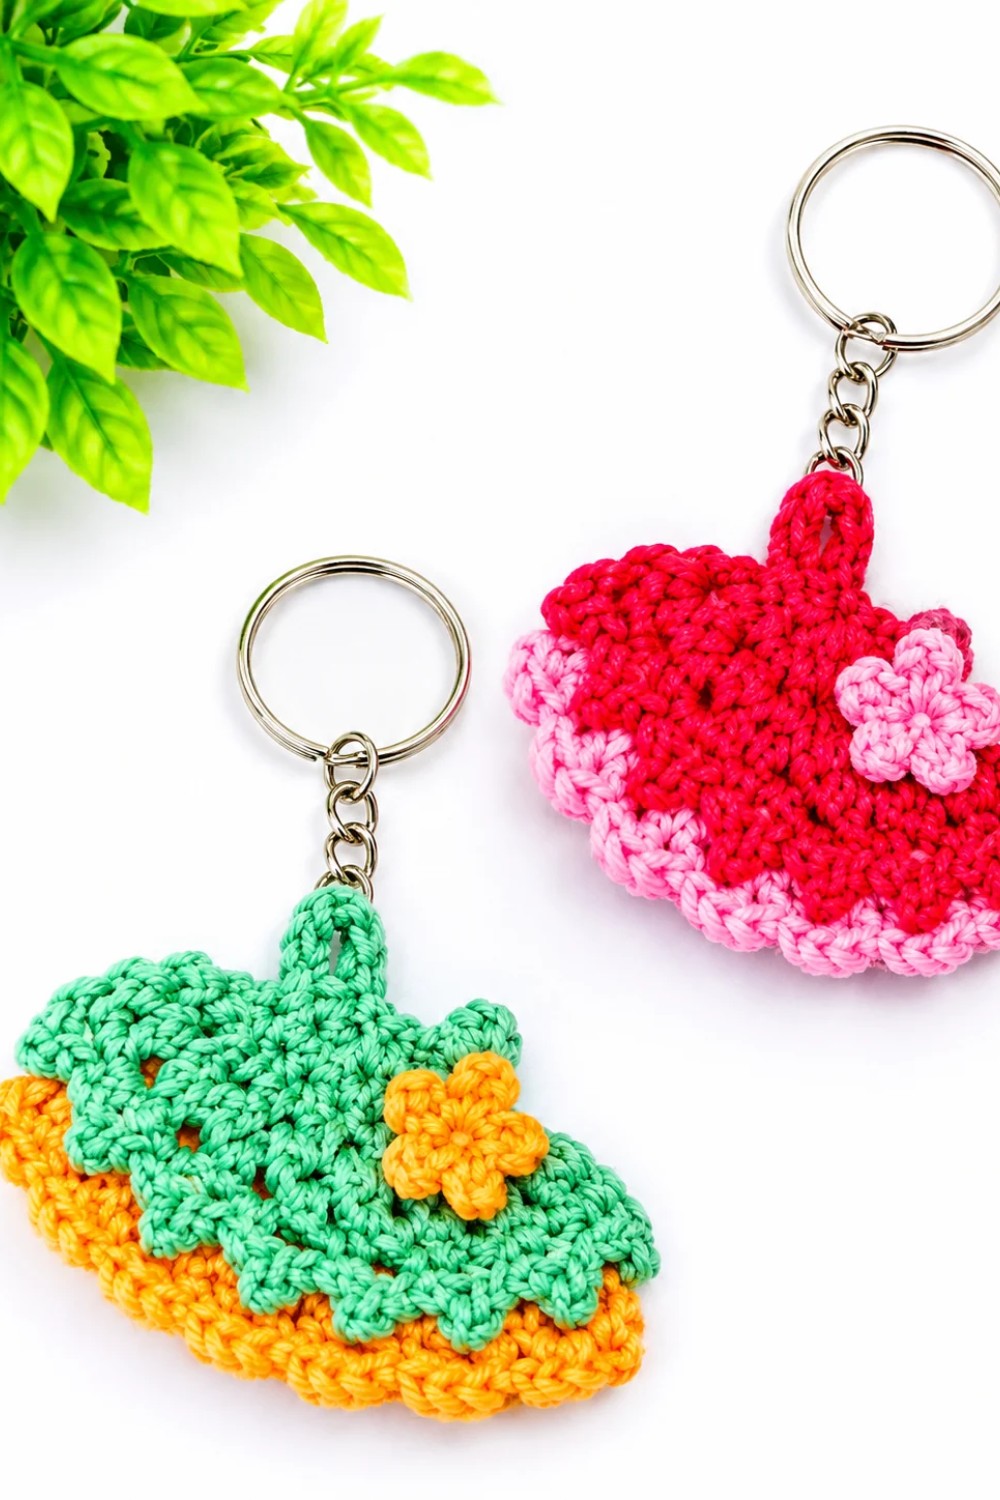
Turn leftover yarn into a keepsake with this Crochet Amigurumi Dress Keychain Free Pattern by matching the colors to what you wore to a party.
A plain set of keys can feel a little more like yours with a small charm.A Crochet Amigurumi Dress Keychain looks like a tiny outfit you can carry in your pocket. Hobihobiku is the creator behind this design.
The dress shape is easy to see when the top is narrow and the skirt spreads out below it. A thin stripe at the waist can look like a belt, and a row in a second color can show off the bottom edge. You can also keep the whole dress one color so the shape and stitches catch your eye first.
Free Crochet Amigurumi Dress Keychain Pattern With A Tiny Skirt
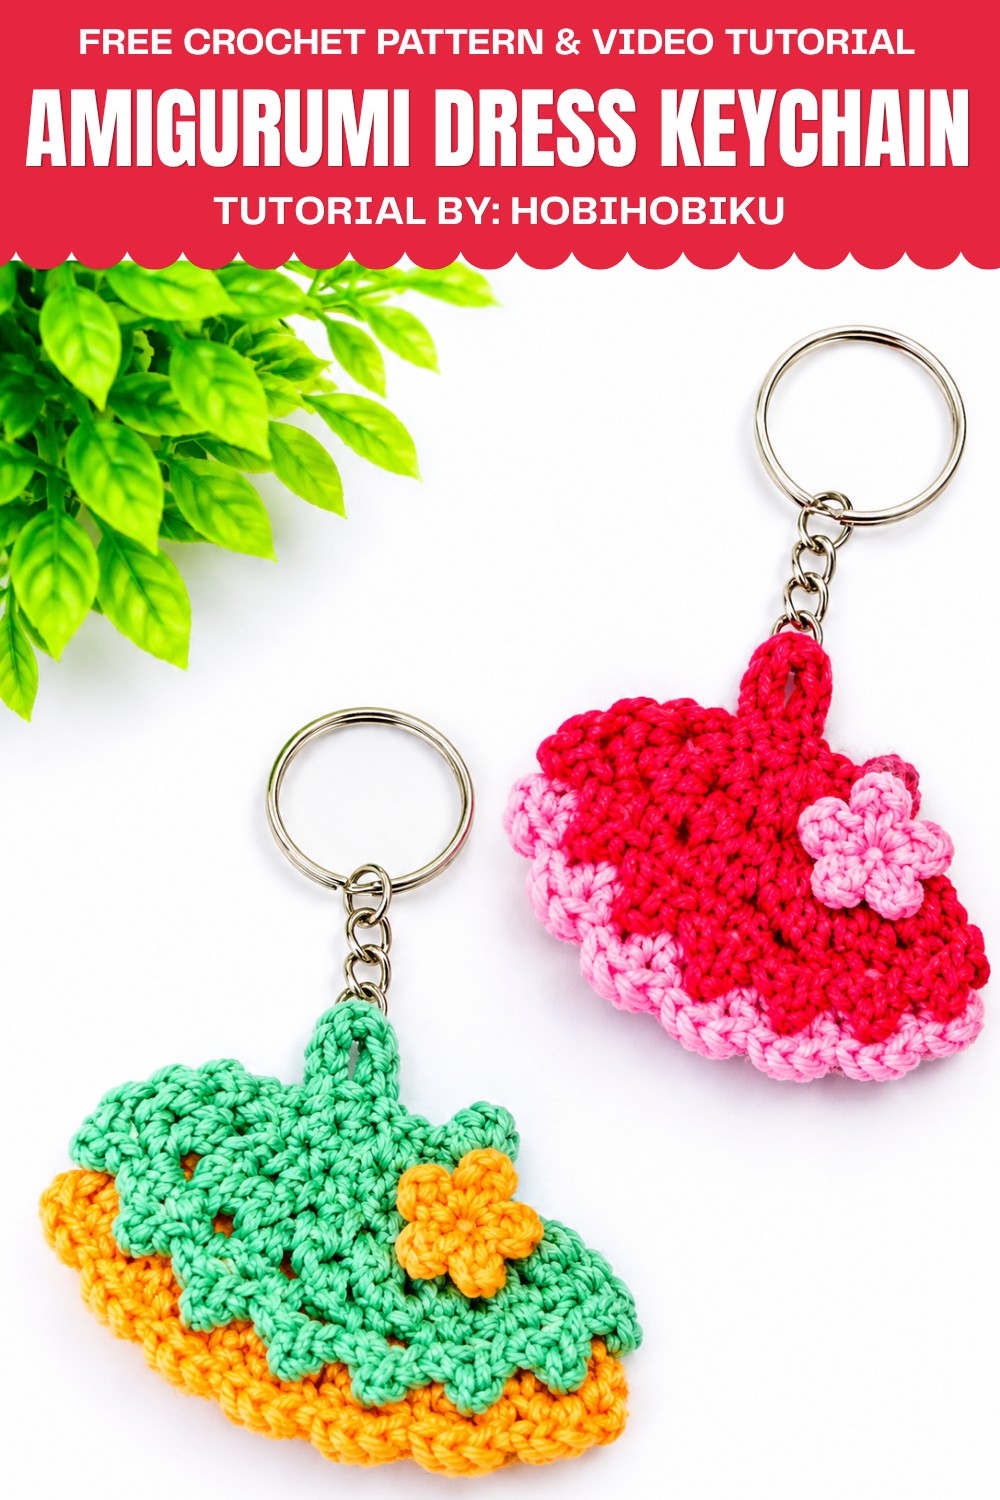
A small project like this is a good chance to practice adding stitches. One way to shape a dress is to work the fitted top first, then add more stitches as you move down the skirt. The extra stitches give the lower part room to spread. Someone who already knows how to crochet in rounds can try this on a small piece before working on a bigger dress.
Use the charm to mark the key to your locker or clip it to a sewing pouch so you can spot it in a drawer. It’s also a sweet gift for someone who loves clothes. You could use the colors of an outfit they wear often or pick shades that remind you of a dress they wore on a special day. That little detail can give the gift a meaning they’ll recognize right away.
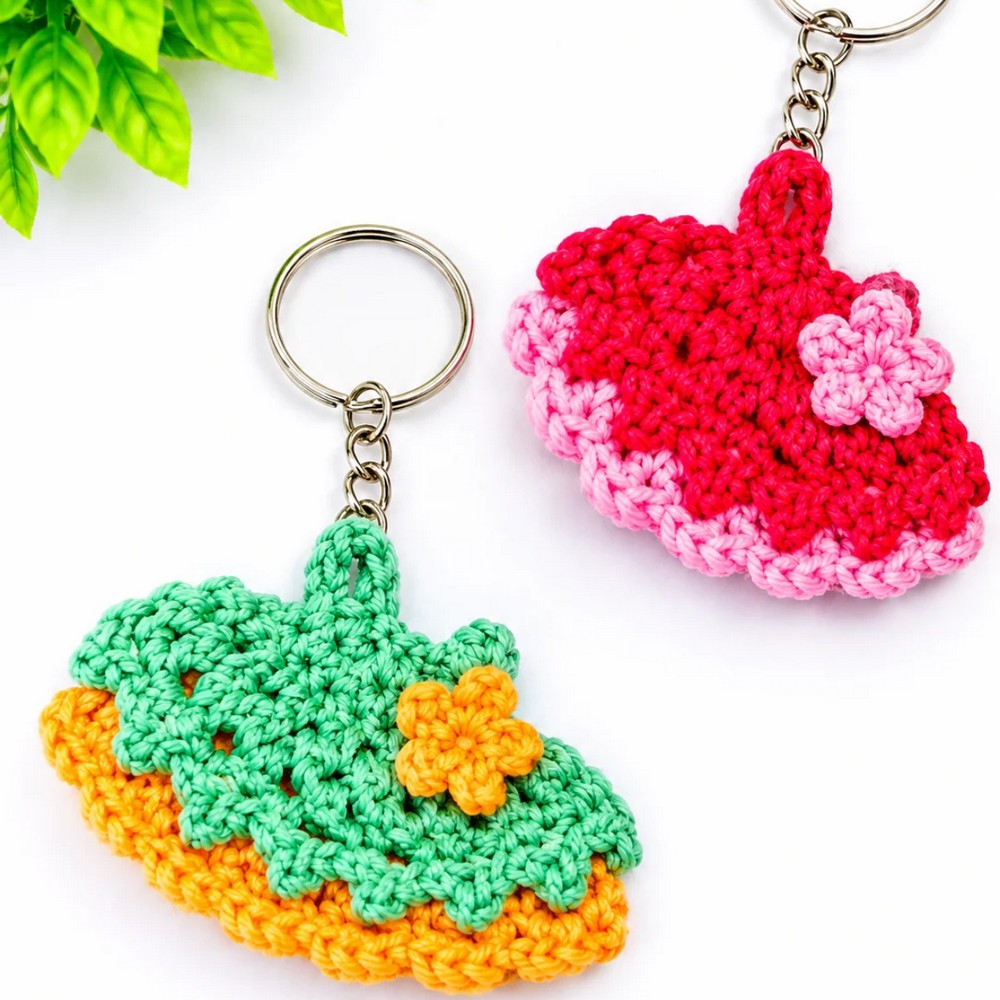
Amigurumi Dress Keychain Crochet Pattern
Pattern Overview
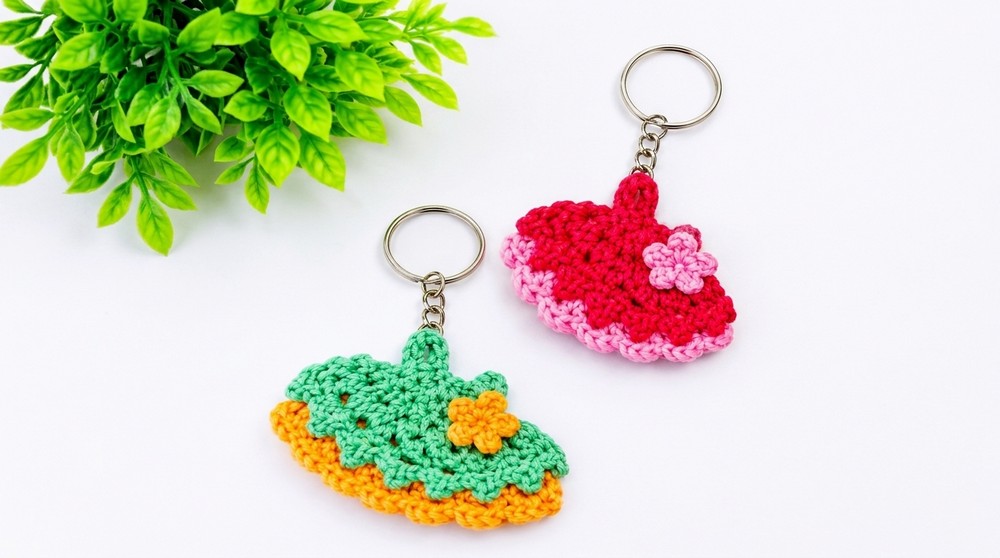
This pattern guides you through making a miniature amigurumi dress, perfect as a decorative keychain accessory. Starting with the fitted bodice, you’ll create both a lacy outer and inner skirt for layered effect, then finish with a tiny flower and keychain attachment. The project is constructed in rounds and uses simple increases and decorative picot edges.
Quick Details
- Project: Amigurumi Dress Keychain
- Construction: Worked in the round, top-down, with layered skirts
- Key sections: Bodice, outer skirt, inner skirt, flower, assembly
- Time: Fast project
Important Tips
- Count your stitches carefully, especially during increases and when skipping stitches for armholes.
- When working in front or back loops, be sure to work into the correct loop only, not under both.
- Maintain even tension for neat skirt edges.
- Picot stitches add decorative flair; if your picots are tight, use a hook one size larger for just that stitch.
- The flower is small and may be fiddly. Work loosely and weave in the center tail before attaching.
Skill Level
Easy/Intermediate – Knowledge of basic stitches, rounds, increasing, picot, and working front/back loops only.
Materials
- Small amount of cotton or acrylic yarn in dress and flower colors
- Matching yarn for flower and finishing
- Crochet hook sized to yarn (2.0 mm – 2.5 mm recommended for amigurumi look)
- Small scissors
- Yarn needle for sewing
- Optional stitch marker
- Metal keyring
Measurements
- Dress height: 5–6 cm (2–2.5 inches) depending on yarn/hook
- Finished skirt width: 4–5 cm (1.5–2 inches)
Gauge
- Gauge is not critical; dense, amigurumi-like fabric is desired.
Abbreviations
- ch: chain
- sc: single crochet
- sl st: slip stitch
- st(s): stitch(es)
- inc: increase (2 sc in the same stitch)
- BLO: back loop only
- FLO: front loop only
- picot: ch 2, sl st into first chain
Special Stitches
- Picot: Chain 2, slip stitch into the first chain to form a small decorative bump.
- Magic Ring: Loop technique for starting the flower; pull end tight to close.
Step-by-Step Instructions
Phase 1: Upper Dress Body
Foundation:
- Ch 16, then sl st into the first chain to form a ring.
Round 1:
- Ch 1, then 1 sc in the first stitch, 2 sc in the next stitch.
- Repeat (1 sc, 2 sc) around the ring.
- (You will alternate single crochet in one stitch and two single crochets in the next, working around. This shapes the bodice.)
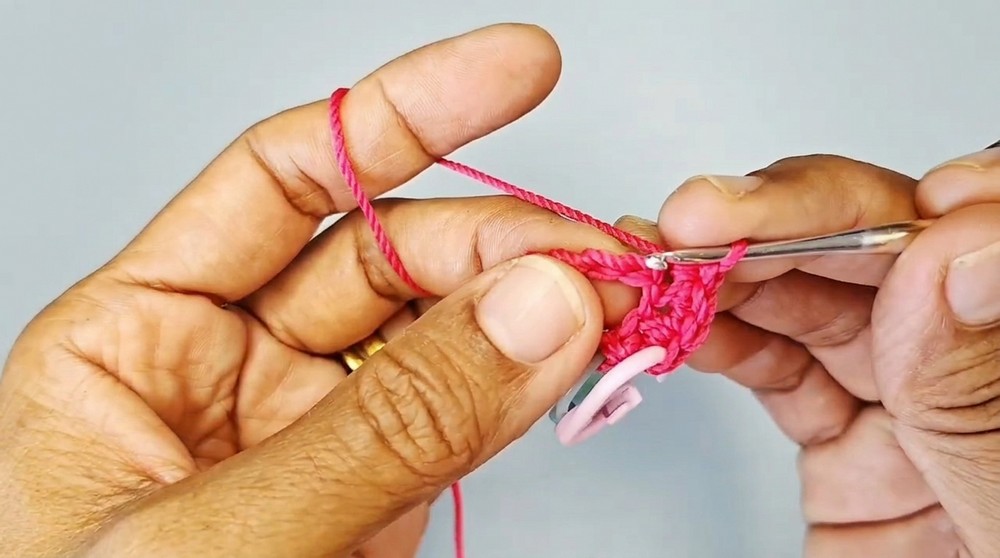
Round 2:
- Ch 1, 8 sc (one in each of the next 8 stitches).
- Skip 4 stitches (these will form the armholes).
- Then 8 sc in the remaining stitches.
- (You should now have two openings—the top of the dress and small arm spaces.)
Round 3:
- Work 1 sc in each stitch around for a total of 16 sc.
- (You’re making the upper edge of the skirt and finishing the torso.)
Phase 2: Outer Skirt
Round 4:
- Work in front loops only (FLO) for this round.
- 1 sc in the first front loop, ch 3.
- Repeat (1 sc, ch 3) in each front loop around.
- (This creates the lacy edge and spaces for next round.)
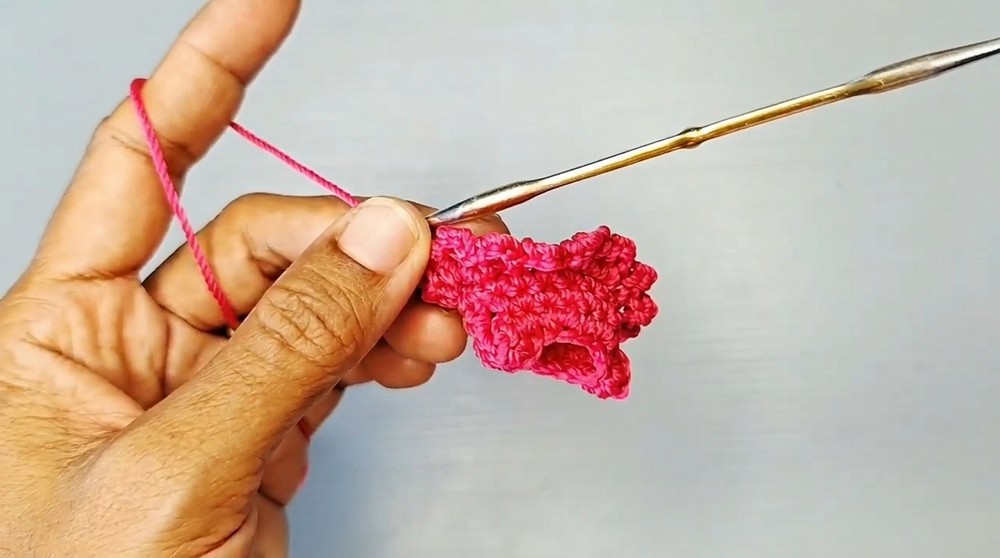
Round 5:
- Sl st into the first 3-chain space to start this round.
- 1 sc in the 3-chain space, ch 2, skip the next sc, repeat from * all the way around.
- (You’re forming a mesh pattern in the skirt.)
Round 6:
- 1 sc in the 2-chain space, ch 2, sl st into the first chain to make a picot.
- Repeat around the entire round, making small picot bumps along the edge.
- (This creates a decorative trim.)
Phase 3: Inner Skirt
Round 1:
- Join new yarn in a back loop from Round 4 (these were left unworked when making the outer skirt).
- 1 sc in the back loop, ch 3, repeat all the way around.
- (You’ll see a lacy layer form beneath the first skirt.)
Round 2:
- 1 sc in the next 3-chain space, ch 3, repeat around.
- (This makes the inner skirt slightly longer and more open.)
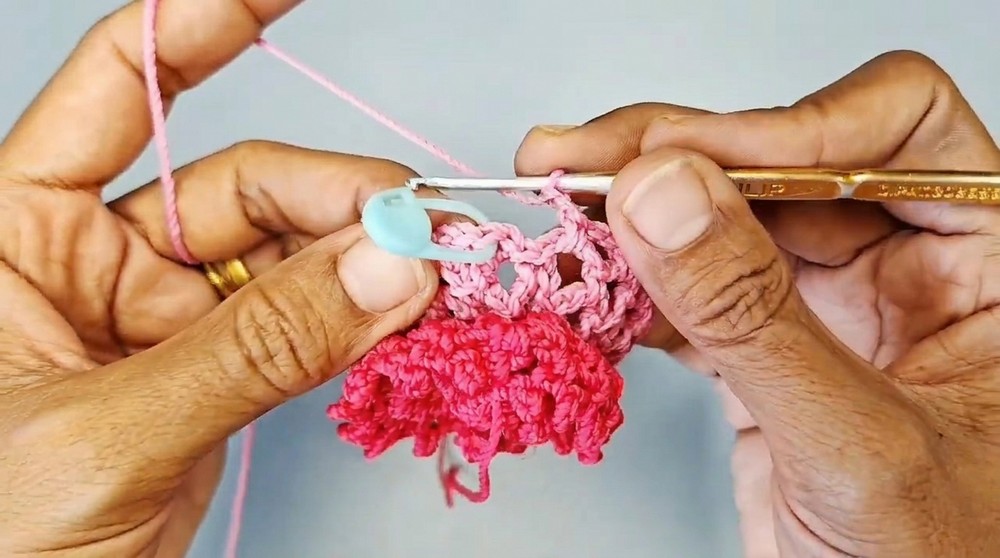
Round 3:
- 1 sc in the 3-chain space, ch 2, repeat around for a slightly tighter lower edge.
Phase 4: Finishing Touches
Flower Decoration:
- Make a magic ring.
- Repeat 5 times:
- Ch 3, sl st into the ring
- Pull tail to close the ring.
- Secure end, leaving enough tail to sew to dress.
- (This creates a small, star-shaped flower.)
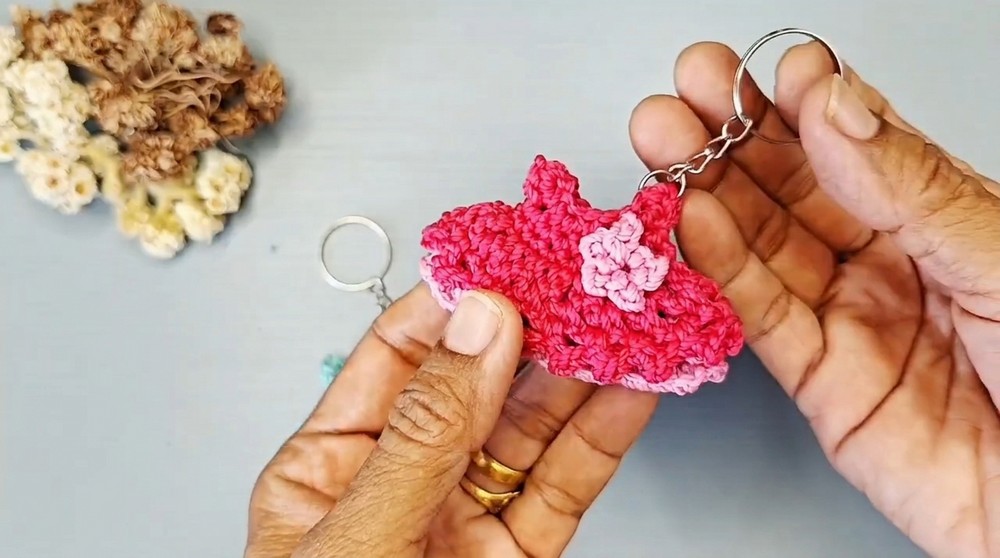
Assembly
- Sew the flower to the upper part of the dress using the yarn tail and a yarn needle.
- Attach the keychain ring firmly to a point at the top or an armhole for hanging.
- Weave in all loose ends securely.
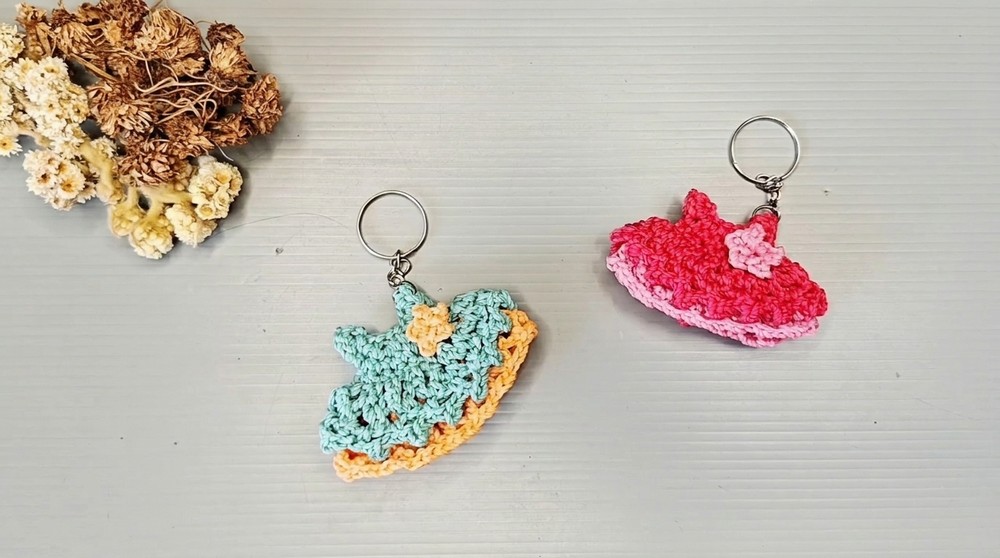
Final Notes
- This dress is designed for a decorative keychain and is not intended as a toy for children under 3.
- For a fuller skirt, repeat skirt rounds or use a larger hook. For a smaller, more compact dress, use a smaller hook and fine yarn.
- The flower can be made in any contrast color you choose and embellished with a bead if desired.
- Picot edges can be made more prominent by working loosely, or smaller by working tightly.
- Ensure all knots and attachments for the keychain are secure for durability.
- Mistakes in picot or mesh spacing can be hidden by gently blocking or shaping the skirt when finished.
- Have fun experimenting with colors and skirt lengths for a custom look each time.
Leave a Reply