

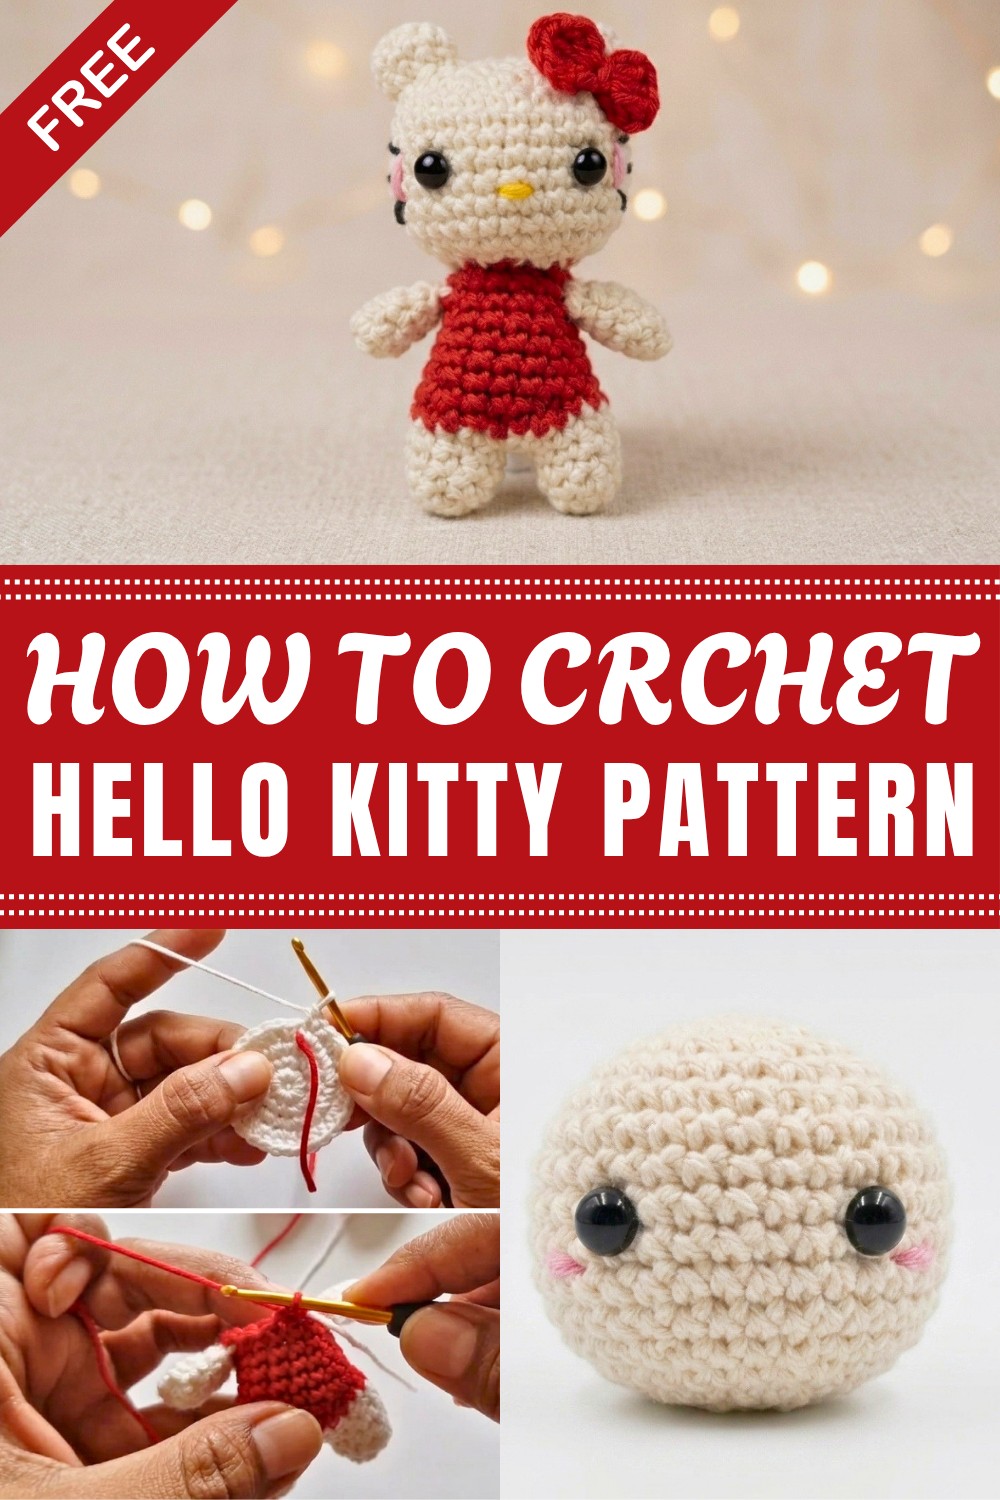
Sprinkle some joy into your projects with this Free Crochet Hello Kitty Pattern that adds playful vibes and adorable details in no time.
Bringing a beloved character like Hello Kitty to life in yarn form is a truly satisfying project that captivates crocheters of all skill levels. This Free Crochet Hello Kitty Pattern offers an opportunity to work on a charming amigurumi that’s both sweet and timeless. Whether displayed on a shelf, added to a collection, or given as a heartfelt gift, this little figure captures warmth and personality with every stitch.
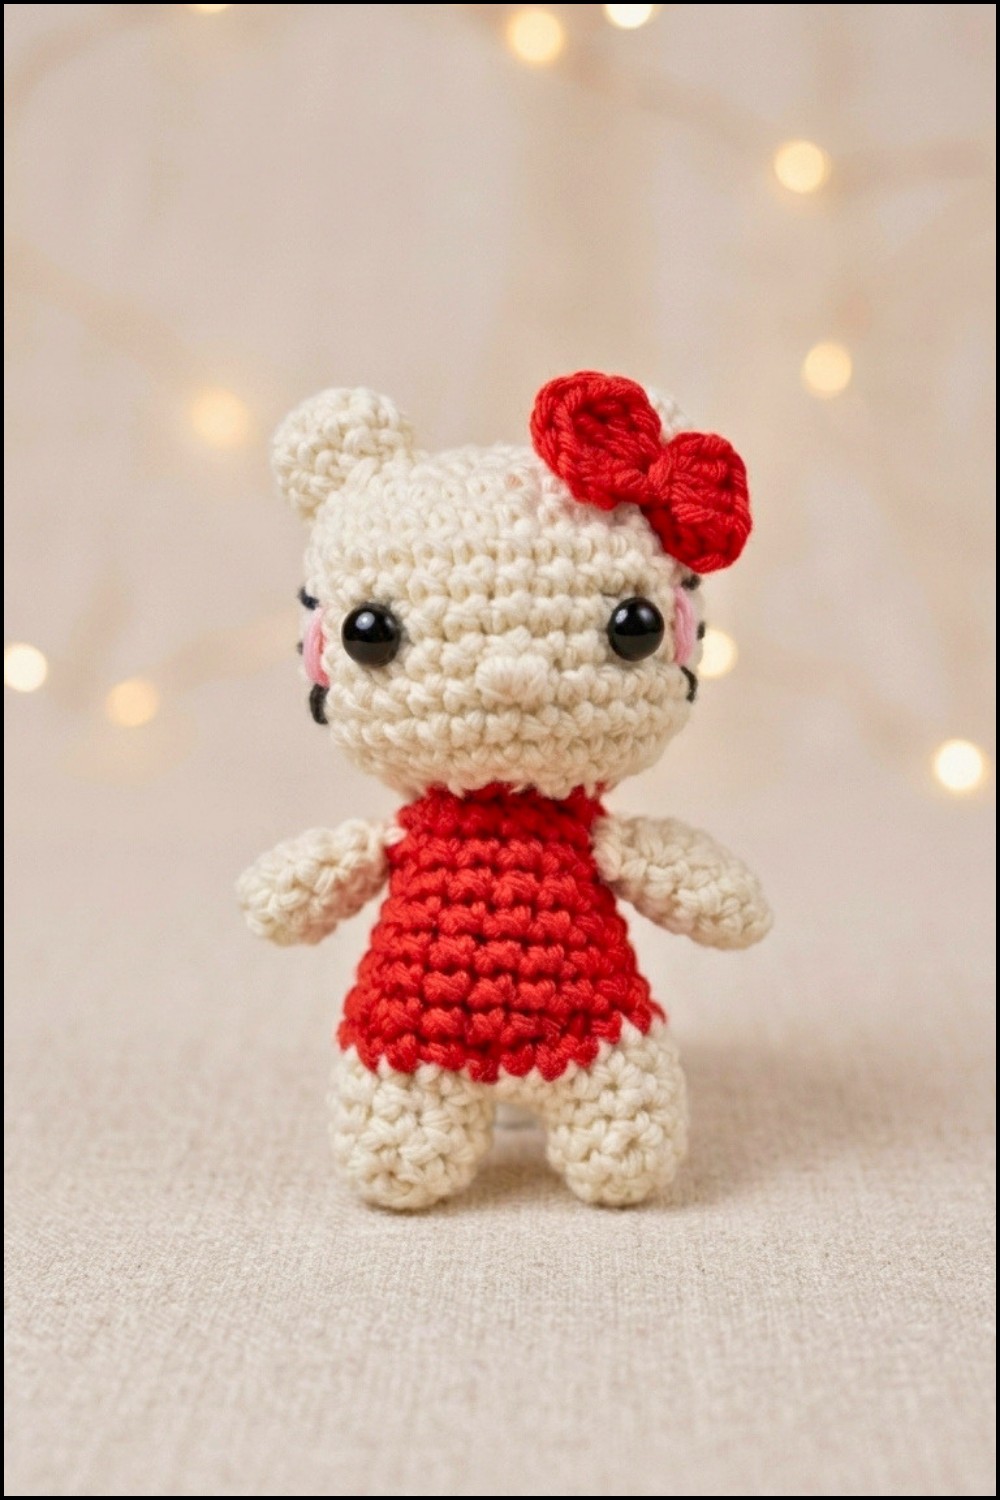
The finished Hello Kitty features a classic round head, signature bow on one ear, and simple yet expressive facial details. The texture feels pleasant and plush, thanks to the carefully chosen yarn and stitch techniques, making it perfect for a cuddly companion or decorative piece. The shape is neat and compact, offering an ideal size that fits comfortably in your hands or cozy spots around your home. There’s plenty of room for personalization — swapping bow colors, experimenting with yarn textures, or adding tiny accessories like scarves and dresses to make each Hello Kitty truly unique.
Free Crochet Hello Kitty Pattern with a Sweet Finish
Suitable for intermediate crocheters, this pattern also welcomes confident beginners who are comfortable with basic stitches and ready to tackle working in the round and assembling amigurumi pieces. Along the way, you’ll refine important skills like increases, decreases, and sewing elements together neatly—techniques that can be applied to countless future projects.
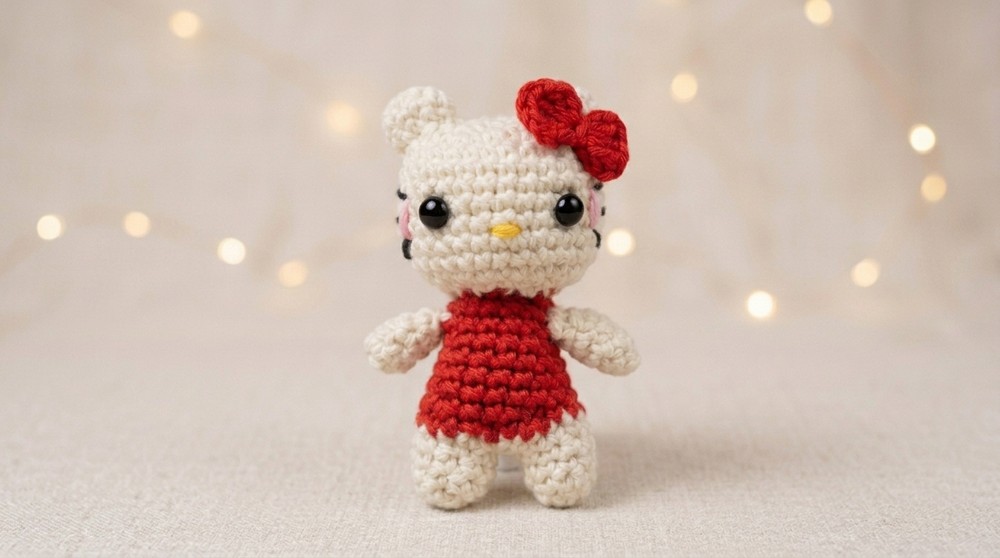
This adorable Hello Kitty amigurumi serves as a delightful challenge and a creative chance to build your crochet expertise while bringing a beloved icon into yarn form. For anyone looking for a fun, rewarding project that combines skill-building with cuteness, this free crochet Hello Kitty pattern fits the bill beautifully.
Crochet Hello Kitty Amigurumi Pattern
This detailed crochet Hello Kitty pattern is designed to create a charming mini amigurumi doll suitable for use as a back charm or gift. The pattern utilizes common amigurumi techniques and incorporates detailed shaping for the head, ears, eyes, nose, and bow. This tutorial uses four-ply cotton yarn and 2.5 mm crochet hook for precision, along with embroidery for the mouth and eye details. The finished piece emphasizes neatness, proportional shaping, and expressive detailing with color changes and embellishments.
Pattern Highlights
- Construction of Hello Kitty’s head using magic ring and single crochet rounds with increases and invisible decreases
- Placement of safety eyes between rounds eight and nine
- Embroidered mouth and details using black and pink embroidery threads
- Crocheted ears with shaping and sewing instructions
- A three-chain bow worked in double crochet and attached securely
- Use of four-ply cotton yarn for fine stitch definition and amigurumi stability
- Step-by-step fiberfill stuffing guidance for shaping the head and body parts
- Assembly of all parts cleanly for a polished finish
Notes
- Work continuously in rounds without joining unless specified as slip stitch. This avoids seams and maintains an even fabric texture.
- Use a stitch marker to track the beginning of rounds and critical shape changes.
- Invisible decreases are made by single crocheting the front loops of two stitches together for a smooth shape reduction.
- Embroider facial details after securing the eyes and stuffing to ensure proper placement.
- The bow is made using a small magic ring and interrupted to secure final shape using a simple wrapping method.
- Maintain firm but not overly tight crochet tension to secure stuffing and preserve softness.
- Weave in tails carefully and use a tapestry needle for sewing parts.
Skill Level
Intermediate crocheters are best suited for this project given the following requirements:
- Magic ring foundation and continuous rounds
- Single crochet, increases, and invisible decreases
- Working with safety eyes and embroidery techniques
- Color changes and neat joining
- Sewing small parts such as ears and bows
- Patience with fine yarn and small hook
Materials
- Four-ply cotton yarn in white (main body), red (bow), black (mouth embroidery), and pink (bow embroidery)
- 2.5 mm crochet hook
- Black and pink embroidery thread
- Two small safety eyes (smallest size recommended)
- Fiberfill stuffing
- Yarn needle for sewing
- Scissors
- Stitch marker
Measurements / Sizing
- The final amigurumi height approximately 10–12 cm depending on your gauge and stuffing firmness.
- Head has a roughly spherical shape about 6 cm in diameter.
- Ears, bow, and facial details proportioned for a balanced look.
Gauge and Stitch Pattern
- Gauge is flexible in amigurumi but consistent tension helps maintain shape. Ideal gauge: 20 single crochet stitches = 5 cm in the round.
- The primary stitch is single crochet throughout.
- Invisible decreases use front loop only partial stitches for smooth contouring.
- Tight stitches prevent stuffing from showing.
Stitch Abbreviations
| Abbreviation | Term | Description |
|---|---|---|
| ch | Chain | Yarn over, pull loop through hook |
| sl st | Slip Stitch | Insert hook, yarn over, pull through both loops |
| sc | Single Crochet | Insert hook, yarn over, pull through 2 loops |
| inc | Increase | Two single crochets in one stitch |
| dec | Decrease | Single crochet two stitches together (invisible decrease made with front loops only) |
| FLO | Front Loops Only | Work stitch only through front loop |
Special Stitches
- Invisible Decrease (inv dec): Insert hook into front loop of next stitch and front loop of following stitch, yarn over, pull through both loops, yarn over, pull through loops on hook to create a smooth decrease without gaps.
- Magic Ring: Wrap yarn around fingers to create an adjustable ring that tightens to close the starting loop.
The Crochet Pattern!
Head
Round 1:
- Begin with a magic ring.
- Chain 1, work 8 single crochets (8 sc) inside the ring.
Round 2:
- Increase in each stitch around (2 sc in each stitch).
- Total: 16 stitches.
Round 3:
- Repeat pattern: 1 sc, 1 inc (2 sc in next stitch) around.
- Total: 24 stitches.
Round 4:
- Work 2 sc, 1 inc repeated around.
- Total: 32 stitches.
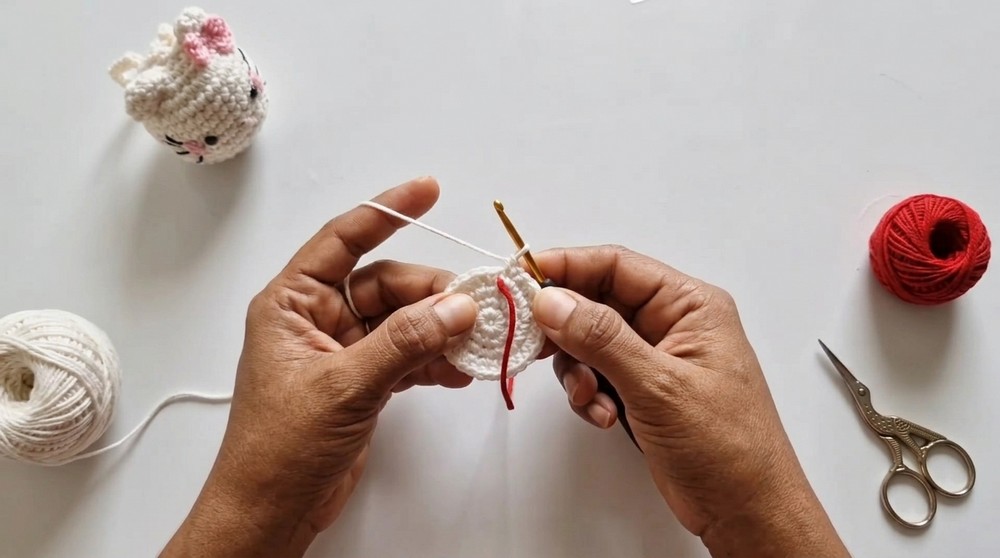
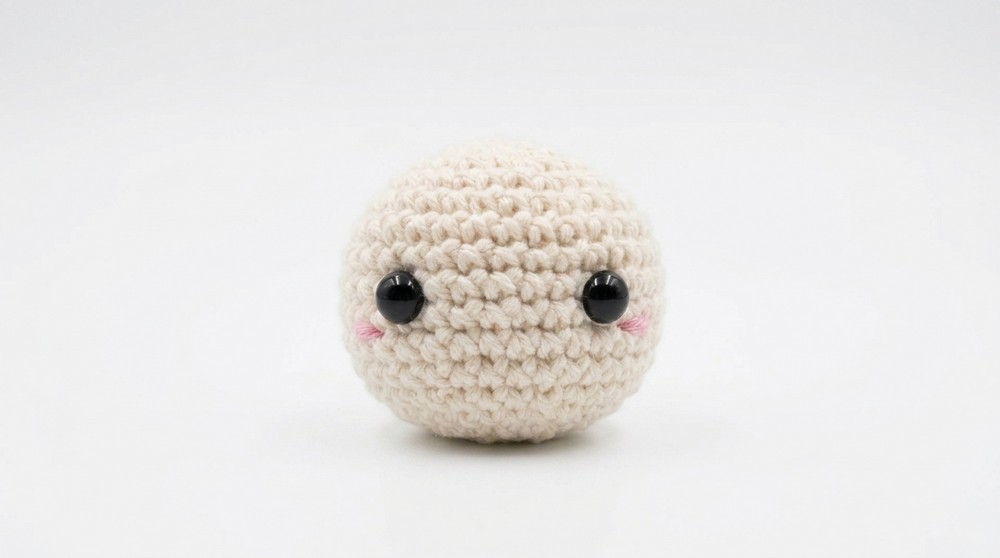
Rounds 5 to 11:
- Work single crochet in each stitch for 7 rounds maintaining 32 stitches per round.
- Place the stitch marker at the beginning of round 5 for reference.
Placement of Eyes (Between Round 8 and 9):
- Insert safety eyes in the 6th stitch after beginning of rounds 8 and 9 on opposite sides of the head.
- Secure firmly from inside.
Rounds 12 & 13:
- Begin decreasing using invisible decreases formed by working 3 sc, 1 dec repeatedly across the round to reduce stitch count to 28 and then 24 stitches respectively.
Rounds 14 & 15:
- Single crochet stitches in each stitch around without increases or decreases.
Round 16:
- Work 4 sc, 1 inc repeated around to increase stitch count to 30 stitches.
Rounds 17 & 18:
- Continue single crochet in each stitch to maintain 30 stitches.
Round 19:
- Start decreasing again by working 5 sc, 1 dec repeatedly around reducing stitches to 25.
Round 20:
- Single crochet in all stitches.
Rounds 21-24:
- Continue decreases using invisible decrease patterns interspersed with sc to close the shape gradually.
Stuffing:
- Before final rounds begin, firmly stuff the head with fiberfill. Ensure even filling to maintain smooth shape.
Final Close:
- After last decrease round, cut yarn leaving a long tail.
- Thread tail into tapestry needle and weave through front loops to cinch head opening closed.
- Secure and fasten off.
Embroidery Details
- Use black embroidery thread for the mouth stitch.
- Thread needle with double strand for durability; embroider the mouth centered below safety eyes.
- Embroider bow details with pink embroidery thread as desired on the head.
Ears
Ear (Make 2):
- Start with a magic ring.
- Chain 1, work 6 single crochets in the ring.
- Pull the ring tight to close center hole.
- Round 2: Slip stitch at top of initial chain; single crochet in first stitch.
- In second stitch, work 2 single crochets.
- Next stitch: single crochet.
- Next stitch: 2 single crochets.
- Repeat alternately to form slight curvature.
- Finish by slip stitching to first stitch.
- Fold ear outward as shown and sew closed along fold using yarn needle.
- Attach ears symmetrically to sides of head.
Bow
Bow:
- Using red yarn, create a magic ring.
- Chain 3 to start, work 3 double crochets into the ring.
- Chain 3 again, slip stitch to close the ring.
- Adjust the shape by wrapping the center tightly with the working yarn to form a bow shape.
- Secure the wrapped yarn and cut excess.
- Attach the bow to one ear (usually left side) using craft glue or sewing.
Body (Brief Overview)
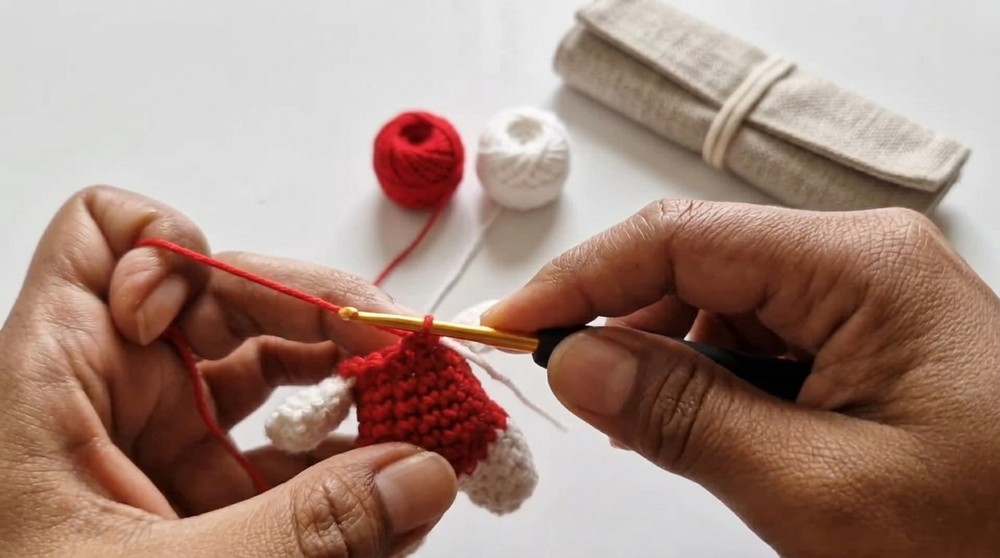
- Referenced as used from previous body pattern; the body portion is crocheted similarly in proportion to the head using four-ply cotton.
- Join head to body firmly with sewing needle and yarn.
- Embroider or crochet additional details as desired.
Assembly & Finished Size
- After completing the head, ears, bow, and body, assemble by sewing parts securely with yarn needle and matching yarn.
- Weave in all yarn tails neatly inside the work.
- Fill the assembled piece with fiberfill to maintain plush firmness.
- Attach safety eyes early to prevent displacement.
- The total height of the finished Hello Kitty doll is approximately 10–12 cm.
- Check symmetry and embellishments before finalizing.
Conclusion
This crochet Hello Kitty amigurumi pattern offers a rewarding and detailed project for intermediate crocheters seeking to create a beloved character with fine detailing and structural integrity. The pattern emphasizes careful shaping, invisible decreases for neat results, and embroidery artistry that brings personality to the doll. Though time-consuming, the stepwise approach simplifies complex parts, making it accessible with practice. This adorable finished piece makes a wonderful gift or personal collectible for fans and crafters alike.



Leave a Reply