

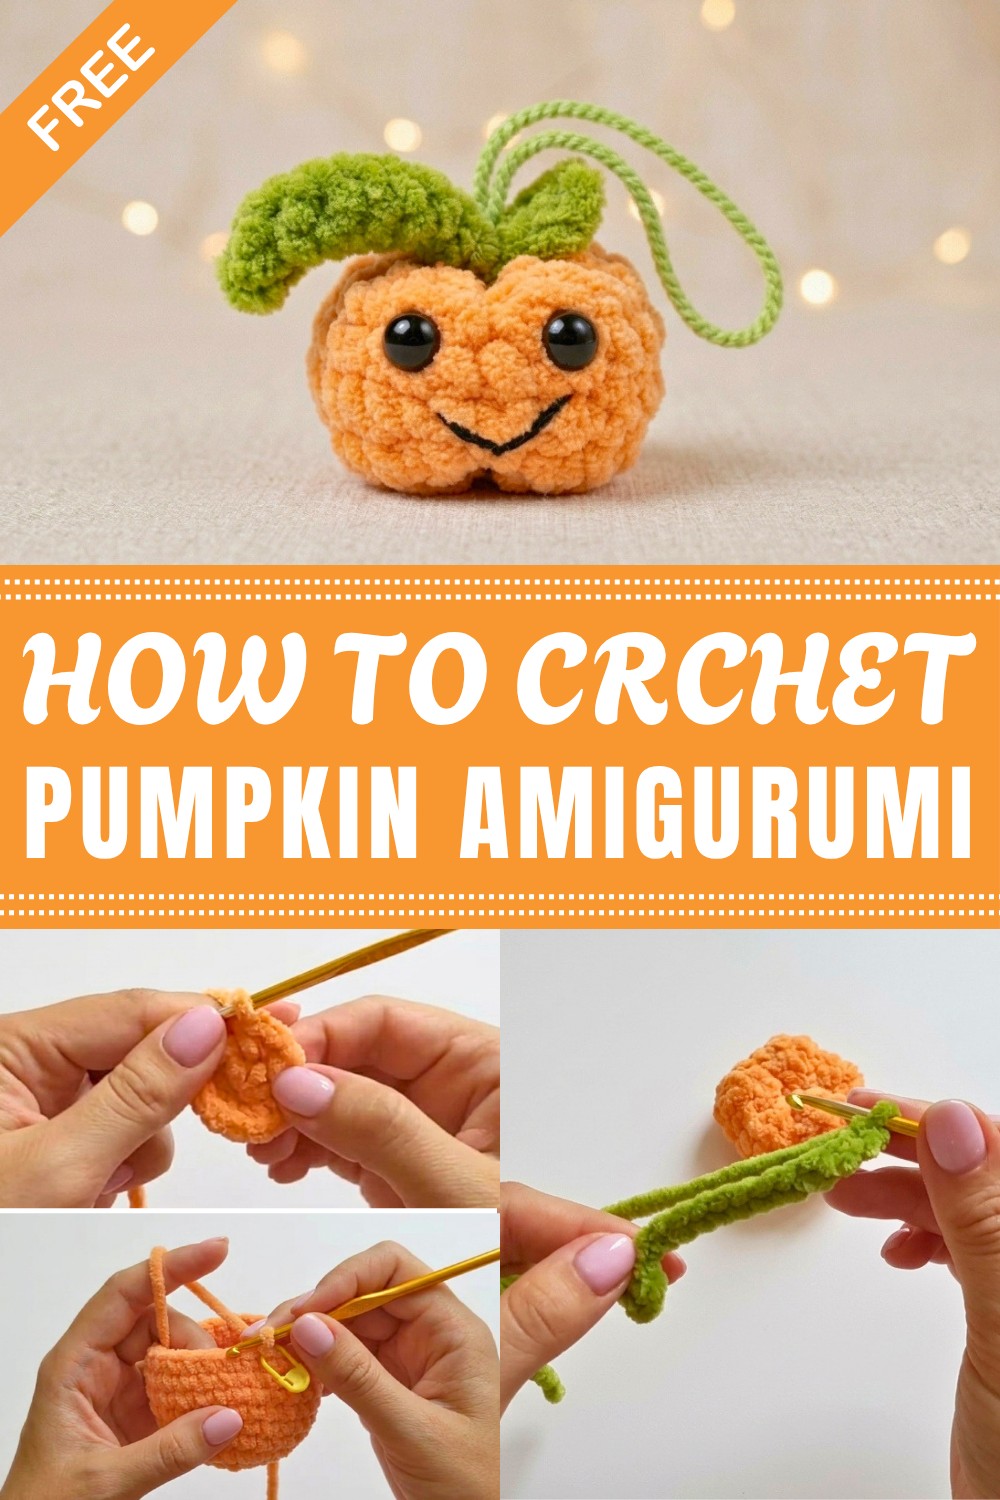
Celebrate your Halloween with a delightful Crochet Pumpkin that adds festive charm to your home and can be used as decoration, gifts, or table accents.
In a small village surrounded by autumn leaves, a young girl liked a little soft pumpkin that looked warm and cute. This pumpkin was a Crochet Pumpkin Amigurumi, made with soft yarn. You can choose different colors like orange, white, or green to make the pumpkin special. It is great for Halloween and fall decorations.
Cute Crochet Pumpkin Amigurumi Free Pattern for Fall Décor
This amigurumi pumpkin can be made in different sizes. You can make a small pumpkin for a keychain or a bigger one to put on a table. It can be a toy, a gift, or a nice decoration. Kids and adults both like these pumpkins.
The main stitch used is the single crochet stitch. This stitch is easy and makes the pumpkin soft and tight. With some practice, anyone can make their own pumpkin. The round shape and neat stitches make the pumpkin look nice.
This pumpkin is not just pretty but useful too. It brightens up a room in fall and for Halloween. You can put it on shelves, hang it on doors, or add it to gift baskets. Making a pumpkin also gives the happiness of having something made by hand.
In short, this colorful and simple pumpkin is a fun way to enjoy the autumn season. With easy stitches, many color choices, and different sizes, it is fun for everyone.
Plush Mini Amigurumi Pumpkin Pattern
This mini pumpkin pattern is a delightful and approachable crochet project ideal for seasonal decorations, small gifts, or just a fun crafting day. Featuring a plush, squishy texture and signature ribbing achieved by clever shaping, this pumpkin is both charming and quick to create. With an adorable tendril and customizable face, the project invites crocheters of all levels to enjoy the cozy spirit of autumn.
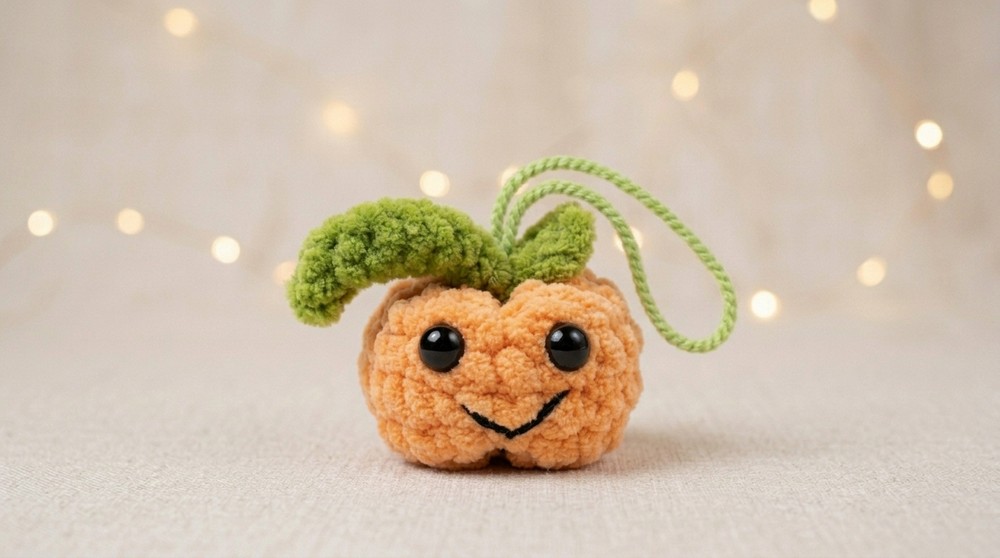
Quick Overview Of Pattern
- The pumpkin is crocheted in the round, top-down, using plush yarn for a “squishy” effect.
- After basic shaping with increases and decreases, a ribbed effect is achieved by strategic pulling, enhancing realism.
- The pumpkin features a small stem and a curly tendril, made separately and sewn on.
- Optional: add embroidered or glued-on facial features for a kawaii/jack-o-lantern look.
- The finished pumpkin, with a 5 cm width, is ideal for desks, gifts, or playful decor.
Notes
- Use a plush, thick-weight yarn to achieve the ideal size (100g/120m for main color).
- Light stuffing is advised for best shape and for easier ribbed effect.
- Creating the ribbing by tightening thread through the body is essential for realistic pumpkin lines.
- Adjust stem and tendril length to taste.
- This pattern uses continuous (spiral) rounds unless stated otherwise; place a marker at the start of each round to track.
- The face is optional; any style can be worked for seasonal or personal effect.
Skill Level
Beginner to Advanced Beginner
The pattern uses only basic stitches (single crochet, slip stitch, chain) along with very simple increases and decreases. Some sewing and assembly are required for finishing.
Materials
- Plush yarn, orange (100g/120m skein; less than one skein needed)
- Small amount of semi-cotton or acrylic yarn in green or brown for stem/tendril
- 4 mm crochet hook
- Yarn/tapestry needle
- Stitch marker
- Scissors
- Polyester fiberfill or stuffing
- Optional: black and white yarn or felt for facial features
Measurements / Sizing
- Finished pumpkin width: approx. 5 cm
- Height (including stem): approx. 5-6 cm
Schematic
- The pumpkin is worked as a round ball with sculpted ribs and a small coiled stem.
Gauge (and Stitch Pattern if applicable)
- Gauge is not critical, but tight stitches are desirable to keep stuffing contained.
- All stitches are single crochets unless otherwise specified.
Stitch Abbreviations
| Abbreviation | Meaning |
|---|---|
| MR | magic ring |
| sc | single crochet |
| inc | increase (2 sc in one stitch) |
| dec | decrease (single crochet 2 together) |
| ch | chain |
| sl st | slip stitch |
Special Stitches
- Magic Ring (MR): Form a loop with the yarn, pull up a loop, work stitches into this adjustable ring, pull tail tight to close.
- Invisible Decrease (dec): Insert hook into the front loop of the next two stitches, yarn over, pull through both loops, yarn over, pull through remaining two loops.
Crochet Guide
Pumpkin Base
Round 1:
- Using plush orange yarn and a 4 mm hook, make a MR.
- Work 6 sc into the ring.
- Pull to close tightly.
Round 2:
- Work 2 sc in each st around (inc in every stitch) — you’ll have 12 sc at the end of this round.
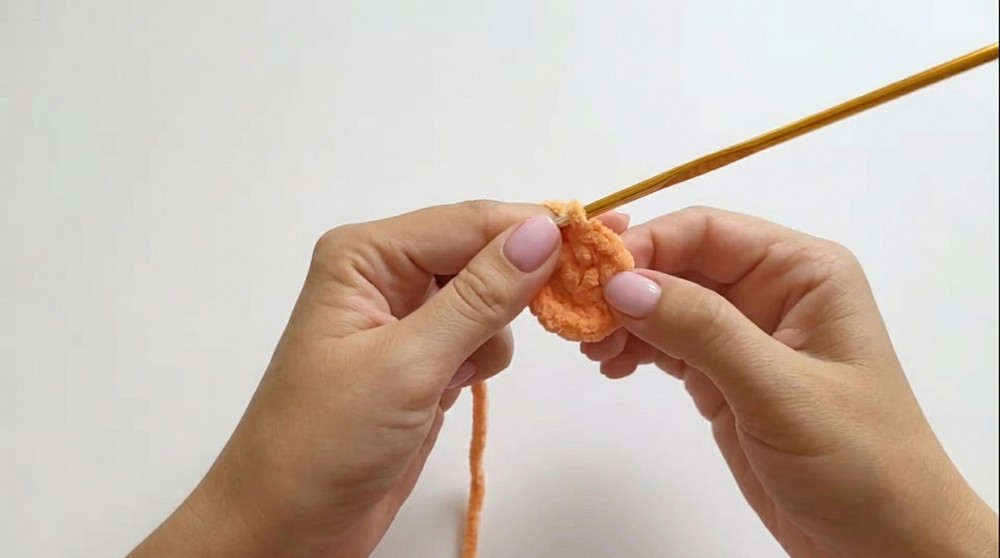
Round 3:
- [1 sc in the next st, 1 inc in the next st]. Repeat this sequence a total of 6 times around.
- (You’ll work: sc, inc, sc, inc... till all 12 sts are worked.)
- End with 18 sc in this round.
Rounds 4–7:
- Work 1 sc in every st around (no increases or decreases) — maintain 18 sc in each round.
- Continue in a spiral for four rounds (Rounds 4, 5, 6, and 7).
- This forms the pumpkin’s sides.
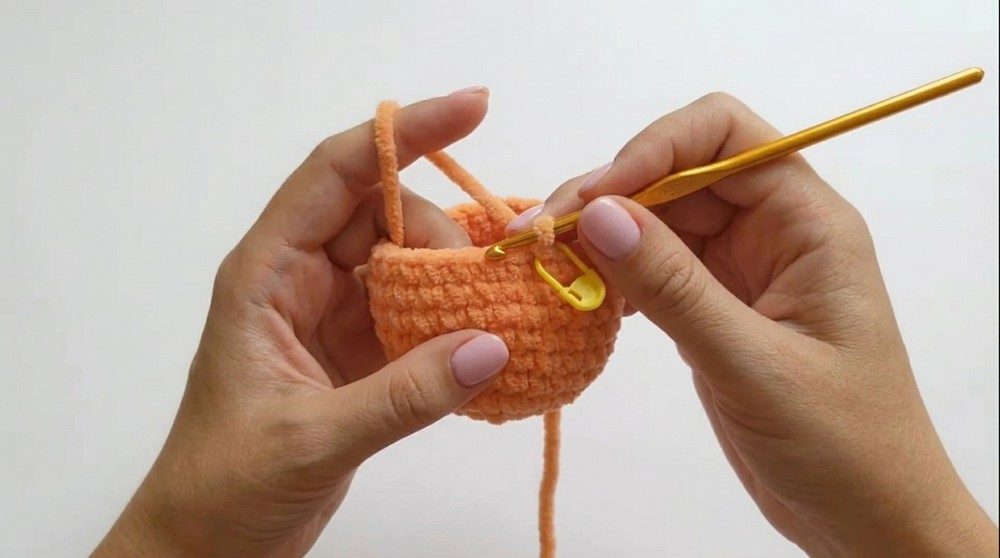
Stuffing:
- After Round 7, stuff lightly. Do not overstuff; the pumpkin should remain soft and slightly squishy, which is important for forming the ribbed shape later.
Round 8:
- [1 sc, 1 dec] Repeat this sequence repeatedly around to close the ball (or as the video demonstrates: sc in next st, then dec, and repeat. Exact stitch order should give 12 sc at the end of the round).
- Continue to add a little more stuffing if needed, avoiding very tight packing.
Round 9:
- Work 6 dec (invisible decrease) around to decrease from 12 to 6 sc and close the pumpkin top.
- Fasten off, leaving a long tail for closing and shaping.
Pumpkin Shaping
- Thread the long yarn tail onto a needle.
- Weave the needle through the front loops of the 6 stitches at the top of the pumpkin, pull tight to fully close the hole.
- Push the needle through the pumpkin (from top to bottom) and out the side; repeat if necessary for security.
Creating Ribs:
- Take a separate piece of semi-cotton or strong yarn (green or matching color).
- Insert the needle into the center bottom of the pumpkin and out the top.
- Leave a short tail at the starting point.
- Wrap the yarn down one “side” of the pumpkin, insert back through the top, come out through the bottom again, and pull tight to create an indented “rib.”
- Repeat this rib-creating process, spacing them evenly (about 5–6 ribs around the pumpkin); always bring the yarn back to the bottom and up again for each rib.
- Make each rib with a pair of tight passes to enhance the definition.
- When finished, tie both yarn ends at the base securely and hide the knots inside the pumpkin.
Pumpkin Stem and Tendril
Step 1 — Stem (Tail):
- With green or brown semi-cotton yarn and 4 mm hook, ch 3.
- In the second ch from the hook: work sl st.
- In the next ch: sl st.
- (This forms a short stubby tail.)
Step 2 — Tendril (Curly Vine):
- Continuing without fastening off:
- Ch 12 (for a curl of about 3–4 cm, adjust longer or shorter as desired).
- In second ch from hook, work sl st.
- Continue working sl st in each ch down to the base; this will cause the vine to coil as you go.
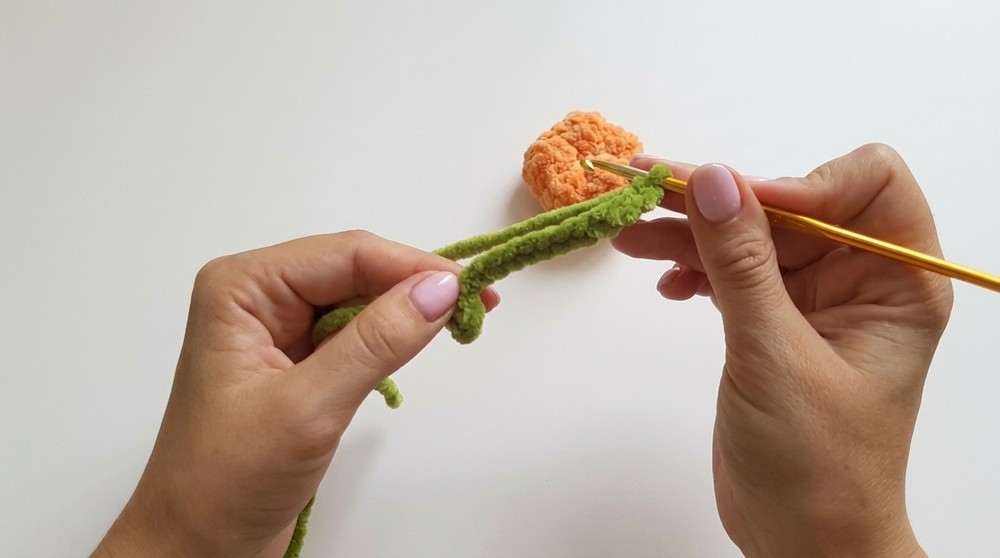
Attaching Stem and Tendril:
- At the base of the tendril, work 1 more sl st into the base of the stem to secure the curl.
- Cut yarn, leaving a tail.
- Use the tails to sew the stem and tendril to the top center of the pumpkin, knotting securely and weaving in ends inside the pumpkin.
Optional: Face
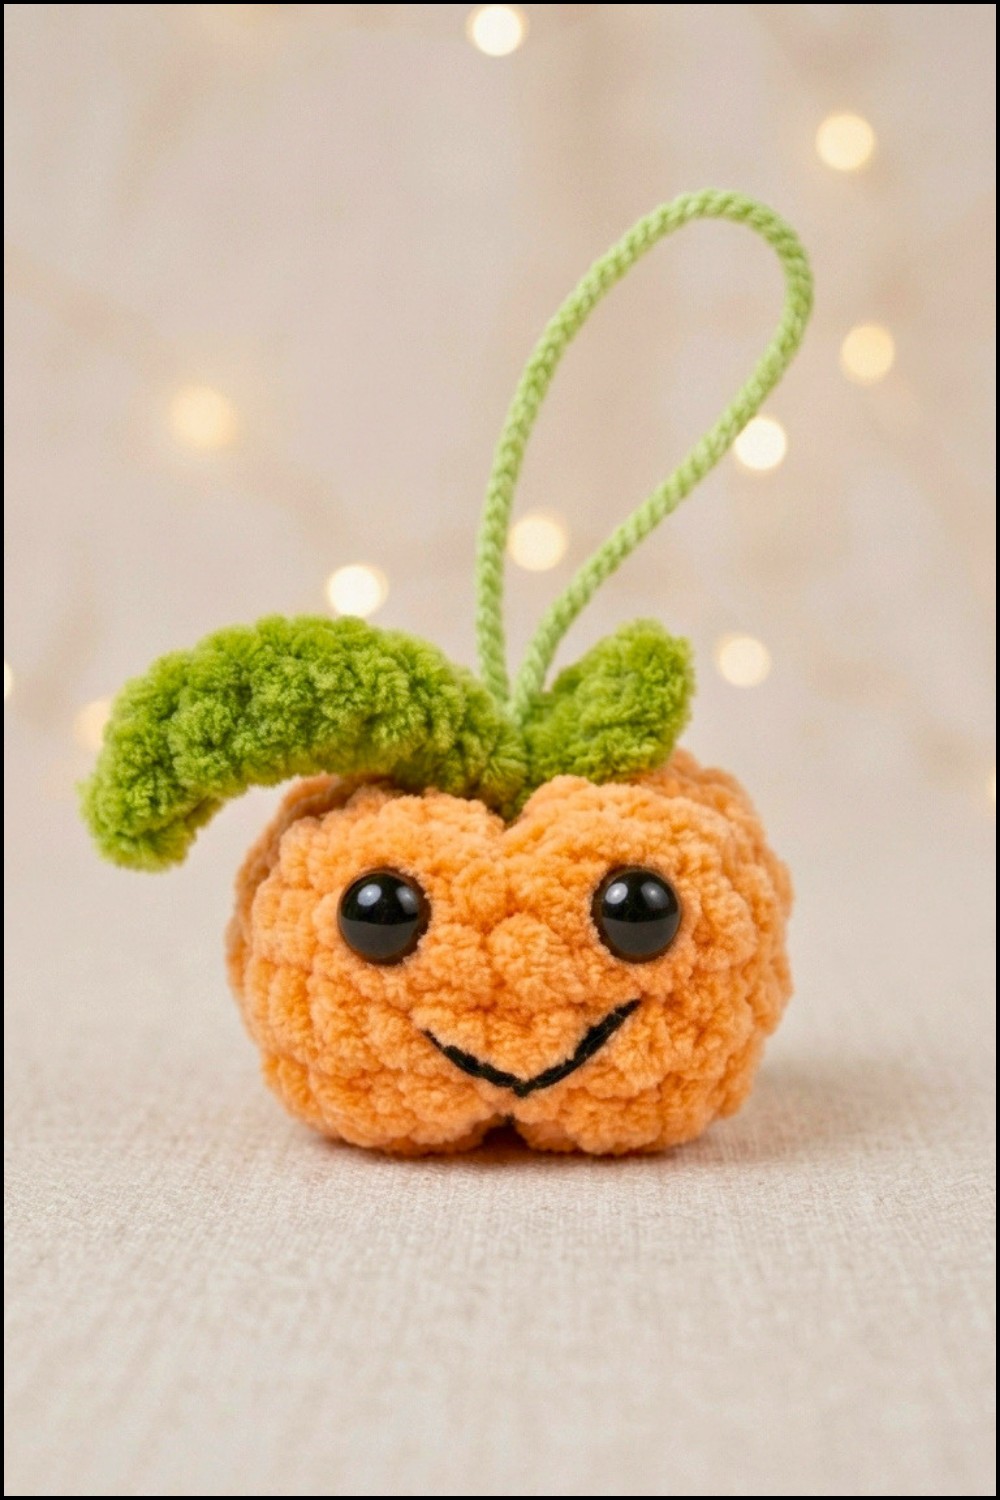
- Use black yarn, embroidery thread, or felt to embroider/sew/glue on two small oval or round eyes and a smiling or traditional mouth.
- Add white dots as highlights with white yarn or small felt circles if desired.
Assembly & Finished Size
- The pumpkin, once stuffed and shaped, should measure about 5 cm wide and about 5–6 cm tall including the stem.
- The ribs will give the characteristic pumpkin look; the short stem and curling tendril provide charm and realism.
- For display, set upright or add to wreaths/bowls. Optionally, attach string for hanging as an ornament.
Conclusion and Ending Words
This plush mini pumpkin pattern brings together simplicity and creativity, offering a quick and adorable way to celebrate the autumn season. With minimal yarn and straightforward construction, it is accessible to all skill levels and ideal for both everyday enjoyment and festive arrangements. The carefully crafted ribbing, soft stuffing, and detailed stem and tendril afford a realistic appearance, while optional facial features add personality and fun. Adjust the size by changing yarn weight or hook to create a customized collection, and enjoy sharing or decorating with your handmade pumpkins throughout the season.



Leave a Reply