

Bring joy to your Easter celebrations with beautifully handmade Crochet Easter Eggs that brighten up your decor and make memorable gifts for loved ones.
Add a touch of warmth and color to your Easter decorations with soft and cozy creations. A Crochet Easter Egg is made from yarn and comes in bright, cheerful colors like pink, yellow, green, and blue, perfect for spreading springtime joy. Because they are handmade, each egg has its own unique look and texture that you won’t find in store-bought decorations.
Cute Crochet Easter Egg Free Pattern With Charming Details
Besides looking charming, these eggs are lightweight and easy to hold. You can use them to decorate your table, fill Easter baskets, or give them as thoughtful gifts to friends and family. Unlike plastic or real eggs, crochet eggs won’t crack or break, which makes them ideal for kids and lasts for many years.
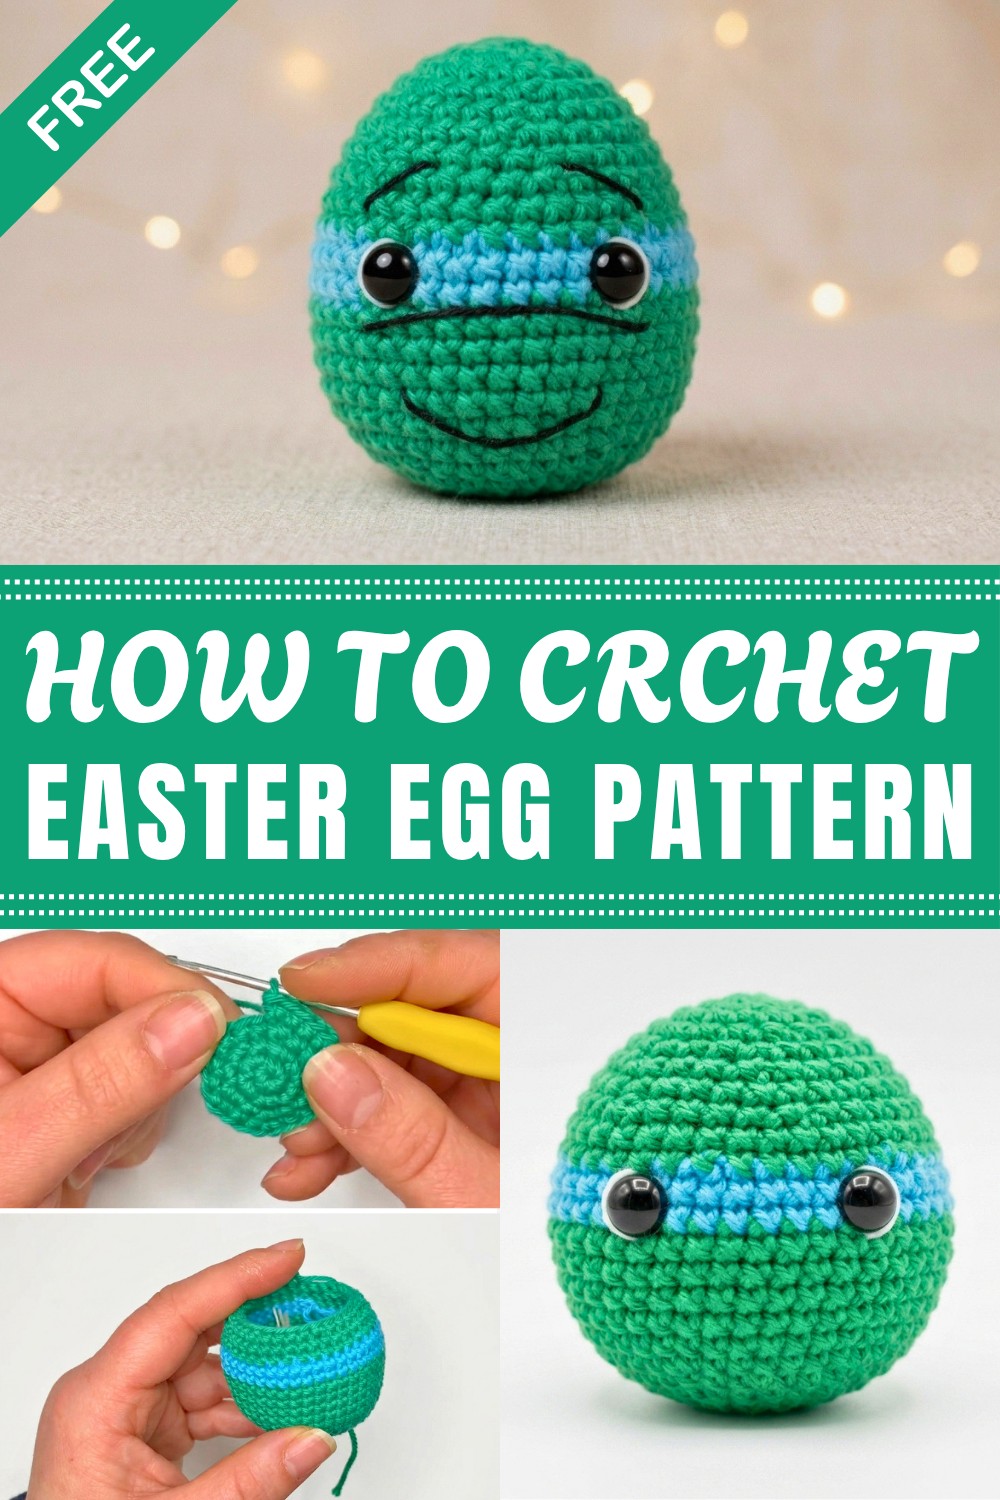
Another benefit is that making Crochet Easter Eggs is simple and relaxing. The stitches are basic, and you can choose your favorite colors or mix several shades to create pretty patterns. All you need is some yarn and a crochet hook, so even beginners can enjoy this project.
Overall, a Crochet Easter Egg adds a friendly, handmade touch to your holiday decorations. It brightens your home and brings smiles to everyone who sees or receives it. So why not try making your own colorful, soft Easter eggs this season?
Ninja Turtle-Themed Easter Egg Crochet Pattern
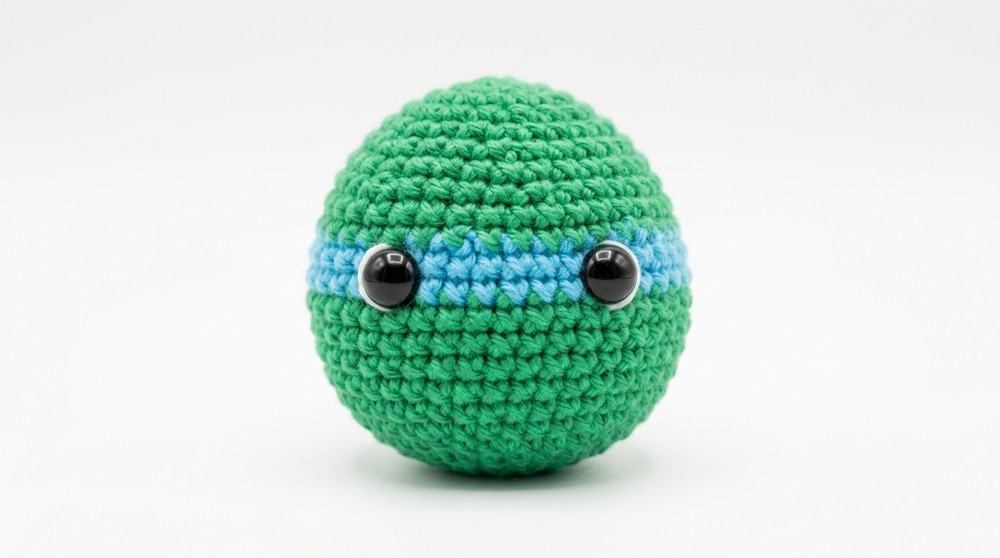
A Ninja Turtle-themed Easter egg offers a whimsical, playful addition to any Easter basket while letting you practice shaping techniques and basic amigurumi details. This detailed pattern creates an egg-shaped turtle, complete with a colored mask, expressive eyes, and an embroidered smile. Work it in your favorite turtle’s colors or personalize with different mask shades for a set. The pattern focuses on single crochet shaping in the round, simple color changes, and minimal seaming, making it rewarding and fun to make.
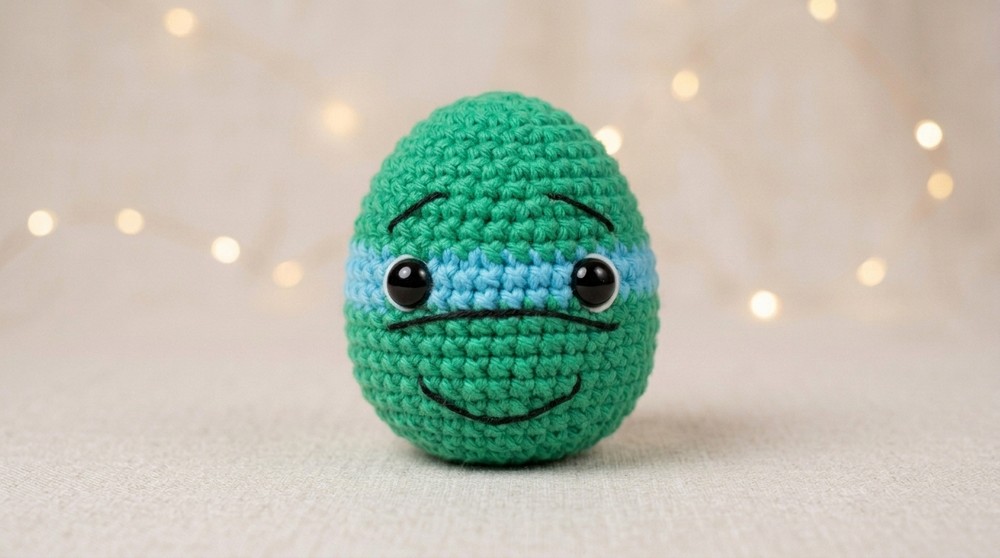
Pattern Basic Points
Key Features:
- Simple, seamless construction worked in the round.
- Step-by-step color change instructions for the iconic Ninja Turtle mask.
- Optional detailed embroidery for facial features.
- Suitable as a toy, holiday decoration, or collectible.
Techniques Practiced:
- Magic ring start for neat shaping.
- Consistent single crochet stitches in the round.
- Invisible decreases for smooth egg shaping.
- Basic embroidery for facial details.
Colorwork Guidance:
- Fast, straightforward mask color change.
- Mask detail crocheted separately and attached.
Special Notes
- This project is worked in continuous spirals. Always use a stitch marker to keep track of the first stitch of each round.
- For the mask and facial details, lightweight cotton yarn and a fine embroidery needle produce cleaner, more defined shapes.
- Safety eyes should be fastened securely if this is intended for young children. Alternatively, embroider eyes for additional safety.
- Firm, even stuffing helps the shape hold without puckering.
- Keep yarn tension consistent to avoid gaps between stitches.
Skill Level
Beginner to Intermediate:
This pattern is ideal for beginners comfortable with basic crochet stitches, increasing and decreasing in rounds, and simple color changes. Intermediate crocheters seeking a quick, character-inspired project will also enjoy the pattern’s straightforward structure and custom details.
Materials
- Yarn: 100% cotton yarn
- Green (body/base)
- Sky blue (mask)
- Black (mouth, eye details)
- White (eye accents)
- Hook: 2.5mm crochet hook
- Safety Eyes: Two, 8mm diameter
- Stuffing: Synthetic fiberfill
- Embroidery Needle: For face details
- Scissors
- Stitch Marker
Measurements, Gauge & Stitch Pattern
Finished Size:
Approximately 8 cm (3.1 inches) tall and 5 cm (2 inches) wide, depending on yarn and tension.
Gauge:
Not strictly important for amigurumi, but tight enough to prevent fiberfill from showing.
Stitch Pattern:
Worked entirely in single crochet (sc) in the round, with increases and decreases as specified.
Stitch Abbreviations
- MR: Magic Ring
- sc: Single Crochet
- inc: Increase (2 sc in one stitch)
- dec: Decrease (single crochet 2 stitches together)
- ch: Chain
- hdc: Half-double Crochet
- sl st: Slip Stitch
Special Stitches
- Magic Ring (MR): Form a closed ring at the start; prevents a hole at the egg’s tip.
- Invisible Decrease (dec): Insert hook in the front loop of each of the next two stitches, yarn over and pull through both loops, yarn over, pull through remaining loops on hook.
Pattern Instructions
Body Construction
Round 1:
- Start with a Magic Ring (MR) using green yarn.
- Work 6 sc in the ring.
Round 2:
- Inc in each stitch around (12 sc).
Round 3:
- (Sc in next st, inc in next st) repeat around (18 sc).
Round 4:
- (Sc in next 2 sts, inc in next st) repeat around (24 sc).
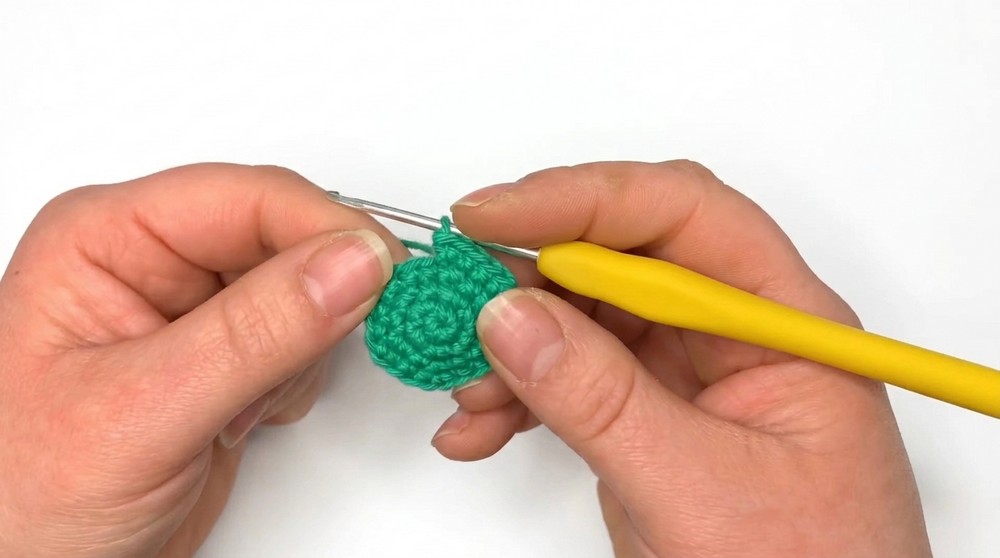
Round 5:
- (Sc in next 3 sts, inc in next st) repeat around (30 sc).
Round 6:
- (Sc in next 4 sts, inc in next st) repeat around (36 sc).
Round 7:
- (Sc in next 5 sts, inc in next st) repeat around (42 sc).
Rounds 8–12:
- Sc in each stitch around (42 sc per round).
- Work 5 rounds even.
Rounds 13–14:
- Change to sky blue yarn for the mask.
- Sc in each stitch around (42 sc per round).
- Work 2 rounds even in mask color.
Round 15:
- Change back to green.
- (Sc in next 5 sts, dec) repeat around (36 sc).
Round 16:
- Sc in each stitch around (36 sc).
Round 17:
- (Sc in next 4 sts, dec) repeat around (30 sc).
Round 18:
- Sc in each stitch (30 sc).
Round 19:
- (Sc in next 3 sts, dec) repeat around (24 sc).
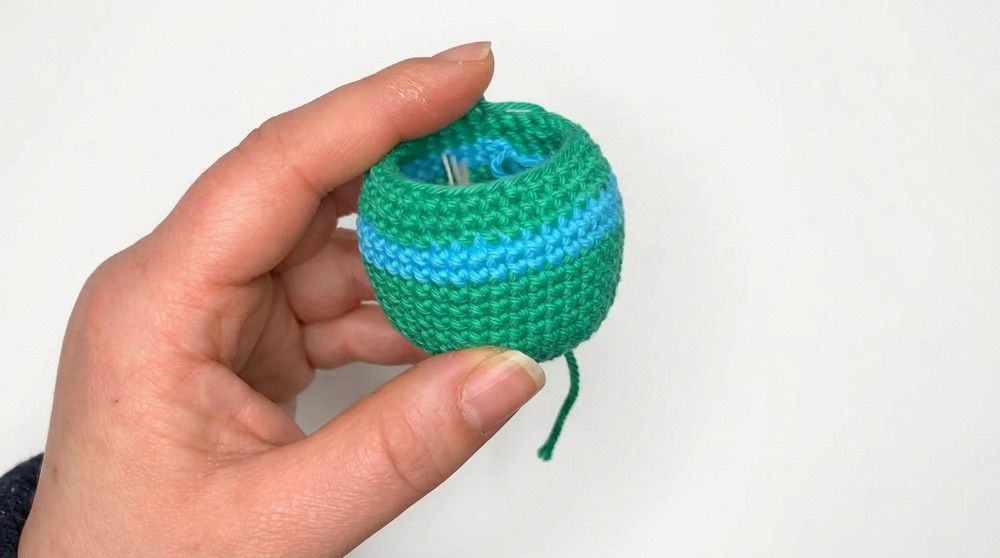
Round 20:
- Sc in each stitch (24 sc).
Round 21:
- (Sc in next 2 sts, dec) repeat around (18 sc).
Before finishing, firmly stuff with synthetic fiberfill for a smooth, egg-shaped curve, adjusting as needed for fullness.
Round 22:
- (Sc in next st, dec) repeat around (12 sc).
Round 23:
- Dec around (6 sc).
Fasten off and weave in the end. If a small opening remains, use the tail to close with a needle.
Details & Finishing
Eyes
- Insert safety eyes between rounds 13 and 14 (across the mask), spaced 8 stitches apart.
- For embroidered eyes, use white thread for the base, black for the pupil.
Face
- Mouth: With black fine yarn/thread, embroider a simple curved line below the eyes; one or two short stitches create a smile.
- Eye Accents: Add a dot of white embroidery at the upper edge of each eye for 'light’ reflection and personality.
Mask Tie Detail
- Using sky blue yarn, ch 12.
- In the 2nd ch from hook, work 10 hdc across.
- Fasten off and weave in ends.
- Place the band horizontally across the turtle’s mask at the back (opposite the face); sew in place gently with matching thread to avoid visible stitches.
Assembly & Finished Size
- Ensure face details (eyes and mouth) are symmetrical and securely attached.
- Attach and shape mask ties so they lie flat across the mask’s back, adding to the 'turtle’ look without excess bulk.
- Use remaining threads to neaten any gaps, working gently to maintain the egg’s shape.

Conclusion
A Ninja Turtle-inspired Easter egg makes a delightful gift, playful amigurumi, or unique holiday ornament. The pattern’s clear shaping, stepwise color changes, and basic embroidery are compact skills worth mastering. Cotton yarn provides durability and crisp stitch definition, making each detail pop. Adjust mask colors for all four turtles to build a complete ninja team for Easter displays. Designed with beginner to intermediate skills in mind, this project offers a quick, satisfying finish with plenty of room for creative detail and personal touches.



Leave a Reply