

Create a cute Crochet Peanut Amigurumi Keychain with this free pattern that lets you make a fun and adorable accessory to carry or gift easily.
Hobihobiku, a creative and skilled crochet artist, has shared an excellent tutorial that guides you step-by-step in making a charming accessory. The project is the Crochet Peanut Amigurumi Keychain, a cute and compact handmade item that showcases both creativity and craftsmanship.
Cute Crochet Peanut Amigurumi Keychain Free Pattern You’ll Love
This keychain resembles a tiny peanut crocheted with amigurumi crochet techniques, making it perfect for those who love playful and unique accessories. The finished size is small enough to fit comfortably on keyrings, backpacks, or even as a decorative zipper pull. Its main features include soft, textured yarn work and a realistic yet adorable shape. The skill level is beginner-friendly, making it a great project for those new to amigurumi or anyone looking for a quick, satisfying crochet task.
Why try this project? It offers a perfect balance of simplicity and fun, involving basic stitches such as chain stitches, single crochet, and rounds to achieve the peanut shape. You'll also practice sewing parts together neatly, which adds a lovely finishing touch to the piece. The keychain is not only a delightful personal accessory but also a thoughtful handmade gift.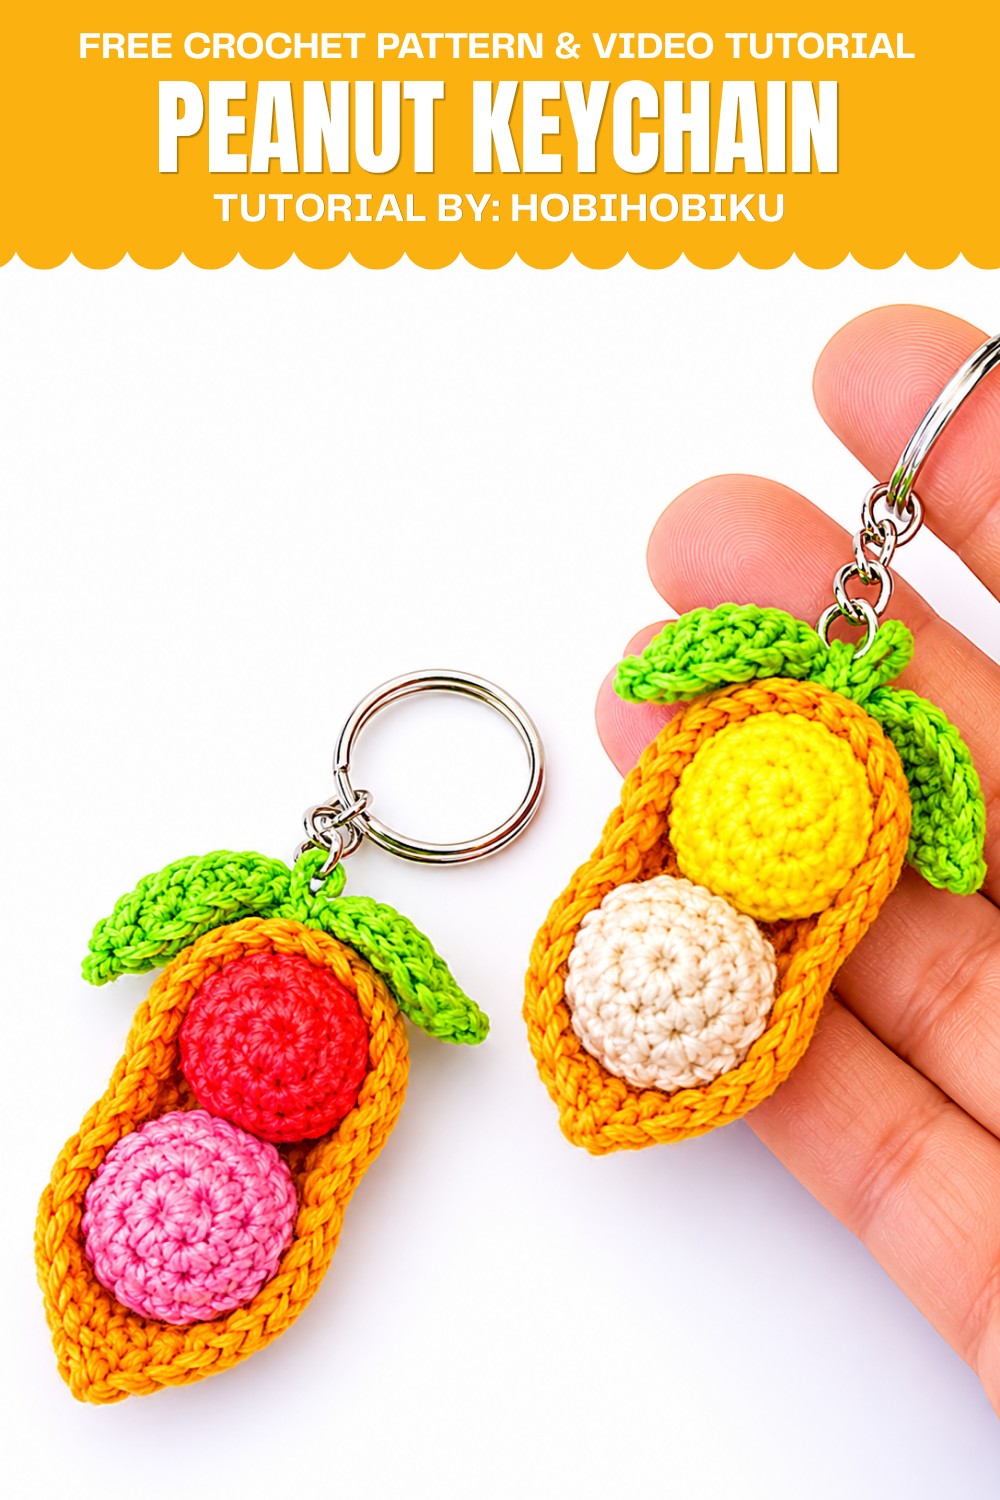
Because it’s so portable and customizable, you can experiment with different yarn colors or add little details like a smiley face to personalize it further. This project is a wonderful way to improve your crochet skills while making something practical and adorable.
Ready to crochet your own little peanut? Jump into free pattern and enjoy every stitch of this fun creation!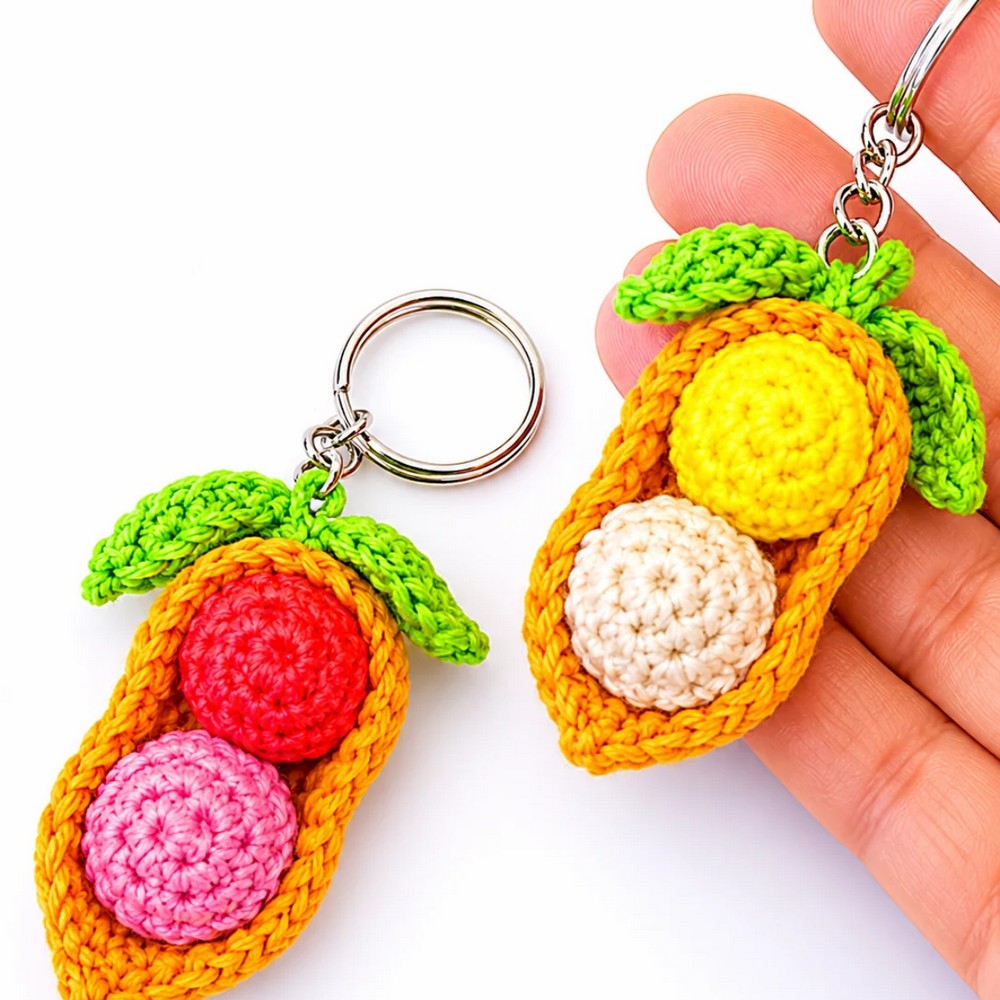
Crochet Peanut Keychain Pattern
Pattern Overview
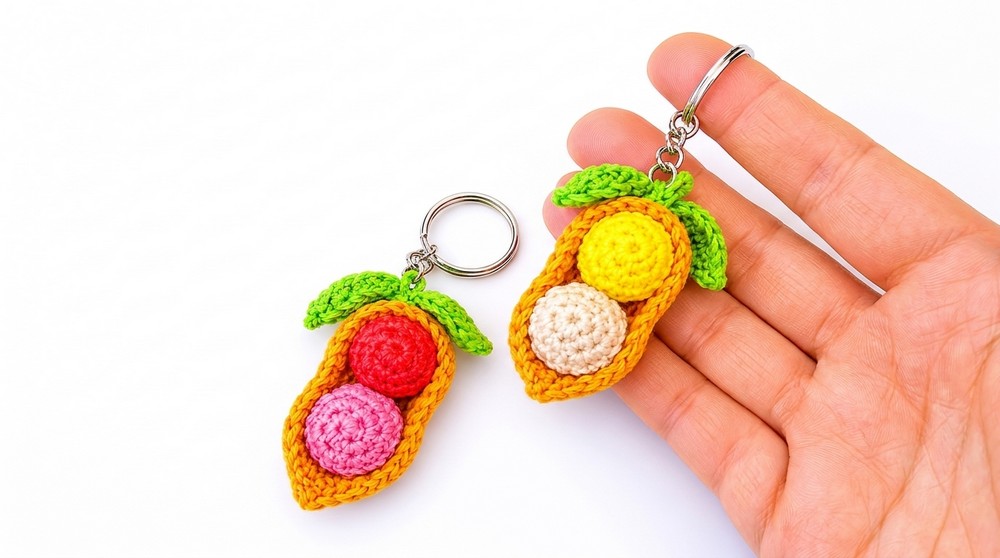
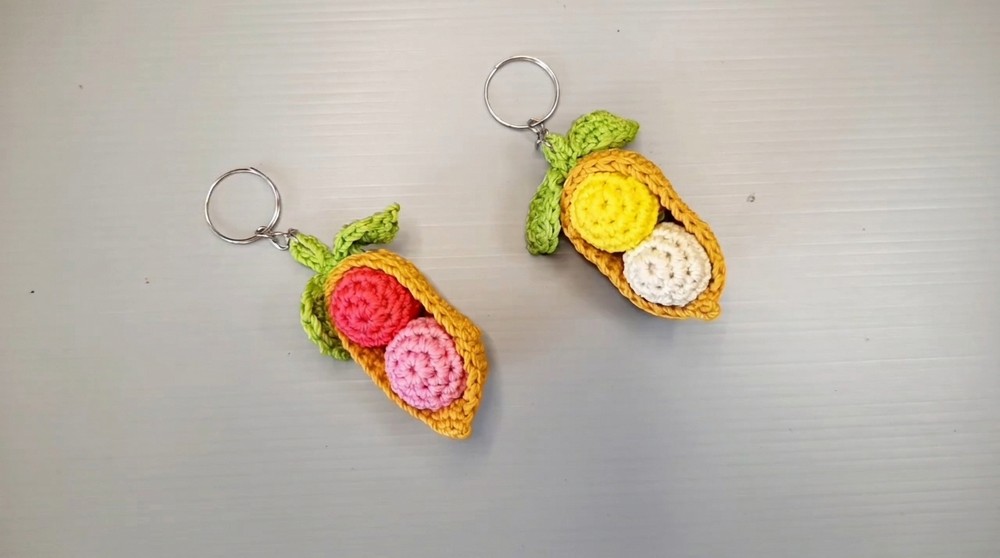
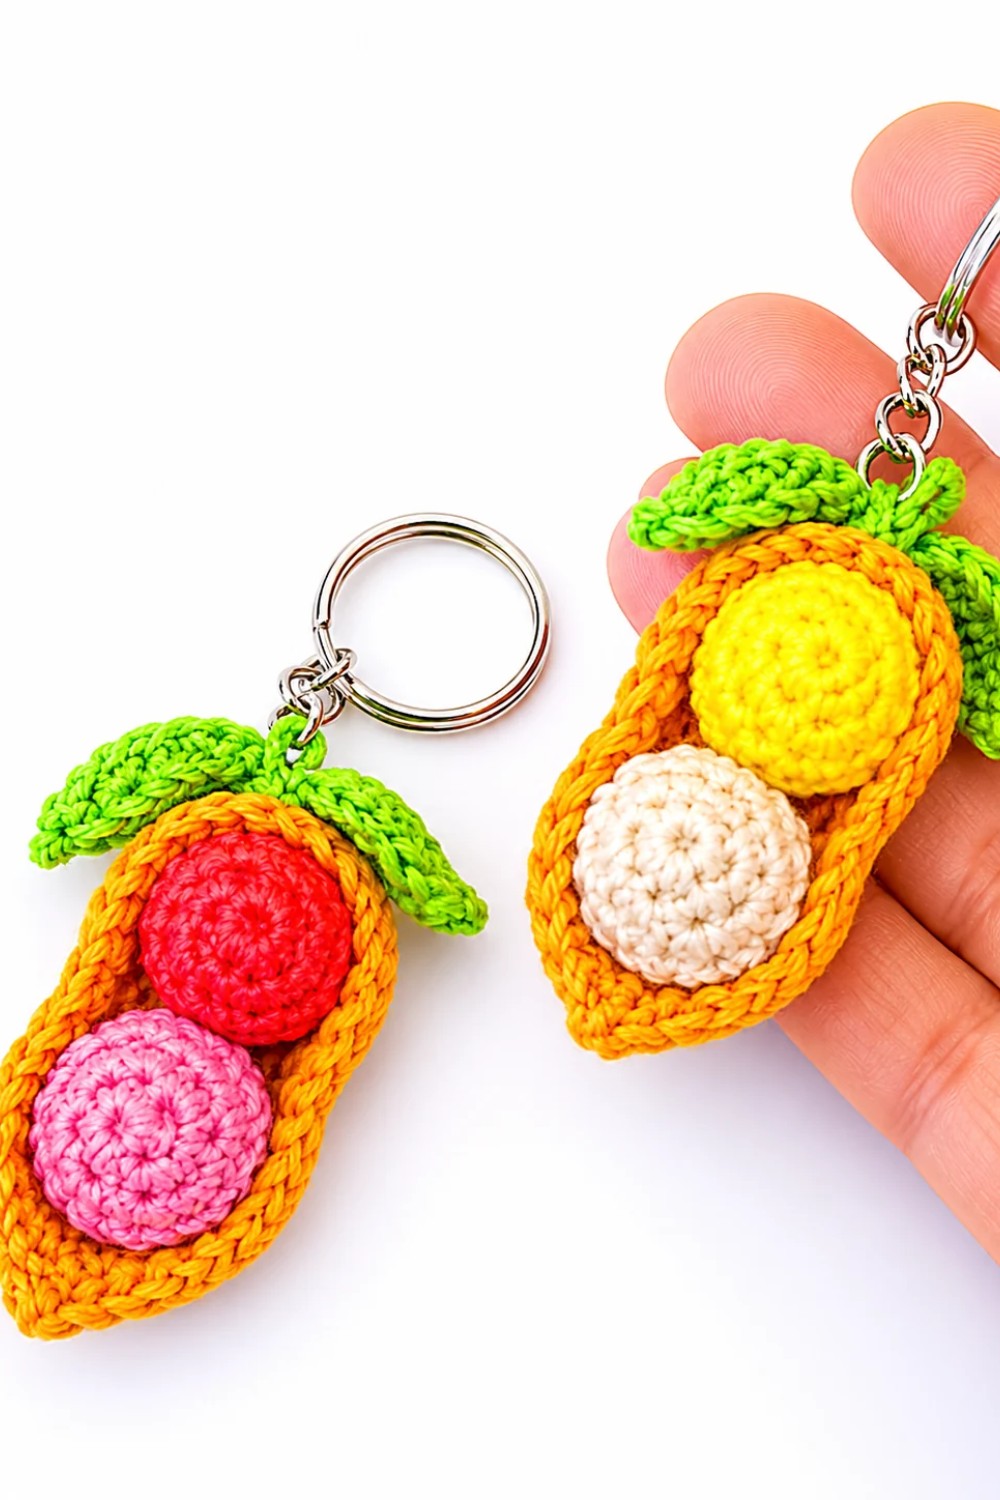
This peanut keychain features a realistic peanut shape with decorative leaves and a textured shell. The design is made in three main steps: crocheting two peanut pieces, creating the peanut shell, and adding leafy embellishments. The result is a whimsical, compact keychain ideal for gifting or personalizing.
Quick Details
- Components: Inner peanuts (2 pieces), outer shell, decorative leaves
- Techniques: Magic ring, increases, decreases, rounds, flat rows, shaped leaves, sewing, minimal glue
- Best For: Small gifts, whimsical accessories, beginners seeking new shaping skills
Important Tips
- Use tight, even stitches for a neat finish and lasting structure.
- Mark rounds or row starts with a stitch marker to help track progress.
- Stuff the peanuts lightly to keep their shape inside the shell.
- Sew or glue parts securely to withstand handling as a keychain.
- Weave in all loose yarn tails for a tidy appearance.
- Shape leaves for a crisp look before attaching.
Skill Level
Advanced Beginner
- Comfort with basic stitches, forming shapes, and simple assembly.
Materials
- Crochet yarn in peanut (light brown/beige) and leaf (green)
- Crochet hook suitable for yarn thickness (suggested: 2.25mm–3.5mm)
- Keyring loop/hardware
- Fiberfill stuffing
- Yarn needle
- Scissors
- Stitch marker
- Glue gun
Measurements
- Peanut keychain: 5–7 cm long (with leaves and shell)
- Leaves: 2–2.5 cm each
Gauge
- Gauge is not critical. Use a hook creating a stiff fabric (which holds shape when lightly stuffed).
Abbreviations
| Abbreviation | Meaning |
|---|---|
| ch | chain |
| sc | single crochet |
| hdc | half-double crochet |
| dc | double crochet |
| st(s) | stitch(es) |
| sl st | slip stitch |
| rep | repeat |
| inc | increase (2 sc in one stitch) |
| dec | decrease (sc two together) |
| MR | magic ring |
Special Stitches
- Magic Ring (MR): Create a loop, work specified number of stitches into it, then pull tight.
- Increase (inc): Work two sc into one stitch.
- Decrease (dec): Work two sc together as one stitch.
Step-by-Step Instructions
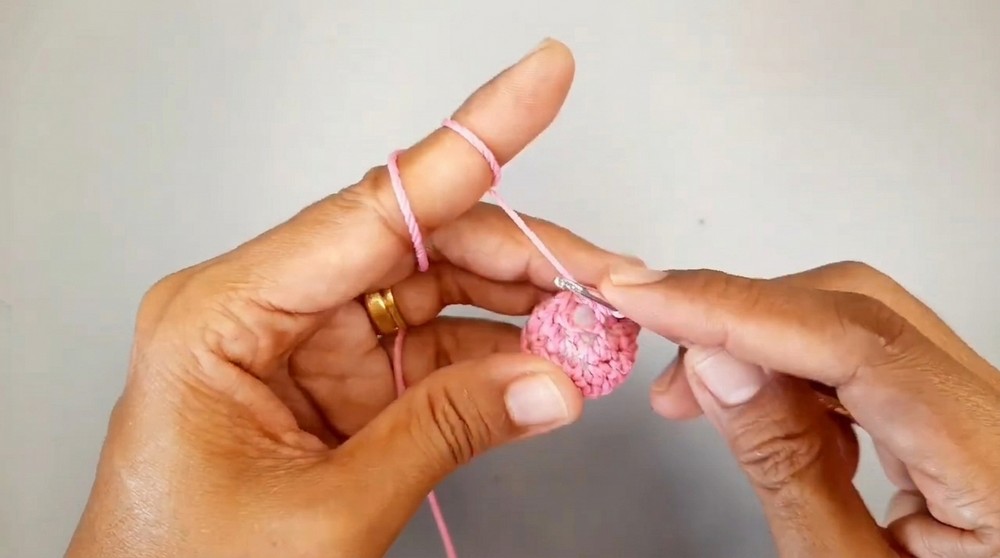
1. Peanut (Make 2)
Yarn: Peanut color
Stuff each piece lightly before closing.
Round 1
- MR, 6 sc into ring (6 sts)
Round 2
- 2 sc in each stitch around (12 sts)
Round 3
- (1 sc, 1 inc), rep 6 times (18 sts)
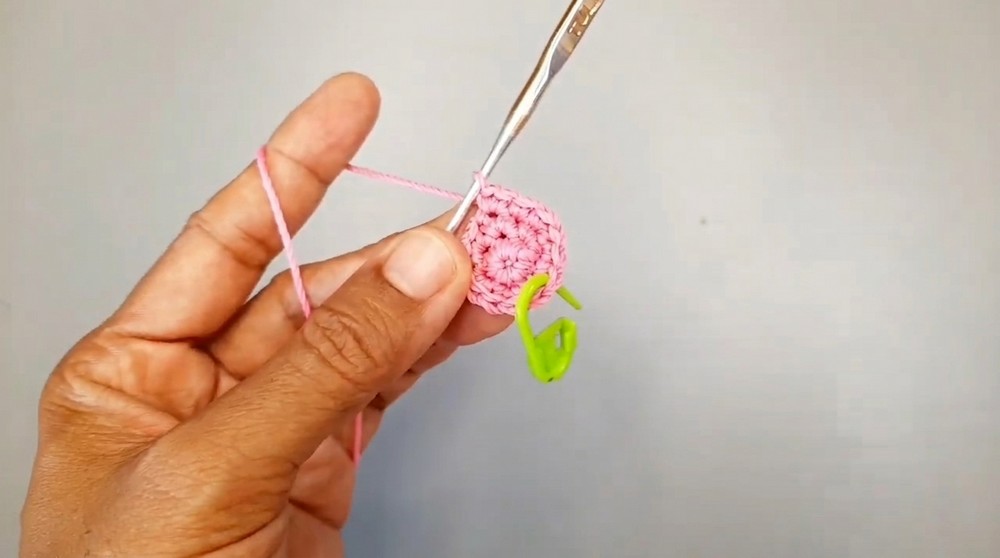
Round 4
- 1 sc in each stitch around (18 sts)
Round 5
- (1 sc, 1 dec), rep 6 times (12 sts)
Round 6
- 6 dec (6 sts)
- Insert stuffing.
- Sew up or pull tightly to close.
2. Peanut Shell
Yarn: Peanut color, or darker shade for shell outline
Work in rows and rounds.
Foundation
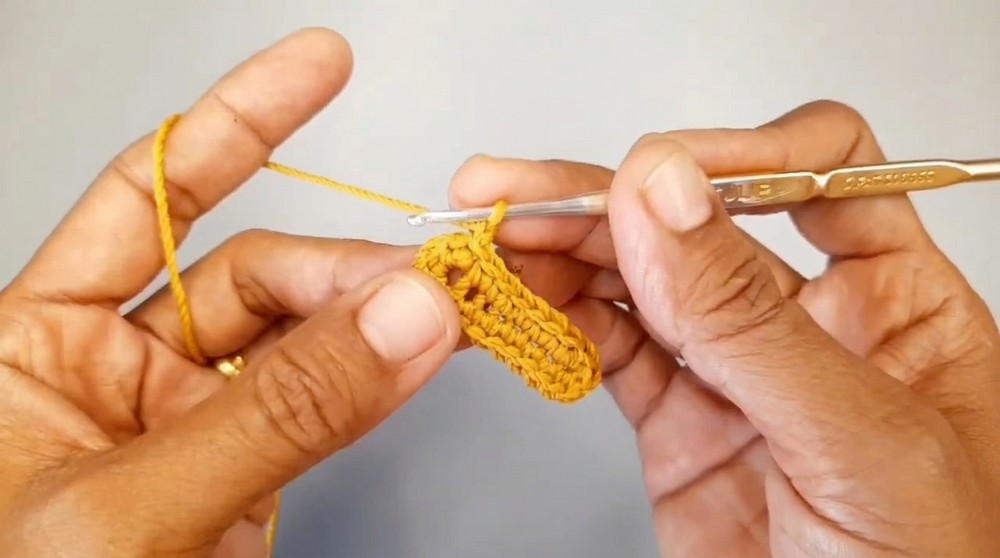
- Ch 8 + 1 to turn (9 ch)
Round 1
- 4 sc in last ch (rounded end)
- 1 sc in next 6 ch
- 4 sc in final ch (other end)
- Working on opposite side of chain:
- 1 sc in remaining 6 ch (completes loop)
Round 2
- 4 inc in corner (rounded ends)
- 6 sc across straight edge
- 4 inc at next rounded end
- 6 sc across other straight edge
Rows 3-5
- 1 sc in each stitch around
- Work three rounds (maintain shape).
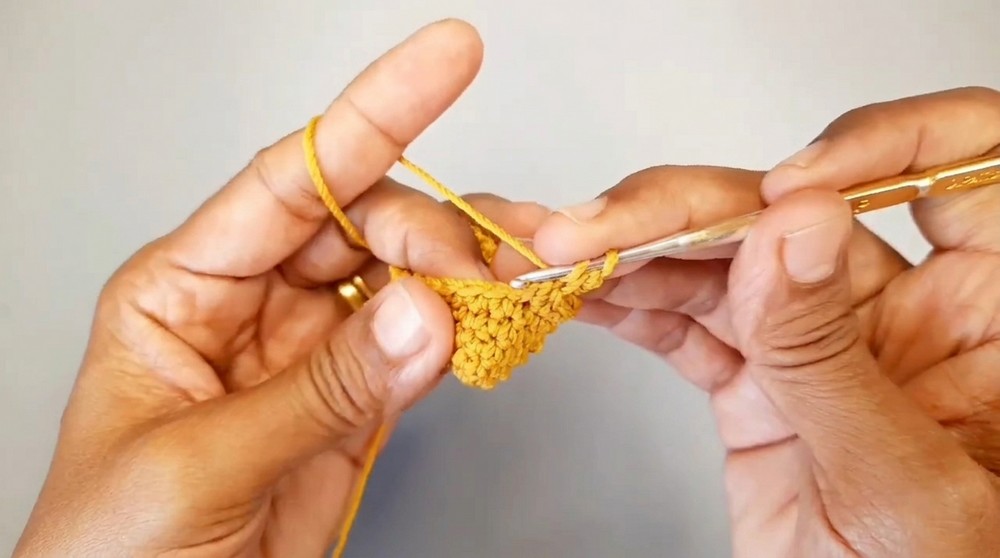
Shaping
- 1 sc in each st until marker
- In corner: 1 sc, 1 dc
- Ch 1, sl st to top of dc
- 1 dc, 1 sc in same spot
- Continue 1 sc around to finish border.
3. Leaves
Yarn: Green
Work as a series of small leaves connected by chains.
Leaf Pattern
- Ch 5
- Working back from 4th ch:
- 1 sc
- 1 hdc
- 1 dc
- 2 dc in last chain
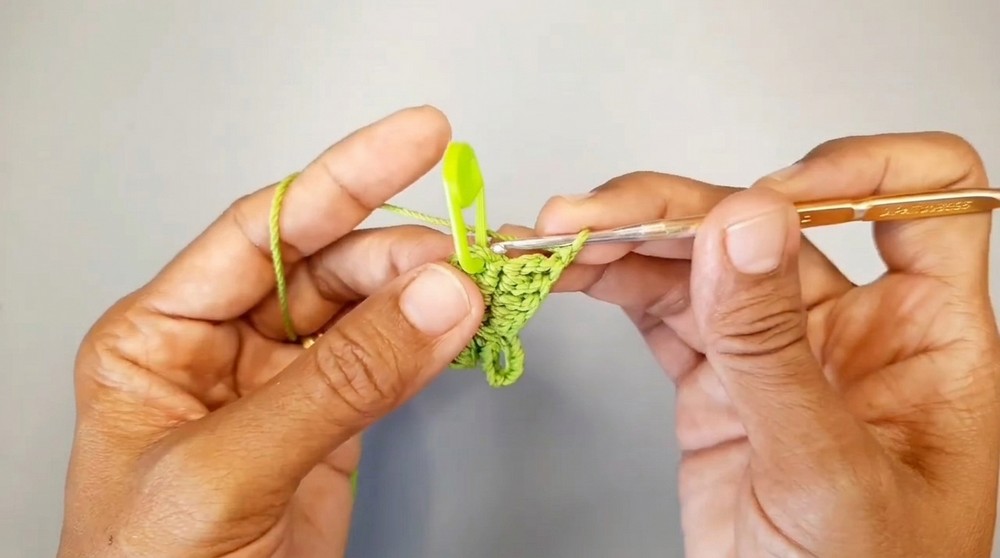
Turn & Shape
- Ch 1
- Sl st to peak (top of previous dc)
- 2 more dc in same spot
- Working down the other side:
- 1 dc
- 1 hdc
- 1 sc
- Sl st to finish
Connector
- Ch 10 (to make a stem; adjust for desired length)
- Sl st to first chain
- Repeat the leaf pattern
- Make as many leaves as desired for look and length
Assembly
- Attach Leaves
- Place the finished leaves in the center of the peanut shell.
- Use the long tail left from the leaf pattern.
- Sew through shell fabric with a yarn needle. Secure each leaf tip for stability.
- Insert Peanuts
- Position both peanut pieces inside the cavity of the shell.
- Use a glue gun to secure (add a dot of glue to base and sides).
- Keychain Attachment
- Add the keyring loop to the top of the shell near the leaves, using the yarn or a jump ring.
- Make sure the attachment is strong for daily use.
Final Notes
- Shape the peanut pieces gently before gluing for a rounded, authentic look.
- Vary the green yarn shades in the leaves for added realism.
- Sew leaves with purpose: anchor at the base and tip to prevent unraveling.
- Secure peanuts with just enough glue to keep them in place but avoid excess that shows.
- Use tight stitches for the shell to keep the peanuts from slipping out.
- Attach the keychain hardware firmly, checking stability before gifting or using.
- The shell shaping corners add a decorative texture; keep your tension even.
- Customize your peanut keychain by adding extra leaves or varying colors of shell and peanut.
- Hide all yarn tails in the shell or peanut body for best look and durability.
- This keychain is compact, lightweight, and perfect for daily use.
- Enjoy your finished peanut keychain, a playful accessory that showcases creative crochet shaping.
Leave a Reply