

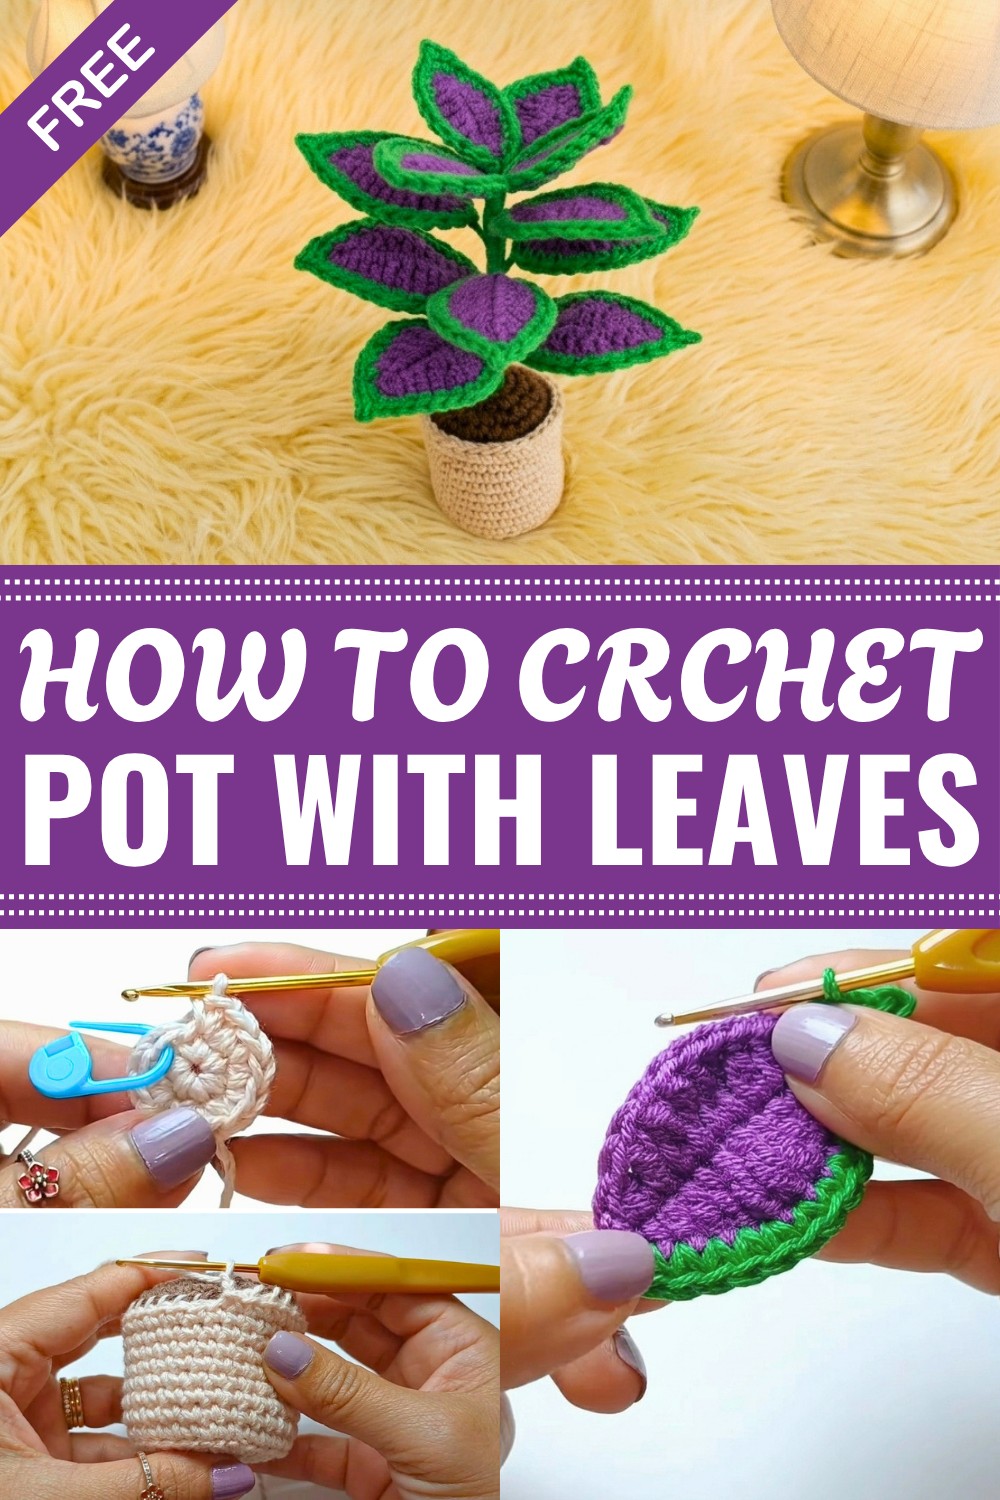
Refresh home corners with this Free Crochet Pot with Leaf Pattern featuring leafy beauty simple style natural charm and lovely desk decor.
Home decorations do not have to be large to make a space feel warm and inviting. A small crochet pot filled with leafy details can add a fresh look to a shelf, desk, windowsill, or bedside table without needing any care. The Free Crochet Pot with Leaf Pattern is a fun project that lets you crochet a decorative plant that stays bright and beautiful throughout every season.
The finished piece has a simple pot with leafy stems that give it a clean and natural appearance. The leaves can be long, round, pointed, or layered, depending on the style you like most. You can choose rich green shades for a classic look or mix different colors to match your room. A plain pot gives a modern feel, while colorful pots can make the decoration look playful and cheerful. These small changes allow every finished project to have its own special style.
How to Crochet Pot with Leaf Pattern: Easy and Fun Guide
Crocheting this project is a relaxing way to build useful skills while enjoying a decoration that comes together one piece at a time. You'll practice shaping, making neat leaves, and joining the different parts into a finished display. The instructions are easy to understand, making the project enjoyable for beginners who want to grow their confidence as well as experienced crocheters looking for a quick and satisfying make.
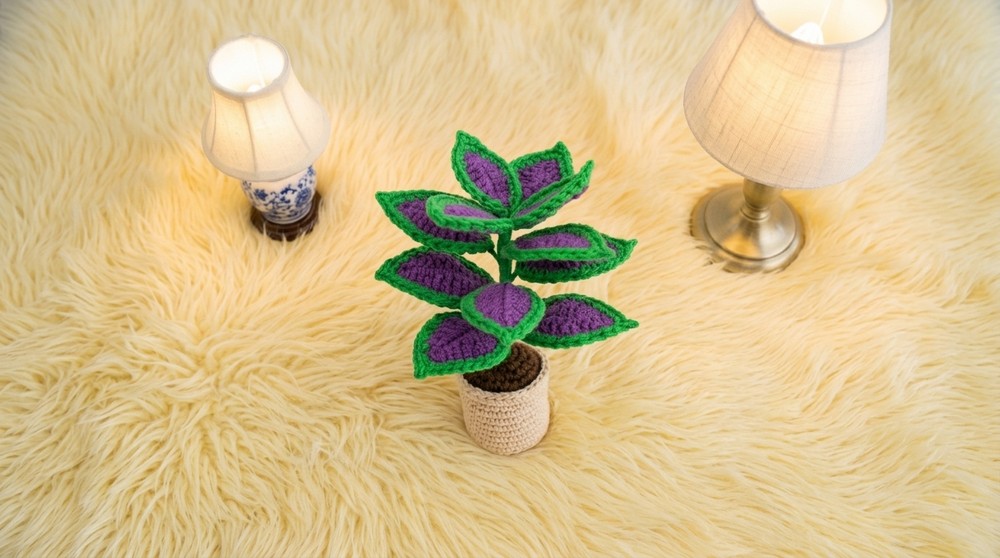
Once completed, this crochet pot looks wonderful in almost any room and brings a handmade touch to everyday spaces. It can also be a thoughtful gift for friends, family, teachers, or anyone who enjoys simple home decorations. Follow the pattern, enjoy each stitch, and finish with a lovely crochet plant that adds lasting charm wherever you choose to display it.
Mini Flowerpot with Leaves Crochet Pattern
This detailed crochet pattern guides you through creating a miniature flowerpot with decorative leaves, crafted using precise stitches and innovative techniques to add dimension and realism. Ideal for beginners and intermediate crocheters alike, this project uses US crochet terminology and combines basic stitches, wirework, and assembly skills to create a charming decorative piece suitable for home décor or gifting.
Skill Level & Terminology
- Skill Level: Beginner to Intermediate
- Terminology: US crochet terms are used throughout the pattern.
- Techniques: Magic Ring, Single Crochet (SC), Increase (inc), Half Double Crochet (hdc), Double Crochet (dc), Elongated Double Crochet (edc), Treble Crochet (tr), Crochet in Back Loop Only (BLO), Picot Stitch, Spiral Crochet.
Materials & Tools
- Yarn: Acrylic yarn in purple, skin tone, brown, and green (for pot and leaves)
- Crochet Hook: 2.5 mm hook
- Wire: 1 mm wire for leaf stems
- Stuffing: Polyester fiberfill for filling the flowerpot
- Glue: Hot silicone or strong craft glue
- Other: Skewer stick for the twig stem, yarn needle for joining, scissors
Gauge
- Gauge is not critical as size may vary based on tension and yarn choice. Aim for tight stitches to maintain structure.
- The finished flowerpot is approximately 6-8 cm tall, small enough for decoration.
Abbreviations
| Abbr. | Term |
|---|---|
| MR | Magic Ring |
| SC | Single Crochet |
| inc | Increase (2 SC in same stitch) |
| dec | Decrease |
| hdc | Half Double Crochet |
| dc | Double Crochet |
| edc | Elongated Double Crochet |
| tr | Treble Crochet |
| BLO | Back Loop Only |
| sl st | Slip Stitch |
| ch | Chain |
| st(s) | Stitch(es) |
| rnd | Round |
Special Stitch Instructions
- Magic Ring (MR): Start with an adjustable loop to crochet the first stitches inside, then pull tight to close the center hole.
- Increase (inc): Crochet two SC into the same stitch, increasing stitch count.
- Back Loop Only (BLO): Insert hook only into the back loop of each stitch when making a SC round, giving texture and shape variation.
- Picot Stitch: Typically ch 3, sl st into the first chain, creating a small decorative bump, often used to accent leaf tips.
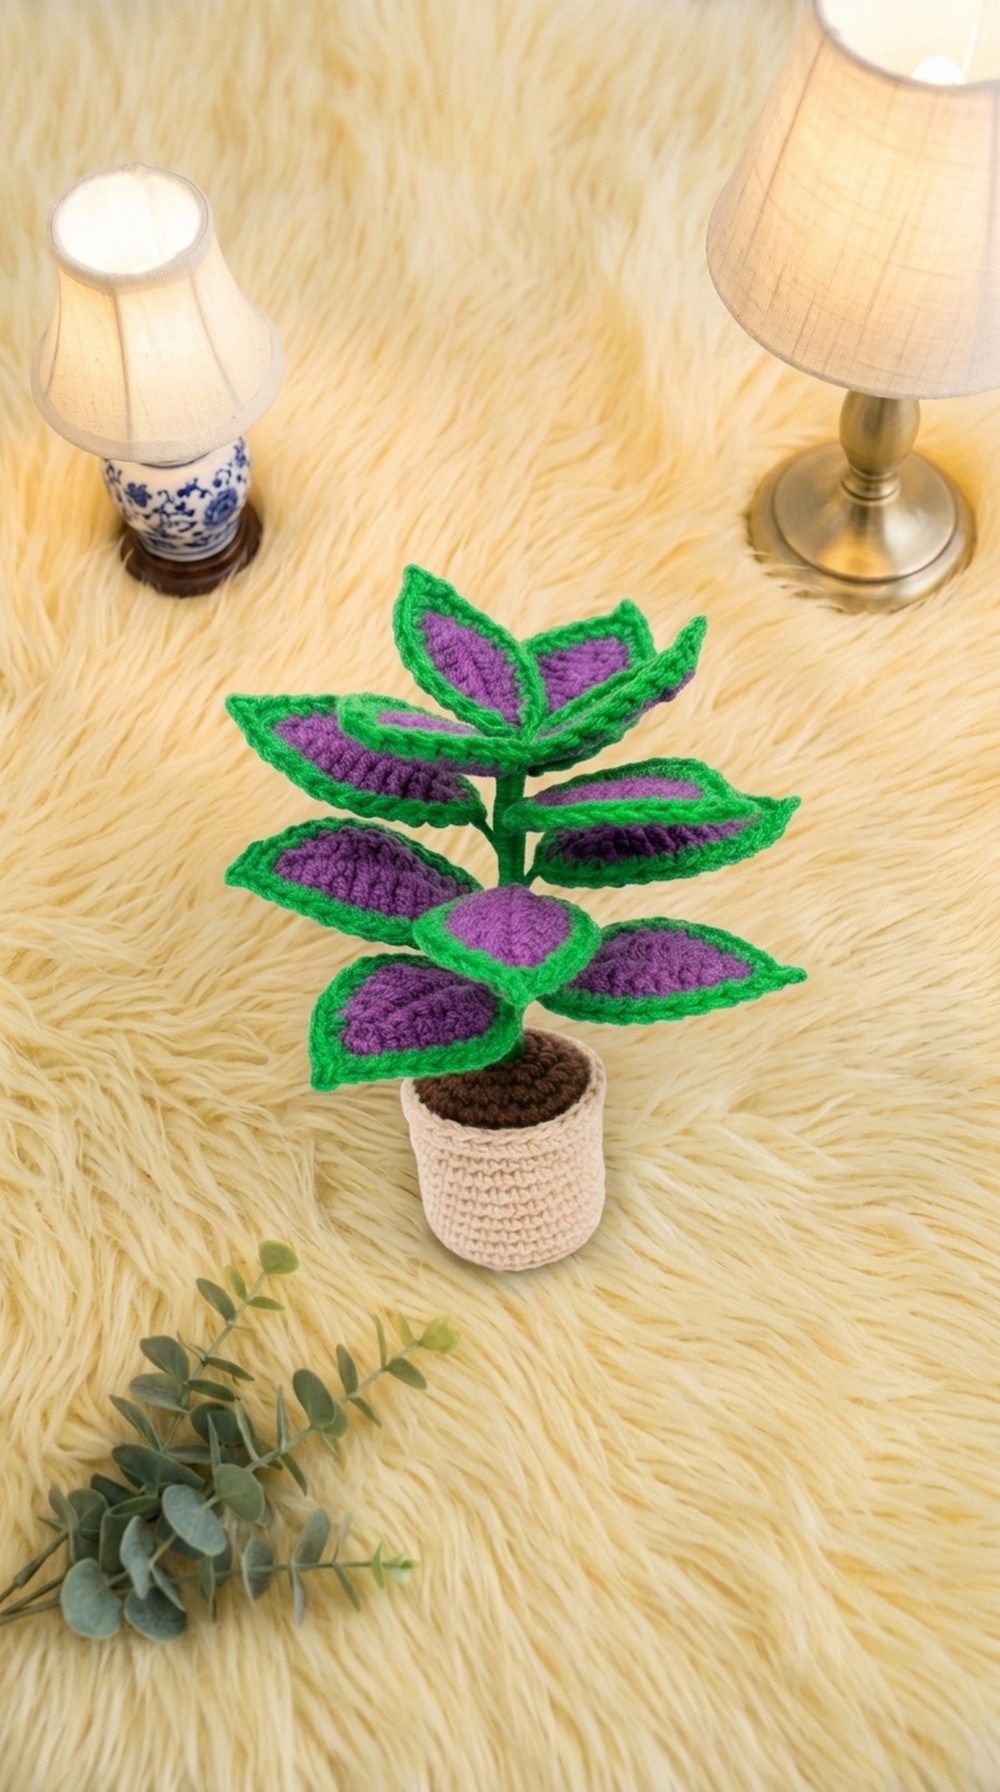
Finished Size
- The mini flowerpot measures approximately 6-8 cm tall, with leaves extending about 10 cm, making it a dainty accent piece.
The Pattern
1. Preparation and Materials
Gather the following materials: acrylic yarn in purple, skin color, brown, and green; 1 mm wire; 2.5 mm crochet hook; stuffing; hot silicone glue; and a skewer stick for the twig’s stem.
Summary: Preparing your materials will ensure the project proceeds smoothly and you have everything needed for assembly, shaping, and finishing.
2. Base of the Small Flowerpot
Crochet in a spiral using a stitch marker to count rounds.
- Round 1:
Create a Magic Ring and work 6 Single Crochet (6 SC)
6 stitches - Round 2:
Make 6 increases (2 SC in each stitch)
12 stitches - Round 3:
Work pattern: 1 SC, 1 inc, repeat around
18 stitches - Round 4:
Pattern: 2 SC, 1 inc, repeat around
24 stitches - Round 5:
Pattern: 3 SC, 1 inc, repeat around
30 stitches
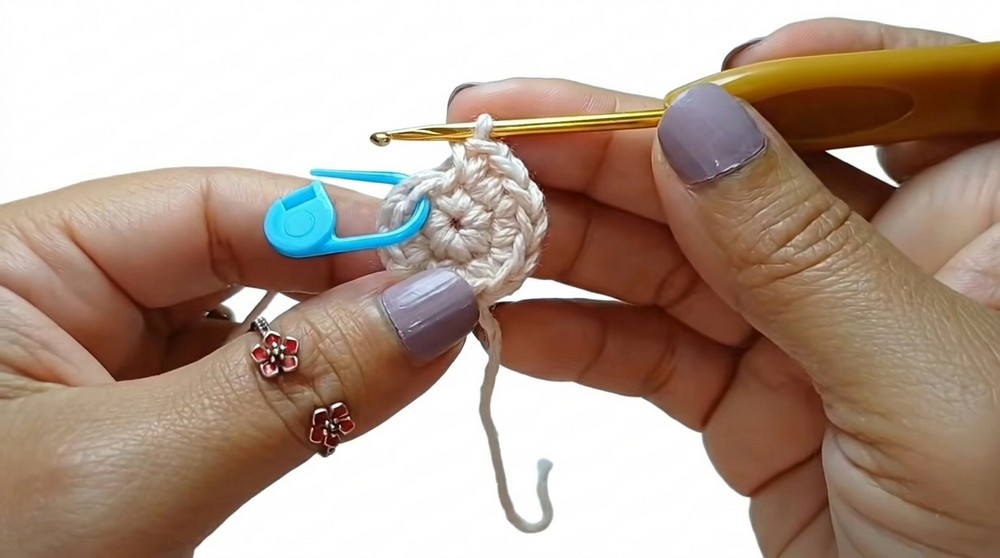
Note: Create an additional base for the top lid following the exact same pattern above but by using a different color yarn. This contrasts the lid and the pot base visually.
Summary for Base:
You now have a sturdy circular base crocheted in increasing spirals to shape the bottom of the flowerpot. The duplicate base in a different color will be used to form the detachable lid.
3. Body of the Small Flowerpot
- Round 6:
Work 30 Single Crochet (SC) in the Back Loop Only (BLO) to give shaping and slight ribbing.
30 stitches - Round 7:
Work 9 rounds of 30 SC evenly (without increases)
Creates the cylindrical body of the flowerpot - Round 8:
Work 9 rounds of 30 SC evenly (without increases) - Round 9:
Work 9 rounds of 30 SC evenly (without increases) - Round 10:
Work 9 rounds of 30 SC evenly (without increases) - Round 11:
Work 9 rounds of 30 SC evenly (without increases) - Round 12:
Work 9 rounds of 30 SC evenly (without increases) - Round 13:
Work 9 rounds of 30 SC evenly (without increases) - Round 14:
Work 9 rounds of 30 SC evenly (without increases) - Round 15:
Work 9 rounds of 30 SC evenly (without increases) - Internal Structure:
Cut a round cardboard circle matching the base size and place it inside the base for structural firmness. Secure with hot silicone glue.
Summary for Body:
The body’s ribbed texture shaped by the BLO stitches creates a realistic flowerpot look. The cardboard base adds stability and makes the piece sturdy.
4. Closing and Finishing the Flowerpot
- Joining Base and Lid:
Using a yarn needle and yarn, sew the base and lid pieces together firmly. - Filling:
Fill the body firmly with polyester stuffing to maintain shape. - Top Edge Finish:
Work one round of Half Double Crochet (hdc) along the Front Loops only (FLO) of the stitches left free from Round 6, adding a neat decorative edge to the flowerpot.
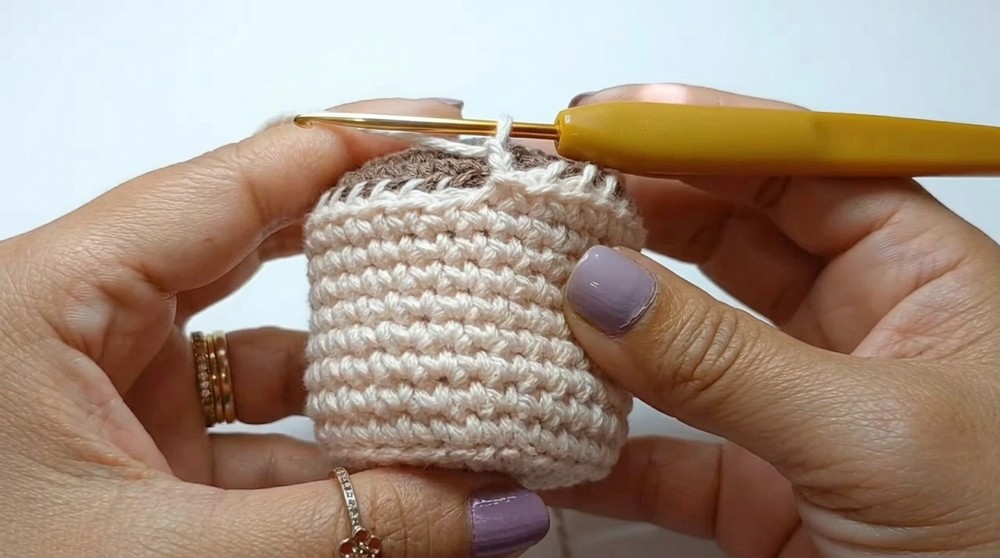
Summary for Finishing:
The lid joins the base securely, and finishing with hdc in the front loops provides a refined border, setting off the flowerpot’s rim visually.
5. Crochet Leaves
These are built around 1 mm wire stems to provide shape and flexibility.
Large Leaves (Make 8)
- Start: Chain 11.
- Work the following stitches over the wire core:
- Single Crochet (SC)
- Half Double Crochet (hdc)
- Double Crochet (dc)
- Elongated Double Crochet (edc)
- Treble Crochet (tr)
- Outline: Use green yarn to crochet around the leaf, finishing the tip with a picot stitch for decorative effect.
Small Leaves (Make 3)
- Start: Chain 8.
- Follow the same stitch pattern and wire insertion as for the larger leaves.
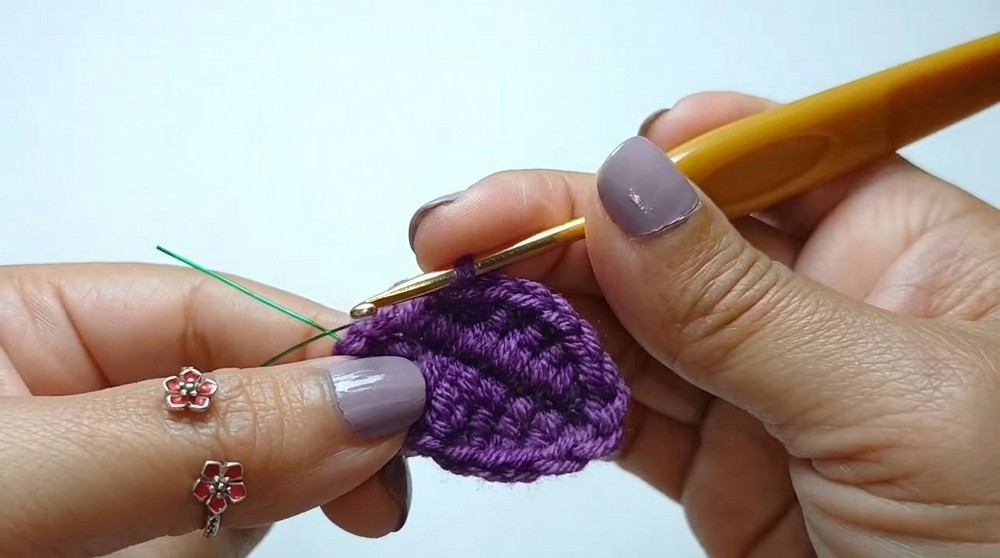
Summary for Leaves:
The wire allows positioning, while the variety of stitches gives organic leaf texture. The picot tip mimics natural leaf points, completing the realistic look.
6. Final Assembly
- Creating the Twig Stem:
Wrap the skewer stick tightly with green yarn to simulate a branch stem. - Attaching Leaves:
- Secure 3 small leaves clustered near the top of the twig with glue or stitching.
- Distribute the 8 larger leaves evenly along the twig, ensuring they don’t overlap or tangle.
- Insert Twig:
Insert the completed twig with leaves into the center of the stuffed flowerpot. Fix firmly with hot glue for strength.
Summary for Assembly:
Attaching leaves to the wrapped skewer and securing the twig into the pot’s center completes your miniature flowerpot. The assembly stage brings all parts together into a charming, resilient display.
Additional Notes
- Working tightly is essential for durability and neat appearance, especially when stuffing the flowerpot.
- Using a stitch marker for rounds helps track increases.
- Adjust leaf length and number based on preference to customize the final look.
- Hot silicone glue is recommended for fast and durable bonding of internal parts.
Final Words
Your miniature flowerpot with beautifully textured leaves is now complete. This pattern combines fundamental crochet skills with shaping techniques and creative finishing. Perfect as a tabletop décor or a handmade gift, your crochet flowerpot is ready to brighten any space!


Leave a Reply