

Free Star Square Crochet Pattern for Home Decor
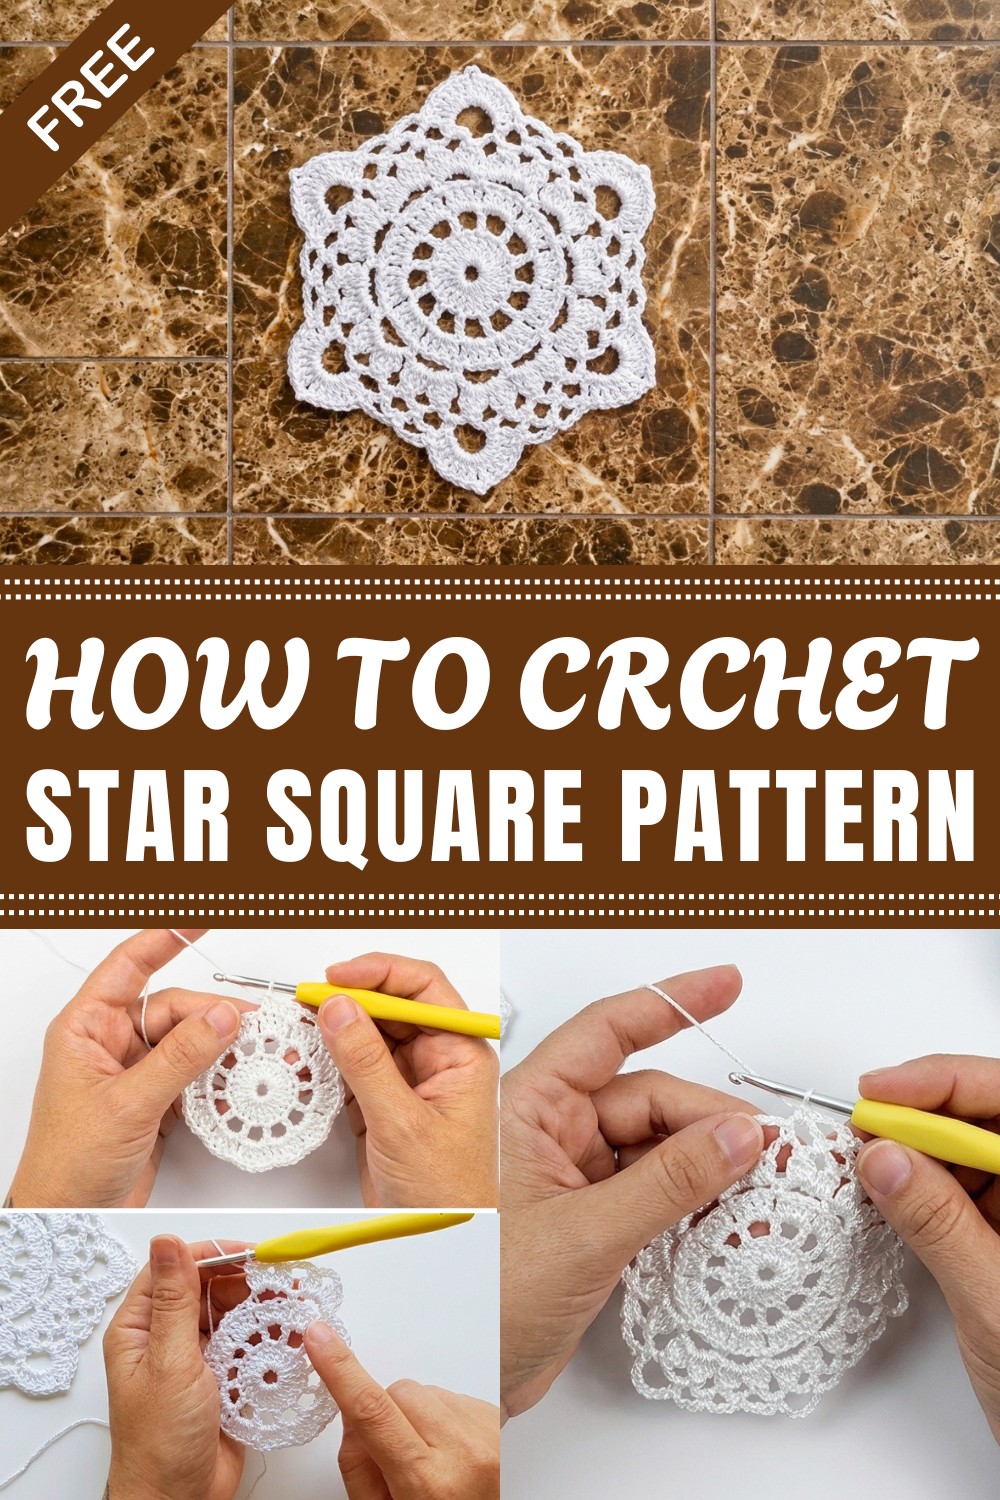
This project is a great choice for beginners who are ready to practice working with shaped motifs, while experienced crocheters can enjoy experimenting with different color layouts and creative arrangements. As you complete each square, you will become more comfortable creating balanced shapes and combining simple elements into a beautiful finished design. Making several squares is also a relaxing way to build a larger project one piece at a time.
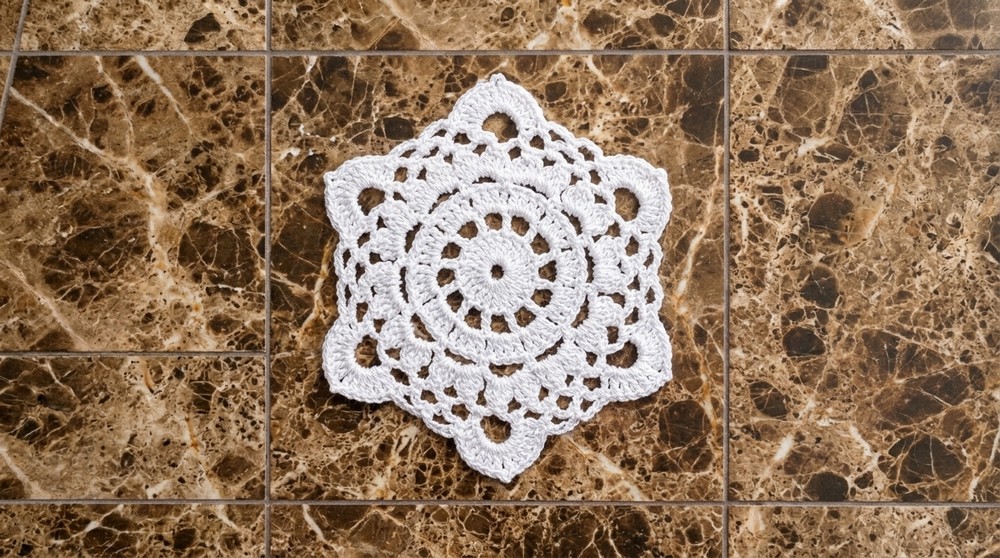
A handmade star square is more than just a single crochet block. It becomes part of blankets, home decorations, and thoughtful gifts that can be enjoyed for many years. Whether you make one or many, each square adds warmth and personality to your crochet collection. If you love versatile crochet projects that are beautiful, practical, and enjoyable to create, the Free Crochet Star Square Pattern is a wonderful design to add to your next project.
Crochet Square Pattern: Beginner-Friendly Step-by-Step Guide
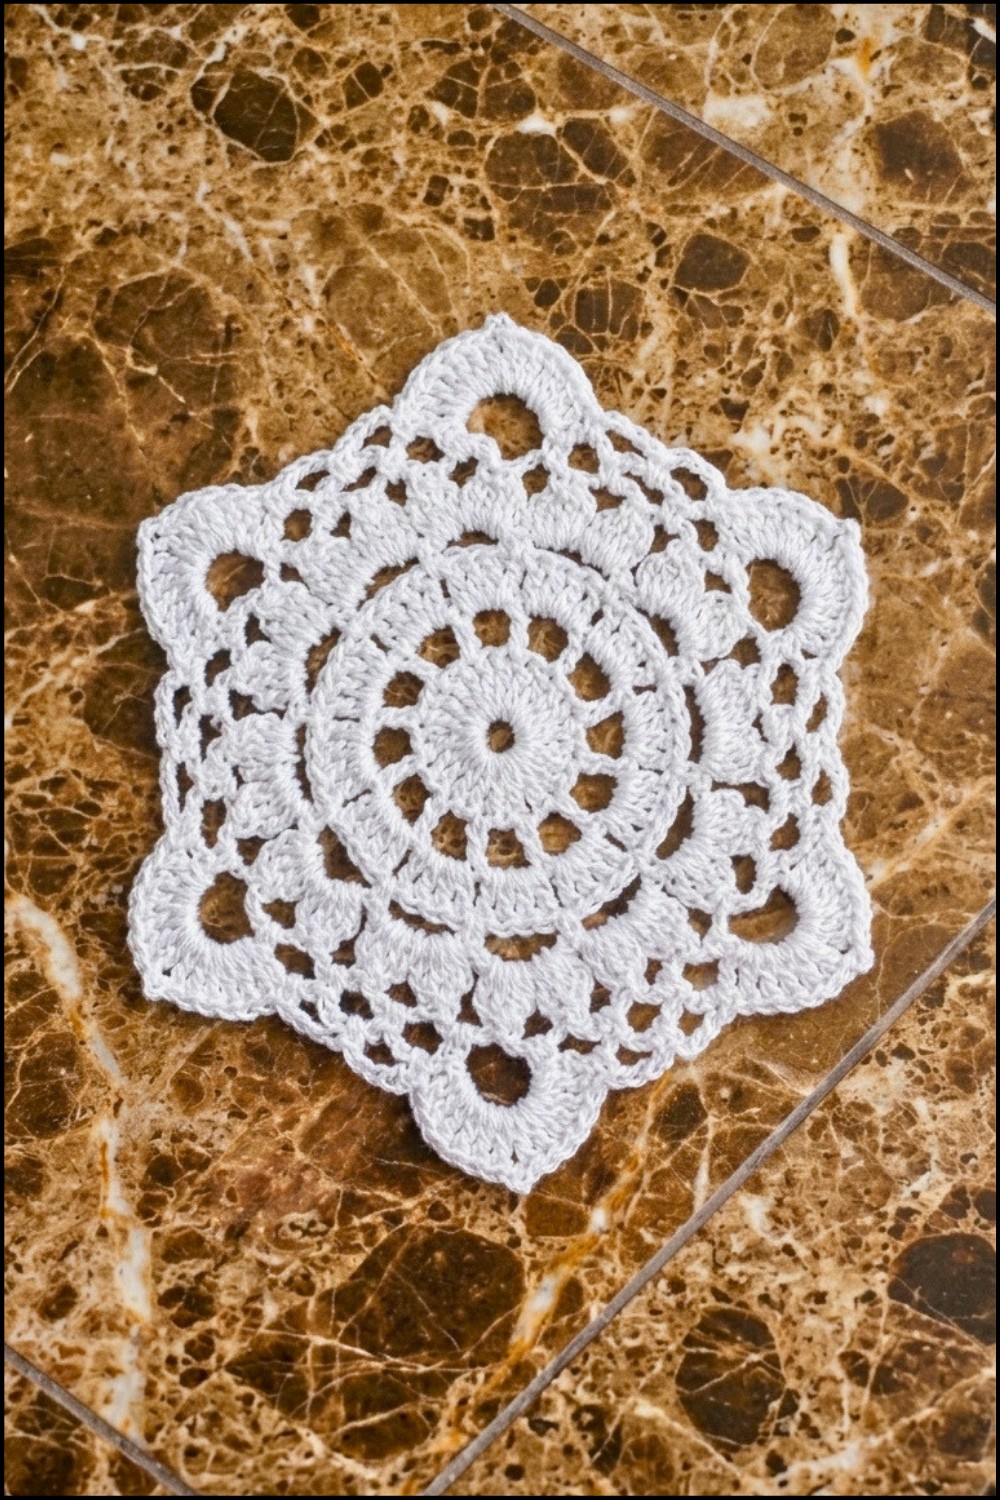
This crochet square pattern uses Fio Encanto Slim yarn with a 2.5 mm crochet hook to create a beautiful, textured square featuring petals and well-defined corners. The work is done in rounds, from the center outward, following simple, clear steps. This guide breaks down each round carefully and highlights important stitches to make the pattern easy to follow — even if you’re new to making crocheted squares.
Pattern Highlights
- Starts with a magic ring (MR) for a tight center.
- Creates 12 square spaces to build the design.
- Uses double crochet (dc) and single crochet (sc) stitches.
- Works double crochet clusters (unfinished dc stitches) for petal effects.
- Chains create open spaces and shaped corners.
- Joins rounds using slip stitches (sl st) for smooth finishes.
Notes for Beginners
- Make sure to understand the basic stitches: chain (ch), single crochet (sc), double crochet (dc), and slip stitch (sl st).
- Practice the magic ring (MR) before starting to ensure a neat center.
- When working clusters, leave loops on the hook for each unfinished dc and pull through all loops at the end.
- Always join rounds with a slip stitch into the specified stitch to keep your work even.
- Keep stitch counts accurate to keep square shape.
Skill Level
Intermediate-Beginner — basic stitches and techniques are used with cluster and shaping instructions explained.
Materials
- Fio Encanto Slim yarn (or similar sport weight yarn)
- 2.5 mm crochet hook
- Scissors
- Yarn needle for weaving ends
- Stitch markers (optional)
Stitch Abbreviations
| Abbreviation | Meaning |
|---|---|
| ch | Chain |
| sc | Single crochet |
| dc | Double crochet |
| st | Stitch |
| sl st | Slip stitch |
| tog | Together (used for clusters) |
| MR | Magic ring |
Special Stitches
Magic Ring (MR):
Start your round by wrapping yarn around your finger to create a tight loop, then crochet stitches into the ring before pulling it tight.
Unfinished Double Crochet Cluster:
- Yarn over, insert hook, yarn over and pull through (3 loops on hook).
- Yarn over, pull through 2 loops (2 loops remain).
- Repeat several times leaving loops on hook for each dc.
- Yarn over and pull through all loops to close the cluster.
Step-by-Step Instructions
Round 1: Foundation (Magic Ring and First Round)
- Make a magic ring (MR).
- Chain 3 (counts as first dc).
- Work 24 dc into the magic ring.
- Close the round by slip stitching into the top of the first chain 3.
- Pull ring tight to close center hole.
Round 2: Creating Square Spaces
- Chain 3, then chain 3 again (acts like a double crochet + chain 3 space).
- Skip 1 dc from previous round.
- Work 1 dc into the next stitch.
- Chain 3, skip 1 stitch, then 1 dc into the next stitch.
- Repeat this pattern around to make 12 chain-3 square spaces.
- Finish by slip stitching into the 3rd chain of your starting ch 3.
Round 3: Filling the Spaces
- In each of the 12 chain-3 spaces from Round 2, work 4 dc evenly spaced.
- Join round with a slip stitch into the first dc.
Round 4: Forming the Petal Framework
- Chain 5.
- Single crochet (sc) between the 4-dc blocks from previous round.
- Chain 5 again.
- Repeat: alternate chaining 5 and sc between each 4-dc block around.
- Join round with a slip stitch into the base of the first chain 5.
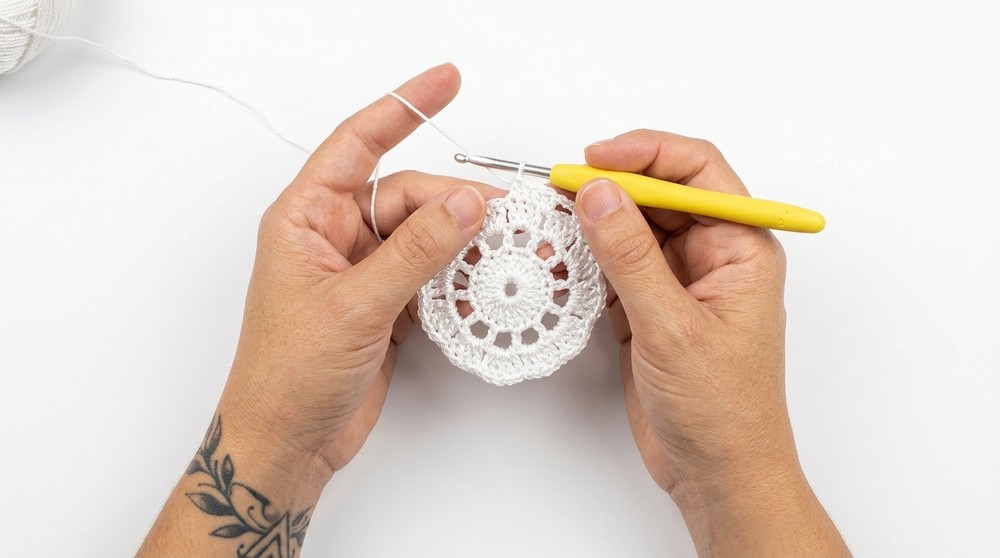
Round 5: Creating the Inner Petals (Clusters)
- In each large chain-5 space from Round 4, work:
- 4 unfinished dc stitches (cluster) — leave loops on hook after each dc.
- Chain 4.
- Another 4 unfinished dc stitches in the same space.
- Repeat this cluster and chain 4 pattern inside every large space around.
- Join round with slip stitch.
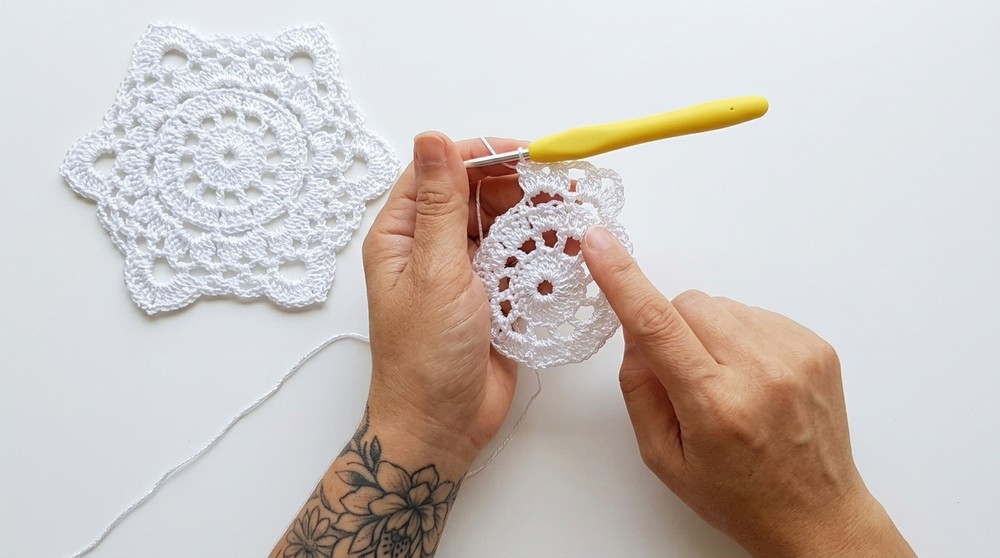
Round 6: Shaping the Corners
- Slip stitch to center of the work for even positioning.
- Chain 4, then single crochet in the next space to start.
- To make 6 corners:
- Chain 7 for each corner chain space.
- Chain 4 for intermediate chain spaces between corners.
- Continue chaining 7 (corners) and chaining 4 (between corners) around the square.
- Join round with a slip stitch.

Round 7: Final Round and Finishing
- Slip stitch to center of first chain space to start final round.
- Work chain 4 spaces between sections to separate clusters and corners.
- Inside each large corner chain 7 space from Round 6:
- Work 6 dc,
- Chain 2,
- Work 6 dc again.
- Repeat this pattern all around.
- Close round with slip stitch in starting stitch.
- Fasten off and weave in all ends.
Helpful Tips
- Use stitch markers to mark corners and large chain spaces.
- Keep your tension even throughout to maintain square shape.
- Count stitches regularly to avoid mistakes.
- Review videos or tutorials on clusters and magic rings if unfamiliar.
Conclusion
By following these clear, step-by-step instructions, even beginners who’ve mastered basic stitches can create this elegant crochet square. The combination of magic ring foundation, chain spaces, cluster petals, and carefully shaped corners gives a beautiful floral look and sturdy shape. Use this square alone or join multiple squares to make blankets, pillow covers, or other stunning crochet projects.


Leave a Reply