

Create festive holiday decor with this crochet Christmas socks pattern, featuring simple steps to create personalized and handmade seasonal designs.
Wrap your feet in warmth and festive charm with this engaging crochet pattern, ideal for adding a special touch to your winter wardrobe. These socks provide a comfortable fit that hugs the feet gently while offering enough stretch to accommodate various sizes. The festive style of Crochet Christmas Socks radiates holiday spirit, making them suitable for cozy evenings at home, family gatherings, or casual winter outings.
Easy Crochet Christmas Socks Free Pattern With Christmas Charm
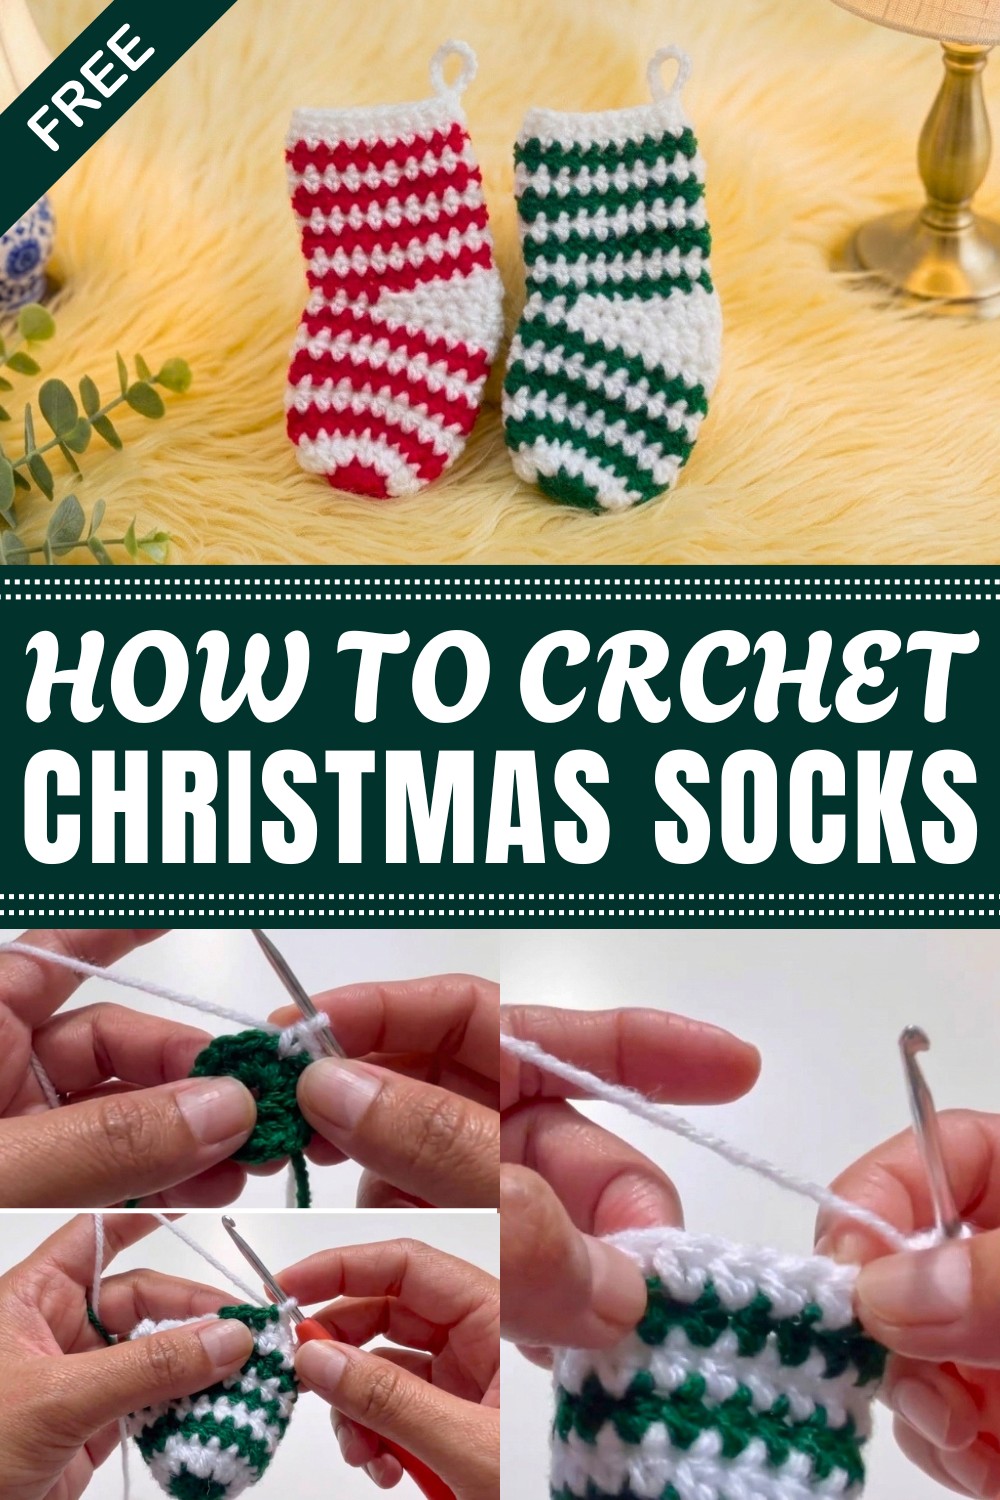
The beauty of these socks lies in their vibrant seasonal colors and cheerful motifs that evoke the joy of Christmas. They pair wonderfully with lounge wear or can add a pop of holiday cheer when worn inside boots. Whether relaxing by the fire or exchanging gifts, these socks enhance both comfort and holiday aesthetics.
Texture plays a key role in the appeal of these socks. The carefully chosen stitches create a soft yet sturdy fabric that feels pleasant against the skin while providing durability for frequent wear. Unique details such as festive trims and alternating stitch patterns offer dimension and visual interest without compromising comfort. The combination of smooth and textured sections adds a tactile richness, making these socks stand out.
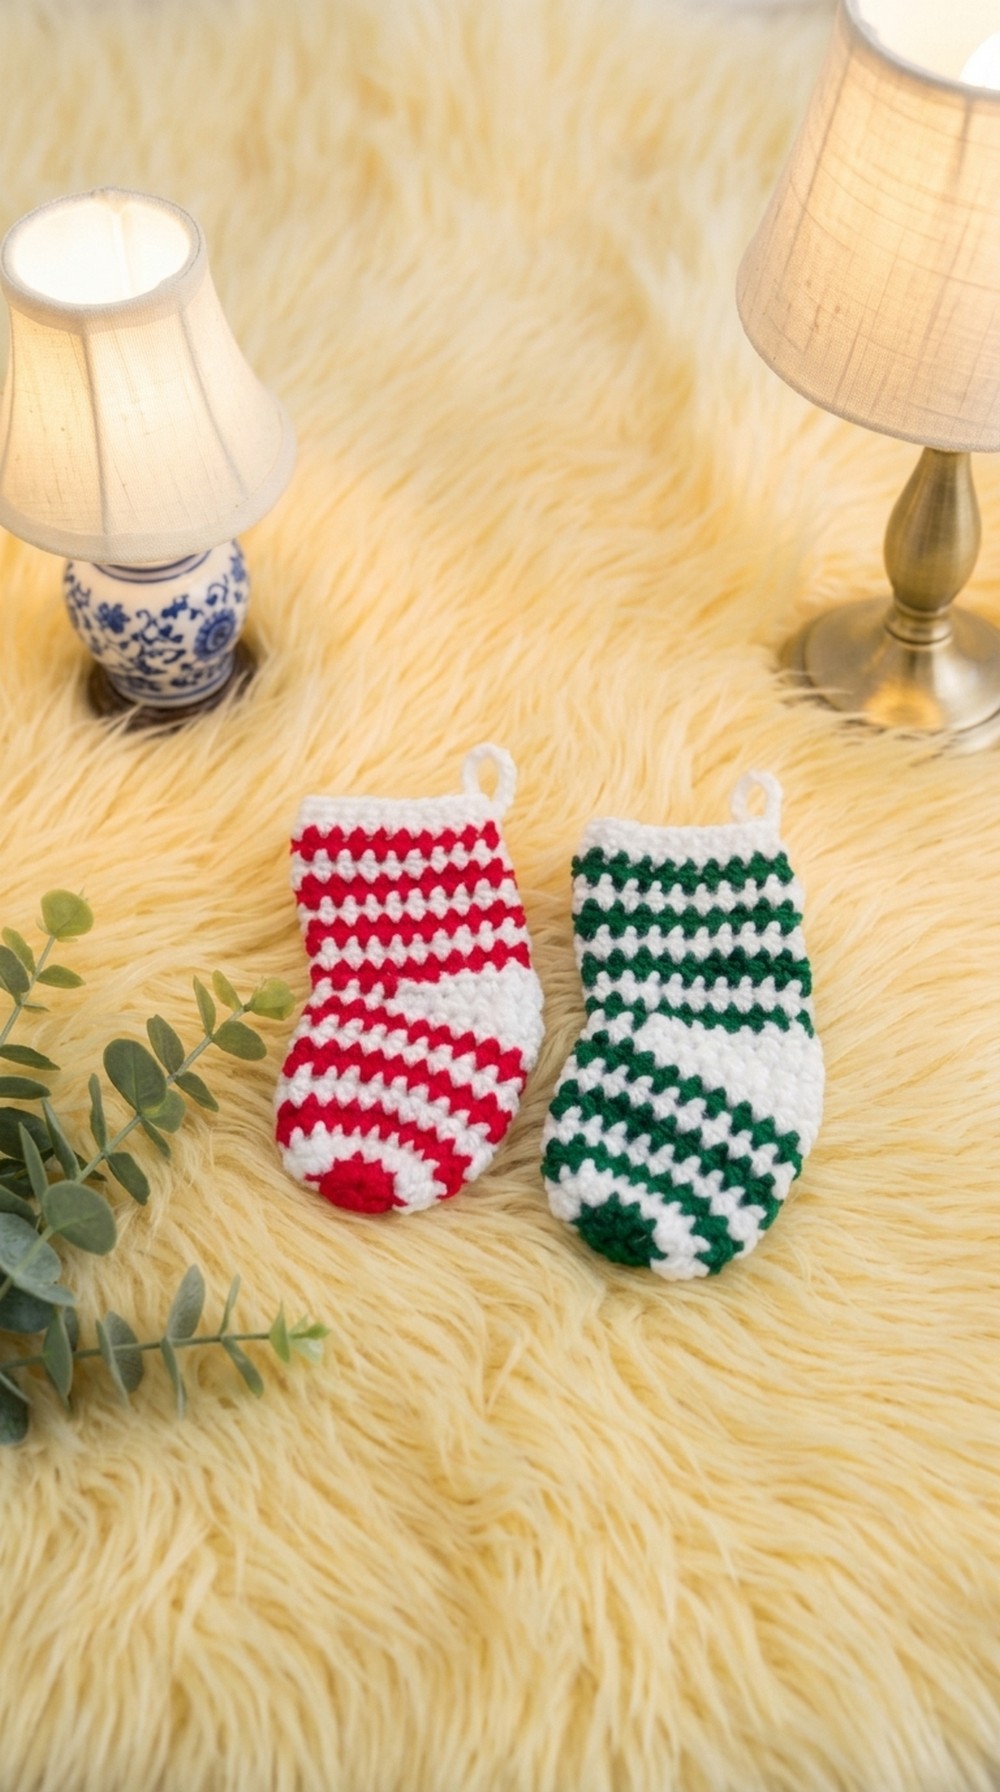
For those seeking a heartwarming addition to their seasonal wardrobe or a thoughtful gift idea, this Crochet Christmas Socks Pattern offers plenty of charm and practicality. Continue reading the complete pattern to follow all the elements that bring this design to life, offering warmth and festive style during the holiday season and beyond.
Crochet Mini Christmas Sock Ornament Pattern
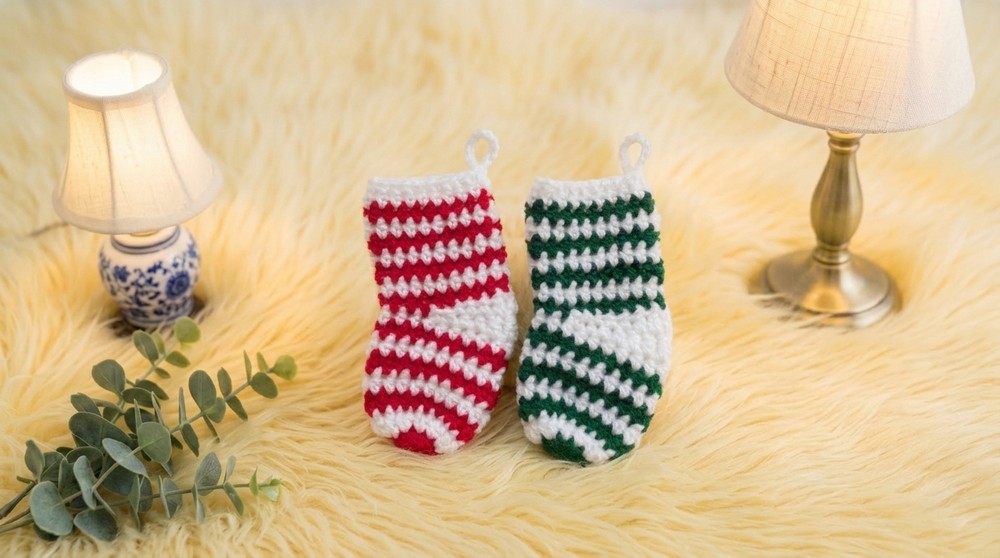
Begin a festive season with a charming Crochet Mini Christmas Sock Ornament. Using beginner-friendly techniques, this small sock makes an ideal project for decorating Christmas trees, adorning gifts, or adding a handmade touch to your holiday decor. With just two colors of yarn and a small hook, you will create a classic Christmas icon by following easy-to-understand, step-by-step instructions.
Quick Overview of Pattern
- Start with a simple magic circle for the toe
- Alternate yarn colors for a striped, cheerful look
- Work spiral rounds up through the leg
- Shape a neat heel with short-row construction
- Finish with a functional hanging loop for easy decorating
Notes
- Change yarn color at the end of each specified round to create strong stripes; carry unused yarn inside or cut and rejoin as you prefer
- Rounds are joined with a slip stitch; always begin with a new chain
- The beginning chain in each round counts as your first stitch unless stated otherwise
- The sock is worked from the toe up, in mostly continuous rounds with two heel shaping rows
- For heel rows, use stitch markers as placeholders to help with correct stitch placement and joining
- For best visual effect, pull magic circle tight and weave in ends as you go to reduce finishing time
Skill Level
Beginner to Advanced Beginner
Basic familiarity with half double crochet (hdc), single crochet (sc), double crochet (dc), color changes, magic circle, and working in spiral rounds will contribute to ease and enjoyment of this pattern.
Materials
- 100% acrylic yarn in two contrasting colors (such as Red & White or Green & White)
- 3.0 mm crochet hook
- Two stitch markers
- Tapestry needle for sewing and weaving ends
- Scissors
Measurements / Sizing
- Finished sock measures approximately 7–8 cm (about 3 inches) in height, based on suggested yarn and hook
- Ideal size for tree ornaments, garlands, or small gift holders
Gauge
- Exact gauge is not critical, but 20 hdc over 8 rows should measure close to 2 x 2 inches (5 x 5 cm) for a firm, neat result.
Stitch Abbreviations
| Abbreviation | Meaning |
|---|---|
| ch | chain |
| sc | single crochet |
| hdc | half double crochet |
| dc | double crochet |
| sl st | slip stitch |
| st(s) | stitch(es) |
Special Stitches
- Magic Circle: Loop yarn and crochet stitches into circle, tightening tail to close.
- Color Change: To switch, use new yarn to finish the last loop of the previous stitch.
The Crochet Pattern
Toe & Foot Section
Round 1:
- Begin with your first color (e.g. green or red).
- Make a magic circle.
- Chain 2 (ch 2) (counts as first hdc).
- Work 9 more hdc into the ring. (10 hdc total)
- Pull the tail tight to close the circle, ensuring no hole remains.
- Join with a sl st to the top of the initial ch-2.
Round 2:
- Switch to your second color (e.g. white).
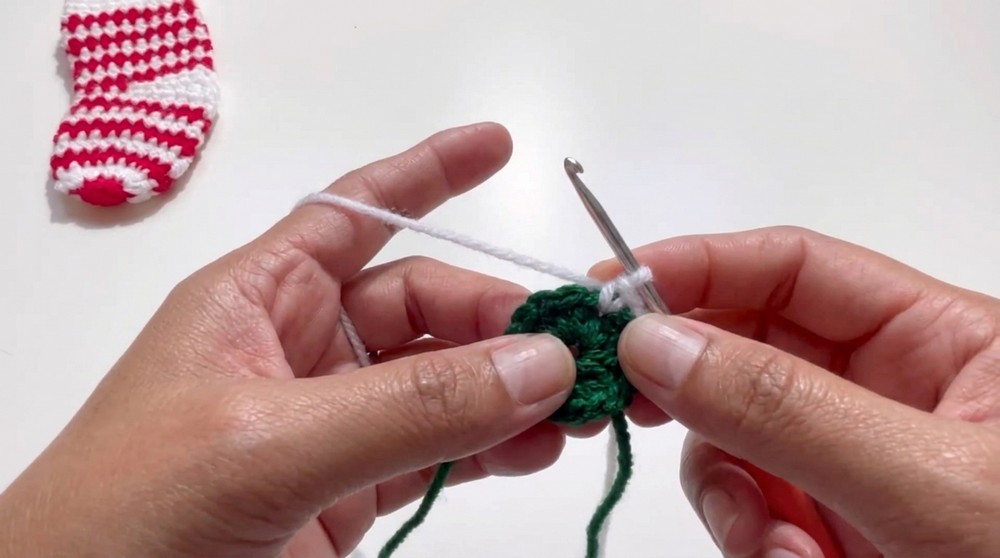
- Chain 2 (ch 2) (counts as first hdc).
- Work 1 hdc into the same stitch as the join.
- In each remaining stitch, work 2 hdc—so 2 hdc in each around. (20 hdc total)
- Join with a sl st to the top of the starting ch-2.
Rounds 3 to 8:
- For rounds 3 through 8, alternate yarn colors on every round.
- At the start of each round, ch 2 (counts as first hdc).
- Work 1 hdc in each stitch around. (20 hdc per round)
- Join each round with a sl st to the top of the initial ch-2.
- Change to the next color at the end of every round for the striped appearance.
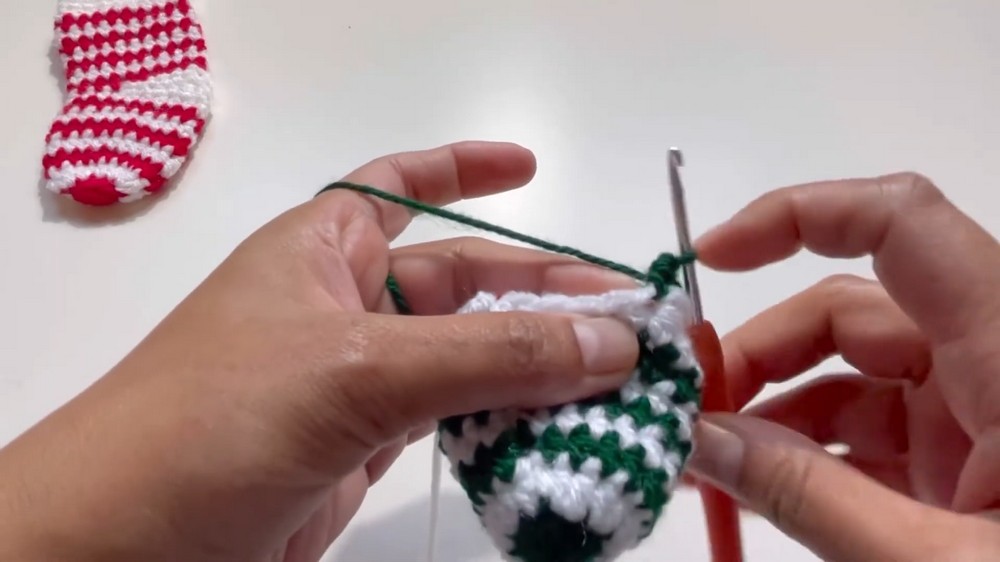
Heel Section
Round 9: Row 1 of Heel
- Do not change yarn color; continue with whatever color you used for round 8.
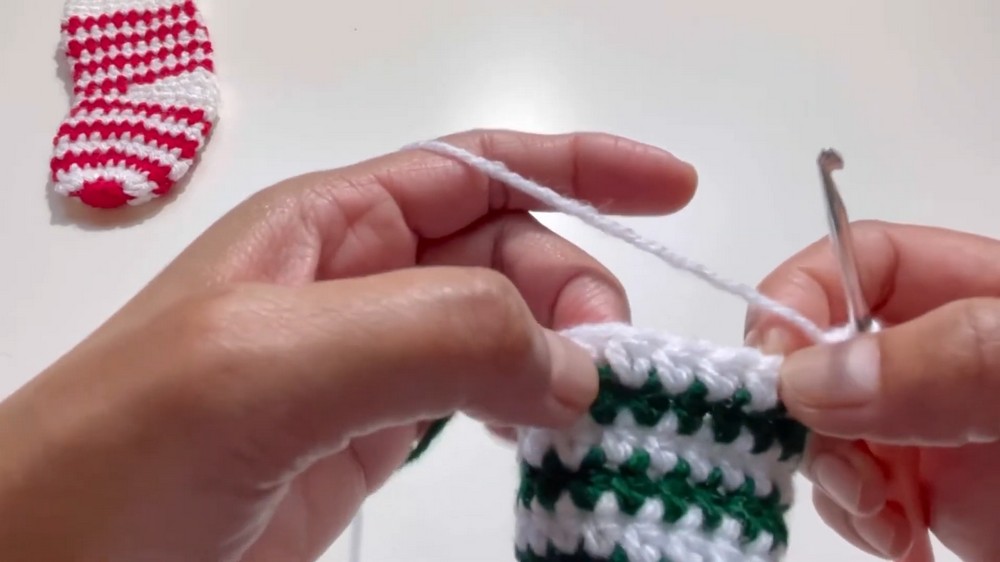
- Place a stitch marker in the sl st just made.
- Work 1 sc in each of the next 2 sts.
- 1 hdc in each of the next 2 sts.
- 1 dc in each of the next 5 sts.
- 1 hdc in each of the next 2 sts.
- 1 sc in each of the next 2 sts.
- Sl st into the next stitch and place a second stitch marker in this sl st.
Round 10: Row 2 of Heel
- Turn your work. Do not chain.
- Skip the sl st, and work 1 sc in each of the next 2 sts.
- 1 hdc in each of the next 2 sts.
- 1 dc in each of the following 5 sts.
- 1 hdc in each of the next 2 sts.
- 1 sc in each of the next 2 sts.
- Sl st into the marked stitch at the end of the row.
Leg Section
Round 11:
- Turn your work again.
- Remove both stitch markers.
- Switch back to the first color.
- Chain 2 (ch 2).
- Work 1 hdc in each stitch completely around the sock opening. (20 hdc total)
- Join with a sl st to the top of ch-2.
Rounds 12 to 18:
- Continue to alternate yarn color every round.
- Each round: ch 2 to begin, then work 1 hdc in each stitch around. (20 hdc per round)
- Join each round with a sl st to the top of the starting ch-2.
- Complete up through round 18, alternating colors on every round for a festive, striped leg.
Cuff & Hanging Loop
Round 19:
- After joining last round, ch 1 (counts as first sc).
- Work 1 sc in each of the next 4 stitches. (5 sc total so far)
- For the hanging loop, now ch 10 (or more for a longer loop).
- Sl st into the same fifth stitch to close the loop.
- Work 1 sc in each of the remaining 15 stitches around. (20 sc in total for the round)
- Fasten off, cut the yarn, and weave in all loose ends inside the sock.
Assembly & Finished Size
- After finishing round 19, tidy up your sock by turning it inside out and weaving in all loose tails.
- Adjust the shape by gently stretching and forming the sock for neat, even stripes and a closed toe.
- The completed sock should measure approximately 7–8 cm (3 inches) in height and includes a sturdy loop, perfect for hanging on the tree or attaching to a present.
Conclusion and Ending Words
Creating your own Crochet Mini Christmas Sock Ornament is a rewarding and joyful experience, adding a touch of handmade warmth to holiday celebrations. The simple stitches, alternating colors, and classic design allow even new crocheters to succeed, resulting in a project that is as fun to make as it is to display. Personalize your socks with different color combinations and enjoy gifting or decorating with a handmade flourish. Wishing you a merry, crafty holiday season.
Leave a Reply