

Create a beautiful crochet Christmas tree pattern for holiday decorations and unique handmade gifts with simple and festive designs.
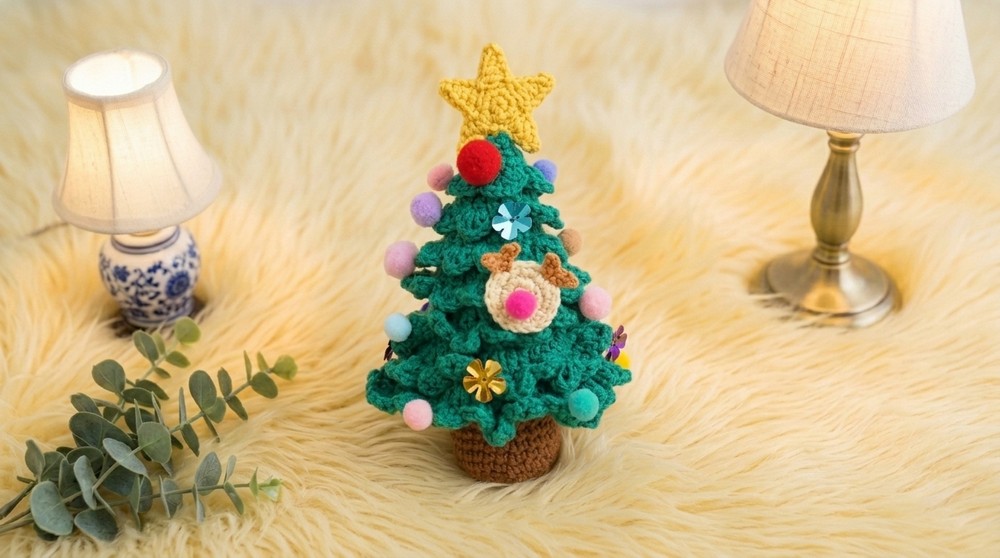
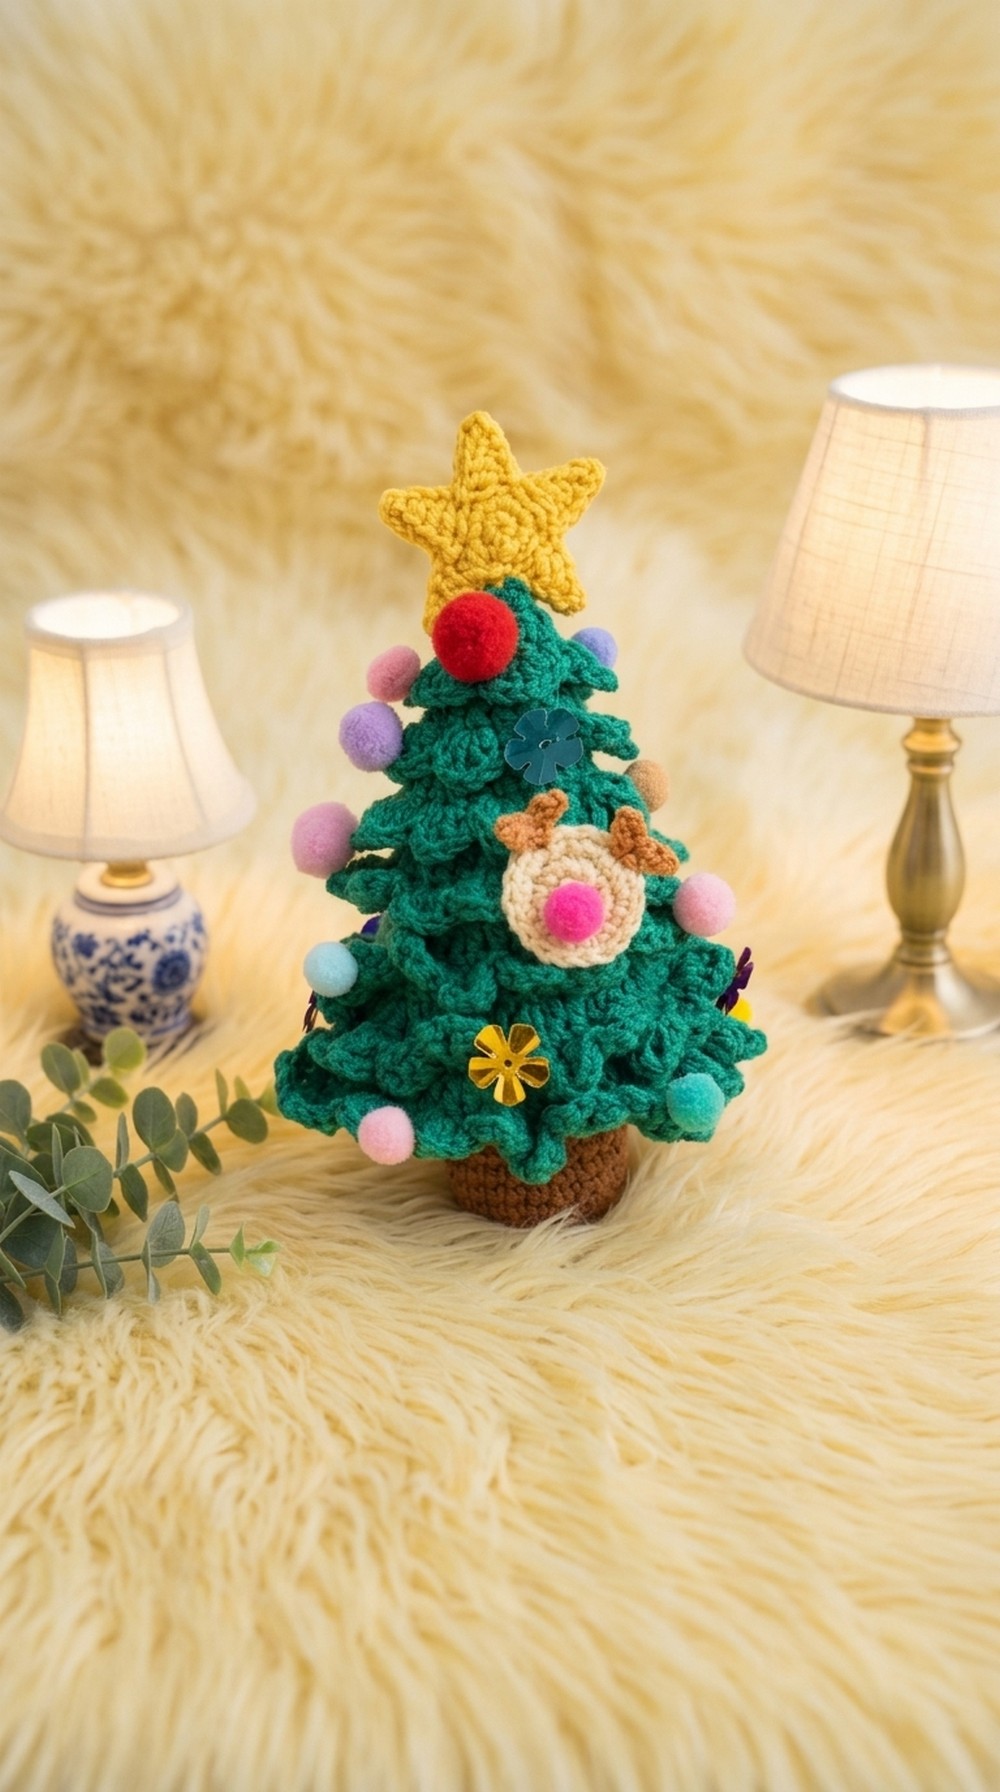
Bring the warmth of the holiday season into your home with this delightful decoration. The Crochet Christmas Tree features a delicate lace design that offers a graceful and intricate look, instantly brightening any space. The soft milk cotton yarn feels gentle to the touch, making each layer of the tree not only beautiful but comforting to hold.
This crochet tree adds a cozy and inviting charm to your festive décor. The yarn’s softness gives the tree a plush texture that helps it keep its shape while making it feel like a snug holiday decoration. Its layered design creates a lovely visual depth, capturing light and shadow in a way that adds warmth and interest.
Free Crochet Christmas Tree Pattern for Christmas Celebrations
Perfect for tabletops, mantels, or as a heartfelt gift, this tree can be decorated with sequins or colorful fur balls to add a touch of sparkle and fun. Beyond its appearance, working with this yarn brings a sense of calm and joy, making the process satisfying and peaceful during busy holiday days.
Overall, this Crochet Christmas Tree is a beautiful addition to your seasonal display. It shines with handmade charm and softness, bringing a festive spirit that lasts year after year.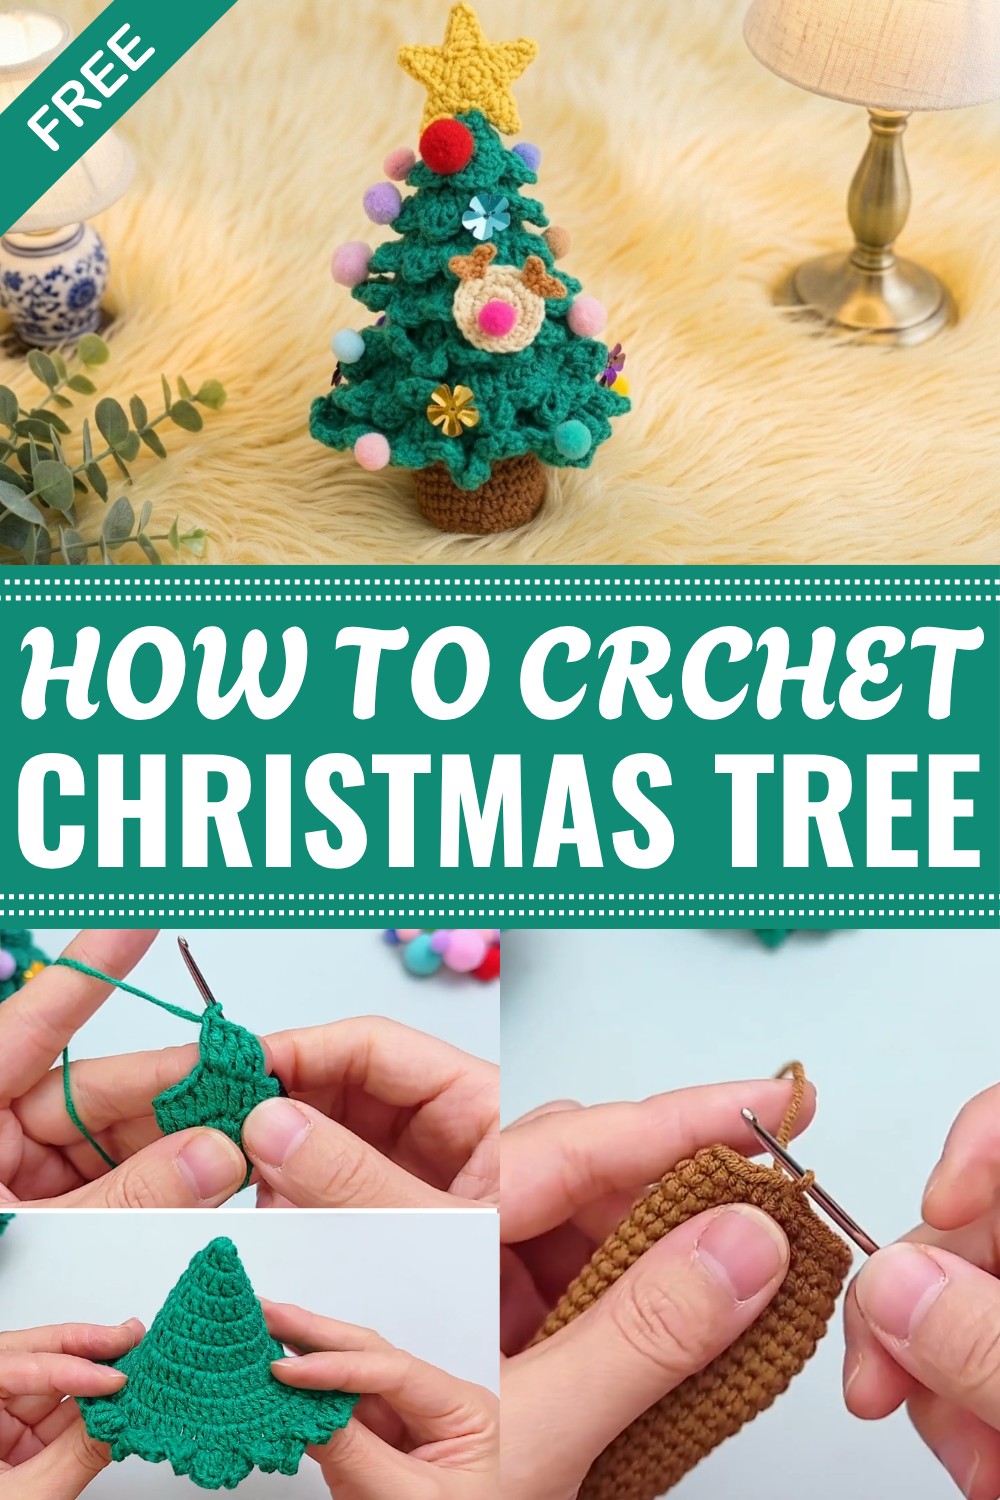
Christmas Tree Crochet Pattern
Pattern Notes
- This pattern uses continuous rounds worked in circular and spiral fashion.
- Each layer of the tree is formed by repeating lace motifs with increases each round for shaping.
- The deer and star details are worked separately and sewn on during assembly.
- Use stitch markers to keep track of rounds when needed.
- Seamless join-ins and hidden thread ends are emphasized for a neat finish.
- Blocking may be applied after completion for best shaping.
Skill Level
Intermediate – requires knowledge of circular crochet, increases, and basic embroidery.
Materials
- Milk cotton yarn (4 strands)
- Crochet hook 2.0 mm
- Sequins (optional, for decorating)
- Fur balls (hair balls) for adornment
- Sewing needle and matching thread
- Glue for attaching decorations
- Scissors and tapestry needle
Measurements / Sizing
- Approximate finished height of the tree: 12 inches (30 cm)
- Diameter at base layer: 8 inches (20 cm)
- Star topper width: 3 inches (7.5 cm)
Gauge
- 6 long stitches per 1.5 inches in circular rounds
- Gauge is flexible due to lace structure, adjust hook size if needed for desired drape
Stitch Abbreviations
- ch: chain
- sl st: slip stitch
- sc: single crochet (short stitch)
- dc: double crochet (long stitch)
- st(s): stitch(es)
- inc: increase (2 stitches in one stitch)
- sp: space
- rep: repeat
Special Stitches
- Lock stitch: a secure chain stitch used as a standing stitch.
- Pull stitch: crochet stitch worked by pulling yarn through loops on hook for shaping (used in antlers).
- Motif cluster: group of stitches forming the lace pattern section.
- Butterfly knot: joining technique for finishing star assembly.
Crochet Pattern
Part 1 – Seventh Layer of the Christmas Tree
Round 1:
- Begin with a magic ring or chain 6 and join with sl st to form a ring.
- Ch 2 (counts as standing stitch), make 6 dc in the ring. Pull the loop tight. (6 dc)
Round 2:
- Ch 2 (standing stitch), make 2 dc into each st around. (12 dc)
- Join with sl st to the first dc.
Round 3:
- Ch 2, dc in next st, 2 dc in next st, rep around. (18 dc)
Round 4:
- Ch 2, dc in next 2 sts, 2 dc in next st, rep around. (24 dc)
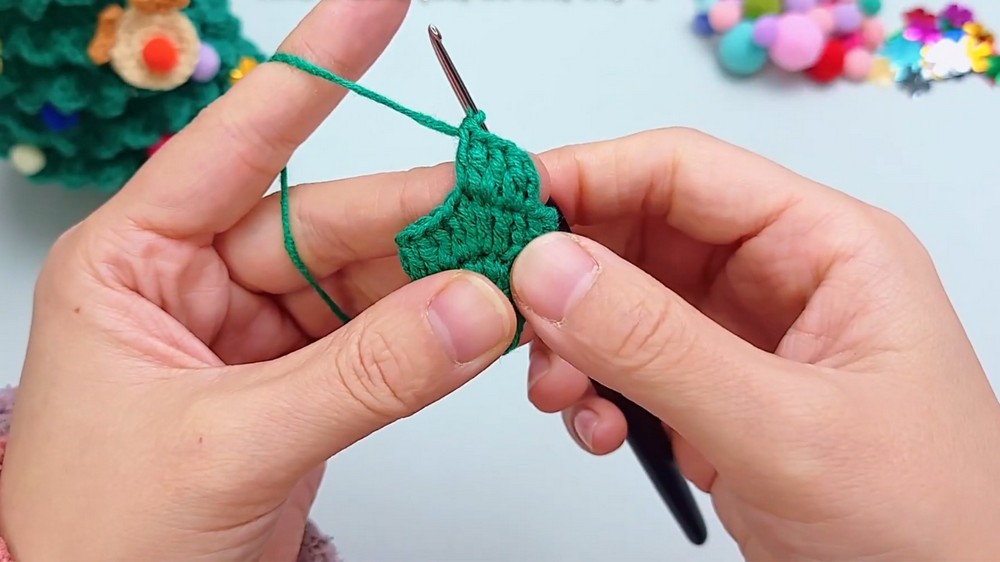
Round 5:
- Ch 2, dc in next 3 sts, 2 dc in next st, rep around. (30 dc)
Round 6:
- Ch 2, dc in next 4 sts, 2 dc in next st, rep around. (36 dc)
Round 7:
- Ch 2, dc in next 5 sts, 2 dc in next st, rep around. (42 dc)
Round 8:
- Ch 2, dc in next 3 sts, 2 dc in next st, dc in next 3 sts, rep around. (48 dc)
Round 9:
- Ch 1 (standing sc), sc in next 2 sts, ch 2, sc in next 2 sts, rep around to make 24 lace motifs.
- Pull the loop and fasten off, weave in ends.
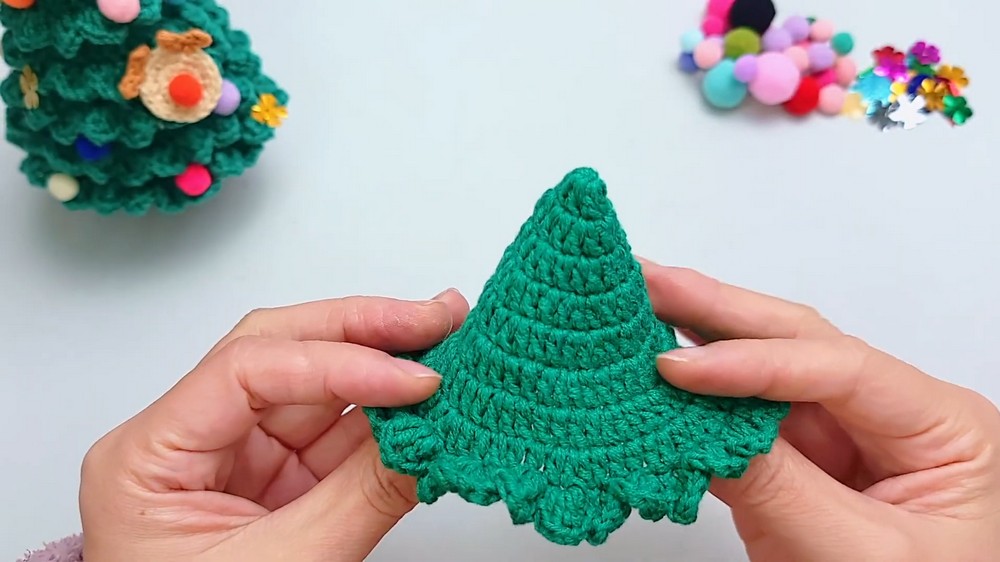
Part 2 – Layers Six to One of the Tree
Each layer repeats the corresponding rounds from the seventh layer with decreasing number of motifs as follows:
- Sixth Layer: Repeat rounds 1-7 of the seventh layer for 21 motifs.
- Fifth Layer: Repeat rounds 1-6 of the seventh layer for 18 motifs.
- Fourth Layer: Repeat rounds 1-5 of the seventh layer for 15 motifs.
- Third Layer: Repeat rounds 1-4 of the seventh layer for 12 motifs.
- Second Layer: Repeat rounds 1-3 of the seventh layer for 9 motifs.
- First Layer: Repeat rounds 1-2 of the seventh layer for 6 motifs.
After completing each layer, arrange the pieces as shown in the schematic and prepare for assembly.
Part 3 – Tree Trunk
Round 1:
- Begin with magic ring or ch6, join to ring, ch1 (standing sc), make 6 sc in the ring. Tighten loop. (6 sc)
Round 2:
- Ch1, 2 sc in each st around. (12 sc)
Round 3:
- Ch1, sc in next st, 2 sc in next st, repeat around. (18 sc)
Round 4:
- Ch1, sc in next 2 sts, 2 sc in next st, repeat around. (24 sc)
Round 5:
- Ch1, sc in each st around (24 sc) working into inner loops as needed.
Rounds 6–21:
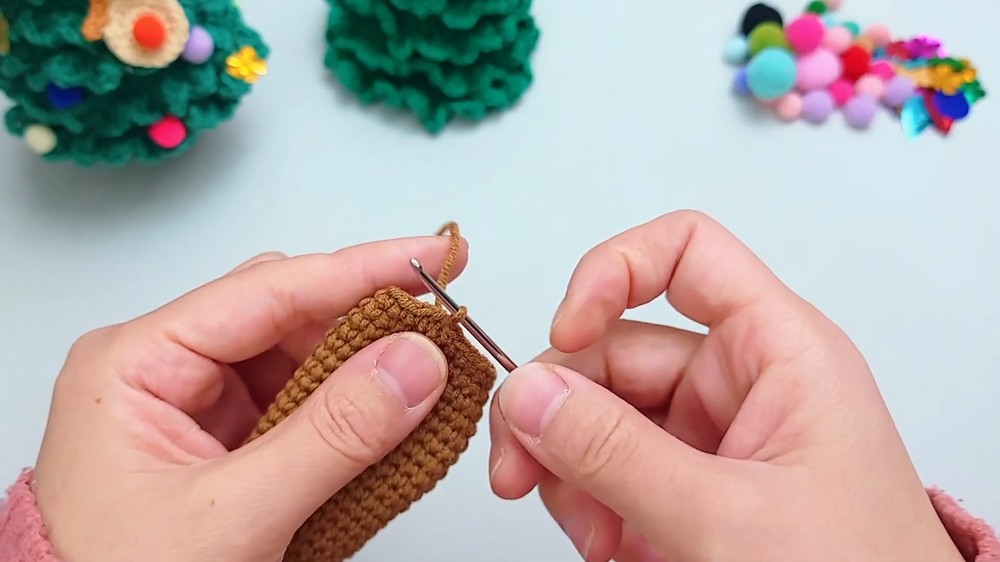
- Continue sc in each st around (24 sc) for 16 more rounds to build trunk height.
- Stuff the trunk firmly with fiberfill before finishing off.
- Weave thread ends securely.
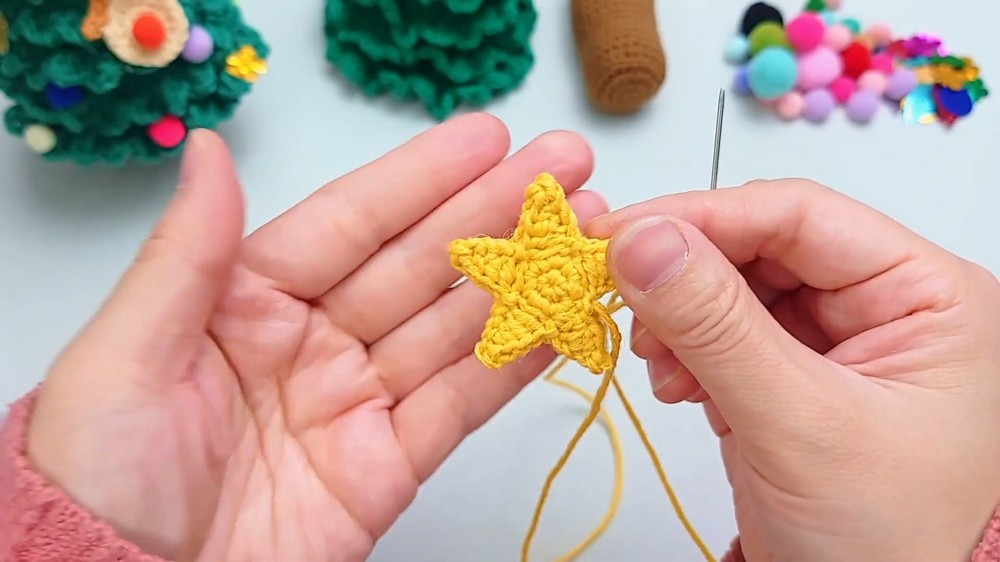
Part 4 – Five-Pointed Star Topper
Round 1:
- Magic ring or ch 6 joined into a ring.
- Ch 1 (standing sc), 5 sc into ring, tighten loop. (5 sc)
Round 2:
- Ch1, 2 sc in each st around. (10 sc)
Round 3:
- Ch1, sc in next st, sc in next st, inc in next st, repeat 5 times for star points.
- Points are made by chaining and pulling stitches to shape each star arm
- Make 2 stars and sew them back-to-back with a butterfly knot join.
- Leave a long thread for sewing star onto tree.
Part 5 – Reindeer Decoration
Round 1:
- Magic ring, ch1, 6 sc into ring, tighten loop. (6 sc)
Round 2:
- Ch1, 2 sc in each st around. (12 sc)
Round 3:
- Ch1, sc in next st, 2 sc in next st, repeat around. (18 sc)
Round 4:
- Begin antlers: ch3, 2 pull stitches, ch3, secure stitches for antler shape.
- Repeat for second antler symmetrically.
- Attach fur balls on body with glue.
- Weave in ends and shape reindeer.
Assembly & Finished Size
- Sew five-pointed star securely on top of the first layer of the tree.
- Stack each progressively larger tree layer from first to seventh, aligning lace motifs evenly.
- Use small fibers or glue to attach sequins and fur balls as ornaments.
- Attach the reindeer next to or beneath the tree as desired.
- The final assembled tree stands approx. 12 inches tall with an 8 inch base diameter.
- Use blocking and steam lightly to maintain shape and smooth out fabric.
- Trim all thread ends and tidy up all joins for a professional finish.
Summary
Create a beautiful and festive crochet Christmas tree that is perfect for home decoration. This detailed pattern guides you through making each layer of the tree, the trunk, a five-pointed star topper, and an adorable reindeer. The finished project features delicate lace motifs, sequins, and fur ball decorations to bring charm and warmth to your holiday décor.




Leave a Reply