

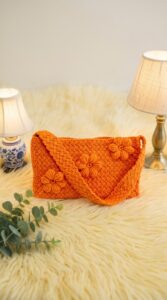
Inspire your creativity with a Crochet Hobo Bag Pattern designed to match your style—create something fun, fashionable, and truly yours.
A hobo bag isn’t just an accessory it’s a functional, stylish addition to your daily routine. A crochet hobo bag brings a unique charm that’s hard to replicate, making it perfect for anyone who loves blending practicality with handmade designs. This bag design offers ample space to carry your essentials, like books, groceries, or even personal items, while staying light and comfortable to carry. Made using durable yarns, it’s not only soft but also long-lasting, ensuring you have a dependable companion for years to come.
Crochet Hobo Bag Pattern for Practicality and Style

Beyond being a fashionable accessory, it promotes sustainability through its reusable nature while allowing you to express your creativity. Perfect for casual days out, weekend trips, or as a standout statement piece, the crochet hobo bag combines utility and artistry, giving you a practical yet stylish way to carry your treasures while showcasing something truly personal and unique.
Introduction:
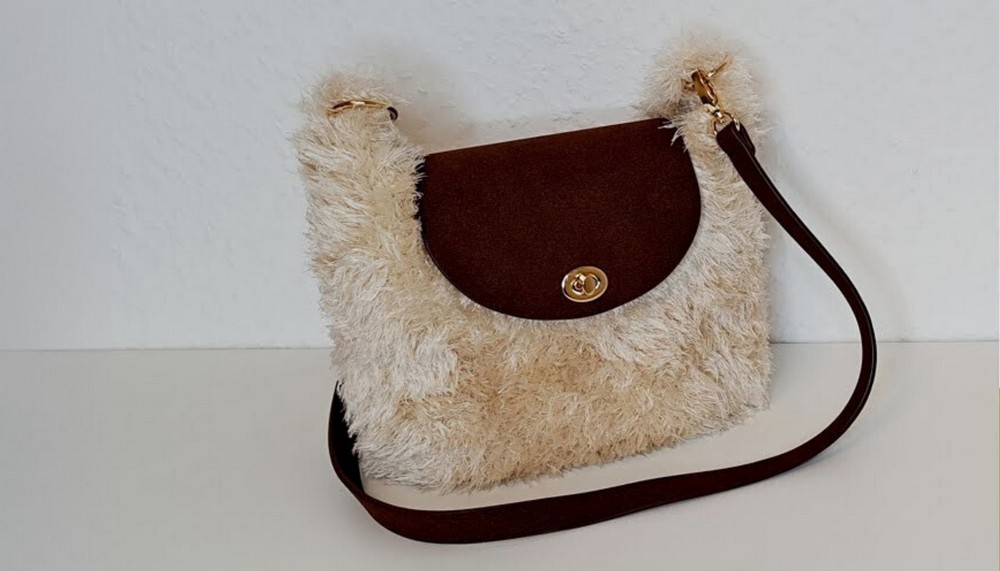
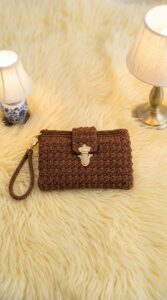
In this pattern, Creator Handmade demonstrates how to create a stylish crochet hobo bag using plush wool. The process is beginner-friendly, and the final product exudes a cozy yet elegant charm. This guide walks you through the various steps, from crocheting the base to attaching the flap and final accessories, ensuring your bag comes together beautifully.
Materials Required:
- Two Tuber Thread (plush wool)
- Hook according to yarn
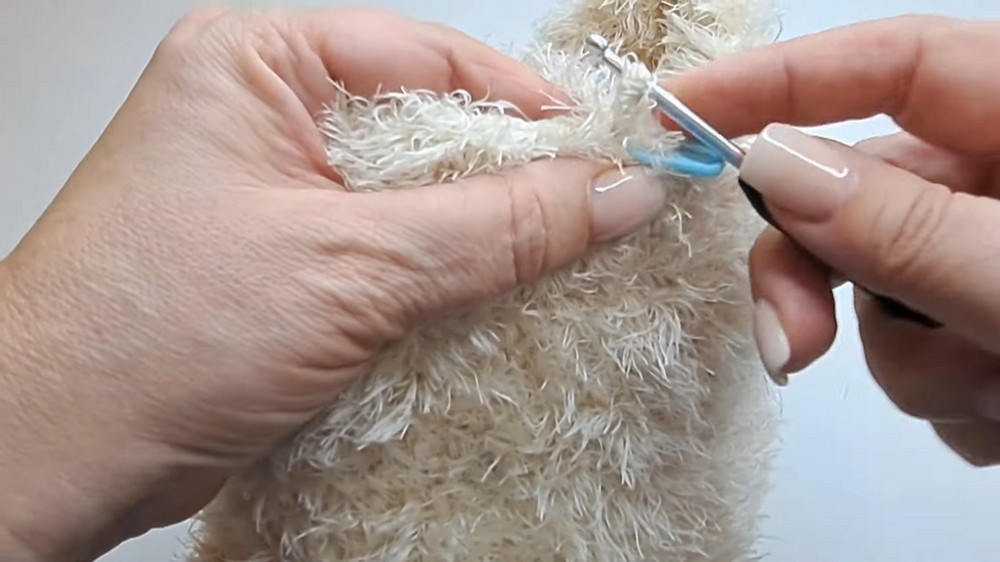
Step 1: Crocheting the Base
- Combine two strands of plush wool together for added thickness.
- Round 1:
- Begin crocheting along the bottom of the bag.
- Crochet two stitches into each opening around the base.
- In corner openings, crochet three stitches for added stability.
- Mark the first stitch with a stitch marker to track the start/end of the round.

- Round 2 and Beyond:
- Crochet one stitch into each stitch without increasing.
- Continue to crochet rounds until you achieve the desired height for the bag.
Step 2: Finishing the Main Body
- Once the desired height is reached, check it against the pocket flap for alignment.
- Complete the round by crocheting up to the stitch marker. Cut the thread and pull it out to finish this section.
- Hide the loose thread using a wool needle, weaving it back and forth to secure it invisibly.
Step 3: Preparing the Sides
- Fold the bag and align the right and left sides, marking them with stitch markers.
- Count equal stitches on both sides, ensuring symmetry by choosing an even number (e.g., 8 stitches on each side).
- Remove middle markers and prepare to crochet the sides.
Step 4: Crocheting the Bag Sides
- Start at the first stitch marker and crochet across to the second marker, adding a stitch marker to remember your starting point.
- After completing the row, turn your work.
- Decreasing Rows:
- Chain one, skip the first stitch, and crochet the second stitch while decreasing by stitching off two stitches.
- Place a stitch marker to mark the decrease.
- Continue crocheting to the marker and decrease similarly at the end of the row.
- Repeat this process with decreases until the side panels are complete.
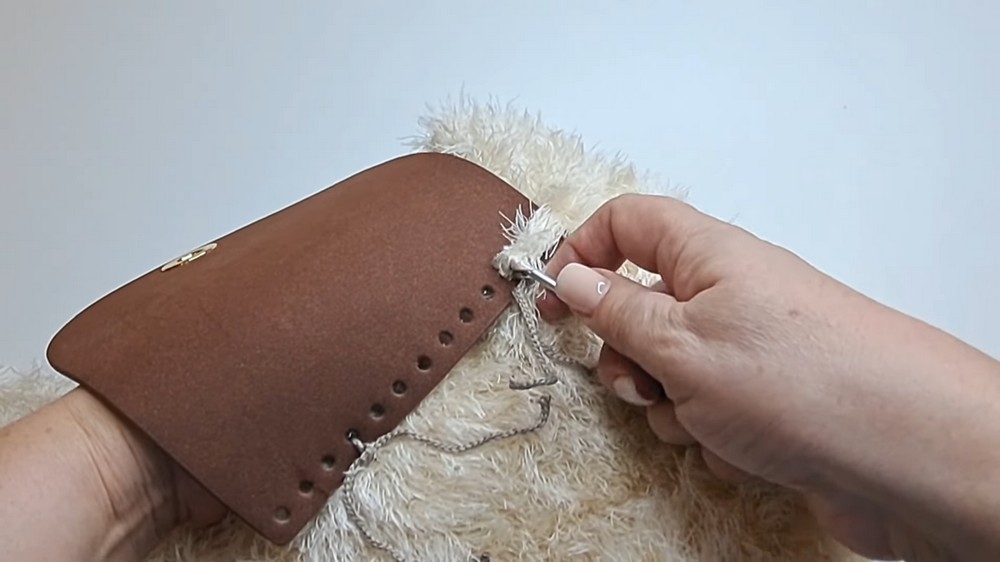
Step 5: Attaching the Pocket Flap
- Position the pocket flap and secure it with thread to ensure it doesn’t shift while sewing.
- Use slip stitches to sew the flap to the body of the bag.
- Make sure not to sew too tightly to avoid puckering.
- Complete the stitching process, verify the alignment, and hide the thread ends for a clean finish.
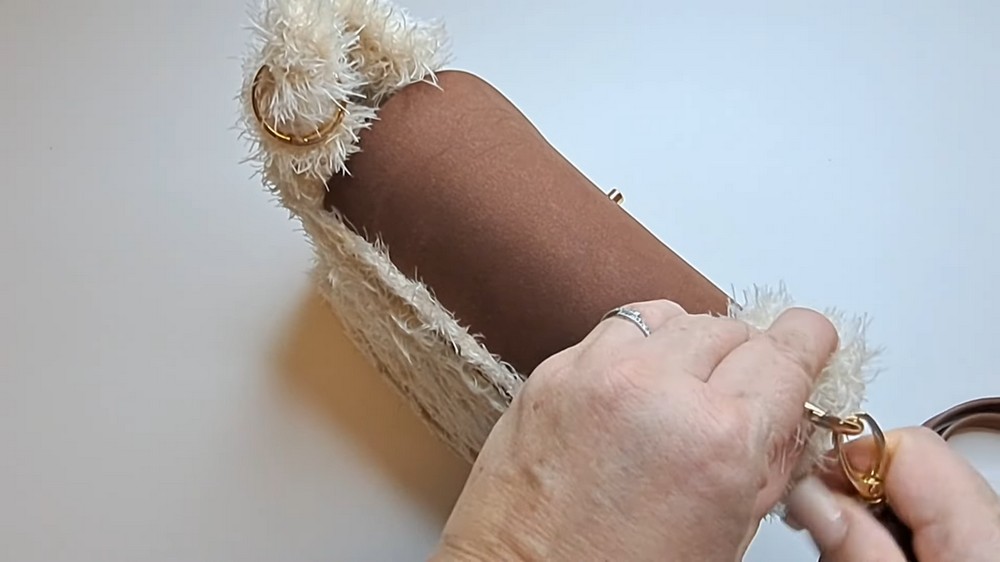
Step 6: Finalizing the Closure and Hardware
- Attach the closure mechanism by aligning its position on the flap and the bag.
- Secure the metal parts and press them firmly into place.
- Add carabiners and the bag strap for functionality.
- Optionally, sew in a lining for a polished interior.
Conclusion:
Congratulations! Your plush crochet hobo bag is now complete. With its soft texture and thoughtful design, this handmade accessory is both practical and beautiful. Whether crocheted for personal use or as a gift, this project embodies creativity and care.


Leave a Reply