

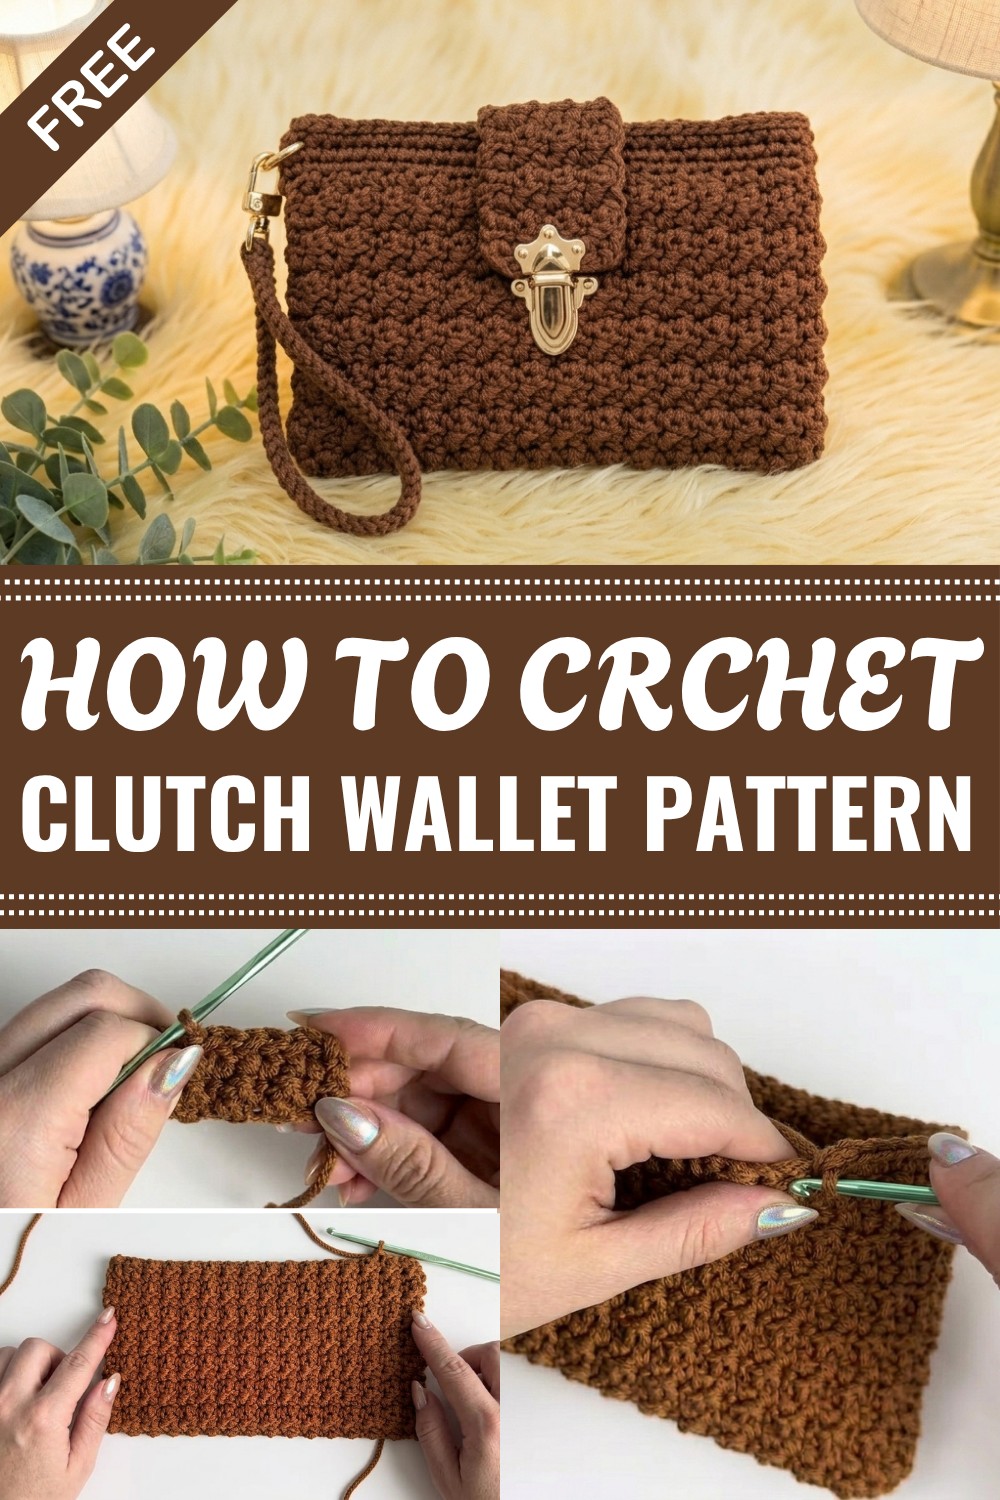
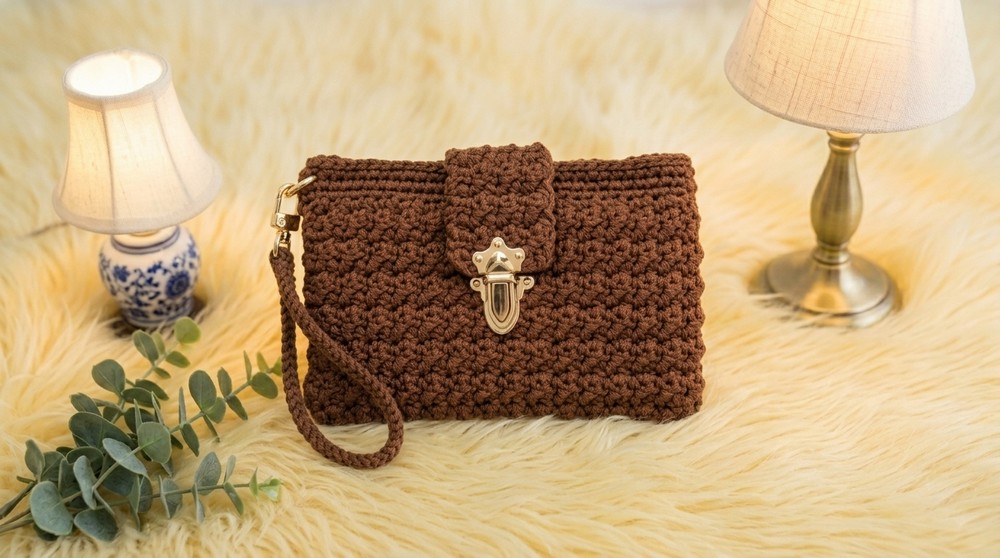
Create a stylish crochet clutch wallet with usig this easy pattern which is ideal for carrying is essentials with a unique handmade touch.
Creating small, practical items that combine style and function is always rewarding, especially projects like a clutch wallet made using a free crochet clutch wallet pattern. This project produces a compact wallet perfect for holding cards, cash, or keys. With simple adjustments, the same pattern can be adapted to make other accessories such as a phone case, a small purse, or a makeup pouch, providing versatility for different needs.
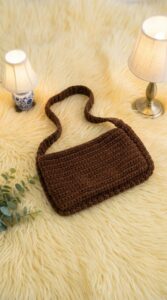
Crochet Clutch Wallet Free Pattern for Style
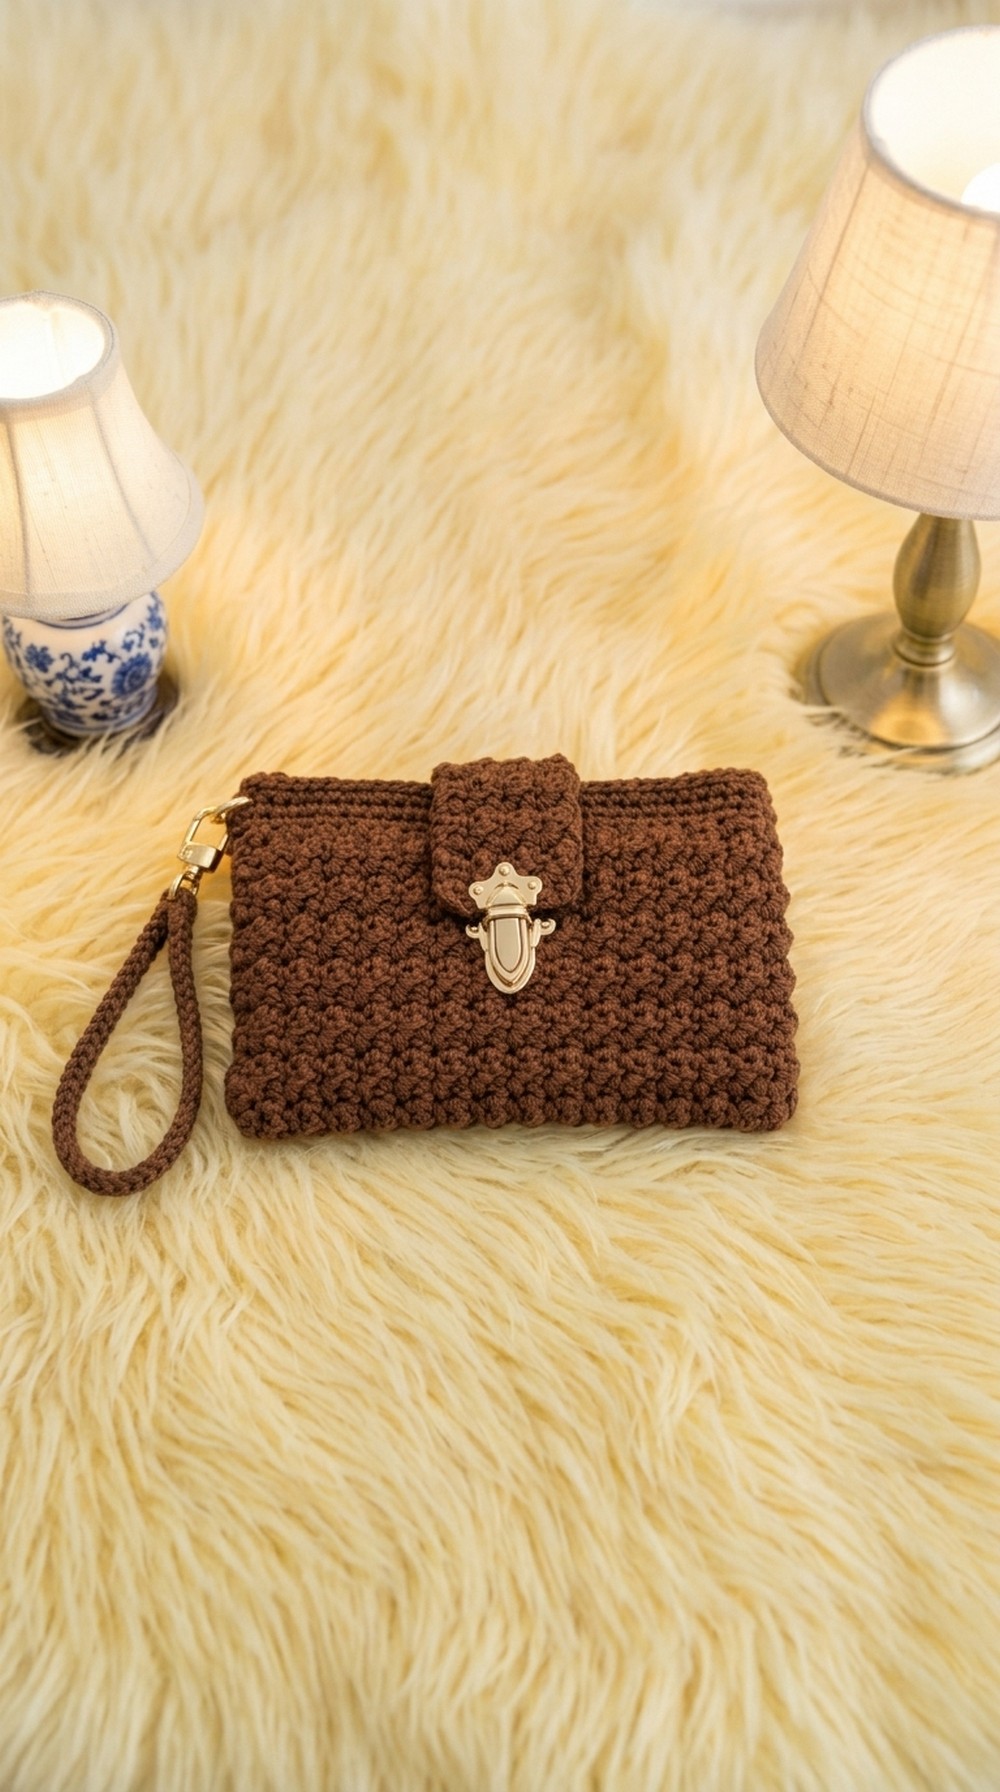
The clutch wallet features a neat rectangular shape with a flap that closes securely to protect its contents. The texture is firm and durable thanks to the tight crochet stitches, which help the wallet keep its form. By selecting different yarn colors or adding small details like buttons or tassels, the design can range from casual to slightly dressy. Its simple yet polished style makes it suitable for everyday use as well as special occasions.
This pattern is well suited for beginners and those with some crochet experience. The main stitch employed is the single crochet stitch, valued for producing a dense and sturdy fabric that works well for structured items. The pouch is worked primarily in rows to create a flat surface, with basic shaping added for the flap closure. Techniques such as finishing edges neatly and making buttonholes are also part of this pattern.
Making this crochet clutch wallet not only results in a useful accessory but also makes a thoughtful handmade gift for friends or family. It provides a stylish way to keep personal items organized and within reach. For anyone seeking an easy-to-follow project that builds foundational crochet skills while creating something functional and attractive, this free crochet clutch wallet pattern is an excellent option.
Easy Crochet Clutch Bag Pattern
Before You Start
- Read through the whole pattern before you begin.
- Set aside enough time and materials for uninterrupted progress.
- Make sure you have basic crochet skills (chain, single crochet, double crochet).
- Keep a tapestry needle for finishing touches and a clasp or button handy.
- If you’re a visual learner, reference Jordana’s video for extra clarity.
- Use stitch markers if needed, especially for beginners.
Pattern Notes
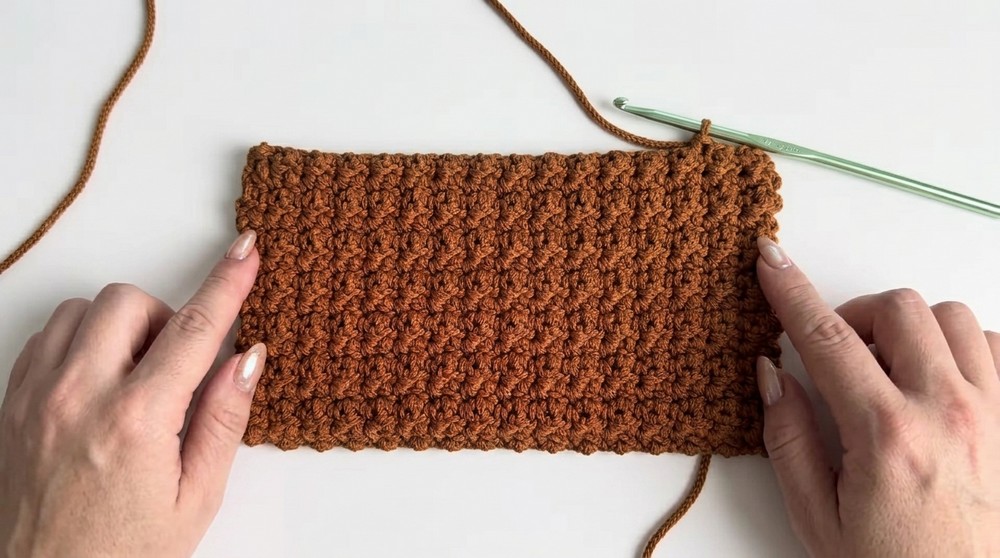
- The base fabric is created with alternating single and double crochet stitches.
- Folded and seamed sides provide a clean finish and sturdy structure.
- The top edge is reinforced with three rows of single crochet and a row of slip stitches.
- Optional clasp and wrist strap add functionality and style.
- The pattern is easily adjustable for size or closure preferences.
How I Made the Crochet Pattern (Summary)
- Started with a foundation chain and alternated single and double crochet.
- Built up the base fabric with 28 rows.
- Folded the piece, closed seams with single crochet, and reinforced edges.
- Created a closure flap and added a clasp.
- Designed a matching wrist strap for convenience and style.
Skill Level
- Beginner to Intermediate: Perfect for new crocheters, but with enough creative options for more advanced makers.
Finished Size
- Approx. 24 cm x 15 cm (9.5" x 6") after folding and seaming.
Materials
- Polyester yarn, approx. 100-150 grams, 4 mm thickness
- 4 mm crochet hook
- Tapestry needle
- Clasp (magnetic, metal, or button)
- Small metal ring for wrist strap (optional)
- Scissors
- Pliers for attaching clasp (optional)
- Stitch marker (optional)
Measurements / Sizing (Schematic)
- Base rectangle: 24 cm (width) x 28 cm (height before folding)
- Flap/closure: 9 rows, approx. 7 cm wide
- Wrist strap: 35 cm long
For larger or smaller bags, adjust starting chain, number of rows, or flap length as desired.
Gauge
- Gauge: 15 stitches x 14 rows = 10 cm x 10 cm in alternating single and double crochet pattern
- Check your gauge, as tension varies between crocheters. Adjust hook size if needed for desired finished measurements.
Stitch Abbreviations
- ch – Chain
- sc – Single crochet
- dc – Double crochet
- sl st – Slip stitch
- st(s) – Stitch(es)
- RS – Right side
- WS – Wrong side
Special Stitches
- Alternating Single and Double Crochet Pattern:
Alternate sc and dc on each row, starting with dc on one row, then repeat for subsequent rows. - Invisible Seam:
Use sc to seam bag sides from the inside, catching both layers for a neat closure.
The Pattern
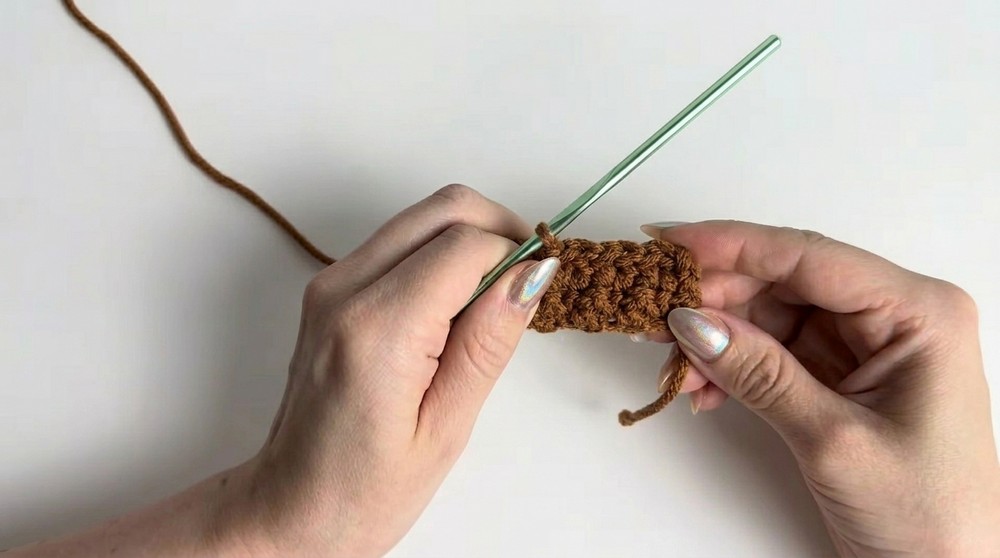
Base Fabric
- Start:
- ch 33
- Row 1:
- Starting in the third chain from the hook:
- dc in 3rd ch from hook
- sc in next ch
- Repeat (dc, sc) across the row; you will have 31 sts.
- Starting in the third chain from the hook:
- Rows 2–28:
- Turn, ch 1.
- dc in first st
- sc in next st
- Repeat (dc, sc) across; always start with dc and end with dc.
- Turn, ch 1.
- Fasten off, leaving a tail for seaming.
If you prefer easy instructions:
Start with 33 chains. Work 28 rows alternating dc and sc, always starting and ending with dc. This creates your basic rectangle.
Assembly (Seaming Sides)
- Fold base rectangle in half, right sides facing out.
- Using tapestry needle/yarn:
- sc along both side edges, catching both layers together.
- Fasten off and weave in ends.

If you prefer easy instructions:
Fold the rectangle so the short sides align. Use sc stitching to seam both sides together from the inside. Turn your clutch right side out.
Top Edge Reinforcement
- Attach yarn at bag opening.
- Work 3 rounds:
- sc evenly around opening (1 sc per st)
- Complete three rounds total.
- Final round:
- sl st in each st around to finish.
If you prefer easy instructions:
Crochet three rows of sc around the bag’s opening for stability. Finish with one row of slip stitches for a tidy look.
Closure Flap
- ch 9
- Starting in third ch from hook:
- dc in first st
- sc in next st
- Repeat (dc, sc) across. (7 sts)
- Rows 2–9:
- Turn, ch 1.
- dc in first st
- sc in next st
- Repeat (dc, sc) across row.
- Turn, ch 1.
- Fasten off, leave tail for attaching.
- Attach flap to center top edge inside bag with tapestry needle.
If you prefer easy instructions:
Chain 9, work (dc, sc) rows for nine lines. Attach this flap by sewing it to the inside of the top edge (centered) with your needle.
Clasp Attachment
- Position clasp centered on flap.
- Install using hardware/pliers as needed, or sew on button.
- If using a metal plate, secure inside with pliers, protecting metal with ribbon to avoid scratches.
If you prefer easy instructions:
Install your clasp or sew on a button as a closure. Use pliers gently if it’s a metal clasp; be careful not to scratch.
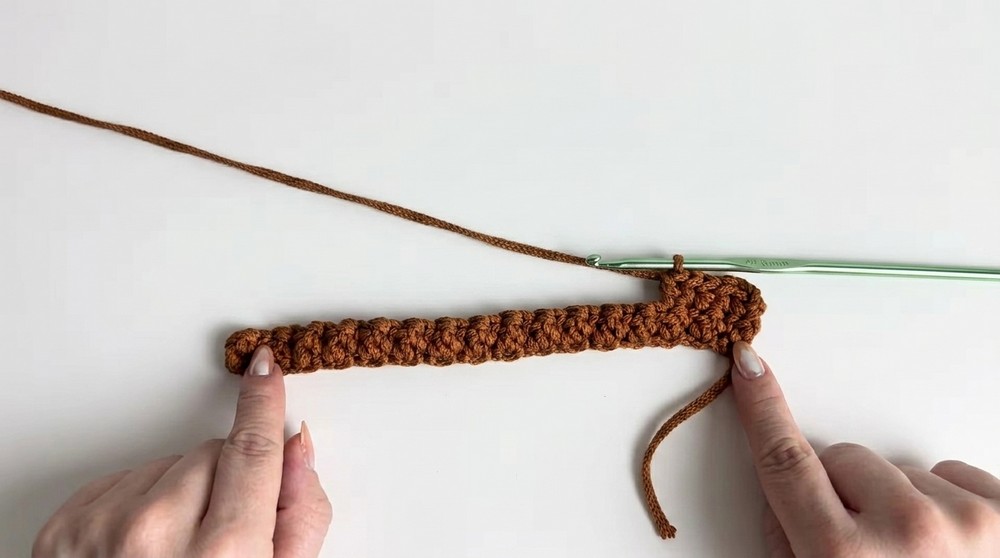
Wrist Strap
- Make a loop 35 cm long with yarn.
- Attach metal ring at one end.
- Securely sew or knot strap to side of bag through ring.
- If desired, add a dab of glue inside to reinforce.
If you prefer easy instructions:
Crochet or braid a wrist strap 35 cm long. Attach with a ring to the side of the bag. Secure tightly.
Assembly & Finishing
- Weave in all yarn ends with tapestry needle.
- Attach closure flap securely to bag.
- Install clasp or button per instructions.
- Add wrist strap, ensuring it’s tightly secured.
- Check seams for completeness and adjust edges.
- Block the bag if necessary to shape.
- Enjoy your handmade clutch!
What You Can Make Using These Stitches
- Simple clutch bags
- Tablet or phone sleeves
- Small purses or wallets
- Cushion covers
- Tote bag panels
- Organizer pouches
You’ve created a beautiful, beginner-friendly crochet clutch bag. The alternating single and double crochet stitches make a lovely textured weave, and the simple construction keeps things straightforward. Personalize your clutch with colors, clasps, or straps as you wish. If you need more visual guides, check out Jordana’s channel for inspiration.

Leave a Reply