

Capture winter magic with Free Crochet Snowman Amigurumi Pattern featuring cheerful smile cozy scarf festive charm and adorable holiday decor.
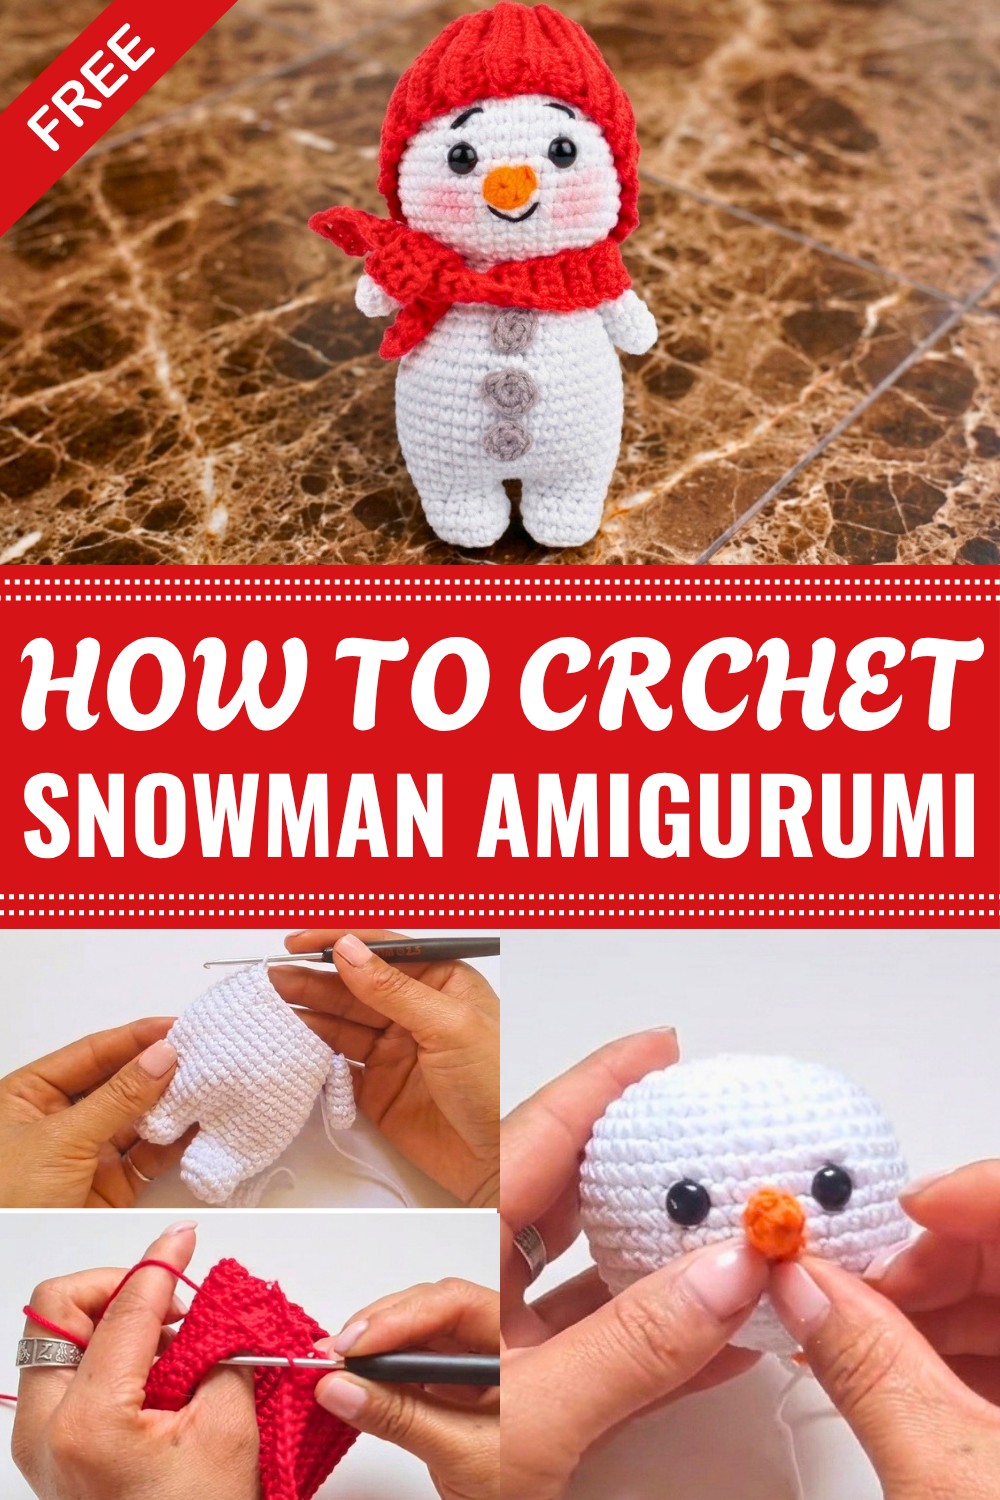
There’s something truly magical about having a little touch of winter charm to brighten up your home or gift to someone special during the holidays. The Free Crochet Snowman Amigurumi Pattern offers just that—a sweet, cuddly snowman figure that captures the spirit of the season in yarn form. Many crocheters love making this project because it’s both fun and satisfying to see a tiny character come to life with simple stitches and soft textures, perfect for decorating shelves, desks, or cozy corners.
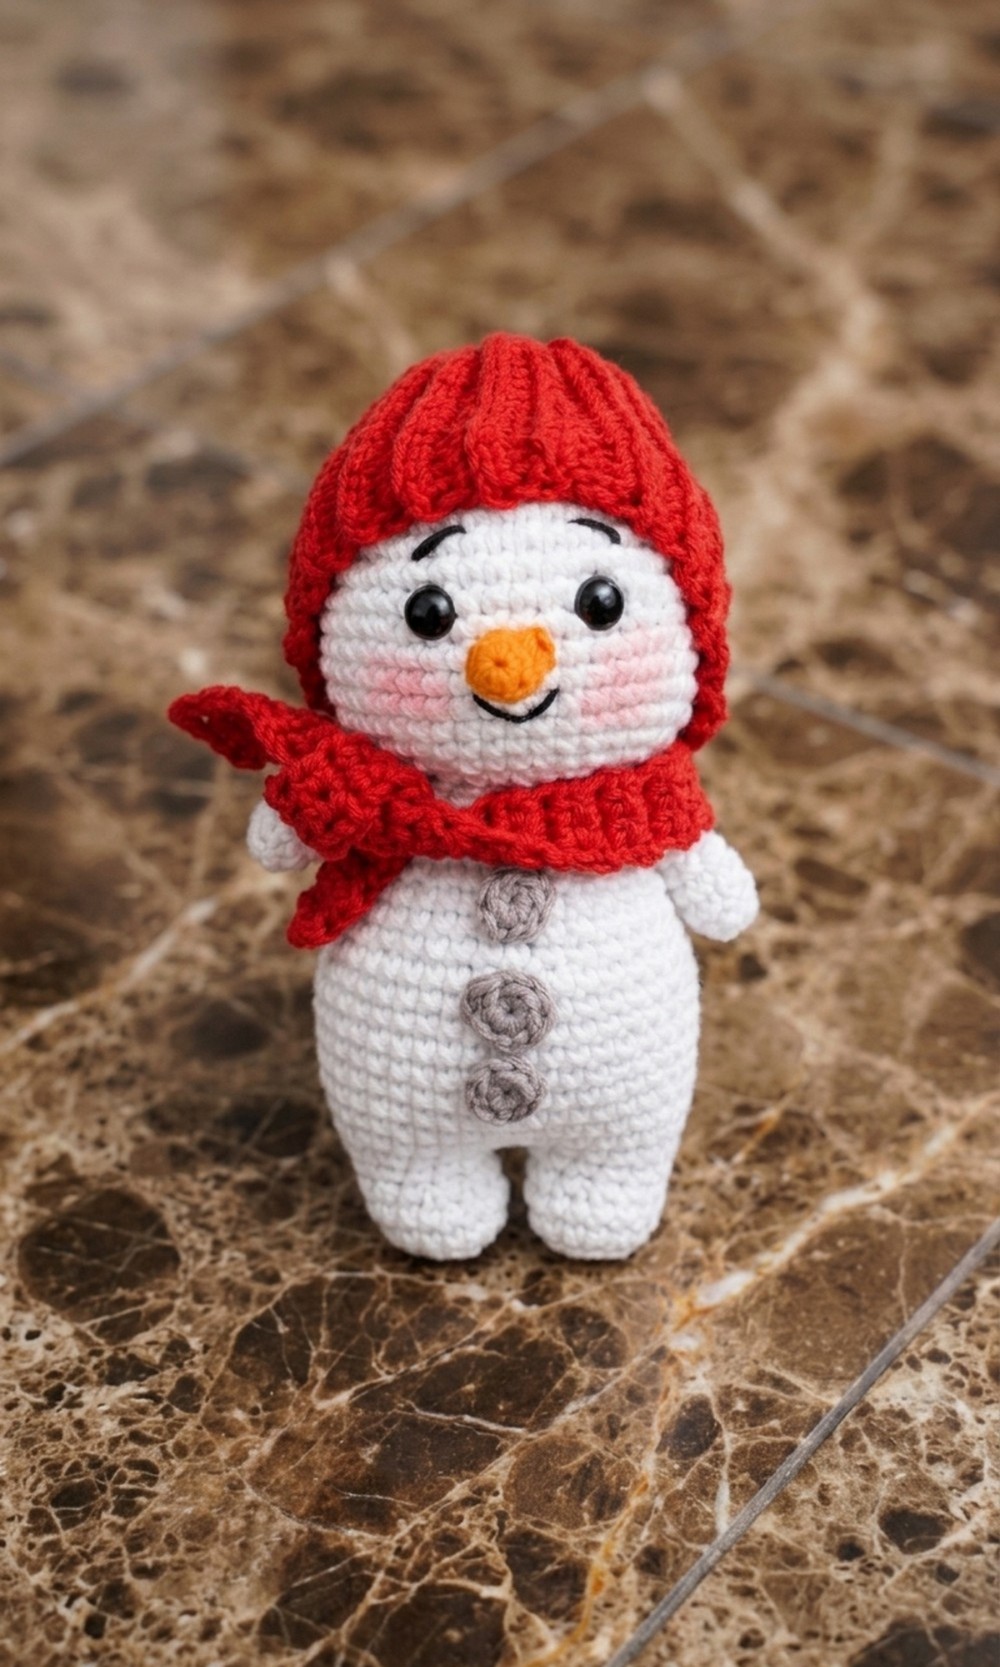
This finished snowman sits upright with a classic rounded shape featuring three stacked “snowballs,” each carefully stuffed to create that plump, huggable look. The smooth texture from worsted-weight yarn ensures it feels soft to the touch while maintaining structure. Accents like a jaunty hat, scarf, button eyes, and a carrot-shaped nose complete the cheerful face, giving personality and warmth to the piece. It’s small enough to fit on a mantel or as part of a festive centerpiece, combining charm with function.
Free Crochet Snowman Amigurumi Patterns for Holiday Joy
What’s wonderful about this project is how easily you can personalize it. Swap colors to make a holiday-themed scarf, add tiny mittens, or even give your snowman a different hat style to match your décor or gifting plans. This pattern suits intermediate crocheters who are comfortable with basic amigurumi techniques like working in rounds, increasing and decreasing stitches, and sewing on small details. It’s a great way to hone these skills while creating a delightful seasonal keepsake.
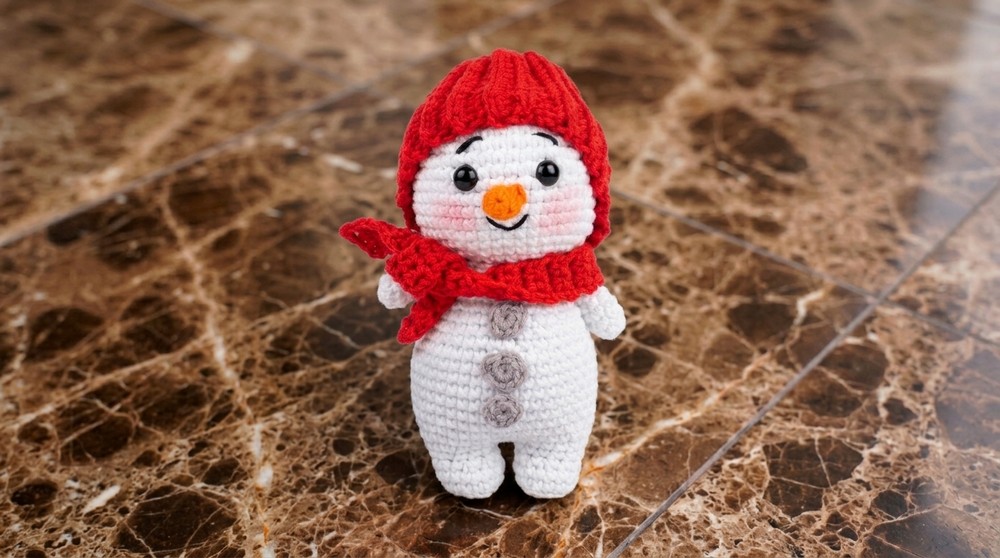
By following the Free Crochet Snowman Amigurumi Pattern, you’ll gain confidence in shaping 3D crochet toys and embellishing them with character-defining features. Plus, the finished snowman adds a cozy, handmade touch to the winter season that’s sure to melt hearts.
Snowman Amigurumi Crochet Pattern (13 cm)
Create a charming 13 cm snowman amigurumi using this detailed crochet pattern. This pattern guides you through crocheting all parts including arms, legs, body, head, nose, hat, and scarf. Finished with sewn details and buttons, this snowman is a wonderful handmade gift or decoration.
Skill Level & Terminology
- Skill Level: Beginner to Intermediate
- Terminology: US crochet terms are used throughout this pattern.
- Stitches: Magic Ring (MR), Single Crochet (SC), Increase (inc), Decrease (dec), Slip Stitch (sl st), Chain (ch), Back-loop Only (BLO).
Materials & Tools
- Yarn: Sinfonia cotton yarn or similar worsted weight cotton yarn in white, orange, red, and desired colors for accessories.
- Crochet Hook: 2.5 mm hook to achieve tight stitches suitable for amigurumi.
- Safety Eyes: 8 mm eyes (2 pieces)
- Stuffing: Polyester fiberfill stuffing.
- Wire/Cleaning Pipe (optional): For arm shaping, if desired.
- Tapestry Needle: For sewing parts together and weaving in ends.
- Silicone Glue: For attaching buttons securely.
- Scissors
Gauge
- Approximate gauge is not critical, but should be tight enough to hold the stuffing without gaps.
- Tightly crocheted single crochet stitches with 2.5 mm hook produce a firm fabric.
Abbreviations
- MR: Magic Ring
- SC: Single Crochet
- inc: Increase (2 SC in same stitch)
- dec: Decrease (single crochet two stitches together)
- sl st: Slip stitch
- ch: Chain
- BLO: Back Loop Only
- st(s): Stitch(es)
- rnd: Round
- row(s): Row(s)
Special Stitch Instructions
- Magic Ring (MR): Wrap yarn around fingers to form a ring, crochet the first stitches into ring, then pull tight to close center hole.
- Increase (inc): Work 2 SC in the same stitch to increase st count.
- Decrease (dec): Crochet two stitches together to reduce stitches and shape piece.
Finished Size
- The finished snowman measures approximately 13 cm tall.
The Pattern
1. Arms (Make 2)
Using white yarn and a 2.5 mm hook.
- Round 1:
Make a Magic Ring, work 8 SC into the ring
8 stitches - Rounds 2 to 7:
Work 8 SC evenly around in each round - Round 3:
Work 8 SC evenly around in each round - Round 4:
Work 8 SC evenly around in each round - Round 5:
Work 8 SC evenly around in each round - Round 6:
Work 8 SC evenly around in each round - Round 7:
Work 8 SC evenly around in each round
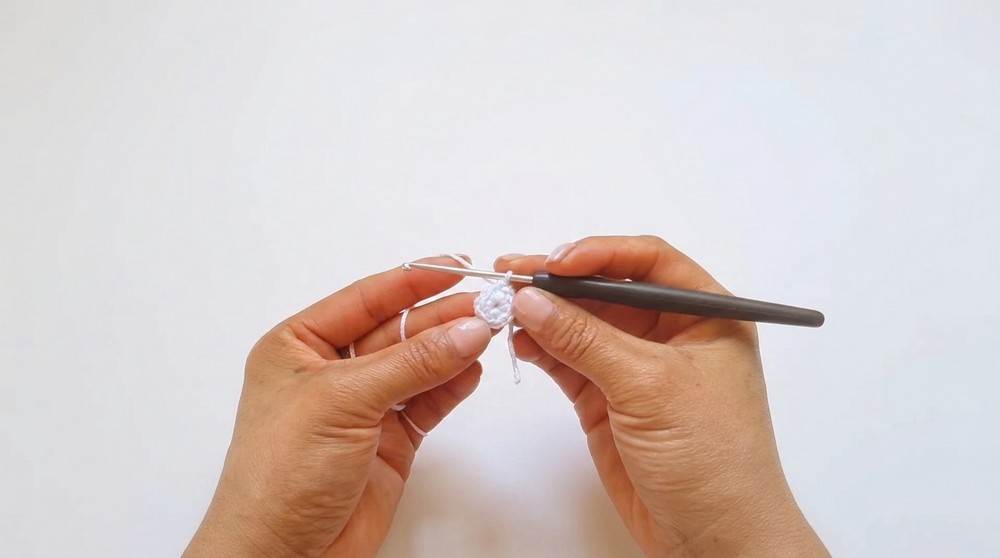
Continue working tubular form for the arm’s length
Summary for Arms:
You have now crocheted two small tubes for the arms. These simple tubes will be joined later to the body to give the snowman its classic shape.
2. Legs and Body
Using white yarn and 2.5 mm hook.
Start with legs individually and join to form the body.
Legs (Make 2)
- Round 1:
MR, 8 SC into ring
8 stitches - Round 2:
Increase in every stitch: 2 SC in each
16 stitches - Round 3:
Work 16 SC evenly - Round 4:
Work 16 SC evenly
Maintain tubelike shape
- Round 5:
Work 4 SC, 4 dec, 4 SC
12 stitches - Round 6:
(3 SC, inc) repeat 3 times
15 stitches
Joining Legs to Begin the Body
Place the two legs side-by-side and join rounds continuously to create the body.
- Round 7:
(4 SC, inc) repeat 6 times
36 stitches - Round 8:
(5 SC, inc) repeat 6 times
42 stitches - Round 9:
Work 42 SC evenly - Round 10:
Work 42 SC evenly - Round 11:
Work 42 SC evenly - Round 12:
Work 42 SC evenly - Round 13:
Work 42 SC evenly - Round 14:
Work 42 SC evenly - Round 15:
Work 42 SC evenly - Round 16:
Work 42 SC evenly
Forming the main body shaft
- Round 17:
(5 SC, dec) repeat 6 times
36 stitches - Round 18:
Work 36 SC evenly - Round 19:
Work 36 SC evenly
Body begins to taper
- Round 20:
(4 SC, dec) repeat 6 times
30 stitches
Joining the Arms
- Round 21:
Join the arms to the body using 4 stitches per arm
Securely incorporate arms into body - Round 22:
Work 30 SC around, incorporating arm stitches - Round 23:
(3 SC, dec) repeat 6 times
24 stitches
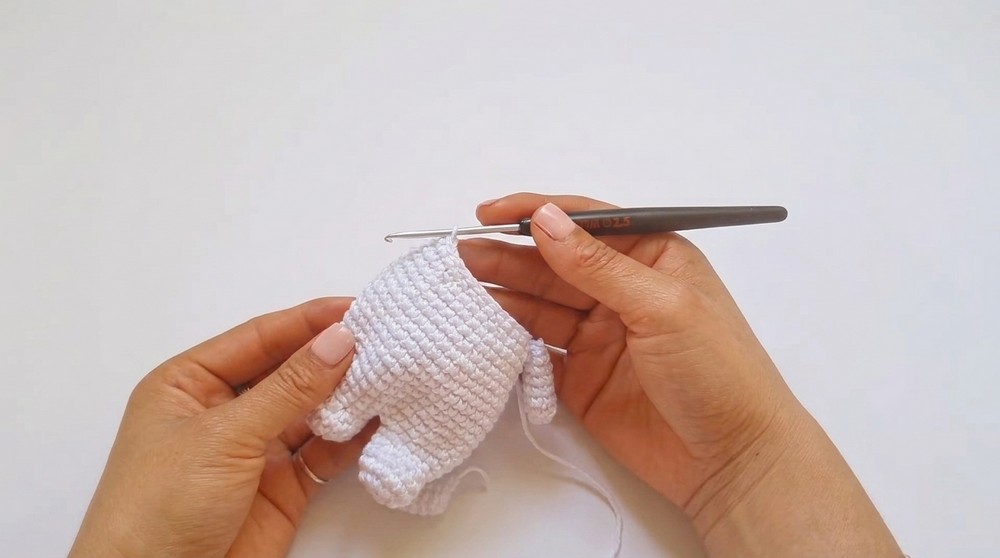
Note: After round 23, stuff the body firmly and insert wire or pipe cleaners inside arms if desired for shaping.
Summary for Legs & Body:
You have crocheted two legs, joined them, and built the torso by increasing and tapering stitches. The arms are then attached seamlessly into the body rounds. Stuffing and optional arm shaping completes this core section.
3. Head
Using white yarn and 2.5 mm hook.
- Round 1:
MR, 6 SC into ring
6 stitches - Round 2:
6 inc
12 stitches - Round 3:
12 inc
24 stitches - Round 4:
(3 SC, inc) repeat 6 times
30 stitches - Round 5:
(4 SC, inc) repeat 6 times
36 stitches - Round 6:
(5 SC, inc) repeat 6 times
42 stitches - Round 7:
Work 42 SC evenly
Shape head volume - Round 8:
Work 42 SC evenly
Shape head volume
- Round 9:
Work 42 SC evenly
Shape head volume - Round 10:
Work 42 SC evenly
Shape head volume
- Round 11:
Work 42 SC evenly
Shape head volume - Round 12:
Work 42 SC evenly
Shape head volume
- Round 13:
Work 42 SC evenly
Shape head volume - Round 14:
Work 42 SC evenly
Shape head volume
- Round 15:
Work 42 SC evenly
Shape head volume
- Eyes Placement:
Insert 8 mm safety eyes between Rounds 10 and 11, leaving 5 stitches apart. - Round 16:
(5 SC, dec) repeat 6 times
36 stitches - Round 17:
(4 SC, dec) repeat 6 times
30 stitches - Round 18:
(3 SC, dec) repeat 6 times
24 stitches - Round 19:
12 dec
12 stitches - Round 20:
6 dec
6 stitches
Summary for Head:
The head is shaped from a small magic ring, enlarging and then gradually decreasing while maintaining roundness. Eyes are sewn in during the widening middle rounds. Finish stuffing before closing completely.
4. Nose (Orange Yarn)
- Round 1:
MR, 4 SC into ring
4 stitches - Round 2:
(1 SC, inc) repeat 2 times
6 stitches - Round 3:
Work 6 SC
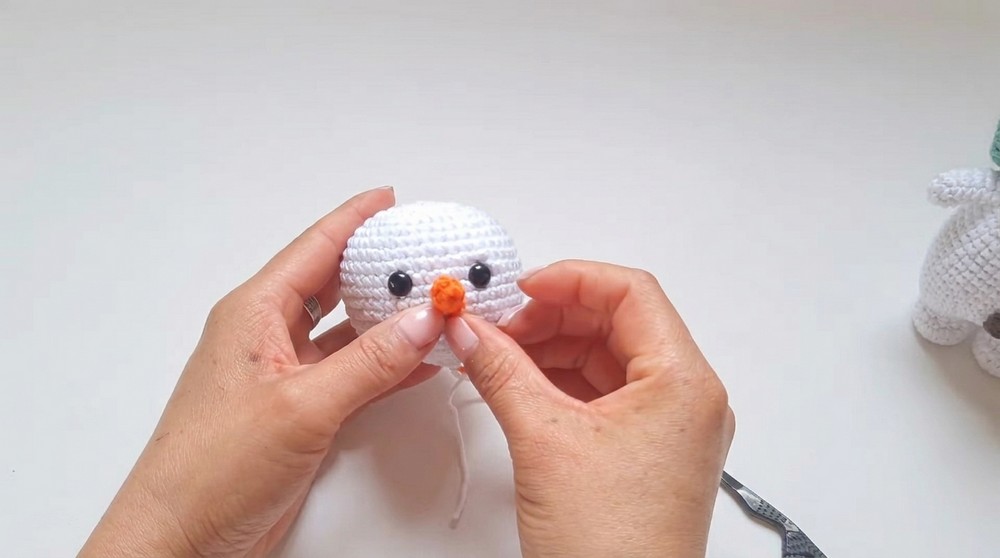
Shape nose - Sew nose centered between the eyes with a secure stitch.
Summary for Nose:
A small carrot-shaped nose is made from orange yarn and attached between the eyes for traditional snowman charm.
5. Hat (Red Yarn)
- Chain 18 stitches to desired hat circumference.
- Work rows back and forth in Back Loop Only (BLO) single crochet stitches to create a rectangular strip long enough to wrap around the head.
- Join ends with a slip stitch to form a circular band.
- Using a long yarn tail, gather stitches at one edge to close the top of the hat, creating a drawstring effect.
Summary for Hat:
A simple textured band hat wraps snugly around the head, with the top gathered for a cute beanie effect.
6. Scarf
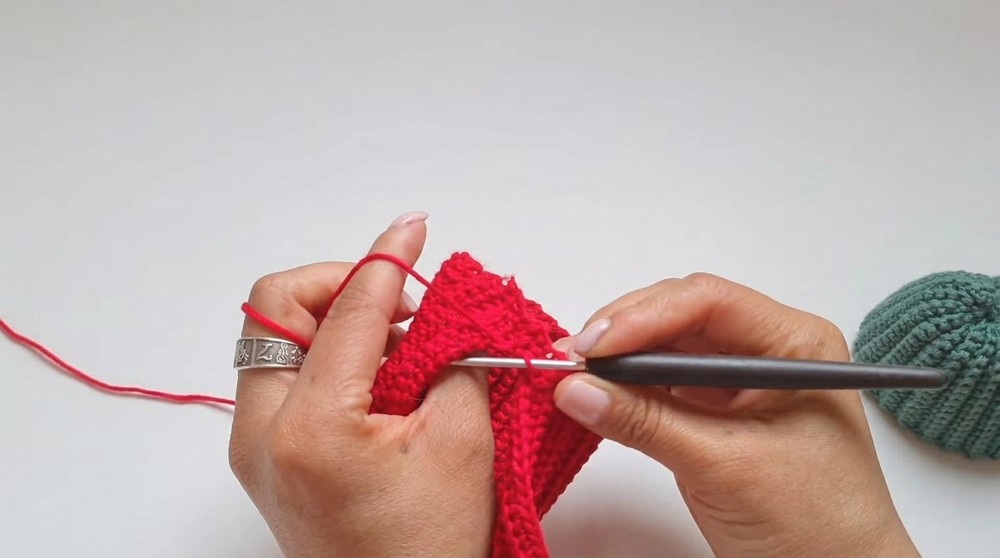
- Chain 4 stitches.
- Work single crochet stitches back and forth on 3 stitches.
- Continue crocheting until the strip reaches approximately 10 cm in length.
- Tie loosely around the snowman’s neck.
Summary for Scarf:
A narrow crocheted scarf adds warmth and color, tying softly around the snowman's neck.
Assembly & Finishing
- Head to Body:
Sew the head firmly to the top of the body using whip stitch and yarn tail. - Buttons:
Make 3 small buttons from magic rings of 6 SC stitches each, or use ready buttons. Apply silicone glue and attach securely to the front of the body in a vertical line. - Stuffing & Shaping:
Finish stuffing all parts firmly but not overstretched. Insert wire or pipe cleaners into arms if additional shaping is desired. - Weave in all ends and trim excess yarn.
Final Summary:
Once assembled and decorated, your 13 cm snowman amigurumi is complete! This project combines simple crochet techniques with shaping and sewing to create a delightful handmade figure suitable for gifts or seasonal decorations.
Additional Notes
- Work tightly to prevent stuffing from showing through stitches.
- Adjust tension and inches as desired for a different size.
- All parts worked in continuous rounds unless stated otherwise.

Leave a Reply