

Wrap a matching pair for your friend using this Crochet Mini Flower Keychain Free Pattern in two shades you both love so you can each keep one.
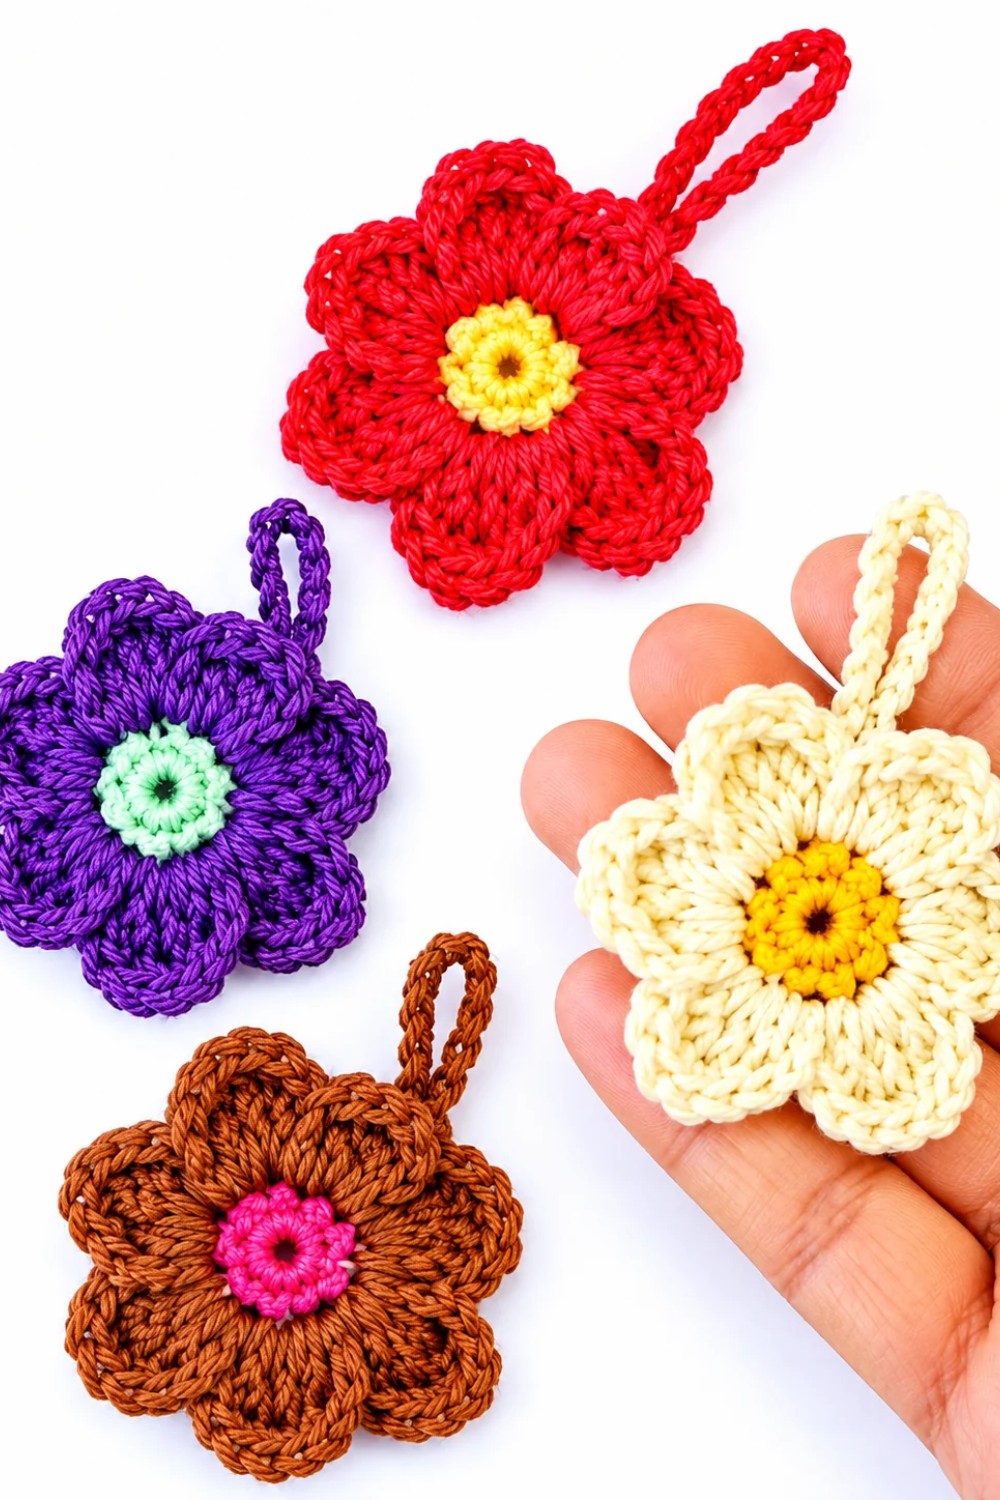
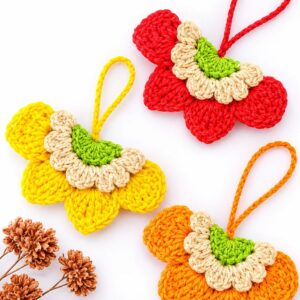
Hobihobiku is the creator of this tiny bloom. A Crochet Mini Flower Keychain has a little center with soft petals around it. You can see the curve of each petal up close, and the flower is small enough to sit in your palm. A pale center with darker petals gives it a daisy-like look. Two shades of the same color give it a softer look.
Simple Crochet Mini Flower Keychain Free Pattern With Tiny Petals
The flower is a good way to use short lengths of yarn left over from other projects. You only need a little of the second color for the center, so it’s worth checking your yarn scraps before starting. When working around the middle, try to keep the stitches about the same size. That helps the petals sit evenly. Someone who knows a few basic stitches can use a small flower like this to practice making the same shape several times.
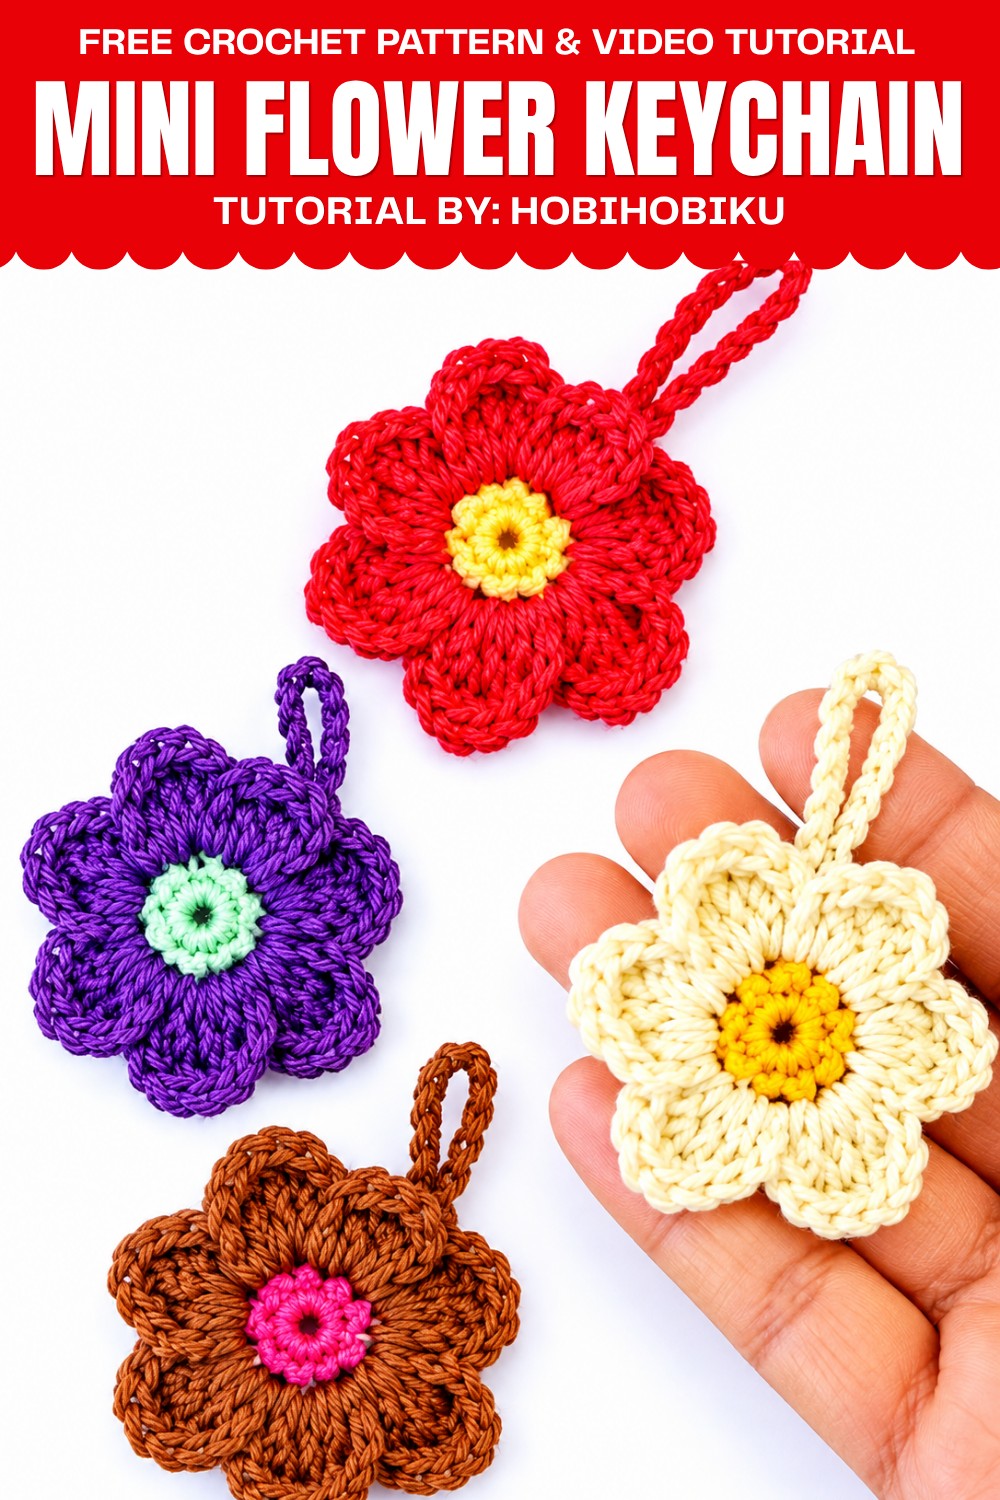
Clip it onto the zip of a makeup pouch so you have something soft to hold when you open it. You can also put it on a spare key that stays in a drawer. A flower in a strong color will be easy to see among the other things in there.
For a small thank-you gift, slip one into an envelope with a note. You can also give two friends matching flowers with different centers. Each person can have their favorite color in the middle and still carry part of the same set.
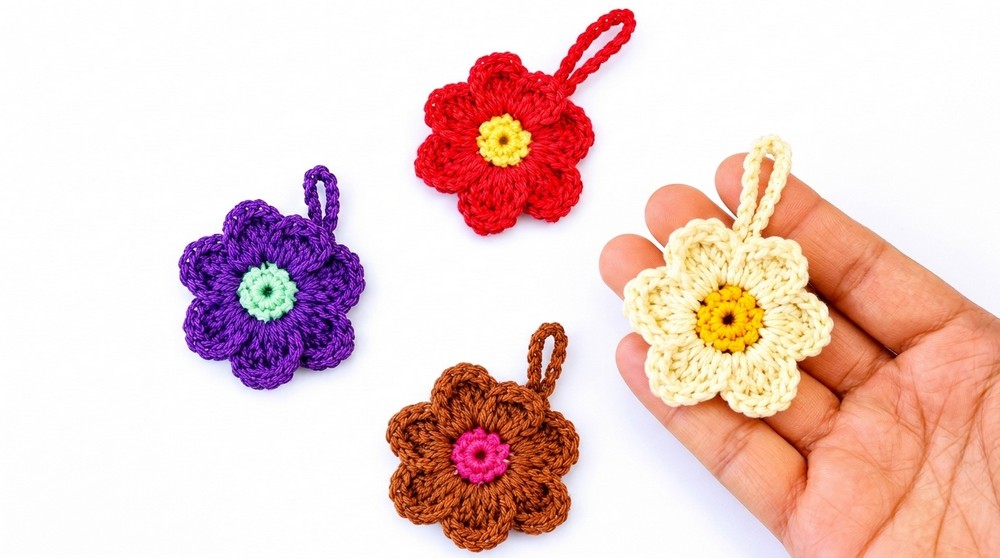
Crochet Flower Keychain Pattern
Pattern Overview
This crochet flower keychain is made in rounds, starting from the center and building up petals in two distinct layers—one in the back loops and one in the front loops. The project finishes with a crocheted chain stalk, which is fashioned into a secure loop to attach to a keyring or bag. The project uses clear rounds, special attention to back loop/front loop techniques, and basic flower construction suited for beginners and intermediates.
Quick Details
- Project Type: Flower keychain
- Technique: Crochet, rounds, back loop only (BLO), front loop only (FLO)
- Sections: Flower center, back petals, front petals, loop
- Skill Level: Easy / Intermediate
- Finishing: Yarn tail is sewn to create a secure loop for attachment
Important Tips
- When instructed to work in the back or front loops, insert your hook only under the back or front strand of the stitch, not both.
- Slip stitches finish and anchor rounds—make them tight and clean for defined transitions.
- Treble crochet stitches create longer petals, giving the flower dimension; double crochet forms shorter, layered front petals.
- Ensure you skip the correct front loop when starting the front petal round for optimal petal spacing and shape.
- The long chain for the stalk should not be twisted before sewing into a loop.
- Use a contrasting color for petals and center if desired, but follow transcript instructions for stitch techniques.
Skill Level
Easy / Intermediate. Familiarity with working in rounds, back/front loop techniques, and basic petal construction is required.
Materials
- Worsted weight cotton or acrylic yarn in flower and stalk colors
- Crochet hook suited to yarn (2.5mm–3.5mm for standard amigurumi look)
- Small scissors
- Yarn needle for sewing the loop attachment
- Keyring or split ring for hanging
Measurements
- Finished flower size: Approx. 4–6 cm (1.5–2.5 inches) across, depending on yarn and hook
- Loop: 20 chains, suitable for attachment
Gauge
- Gauge not critical; ensure center is tight enough so stuffing is not needed and stitches are firm
Abbreviations
- MR: magic ring
- ch: chain
- sc: single crochet
- sl st: slip stitch
- inc: increase (2 sc in one stitch)
- BLO: back loop only
- FLO: front loop only
- dc: double crochet
- tc: treble crochet
- st(s): stitch(es)
Special Stitches
- Magic Ring (MR): Form a circle with yarn; work stitches into this adjustable loop. Pull tight to close.
- BLO and FLO: Only insert your hook under the back or front loop of the indicated stitch, rather than under both loops as is standard.
- Treble Crochet (tc): Yarn over twice, insert hook into stitch, yarn over, pull through (4 loops on hook), yarn over, pull through 2 loops three times.
- Double Crochet (dc): Yarn over, insert hook into stitch, yarn over, pull through (3 loops on hook), yarn over, pull through 2 loops twice.
Step-by-Step Instructions
1. Center of the Flower
Start:
Begin with a magic ring (MR).
Round 1:
Work 6 sc into the magic ring.
Sl st into the first sc to join the round.
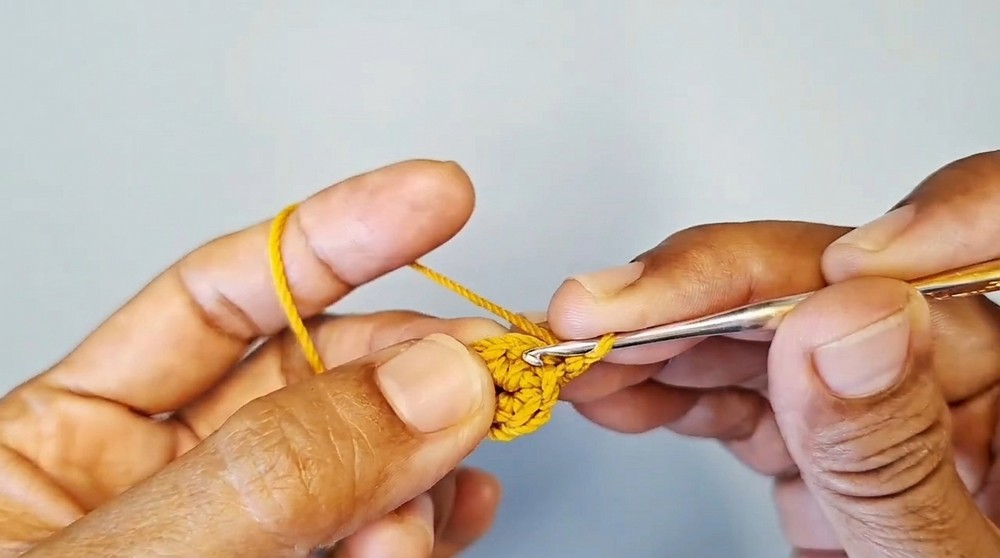
(You now have a small, closed center for the flower.)
Round 2:
Work 2 sc in every stitch around (inc in each st) for a total of 12 sc.
Sl st into the first sc to join.
(You now have a ring with 12 tightly packed stitches—important for supporting both petal layers.)
2. Back Petals – Back Loop Only
Setup:
For this round, work only in the back loops of every stitch from Round 2.
Petal Pattern:
(Repeat the entire sequence 6 times around the flower for a total of 6 petals. Each petal uses 2 stitches.)
- Ch 3.
- Work 3 tc into the same back loop.
- Ch 1, then sl st into the top of the last tc just made.
- Work 3 tc into the next back loop.
- Ch 3 and sl st into the same base (back loop) to anchor the petal.
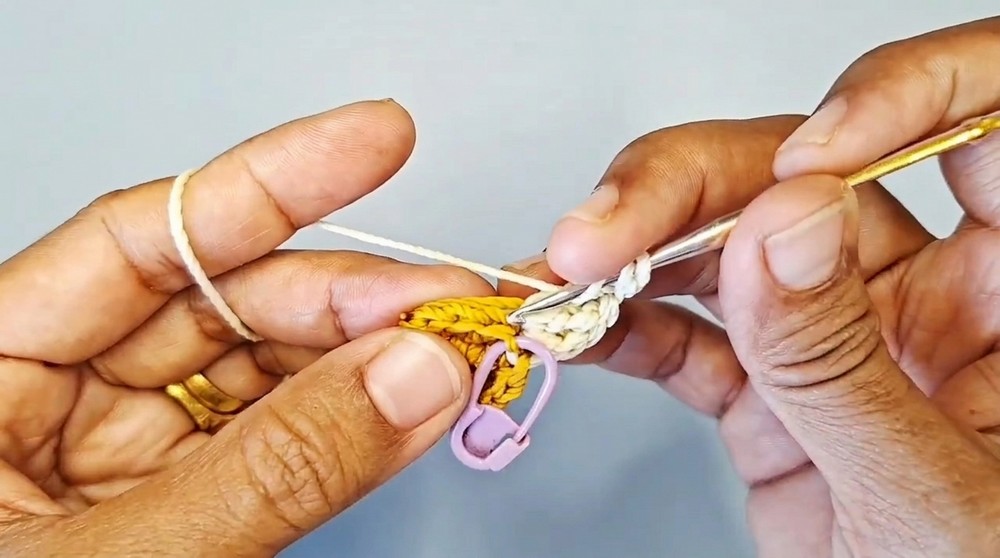
Repeat this entire process 6 times in total, using each set of 2 back loops per petal. As you go, you’ll see large, open petals forming a ring at the back of your flower.
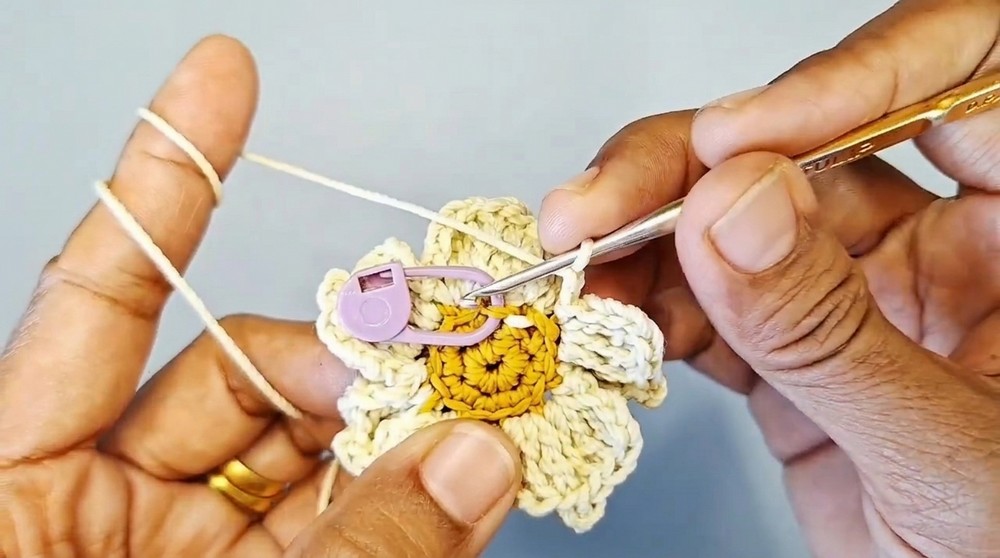
3. Front Petals – Front Loop Only
Setup:
Locate the front loops remaining from Round 2.
Skip the first marked front loop; begin working in the next front loop to keep the petals staggered.
Petal Pattern:
(Repeat the entire sequence 6 times around for 6 evenly spaced front petals, using 2 front loops each.)
- Ch 2.
- Work 2 dc into the same front loop.
- Ch 1, then sl st into the top of the last dc just made.
- Work 2 dc into the next front loop.
- Ch 2 and sl st into the same front loop to finish.
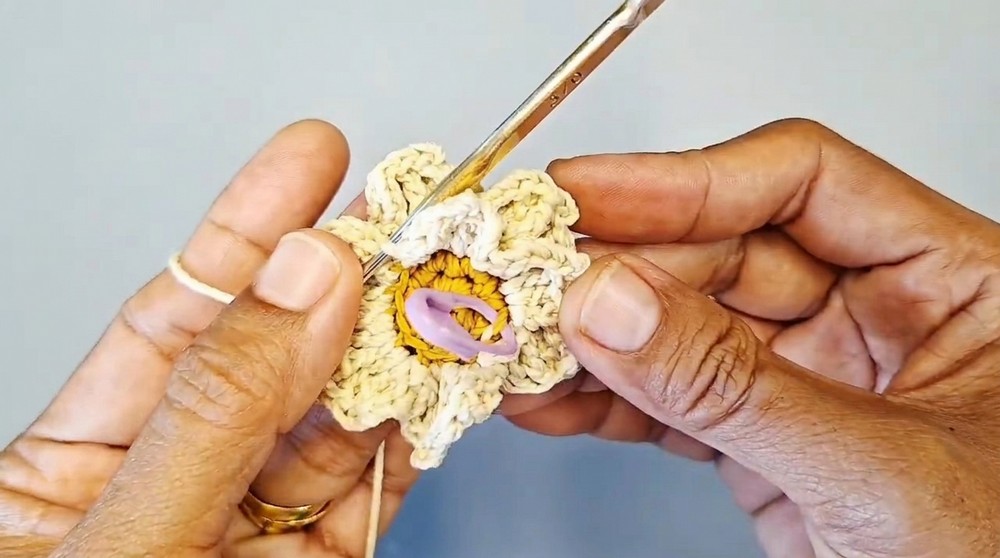
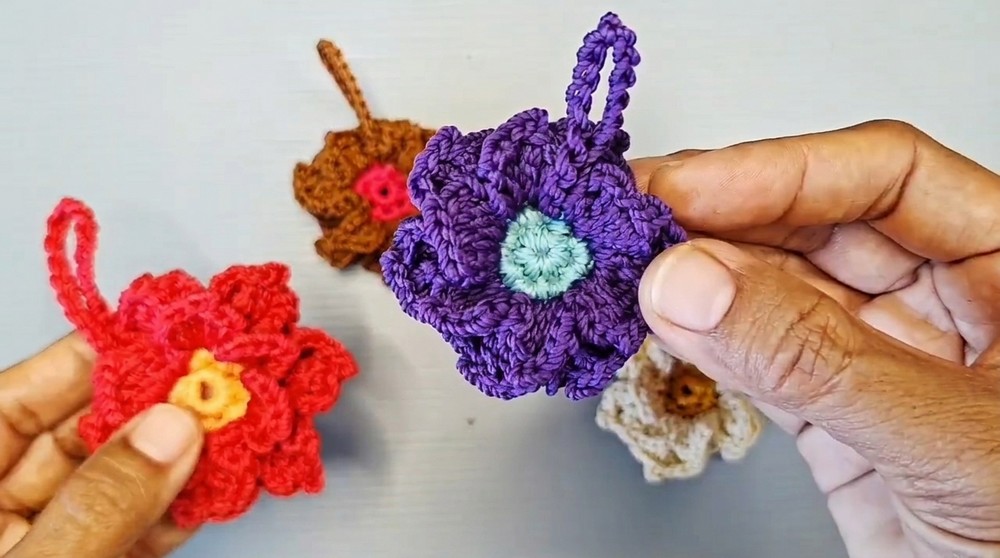
As you build this round, these slightly smaller, tighter petals will sit layered over the larger back petals, giving depth and detail to the flower.
4. Assembly
Stalk Loop:
- Ch 20 from the last working position (end of petal rounds).
- Cut the yarn, leaving a tail long enough for sewing (about 10–15 cm).
Finishing:
- Thread the yarn tail onto your yarn needle.
- Bring the chain strip to the back of the flower.
- Sew the chain securely to form a loop by attaching both ends to the back (anchor well so it will not pull out with use).
- Weave in yarn ends carefully.
Attach a keyring or split ring through the loop if desired.
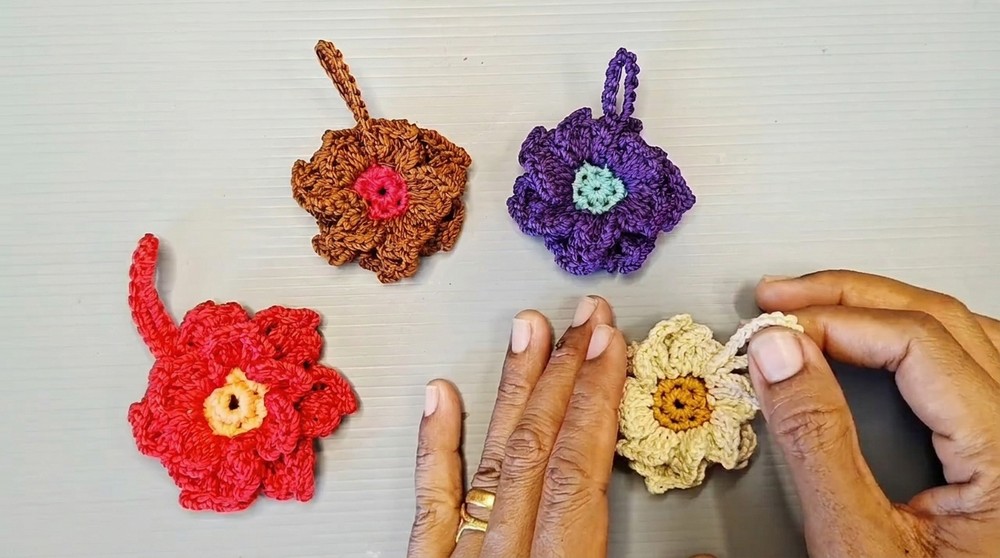
Final Notes
- Petal shape and spacing are dictated by working each petal over 2 loops—don’t combine or skip extra unless specified.
- Chaining then slip stitching into the top of the last tc or dc in each petal adds a neat tip.
- Finishing each petal group with a final ch and slip stitch gives each petal definition and bounce.
- Back loop and front loop working gives the flower dimensional layering; take time to identify the loops carefully.
- Use firm, even tension for petals so they do not curl excessively or droop.
- The chain-20 loop is long enough for easy attachment; adjust length if you prefer a smaller or larger loop.
- Color choices and hook/yarn size can be varied, but maintain the order and technique for flower integrity.
- This project is ideal for gifts, bag charms, or to use up small leftover yarns—a perfect, quick project for practicing petal construction and loop techniques.
Leave a Reply