

Decorate your kitchen shelf with this Crochet Garlic Free Pattern and display a soft little bulb beside other handmade vegetables and fruit.
Huge thank you to the creative Yanet Pupo Crochet for sharing her fantastic tutorial on making a delightful Crochet Garlic, bringing a fun and unique twist to amigurumi projects.
The Crochet Garlic is an adorable, handmade representation of a garlic bulb, perfect for kitchen décor, playful gifts, or as part of a crochet vegetable collection. Although the finished size may vary depending on your yarn and hook, it typically fits nicely in the palm of your hand, making it a cute, compact piece to display or use as a quirky keychain or ornament.
Cute Crochet Garlic Free Pattern With Realistic Details
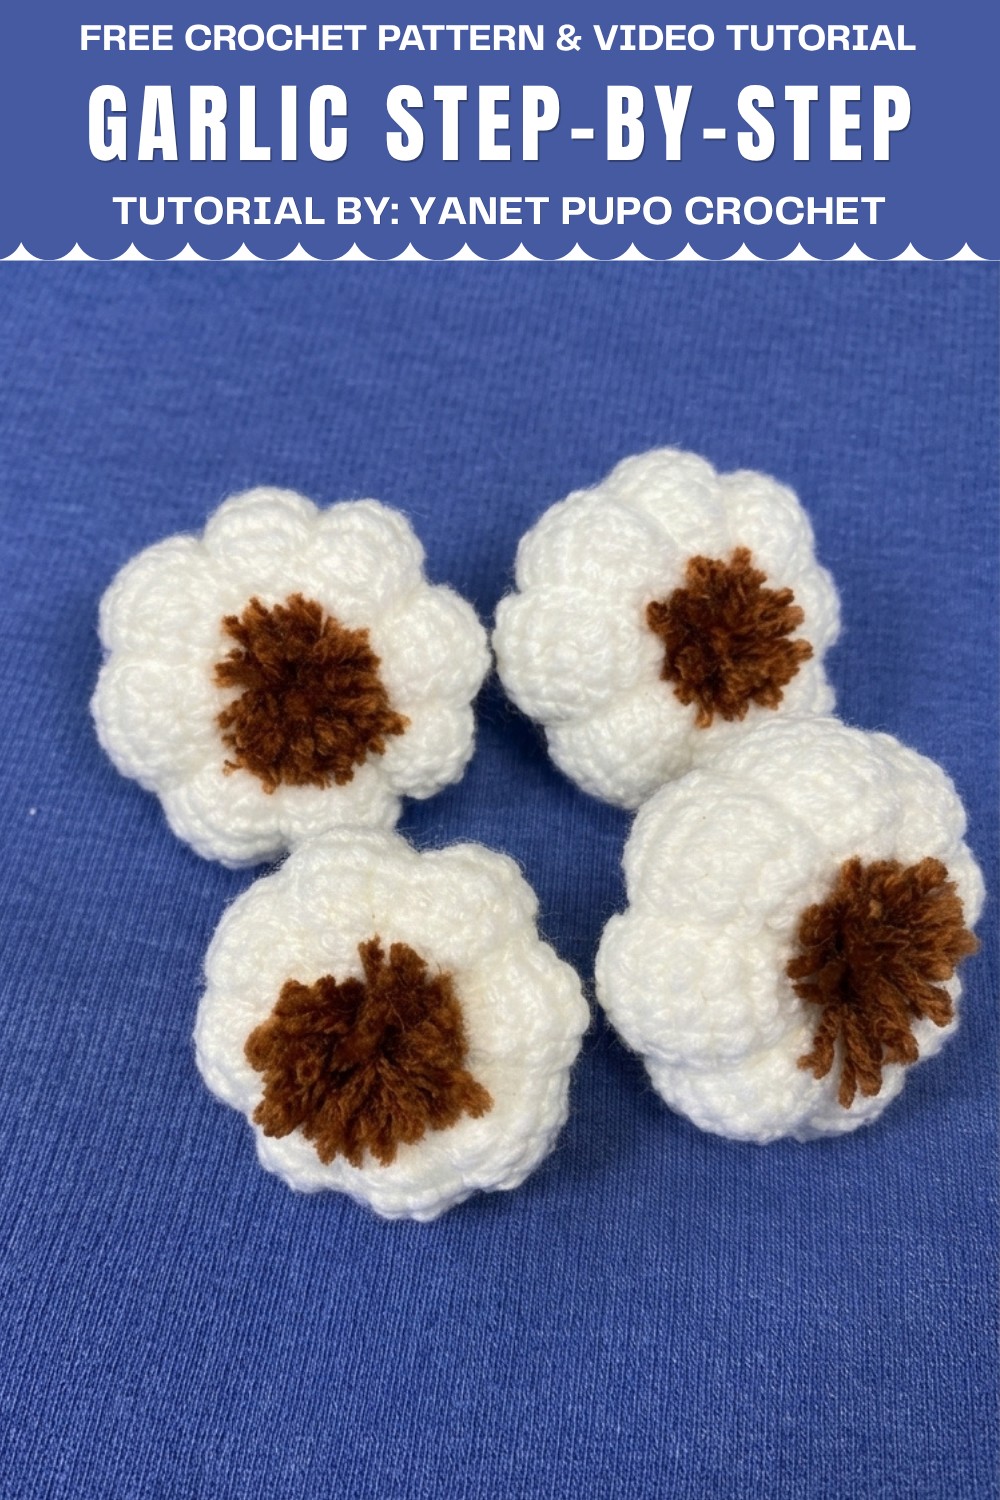
You'll enjoy making this project because it’s both quick and rewarding, perfect for practicing amigurumi techniques like shaping and assembling parts. Plus, it offers lots of room for customization—you can play with colors, sizes, or even create a whole set of vegetables!
Adding this quirky Crochet Garlic to your handmade collection is not only fun but also a great way to sharpen your crochet skills. Give your hooks some love and dive into this one-of-a-kind pattern—your creative kitchen awaits!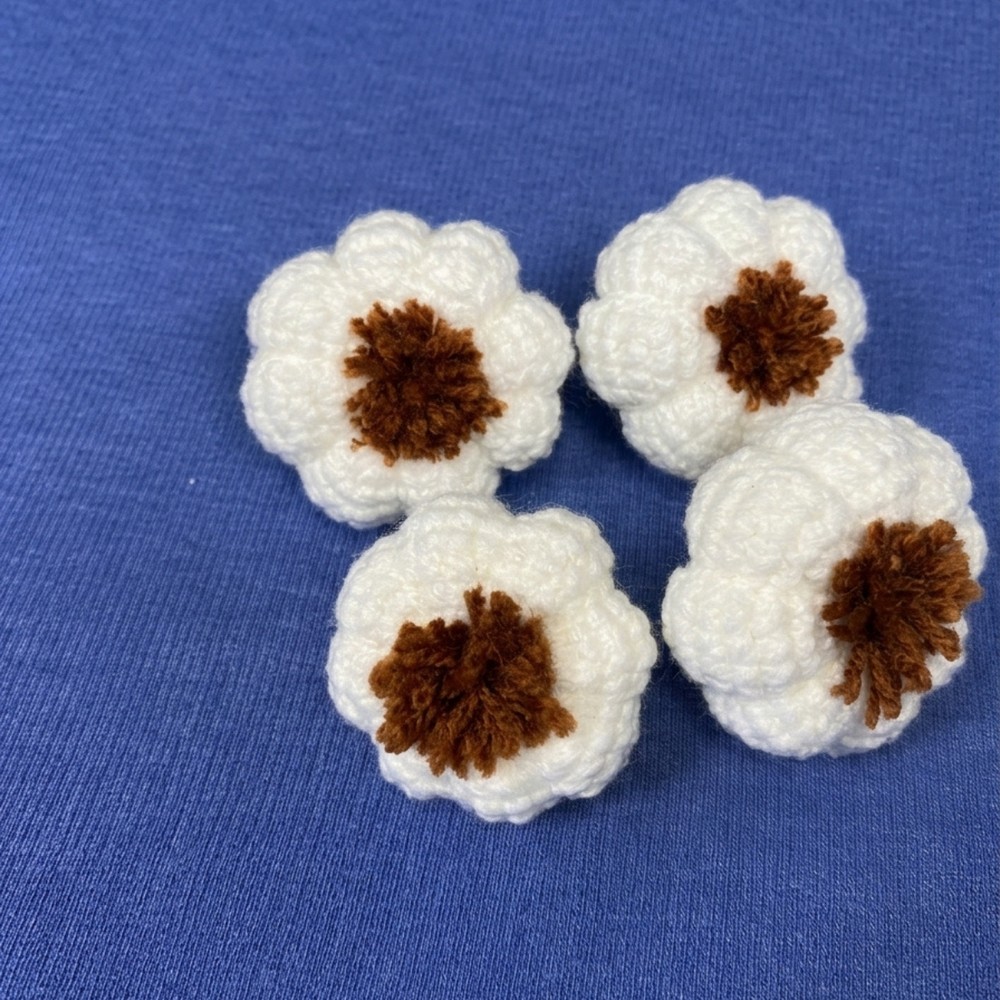
Pattern Overview
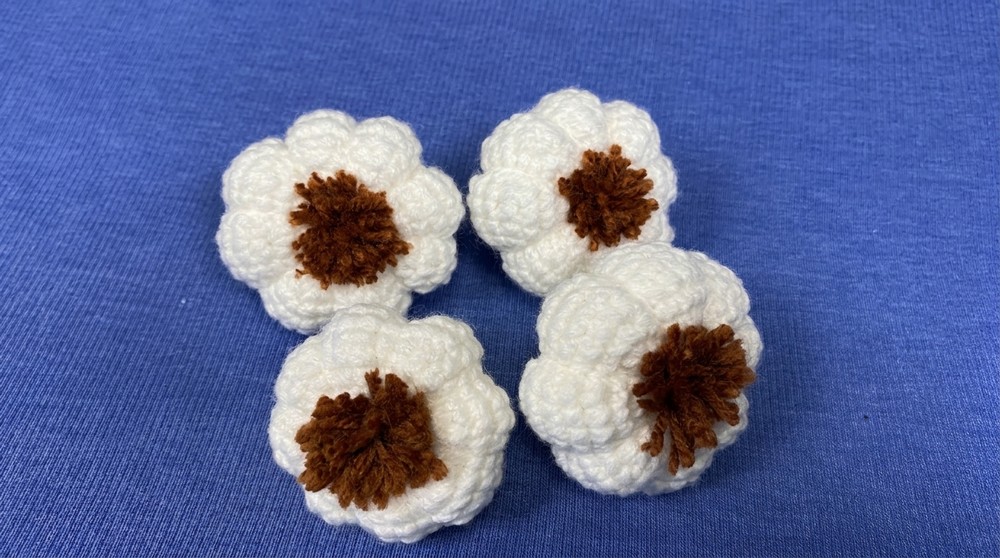
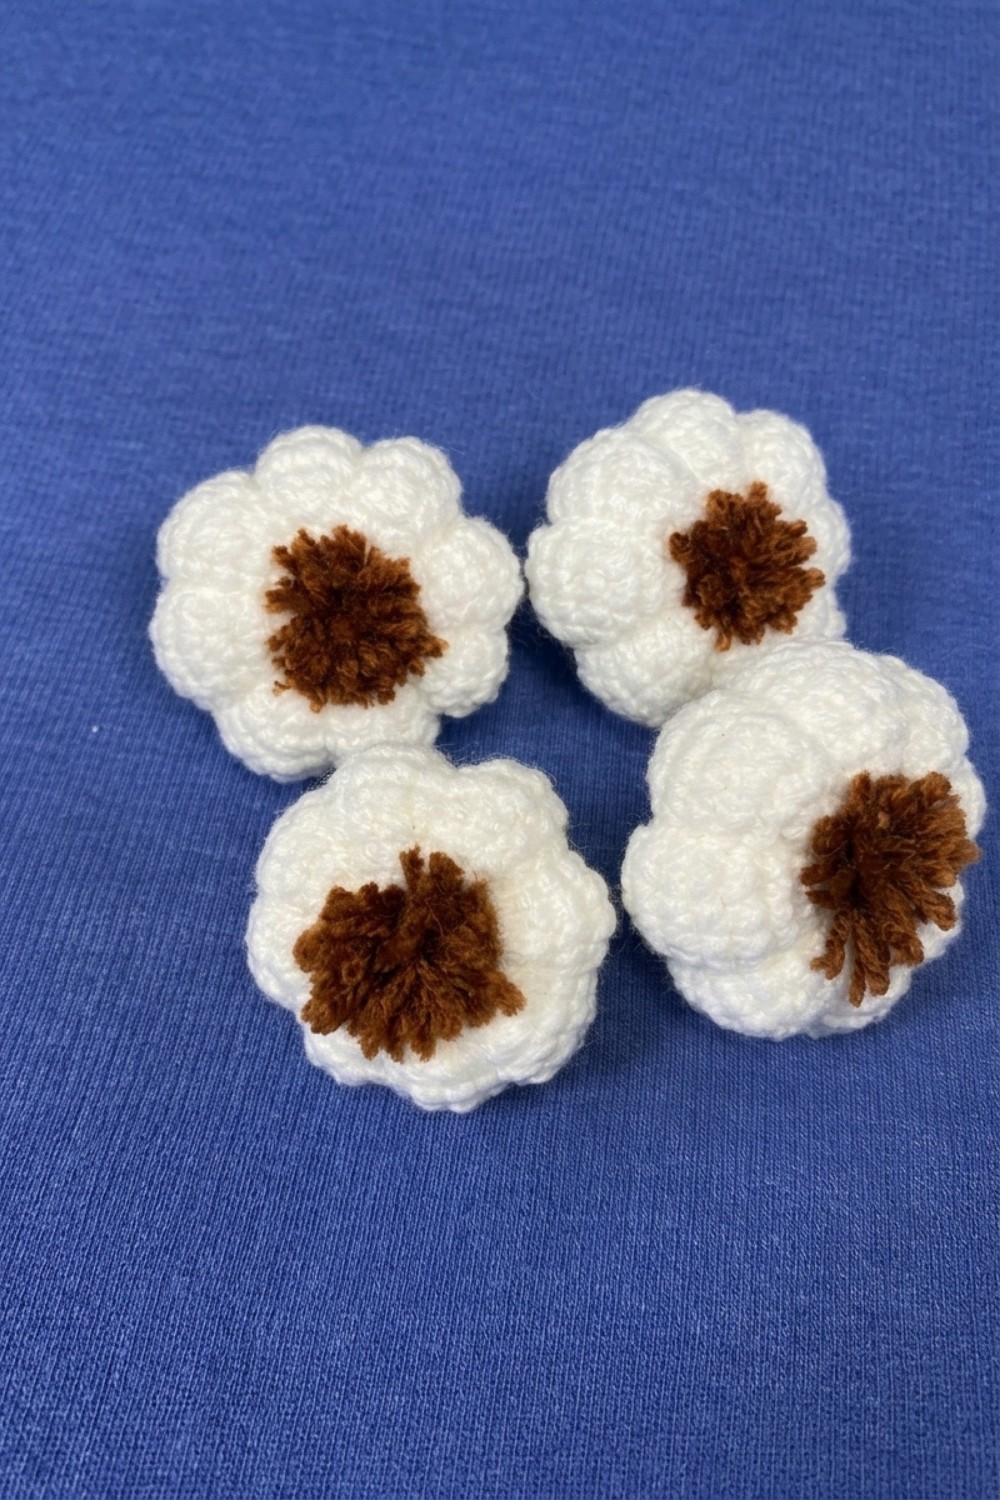
This crocheted garlic is a decorative amigurumi-style project, ideal for kitchen décor, gifts, or playful embellishment. The pattern forms a realistic garlic bulb featuring soft shaping, bulb divisions, and a small pompom-style root. It is worked in the round using basic increases and decreases, completed with a crocheted stem and a separate root pompom, then finished with shaping thread to create natural garlic segments.
Quick Details
- Constructed in the round, starting with a magic ring
- Main bulb worked with single crochet, increases, and then decreases
- Divided into realistic segments using a sewing technique
- Top stem is crocheted directly from the bulb
- Finished with a mini pompom root at the base
Important Tips
- Maintain even tension throughout for a smooth bulb
- Do not overfill; the bulb should be gently stuffed so needle threading is not difficult
- Use long, strong threads for segment shaping to prevent breakage
- Make slip stitches and decreases neatly for a natural rounded shape
Skill Level
Advanced Beginner
Requires working in the round, increasing and decreasing, soft stuffing, simple sewing, and making a small pompom for the root.
Materials
- Thin wool yarn (approx. 3 mm thick), 3–4 grams white or off-white for bulb, a small length of brown or cream for roots
- Steel crochet hook, 2.75 mm (or up to 4 mm)
- Scissors
- Small amount of fiberfill or cotton for stuffing
- Wool/tapestry needle
Measurements
- Size: Each garlic bulb approx. 5–7 cm tall with stem, depending on rounds and yarn tension
- Root and stem: Stem approx. 2–3 cm, root width about 1.5–2 cm (can vary)
Gauge
Not specified. Choose hook to suit yarn and make a firm, but not stiff, fabric.
Abbreviations
- ch: chain
- sc: single crochet
- sl st: slip stitch
- inc: increase (2 sc in same st)
- dec: decrease (sc2tog, single crochet two together)
- st(s): stitch(es)
Special Stitches
- Magic ring: Wrap yarn around finger, insert hook, pull up loop, secure, and work stitches into ring, then pull tight to close.
- Single crochet decrease (dec)/sc2tog: Insert hook into next stitch, yarn over, pull through; insert into following st, yarn over, pull through; yarn over, pull through all loops on hook (reduces 2 sts to 1).
Step-by-Step Instructions
Bulb Base
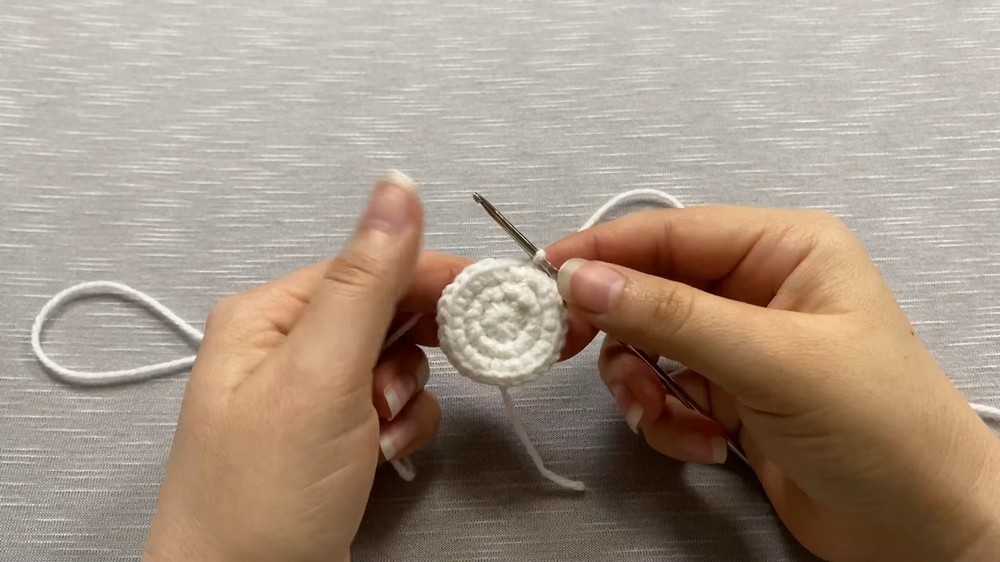
Round 1:
- Make a magic ring.
- Ch 1 (does not count as a stitch).
- Work 10 sc in ring.
- Join to first sc with a sl st.
- Pull the tail to close the ring tightly.
Round 2:
- Ch 1 (does not count as a stitch).
- Inc in first st (2 sc in same st).
- Repeat inc in each st around (20 sc).
- Join with a sl st.
Round 3:
- Ch 1.
- Inc in first st, sc in next st; repeat (inc, sc) around (30 sc).
- Join with a sl st.
Round 4:
- Ch 1.
- Inc in first st, sc in next 2 sts; repeat (inc, 2 sc) around (40 sc).
- Join with a sl st.
Round 5:
- Ch 1.
- Inc in first st, sc in next 3 sts; repeat (inc, 3 sc) around (50 sc).
- Join with a sl st. If you want a bigger bulb, continue (inc in first st, 4 sc, then 5 sc, etc.).
Work Even for Bulb Height
Rounds 6–8:
- Ch 1, sc in each st around (no increases or decreases).
- Repeat for a total of three rounds.
- Join each round with a sl st.
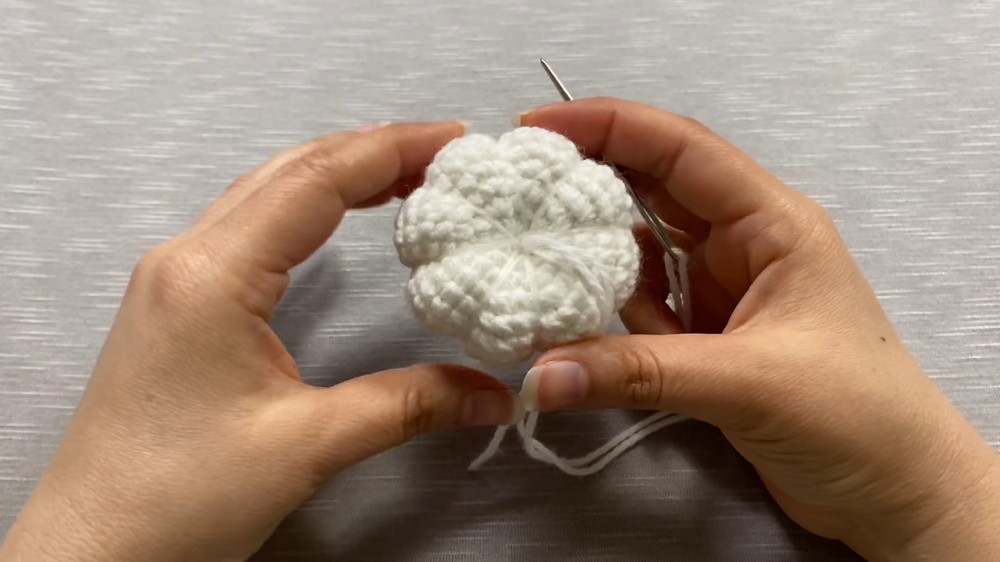
Shaping Bulb by Decreasing
Round 9:
- Ch 1.
- Work 4 sc, then dec (sc2tog); repeat (4 sc, dec) around.
- Join with sl st.
Round 10:
- Ch 1.
- Work 3 sc, then dec; repeat (3 sc, dec) around.
- Join with sl st.
Round 11:
- Ch 1.
- Work 2 sc, then dec; repeat (2 sc, dec) around.
- Join with sl st.
Round 12:
- Ch 1.
- Sc, then dec; repeat (sc, dec) around.
- Join with sl st.
- When the opening becomes small, stuff lightly with cotton or fiberfill. Bulb should be soft but hold shape.
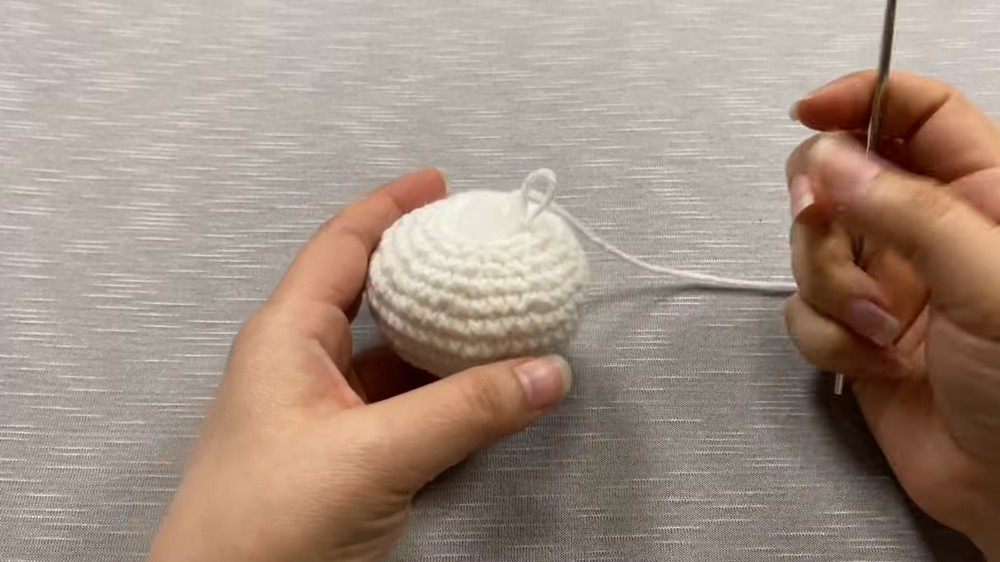
Round 13:
- Ch 1.
- Dec in every st around until approx. 6–8 sts remain.
Making and Working the Stem
Rounds 14–19 (or desired length):
- Ch 1, sc in each st around (no increases/decreases, maintain 6–8 sc per round).
- Continue for about 6 rounds to form a realistic stem.
- Cut yarn, leaving a long tail for closing.
- Use hook or needle to reduce last few stitches; pull to close if needed and secure tail inside.
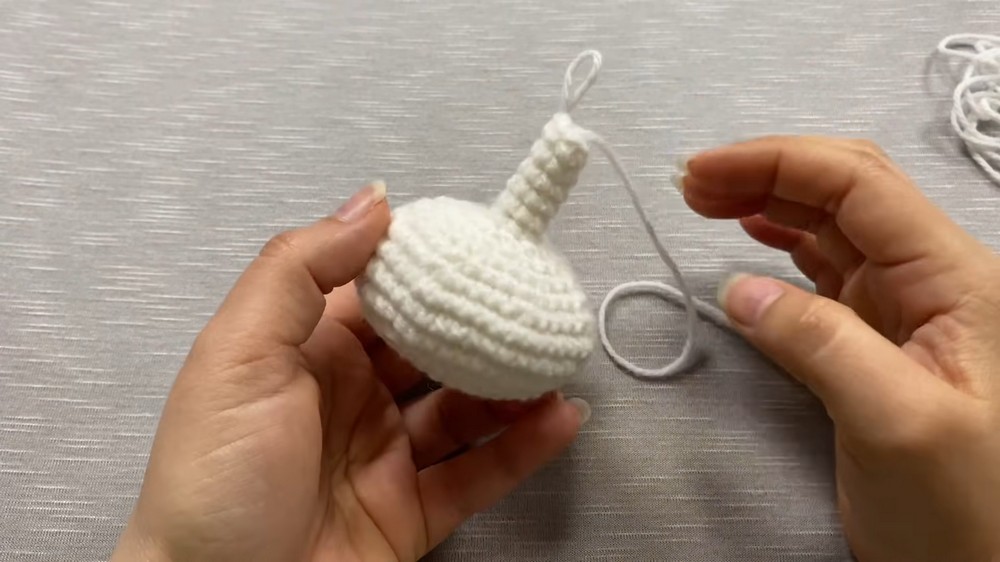
Bulb Segment Shaping
- Cut a piece of yarn about one meter long.
- Thread yarn onto wool needle, doubling for strength.
- With bulb right side out, pass needle through center base up and out through stem.
- Pull until knot sits inside garlic.
- Divide bulb in half visually and pass needle through stem and down to base, pulling slightly to create indentation. Repeat for opposite side to quarter.
- Repeat until there are 8 divisions, evenly spaced, resulting in 8 characteristic garlic segments.
- Do not cut thread—use to attach the pompom root in next step.
Making and Attaching the Root Pompom
Create Mini Root:
- Take brown or cream yarn; wrap around two fingers about 10 times.
- Cut a short length and tie wraps together at center, making a bundle (like a small pompom or tassel).
- Remove loops from fingers and cut both ends open.
- Fluff the “pompom” with fingers to create messy root effect.
Attach Root:
- Place pompom at the base (non-stem end) of garlic bulb.
- Using yarn tail left from segment shaping, secure pompom through center base, pulling needle from bulb top down to base, and back again to the top as needed for a snug attachment.
- Press roots against base and pass the needle through a few more times for security. Knot and trim.
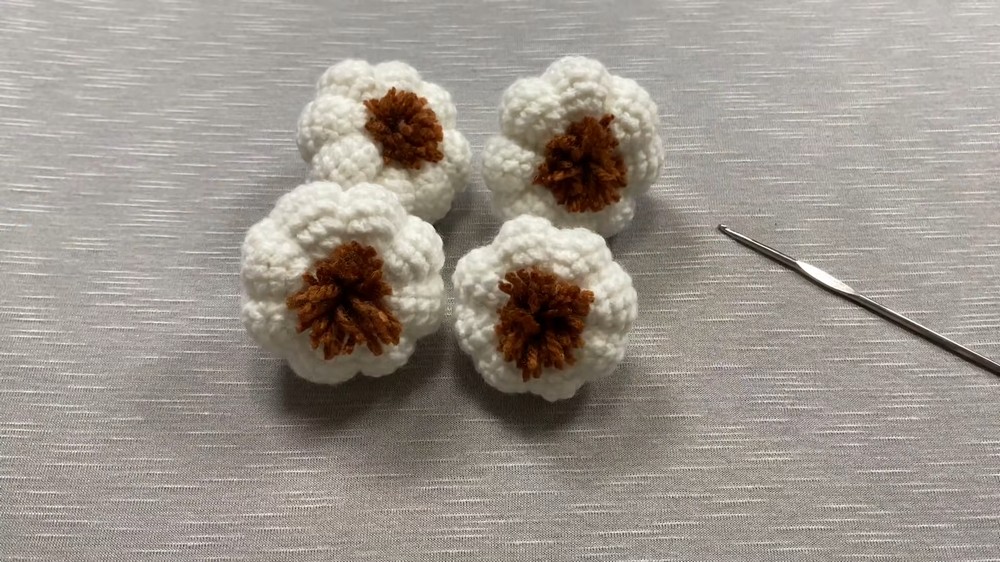
Final Shaping and Close Stem Top
- At stem tip, use hook to ch 1 and reduce remaining stitches with sc2tog two or three times to close end securely.
- Fasten off, hide yarn end inside stem.
Assembly
- After attaching roots and closing, sift hands around bulb to smooth and shape segments.
- Gently trim roots if needed for a cleaner finish, or leave as is for a rustic effect.
- Bulbs are now ready for kitchen decor, gifting, or whimsical decor use.
Final Notes
This crocheted garlic pattern offers a realistic and playful take on a kitchen staple. The size and form are adjustable; simply add more or fewer rounds as you wish. The shaping with thread creates a segmented, fine finish, while the stem and root add to the authenticity. For a set, make several in varying sizes and arrange as a garlic “braid” or garland, or use as table accents or gift toppers. Use this project to practice increases, decreases, shaping, and sewing skills while creating a charming handmade accent.



Leave a Reply