

Keep your crochet skills blooming with this free tulip pot pattern featuring beginner-friendly steps soil details and flower tutorials for a delightful project.
Creating charming home décor with crochet is one of my favorite ways to add a personal touch to any space. I enjoyed crocheting a delightful flower pot that brings a fresh and vibrant feel to my surroundings. This Free Crochet Tulip Pot Pattern is a wonderful project for those who appreciate decorative yet functional crochet pieces. This project carries a heartfelt dedication, making it even more special and meaningful for anyone looking to infuse a bit of love and creativity into their crocheting.
Tulip Pot Free Crochet Pattern for Pretty Desk Decor
The tulip pot stands out with its beautifully textured base and elegant decorative stitches that mimic the natural growth and layers of a real flower pot. Its compact, rounded shape offers a sturdy foundation, perfect for holding the accompanying crocheted flowers and soil piece. The design features a clever use of single crochet and double crochet stitches, along with increases and decreases to shape the pot smoothly.
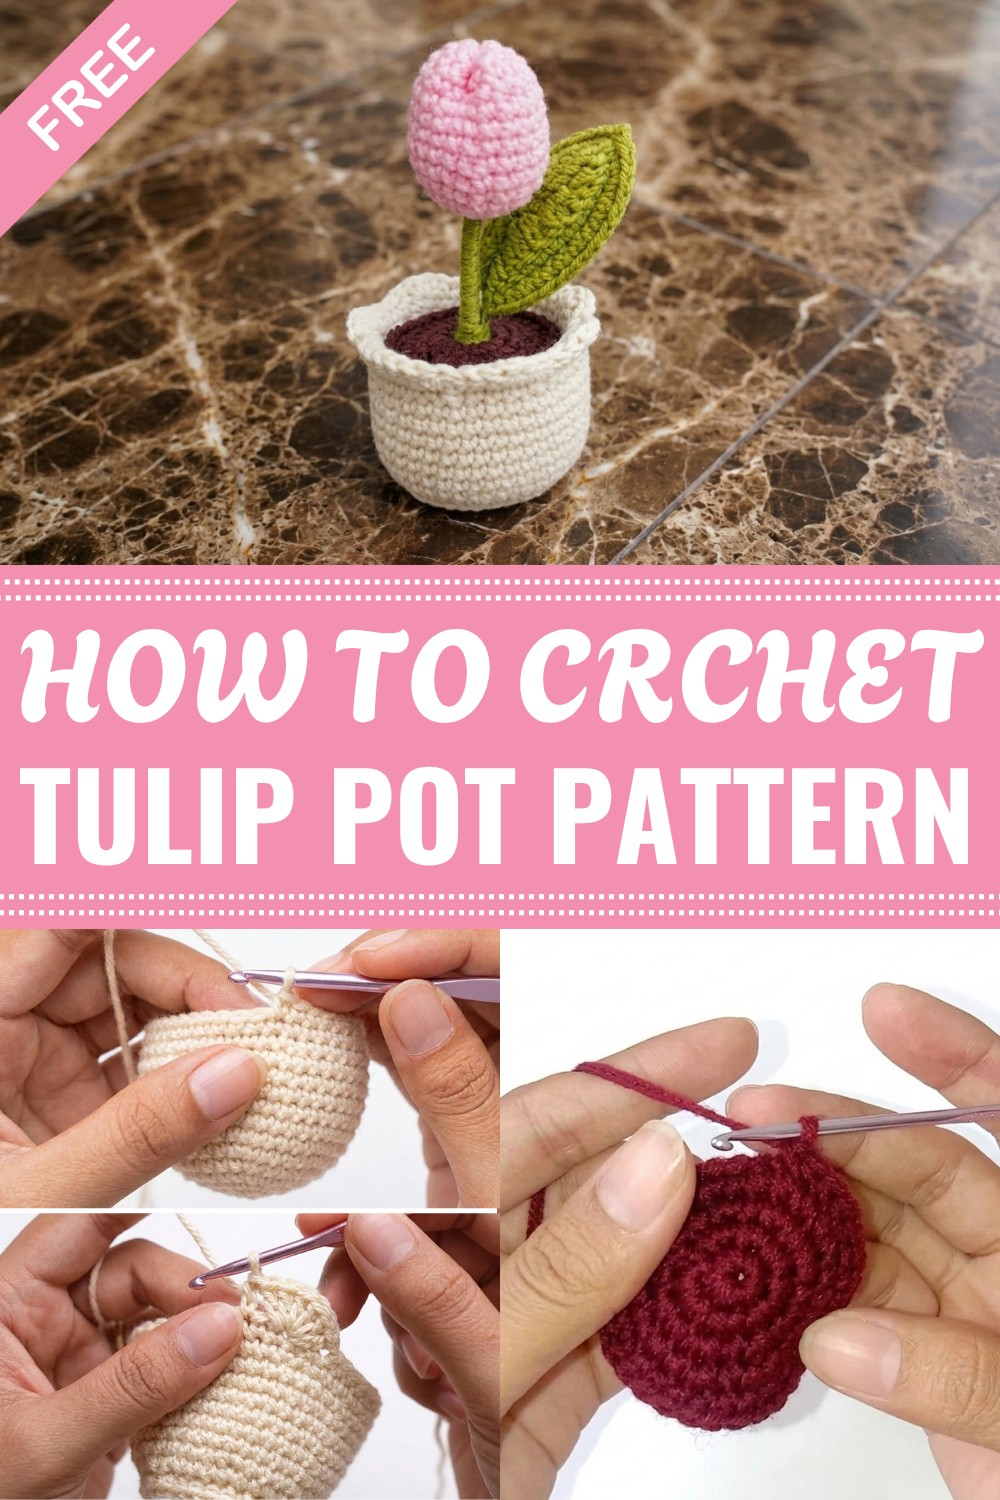
One unique aspect is the base’s use of back loop and front loop stitching, adding dimension and a subtle pattern that enhances the overall aesthetic. The intricate decorative edging, made by combining double crochets and slip stitches, adds a refined touch, while the soil piece complements the look, completing the miniature garden vibe. This pattern is well-suited for beginner to intermediate crocheters, especially those familiar with working in the round and handling stitch markers for counting.
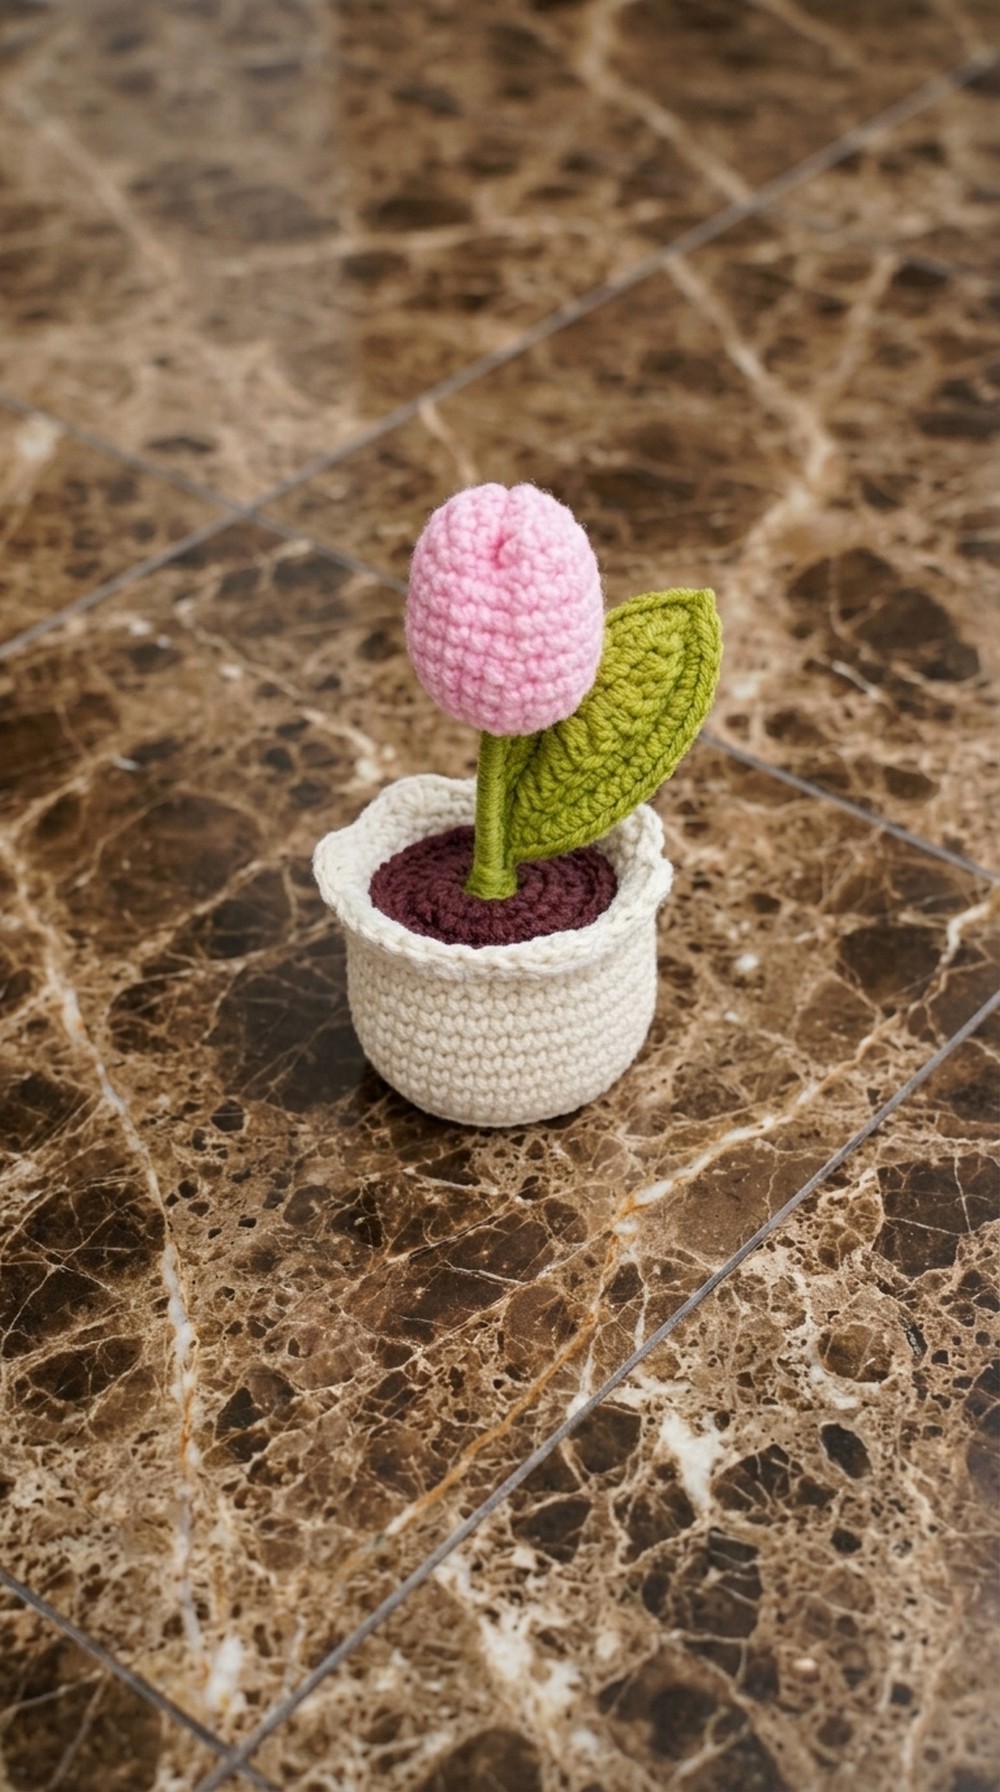
Beyond being a charming decorative accent, this crochet tulip pot serves as a heartfelt gift, a collectible piece in floral-themed collections, or a sweet reminder of friendship when dedicated to someone special. Its size and design allow it to brighten desks, windowsills, or cozy corners with a splash of handmade warmth. If you’re seeking a rewarding, not overly complex project that combines creativity with thoughtful detail, this tulip pot is a lovely choice that invites you to crochet joy and beauty stitch by stitch.
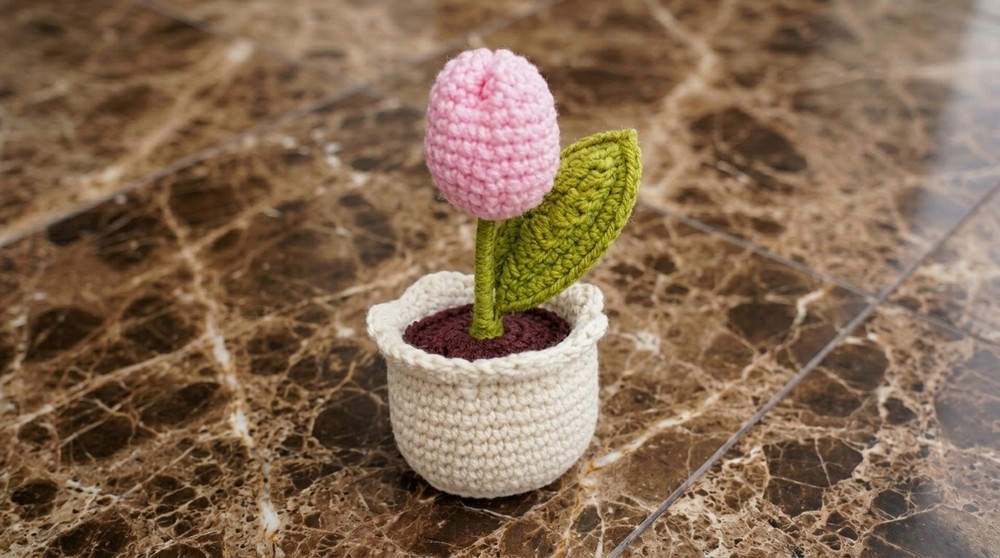
Crochet Sadia Flower Pot – Step-by-Step Pattern
Before You Start
- This project consists of a flower pot base, decorative edging, and a separate soil disk.
- The pot can be used for miniature crochet flowers like tulips or any tiny arrangement.
- Review the entire pattern before you begin.
- Familiarize yourself with working in the round, increases, and simple decreases.
- Choose yarn colors you love for the pot and soil, and coordinate with your flower project.
- A tapestry needle is helpful for hiding yarn ends and embroidering a name or message.
Pattern Notes
- US crochet terms are used throughout.
- The pot and soil are worked in the round, joining at the end of each round.
- Back loop only and front loop only stitches provide structure at the base/side transition.
- The scalloped edge is created using a simple double crochet shell pattern.
- The soil is made as a flat circle; flowers are attached or planted through it.
- Flower and leaf tutorials are available separately.
How I Made the Crochet Pattern?
- Started with a magic ring and increased to make a flat base.
- Transitioned to the pot sides by crocheting in the back loop.
- Added height, then a front loop row for crisp structure.
- Shaped the rim with even rounds and a decrease before working scalloped edging.
- Made a separate soil disk with the same method as the base.
- Finished by embroidering a name/message on the pot.
Skill Level
Beginner to Advanced Beginner
If you can single crochet, increase, decrease, and follow simple stitch patterns, you’ll enjoy this make.
Finished Size
Approx. 6–7 cm tall, 6 cm wide at rim (using DK/light worsted yarn and 3mm hook)
Materials
- DK or light worsted weight yarn in at least two colors (main pot color + soil color)
- Small amounts of yarn for flower/leaf (optional; see separate pattern)
- 3mm crochet hook (or 2.5–3.5mm to match your yarn)
- Stitch marker
- Tapestry (yarn) needle
- Scissors
- (Optional) Embroidery thread for adding a name or message
Measurements / Sizing
- Pot Base Diameter: ~5 cm
- Pot Height: ~6–7 cm
- Soil Disk Diameter: Matches internal diameter of pot
Gauge
- Not critical, but 8 sc in magic ring = ~2.5 cm across.
Stitch Abbreviations
- MR – Magic ring
- ch – Chain
- sc – Single crochet
- dc – Double crochet
- sl st – Slip stitch
- inc – Increase (2 sc in same stitch)
- dec – Decrease (single crochet 2 together)
- BLO – Back loop only
- FLO – Front loop only
- st(s) – Stitch(es)
Special Stitches
- Single Crochet Decrease (sc dec): Insert hook in next st, yarn over and pull up loop, insert hook in next st, yarn over and pull up loop (3 loops on hook), yarn over, pull through all 3 loops.
- Shell/Scallop: 5 dc in same stitch.
The Pattern
Pot Base
Round 1:
- MR, 8 sc in ring. Sl st to first sc to join. (8 sts)
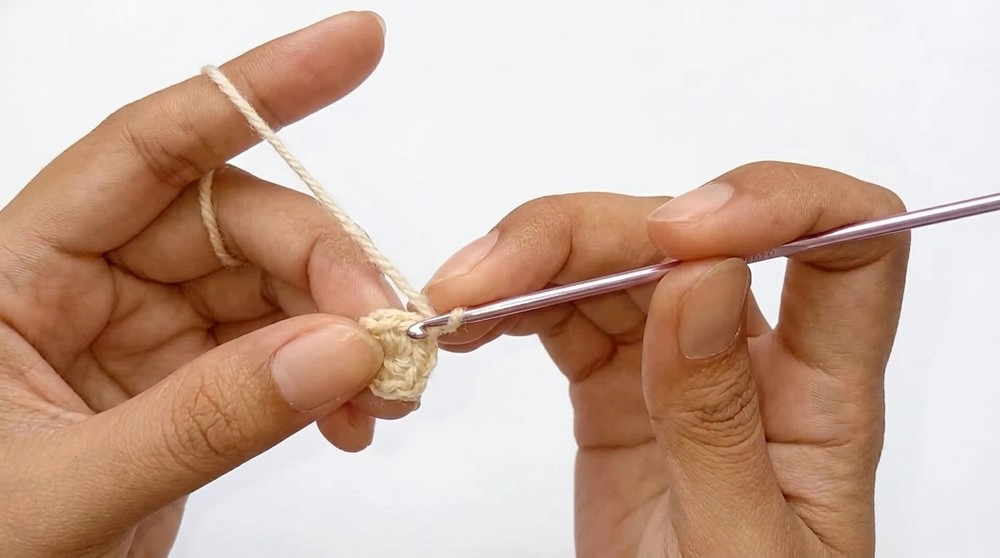
Round 2:
- Ch 1, 2 sc in each st around. Sl st to join. (16 sts)
Round 3:
- Ch 1, 1 sc in next st, inc in next repeat around. (24 sts)
Round 4:
- Ch 1, 1 sc in next 2 sts, inc in next repeat around. (32 sts)
This creates a flat circle and forms the pot's base.
Pot Sides
Round 5:
- Ch 1, turn. BLO sc in each st around. Sl st to join. (32 sts)
Round 6:
- Ch 1, turn. FLO sc in each st around. Sl st to join. (32 sts)
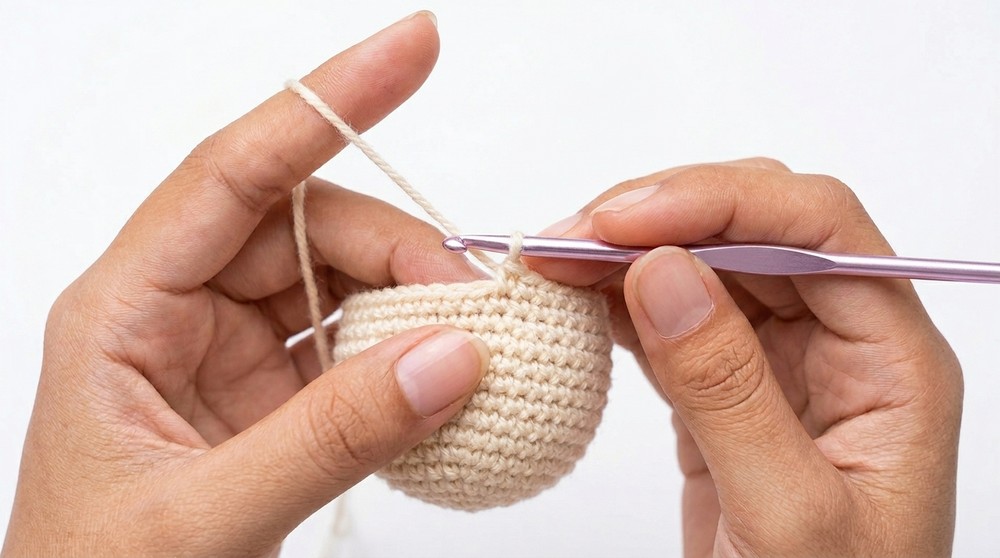
The BLO and FLO rounds provide a crisp transition between the base and pot sides, giving the pot a firm bottom.
Body of Pot
Rounds 7–13:
- Ch 1, sc in each st around. Sl st to join. (32 sts each round)
Round 14:
- Ch 1, sc in next 3 sts, sc dec in next 2 sts repeat around. (Decrease made after every 3 sc. End with 26–28 sts depending on count—it’s okay if slightly off.)
After this round, your pot will look nearly finished with a slight inward curve at the rim.
Pot Rim (Design/Scallop Edging)
Round 15:
- Skip 1 st, 5 dc in next st, skip 1 st, sl st in next st; repeat around.
- Adjust as needed near the end to join the scallops evenly.
- Sl st to join and finish off.
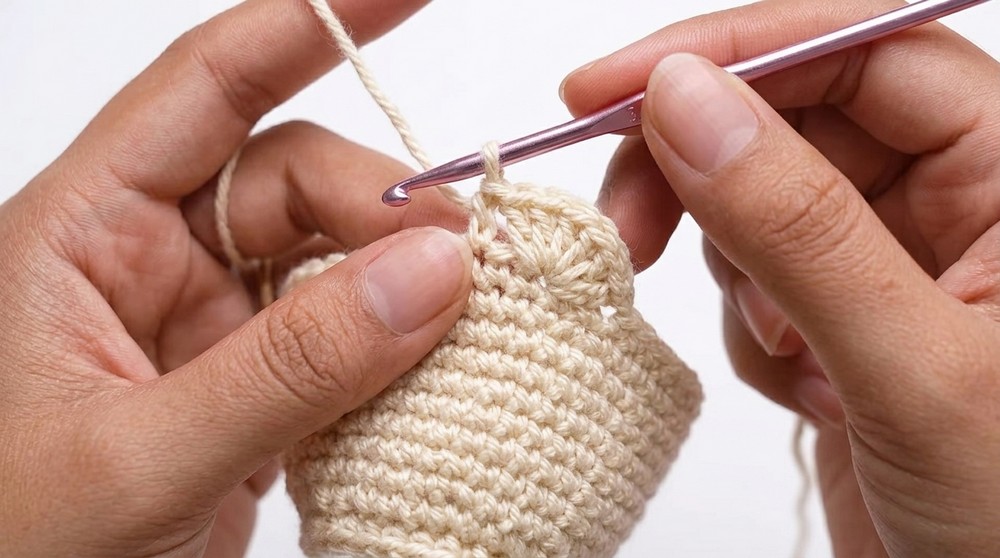
This creates the pretty tulip-style rim. Weave in your yarn ends inside the pot with a tapestry needle.
Soil Disk
Work as for base:
Round 1:
- With soil color, MR, 8 sc. Sl st to join. (8 sts)
Round 2:
- Ch 1, 2 sc in each st around (16 sts)
Round 3:
- Ch 1, 1 sc in next st, inc in next repeat around. (24 sts)
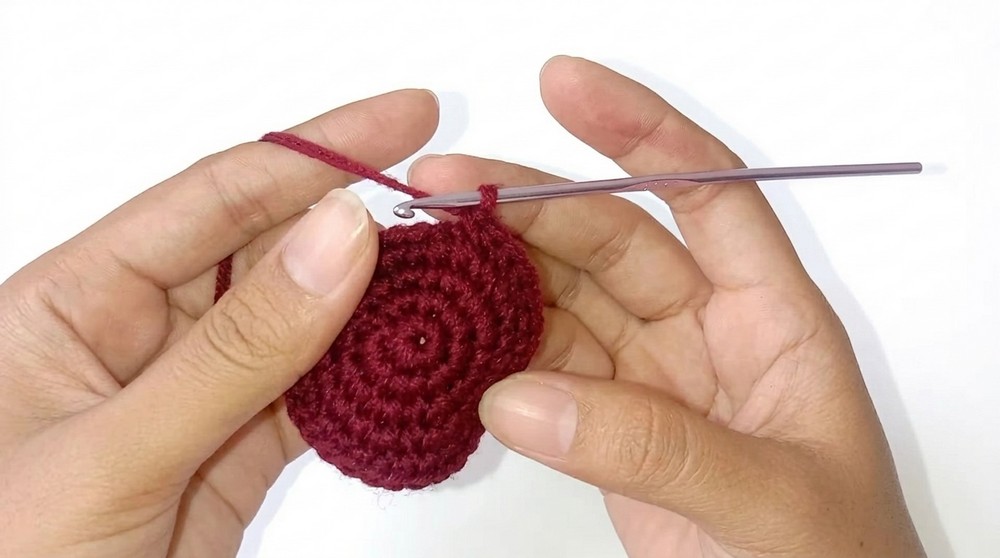
Round 4:
- Ch 1, 1 sc in next 2 sts, inc in next repeat around. (32 sts)
Finish off, weave in ends. The soil should fit snugly inside your pot. If you want, add an extra round or skip one for best fit depending on your tension.
At this stage, your pot and soil are complete. You can "plant" a flower of your choice.
Assembly & Finishing
- Insert the soil disk into the pot, adjusting so it sits just below the scalloped rim.
- Hide all yarn tails inside with a needle.
- Embroider a name or message with contrasting yarn or embroidery thread.
- Attach or sew in your crocheted flower or leaves through or onto the soil disk as desired.
- Shape your pot gently for best appearance.
Solution of Common Problems
- Scallops uneven/too spaced: Adjust the number of plain stitches between shells so the edging repeats fit evenly.
- Soil doesn't fit pot: Add or subtract a round or adjust stitch count to get a snug fit.
- Pot won’t stand flat: Check your base circle—ensure even increases and flat stitches; block or steam gently if necessary.
- Rim curls inward/outward: Block gently, or loosen/tighten your stitch tension on final scallop round.
What You Can Make Using These Stitches
- Miniature or desk flower pots for gifts and decor
- Toy plant pots for dolls or play sets
- Ring dishes or small bowls
- Table favors or party decor
- Adaptable bases for pincushions
Congratulations on your cute “Sadia” flower pot!
Personalize the pot further by adding small embroidered accents, beads, or a felt bottom. Explore flower and leaf options for a seasonal twist, and enjoy gifting this heartfelt, handmade project.


Leave a Reply