

Crochet a charming bunny basket with this free pattern using simple steps to solve your storage needs while adding festive spring vibes to your home decor.
Working up a practical and delightful basket can bring a sense of accomplishment and cheer to your crochet sessions. The Free Bunny Basket Pattern stands out as a project that is both functional and fun, making it suitable for anyone interested in seasonal home accessories or cute organizers. Using five ply milk cotton yarn and a 3.75 mm hook, the instructions provide flexibility for similar hook sizes, making it easy to adapt with what you have on hand. This bunny basket works well for storing treats, holding gifts, or adding a playful touch to your space.
Adorable Free Crochet Bunny Basket Pattern
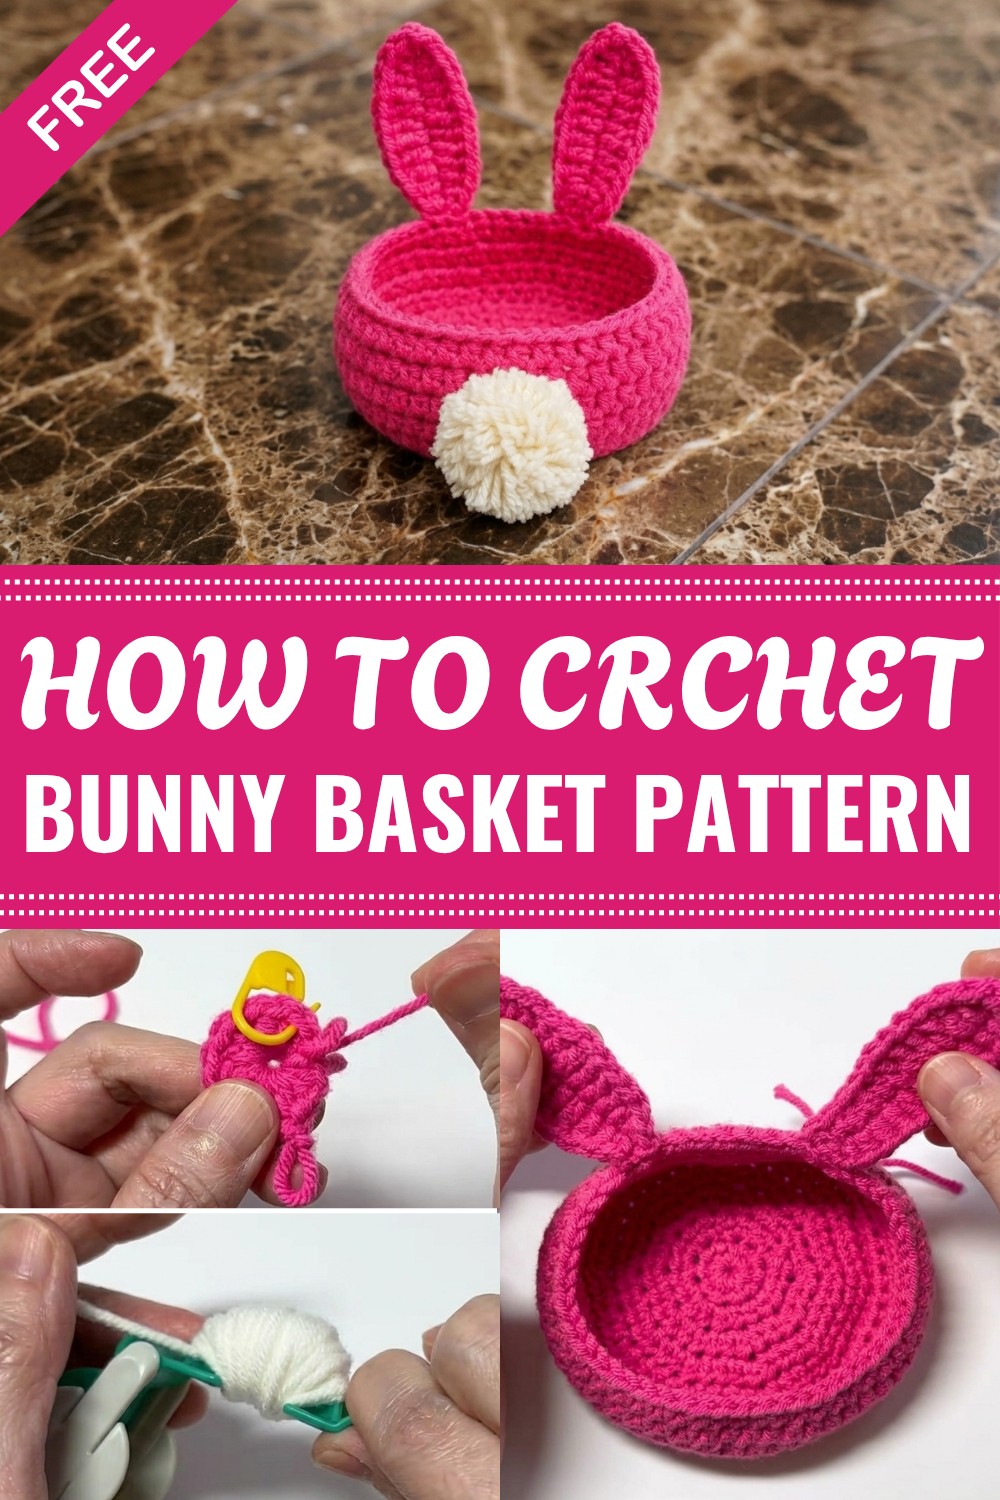
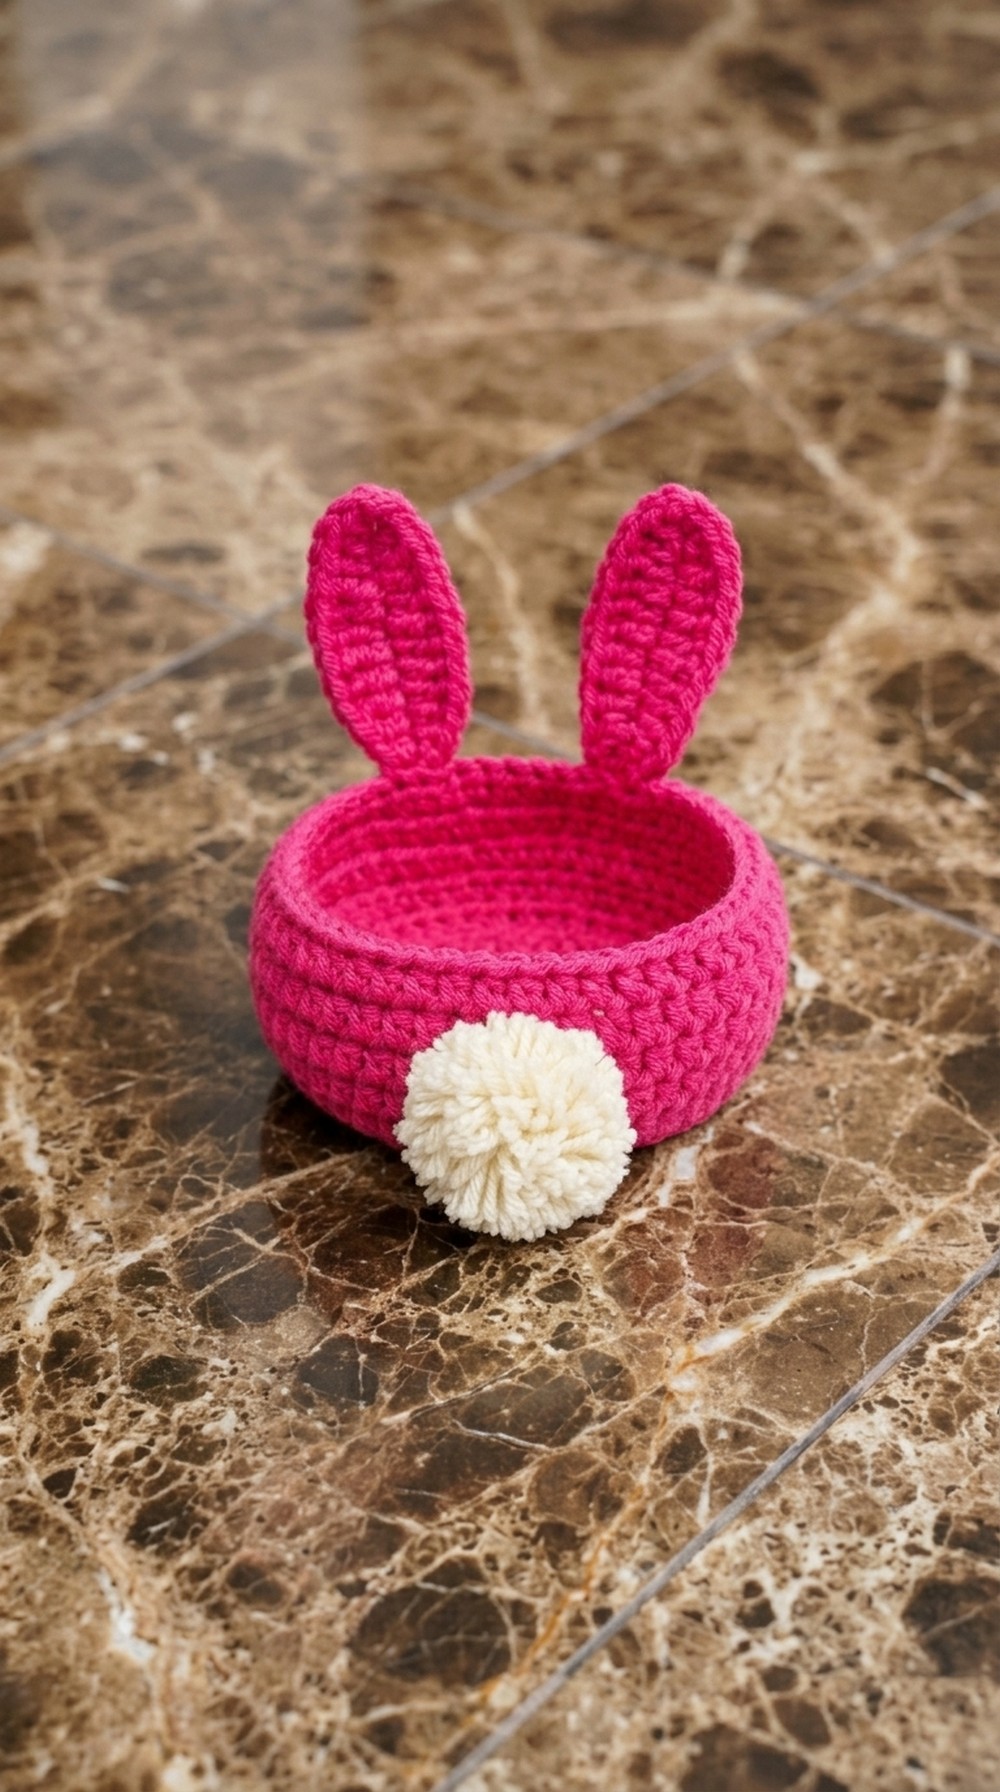
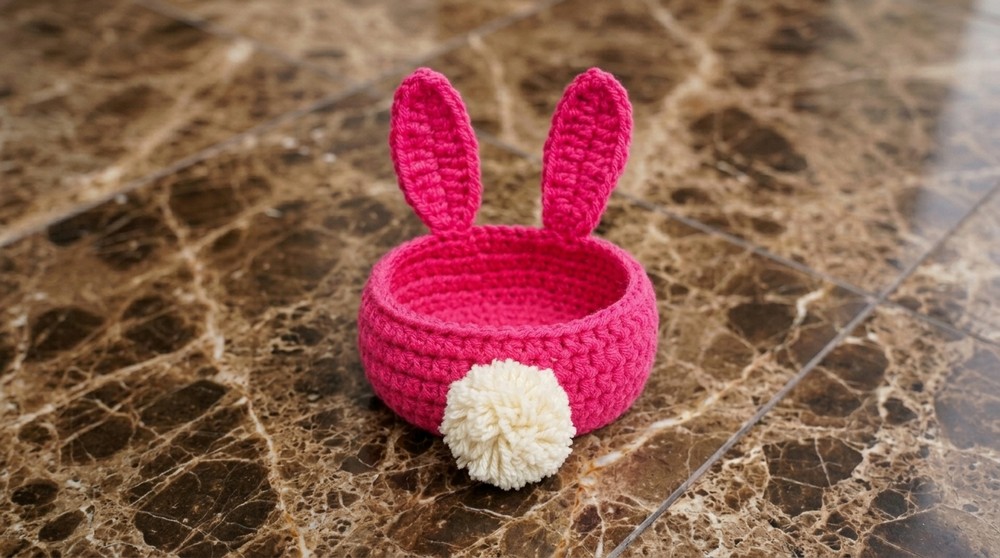
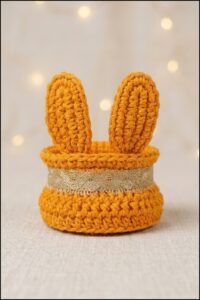
Bright and inviting, the finished basket features a sturdy, round base about 9 cm (3.5 inches) across, and a smooth, consistent texture created by rounds of half double crochet. The basket sides rise evenly, with the option to create a more dramatic edge by working in the back loop only. What sets this project apart are its whimsical bunny ears—shaped with a mix of single, half double, and double crochet stitches for a natural, curved look. The pattern includes a sweet pom pom tail made with a simple pom pom maker, giving the bunny its finishing touch. Multiple colors can be used to match any style, from bright pastels to classic white or pink.
This basket serves as a charming container for holiday candy, an organizer for small toys or desk items, or even a special gift package. Its approachable construction and easy-to-follow increases and basic stitches suit both beginners and those with previous crochet experience. Thoughtful details like the plush ears and tail offer a custom feel that will brighten any room or event. Whether for Easter, a child’s room, or just to bring a smile, this bunny basket project is a rewarding choice for anyone looking to make something both cute and practical.
Bunny Basket Crochet Pattern
Create an adorable, beginner-friendly crochet bunny basket! This round basket is perfect for Easter, gifting, table decor, or organizing. The step-by-step pattern below includes a cheerful pompom tail and soft bunny ears.
Before You Start
- Read the entire pattern before starting.
- Select quality 5-ply milk cotton or comparable yarn for structure and softness.
- Use a stitch marker to help count rounds and stitches.
- Adjust the height of the basket to your preference by adding/removing side rounds.
- Make your pompom and basket colors match or complement each other.
- Familiarize yourself with working in the round (magic ring) and basic shaping techniques.
Pattern Notes
- Basket is worked bottom-up in a spiral round.
- Ears are created in one piece and attached directly or sewn on.
- Choose between a rounded or pointed bunny ear shape based on preference.
- Basket sides use back loop only (BLO) half double crochet for sharp corners, or both loops for a softer look.
- Pompom is made with a pompom maker or by hand and securely attached for safety.
- All stitches are in US terms.
How I made the Crochet Pattern?
- Crocheted a round, flat base with increasing half double crochet rounds.
- Built up the sides in continuous rounds using HDC in back loops only.
- Used a foundation chain and a series of single, half-double, and double crochets to shape the bunny ears.
- Created a pompom tail and firmly attached it to the basket.
- Wove in all ends for neatness and strength.
Skill Level
Beginner
Finished Size
- Diameter: approx. 9 cm (3½ in) across base
- Height: approx. 4 cm (1½ in) tall (easily adjustable)
- Ears: approx. 7–8 cm (3 in) tall each
- Tail: size as preferred
Materials
- 5-ply milk cotton yarn or similar (approx. 50–100g)
- 3.75 mm crochet hook (use 3.5 mm or 4 mm if preferred)
- Stitch marker
- Yarn/darning needle
- Scissors
- Pompom maker (or make a pompom by hand)
- Tape measure or ruler
Measurements / Sizing
- Base: 9 cm / 3½ in across
- Basket sides: 4 cm / 1½ in tall (adjustable)
- Ears: 7–8 cm / ~3 in long
- Pom tail: 2–3 cm diameter
Gauge
Gauge is not crucial for this project, but should be tight enough to hold shape:
- 7 hdc x 5 rows = 2.5 cm (1 in) (approx.)
Stitch Abbreviations
- ch = chain
- hdc = half double crochet
- sc = single crochet
- dc = double crochet
- sl st = slip stitch
- st(s) = stitch(es)
- BLO = back loop only
- MR = magic ring
Special Stitches
Magic Ring (MR): Make a loop, work stitches into center; pull to close tightly.
BLO (Back Loop Only): Work into the back loop of each stitch for a defined edge.
The Pattern!
Basket Base
- Magic Ring (use double MR for added security), ch 1.
- Rnd 1: 10 hdc in MR. Tighten and sl st to first hdc. (10)
- Rnd 2: Ch 1, 2 hdc in each st around. Sl st to first hdc. (20)
- Rnd 3: Ch 1, (1 hdc in next st, 2 hdc in next st) repeat around. Sl st to first hdc. (30)
- Rnd 4: Ch 1, (1 hdc in next 2 sts, 2 hdc in next st) repeat around. Sl st to first hdc. (40)
- Rnd 5: Ch 1, (1 hdc in next 3 sts, 2 hdc in next st) repeat around. Sl st to first hdc. (50)
- Finished base = approx. 9 cm (3½ in) diameter.
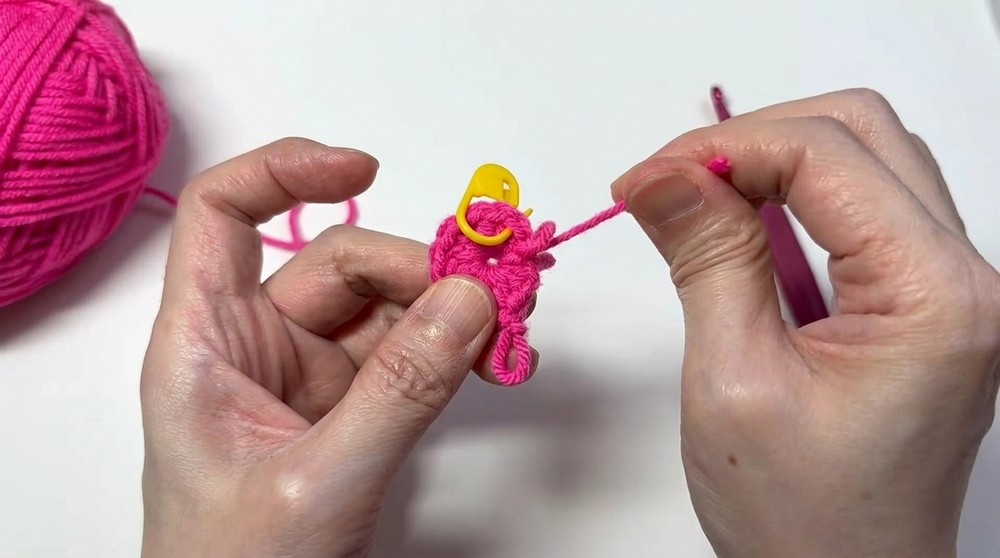
You’ve completed the flat, round base. Each increase round makes the basket wider and flatter.
Basket Sides
- Rnd 6: Ch 1; work 1 hdc in BLO of each st around. Sl st to first hdc.
- Rnd 7-10: Ch 1, 1 hdc in each st around (both loops or BLO for stiffer sides). Sl st to first hdc at end of each round.
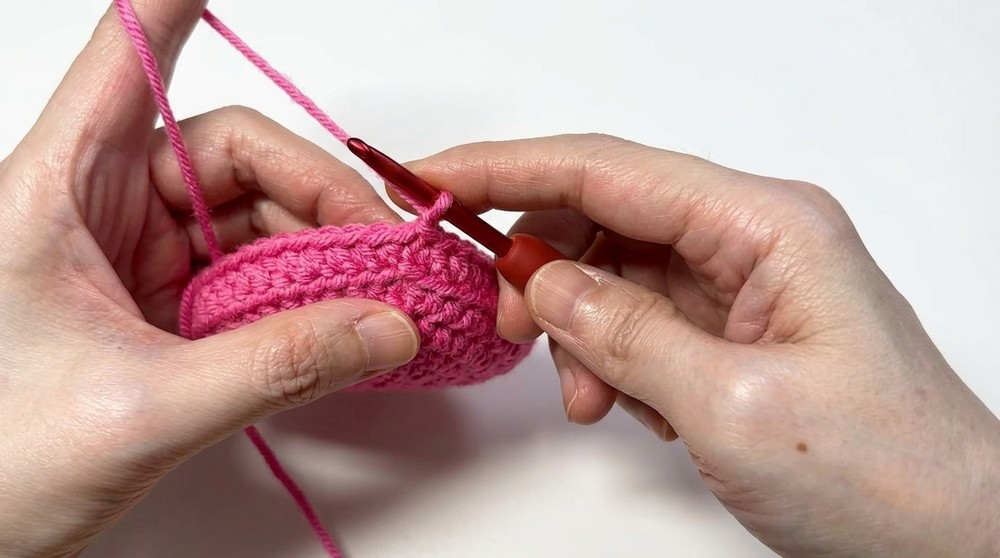
- Stop after 5 rounds for a basket approx. 4 cm (1½ in) tall, or add more rounds for extra height.
At this stage, you have a simple, clean basket. Adjust the height by adding/removing rounds as you like.
Bunny Ears (Make 2)
Written as worked straight from the edge; you may attach as you go or make separately and sew on.
- With basket still attached, ch 13.
- Row 1 (First Side of Ear):
- Sk first ch, sc in next 2 ch.
- hdc in next 3 ch.
- dc in next 5 ch.
- hdc in next ch.
- sc in last ch.
- Pivot to work back along the chain (to make the other half/edge of the ear):
- Sl st to edge of basket, then slip stitch up the side of the base or, if making the ear separately, ch 1 and turn.
- sc in first st.
- hdc in next st.
- dc in next 5 sts.
- hdc in next 3 sts.
- sc in last 2 sts.
- Fasten off, leaving a long tail. Weave in at base or position as desired on the rim.
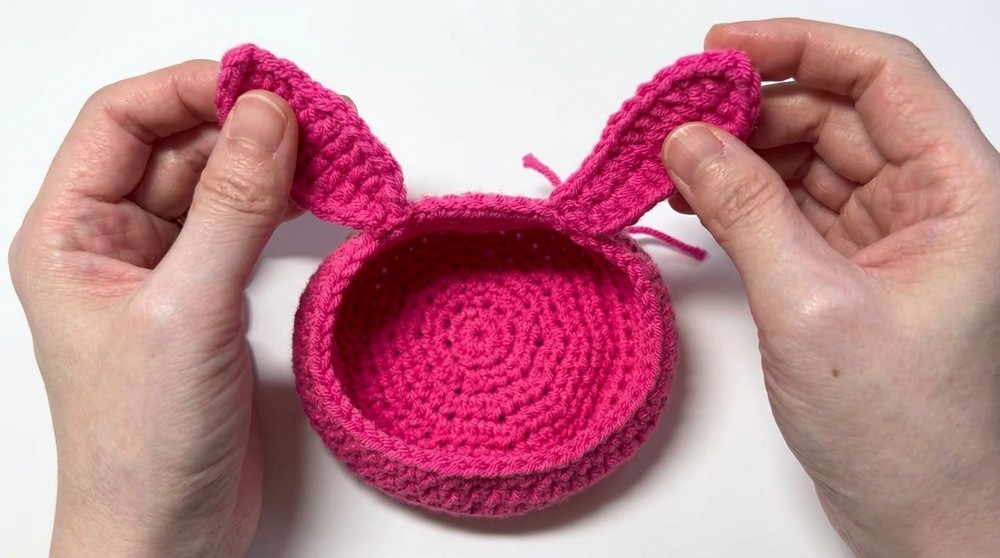
For the second ear, repeat the same process, spacing approx. 4–5 stitches away from the first. Attach at desired place for symmetry.
Pom Pom Bunny Tail
- Using a pom pom maker (size as preferred) or wrap yarn around your fingers:
- Wrap: The more wraps, the denser the tail.
- Cut: Snip yarn around, tie tightly in the center.
- Trim: Fluff and shape into a round pompom.
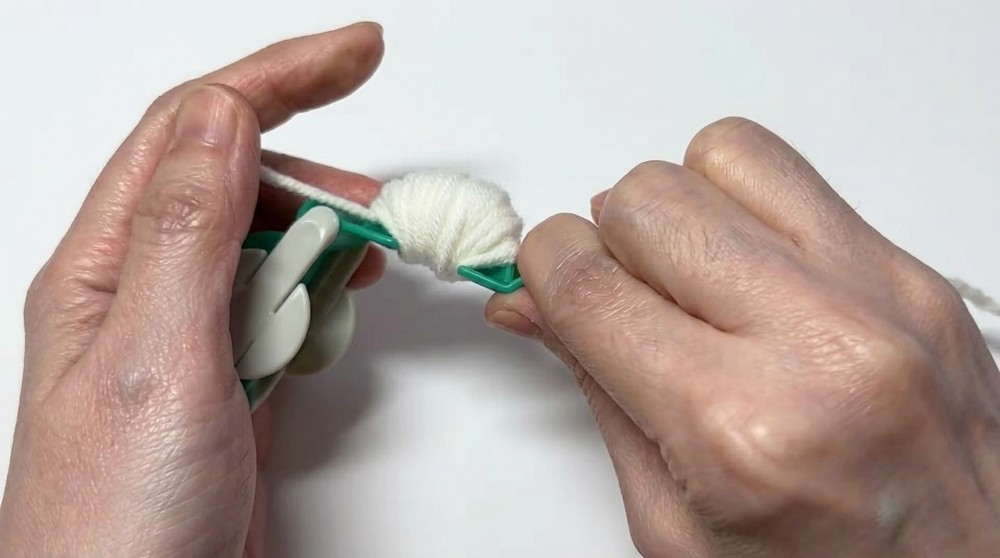
Your pompom forms the cute bunny tail. Adjust fullness as desired.
Assembly & Finishing
- Weave in or sew the ends at the base of each ear for security.
- Sew (or attach with yarn tail) both bunny ears to inside or outside edge of basket, spacing evenly.
- Sew or tie pom pom to the outside base of the basket as the tail. Knot firmly and weave in yarn for safety.
- Trim any excess yarn and shape the basket if needed.
- If made for children, double-check all attachments for security.
Solution of Problem
- Basket base curves up or is wavy:
Add more stitches per round or adjust tension; block basket to shape. - Basket looks soft/sags:
Use tighter stitches, a smaller hook, or line the basket with felt/fabric for added structure. - Ears flop over:
Add pipe cleaners inside for support, or use stiffer yarn.
What you can make by using these stitches
- Mini baskets for desk or decor
- Easter egg baskets
- Animal baskets (cat, bear, etc.) by changing ear shape
- Gift baskets or party favors
- Containers for small toys, jewelry, or treats
Leave a Reply