

Say Thanks & Support: Arlete amigurumi croche e arte
Bring charm into your space with this free crochet owl pattern that lets you create an adorable and detailed design perfect for any room or occasion.
Who can resist a tiny owl with big eyes and a sweet little face? This cute bird makes a lovely decoration and a fun handmade gift. The Free Crochet Owl Pattern is a great choice for anyone who loves small animal project and charming crochet creations.
A crochet owl often has a round body, two little ears, and large eyes that give it a friendly look. Its small wings and colorful belly add extra beauty to the design. You can choose soft colors for a gentle style or bright shades for a playful look. Each owl can have its own special charm, making it fun to enjoy as part of a handmade collection. Its soft, cozy appearance makes it look like a tiny friend ready to sit anywhere.
Free Crochet Owl Plush Pattern for Cute Room Decor
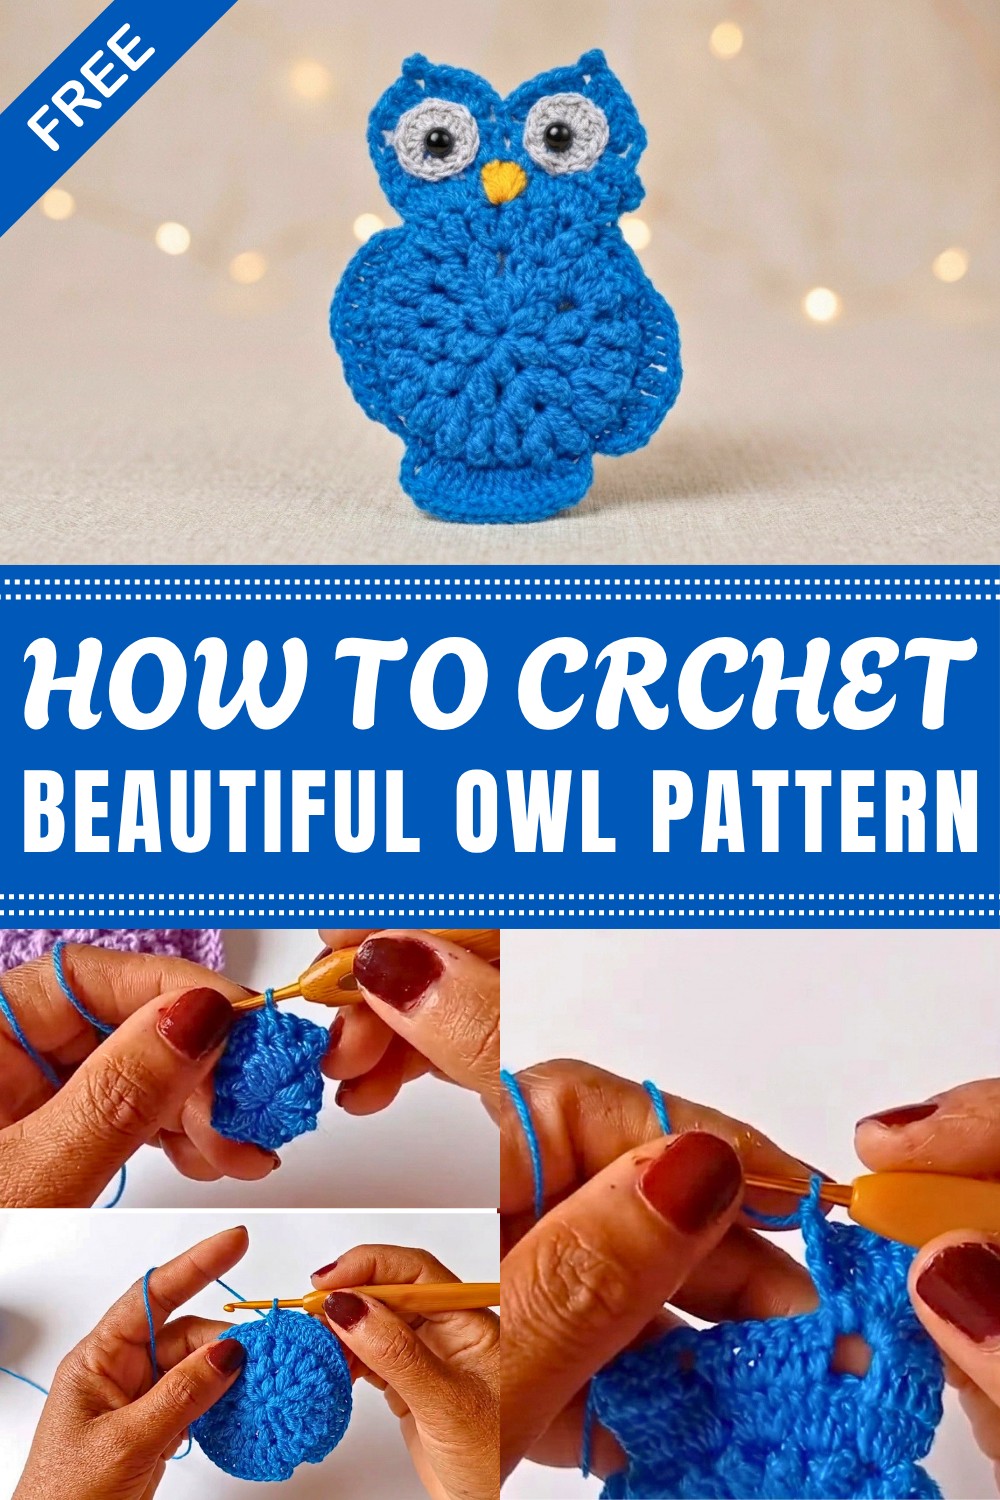
There are many sweet ways to use a crochet owl. Place it on a desk, bookshelf, bedside table, or shelf to add a cheerful touch to your room. A small owl can also work as a cute bag charm or a lovely decoration for a child's space. If you enjoy giving handmade gifts, it is a thoughtful choice for birthdays, holidays, or a friend who loves birds and animals.
Ready to explore this adorable project? Arlete amigurumi croche e arte shares creative crochet work on YouTube, offering inspiration for people who enjoy making cute handmade pieces. The owl design is a lovely idea for anyone who wants to add something playful to their craft collection.
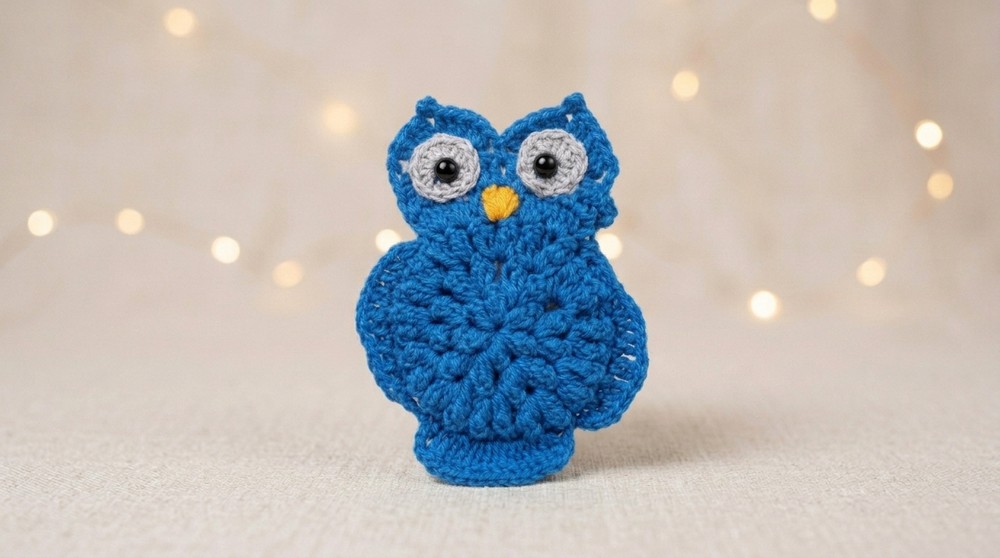
What makes this little bird special is how easily it can suit different tastes. You can keep its look simple or choose colors that make it stand out. It may be small, but its big eyes and sweet shape give it plenty of personality.
Whether you want a cheerful room decoration, a cute gift, or a new amigurumi idea to enjoy, a crochet owl is full of charm. This little feathered friend can bring warmth, color, and a happy touch to almost any space.
Multi-Use Owl Pouch and Keychain Crochet Pattern
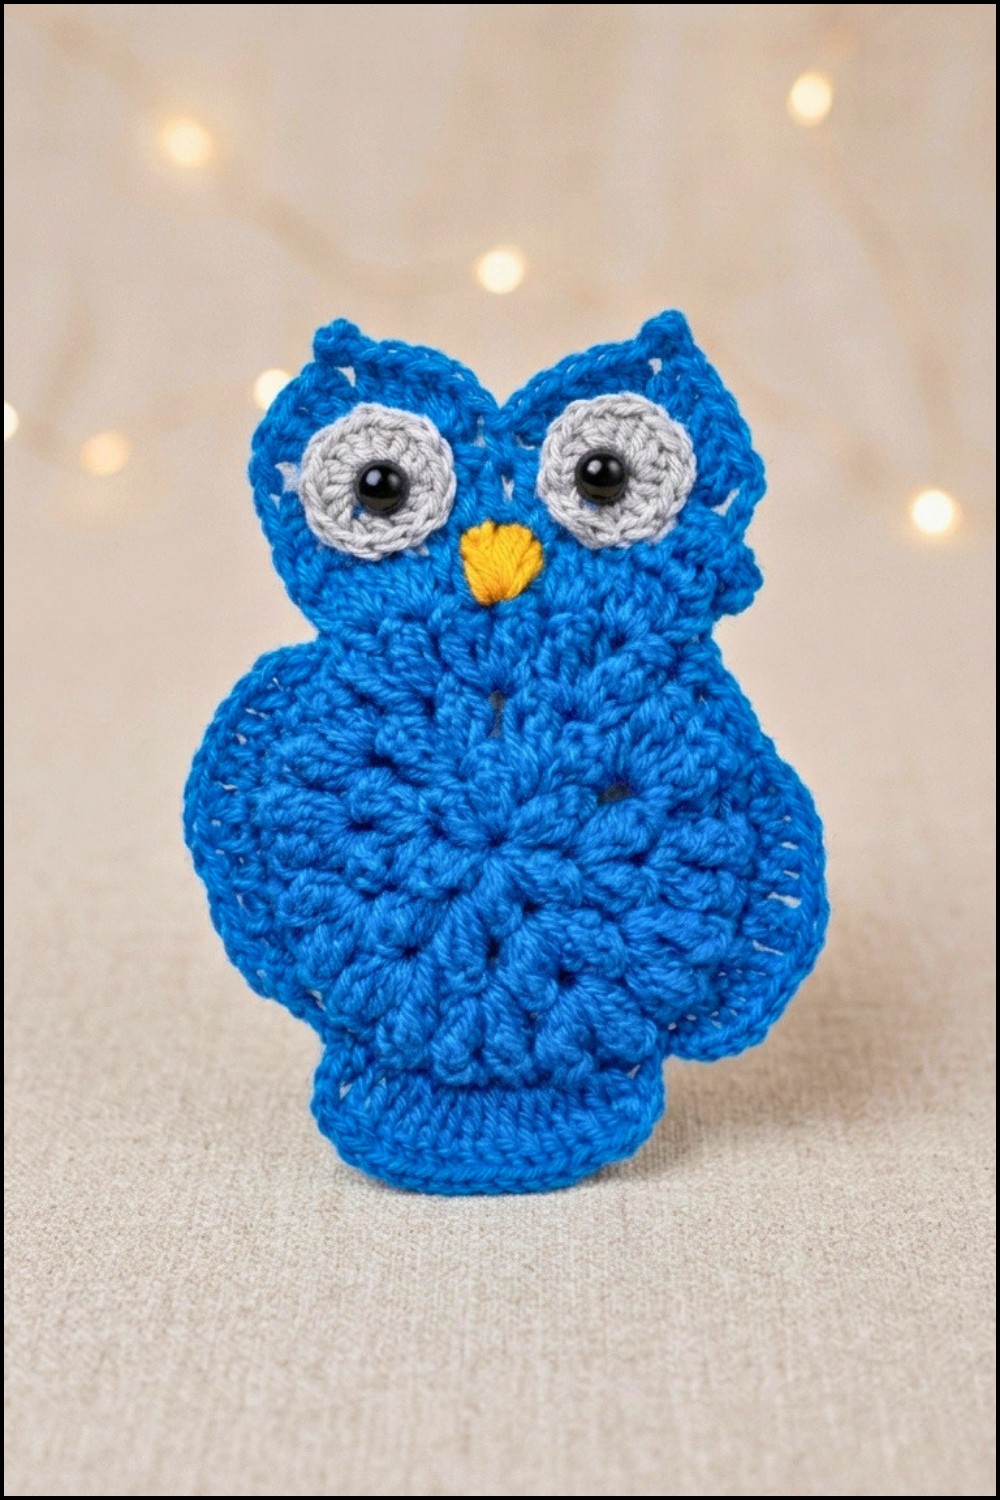
This owl pouch is a cute and practical accessory that can be used to carry small items or attached to keys as a keychain. Crocheted using fine thread, it features textured puff stitches, cute ears, wings, and a tail, along with bead eyes and a small crocheted beak. This pattern gives clear step-by-step instructions, suitable for beginners ready to try some new stitches and techniques.
Quick Overview of the Pattern
- The pouch is made from two round panels crocheted with puff stitches and joined around the edge, leaving the top open.
- Ears, wings, and tail are crocheted separately and sewn on.
- The eyes are small crocheted circles with black bead pupils.
- A small beak is crocheted and attached.
- An optional chain loop can be made to transform the pouch into a keychain.
Notes
- Use fine crochet thread and a small hook (2.0 mm or 1.75 mm) for the best results.
- Maintain a consistent, firm but not tight tension for a sturdy shape.
- Sew beads securely to prevent loss; glue can be used but is less durable.
- The strap length can be shortened or lengthened according to preference.
Skill Level
Beginner to intermediate: This pattern uses basic stitches plus a few special techniques like puff stitches and picot. Familiarity with crochet in rounds and basic increases will help.
Materials
- Fine crochet thread (Amigurumi or fine cotton thread)
- Crochet hook size 2.0 mm or 1.75 mm
- Tapestry needle
- Scissors
- Small black beads for eyes
- Glue (optional)
- Keyring (optional)
Size of Finished Owl
- Width: about 8 cm (circle diameter)
- Height: about 10 cm (including ears)
- Depth: about 2.5 cm (allows storage space)
- Strap (if made): approximately 15 cm
Stitch Abbreviations
- ch = chain
- dc = double crochet
- dtr = double treble crochet
- hdc = half double crochet
- sl st = slip stitch
- sc = single crochet
- puff st = puff stitch (cluster of 5 double crochets worked together)
- picot = chain 3, slip stitch in first chain to form a small decorative point
- mr = magic ring
Special Stitches
Puff Stitch
- Yarn over, insert hook into stitch or space, yarn over and pull up a loop (3 loops on hook).
- Yarn over, pull through 2 loops (2 loops remain on hook).
- Repeat yarn over and pull through 2 loops four more times (6 loops on hook total).
- Yarn over and pull through all 6 loops to finish the puff.
- Chain 2 to separate puff stitches.
Double Treble Crochet (dtr)
- Yarn over twice.
- Insert hook into stitch, yarn over and pull up a loop.
- Yarn over and pull through 2 loops three times.
Picot
Chain 3, then slip stitch into the first chain to make a small loop.
Step-by-Step Crochet Pattern
1. Main Body (Owl Base)
Round 1:
- Make a magic ring.
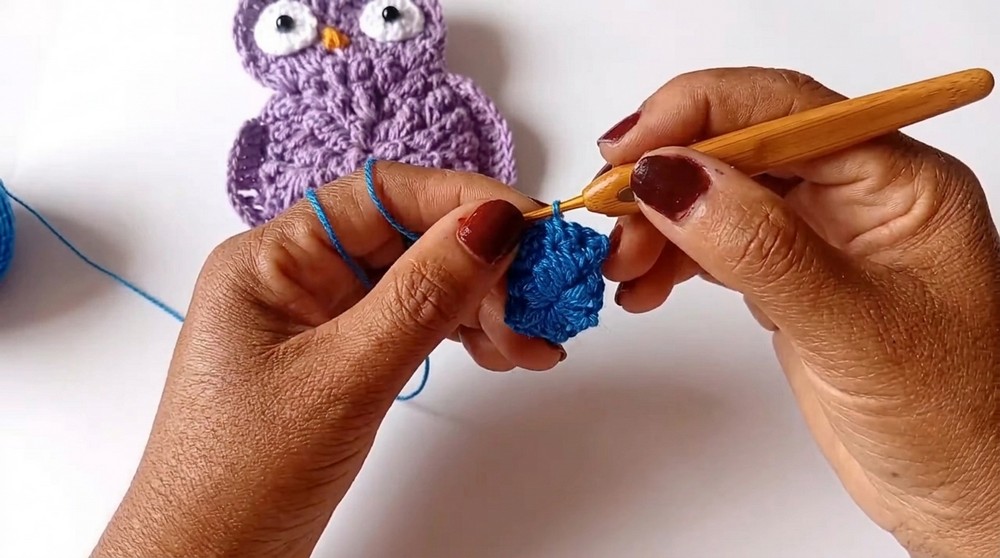
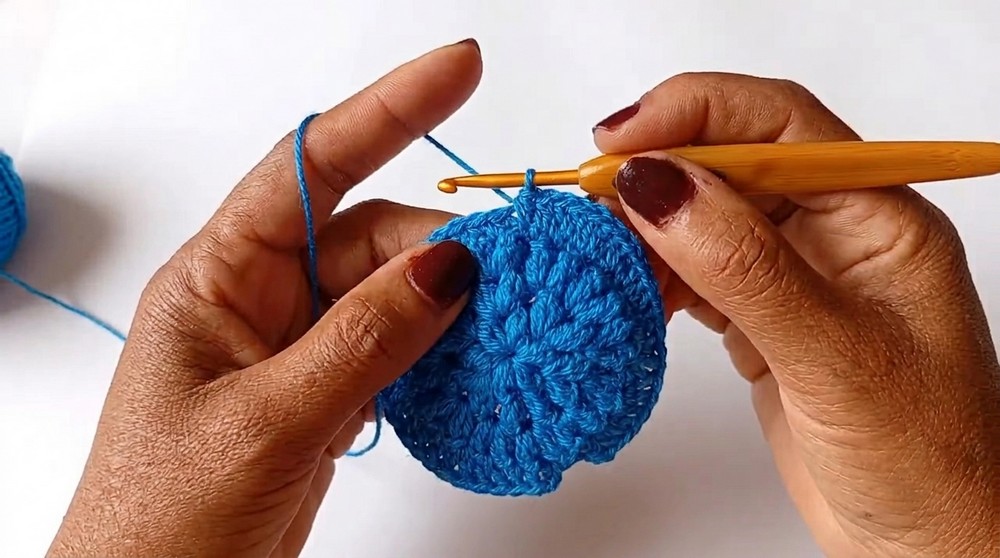
- Work 6 puff stitches into the ring, each of 5 double crochets clustered as described above, separated by chain 2.
- Finish with a chain 2 and join with a slip stitch to the base of the first puff stitch.
Round 2 (Increase round):
- In each chain-2 space from the previous round, work 2 puff stitches (each separated by chain 2).
- A total of 12 puff stitches will be in the round.
- Join with slip stitch.
Round 3 (Increase round):
- In each chain-2 space, work 2 puff stitches, doubling to 24 puff stitches.
- Join and fasten off if desired.
Creating Two Panels:
- Make two circular panels following the above steps. Keep the yarn attached on one for joining later.
Base Section with Double Crochets:
- Work 4 sets of 20 double crochets each to form a dense flat circle for support and structure.
2. Owl Ears
- For each ear, crochet 5 double treble crochets (dtr) on each side of a central picot stitch (chain 3 and slip stitch).
- Make two ears.
3. Join Panels to Form Pouch
- Place the two owl base panels back-to-back.
- Using two single crochet stitches in each chain space around the edges, join the panels together.
- Leave the top open as the pouch opening.
4. Wings and Tail
Wings:
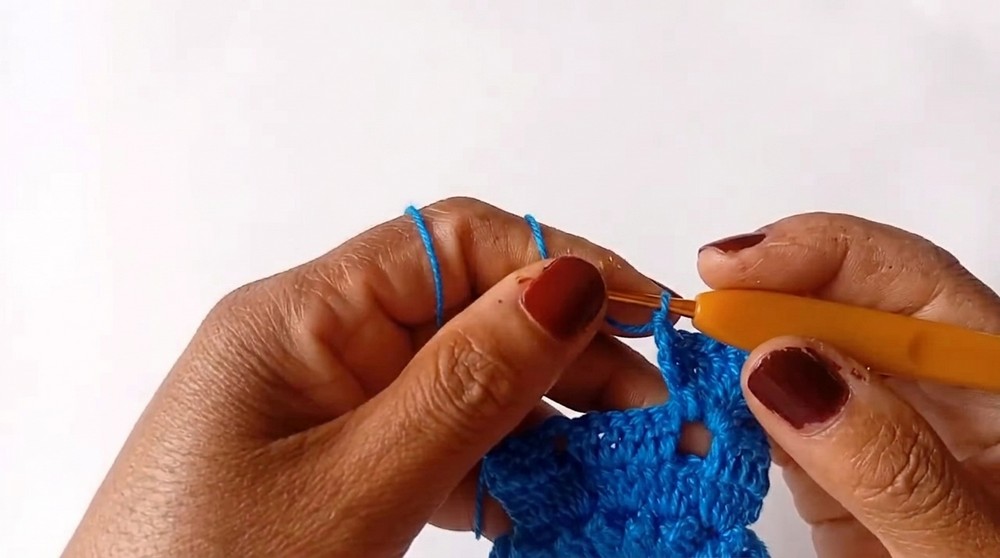
- Crochet a shape by working 5 double crochets (dc) followed by 6 double crochet trebles (dtr).
- Make a mirror image for the other wing.
Tail:
- Crochet a tail piece with similar shaped stitches and attach to the back near the bottom.
- Sew or stitch wings and tail firmly onto the pouch.
5. Eyes and Finishing
Eyes:
- Make two small circular motifs with a magic ring.
- Into the ring, work 12 half double crochets (hdc).
- Fasten off and sew or glue these onto the owl face.
- Attach a black bead in the center of each eye securely.
Beak:
- Crochet a small yellow triangle by chaining a few stitches and decreasing to form the shape.
- Attach under the eyes.
6. Strap (Optional)
- To turn the pouch into a keychain, chain approximately 35 stitches attached to the top or side of the pouch.
- Fasten securely and attach a keyring if desired.
Assembly and Finished Size
- After joining and attaching all parts, the owl pouch measures roughly 8 cm wide and 10 cm tall including ears.
- Depth is about 2.5 cm to hold small items comfortably.
- The strap adds about 15 cm of length for easy carrying or attachment.
- The firm puff stitch texture makes the pouch both decorative and durable.
Conclusion
This multi-use owl pouch is a delightful project combining basic crochet stitches and a few special techniques for beautiful texture and personality. It’s ideal for beginners eager to try puff stitches and making small stuffed motifs. The finished pouch is functional, cute, and perfect as a gift or personal item. Adding the keychain strap gives it versatility.
Leave a Reply