

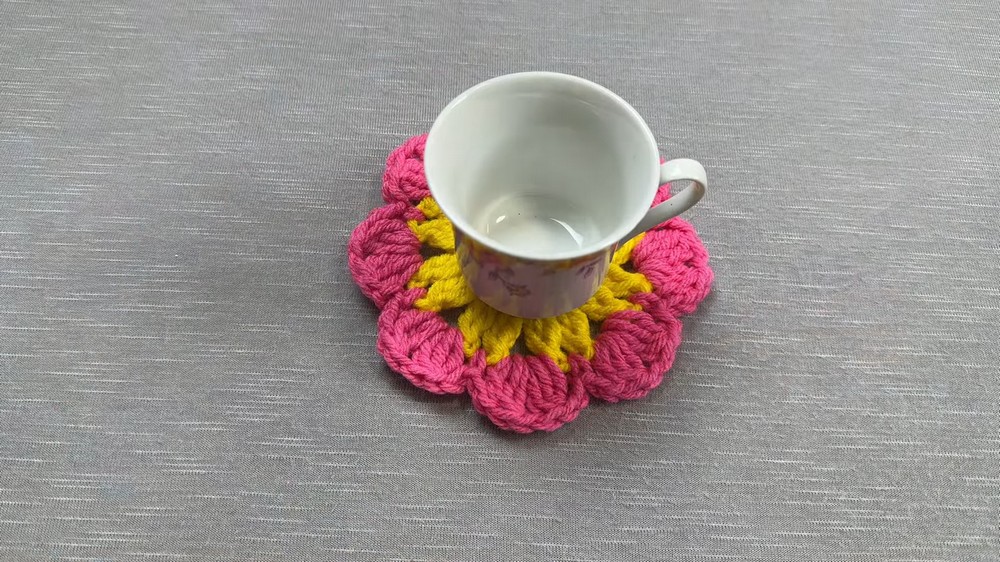
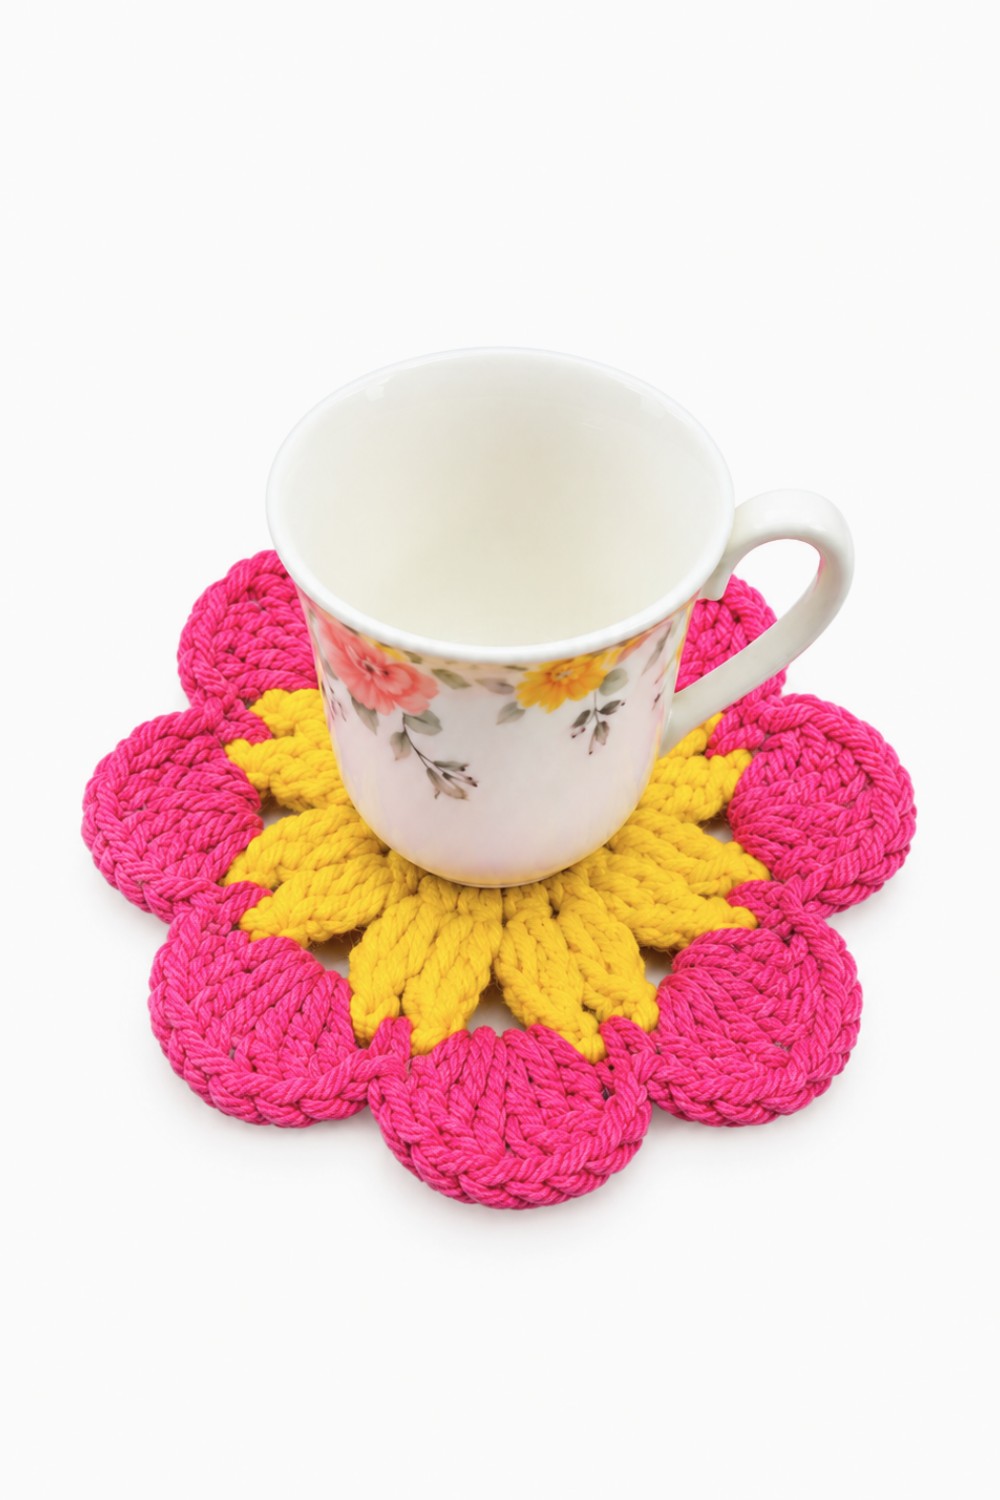
Protect your coffee table with the Crochet Coasters Free Pattern that's offering a unique mix of creativity and everyday uses, and new home gifts.
If you want to make something useful and pretty, check out the original YouTube tutorial by Yanet Pupo Crochet, who created a wonderful Crochet Coasters project. Full credit goes to Yanet for sharing this easy and fun idea. These coasters are small, soft mats made from yarn, designed to protect your tables from drinks and spills.
Quick Crochet Coasters Free Pattern For Coffee Lovers
The Crochet Coasters are simple in shape, usually round or square, and come in many bright colors. They add a touch of beauty to any room, from the kitchen to the living room. You can use them under cup, mugs, or small plates to keep surfaces clean and dry. What makes these coasters truly special is that you can customize them with different colors, patterns, or even add little decorative stitches to match your style and home decor.
The process to make these coasters is easy for beginners. First, you start by making a small loop with yarn called a magic ring, then crochet simple stitches like single crochet or double crochet in rounds or rows. You keep working until the coaster is the right size, and then finish it off neatly by hiding the ends of the yarn.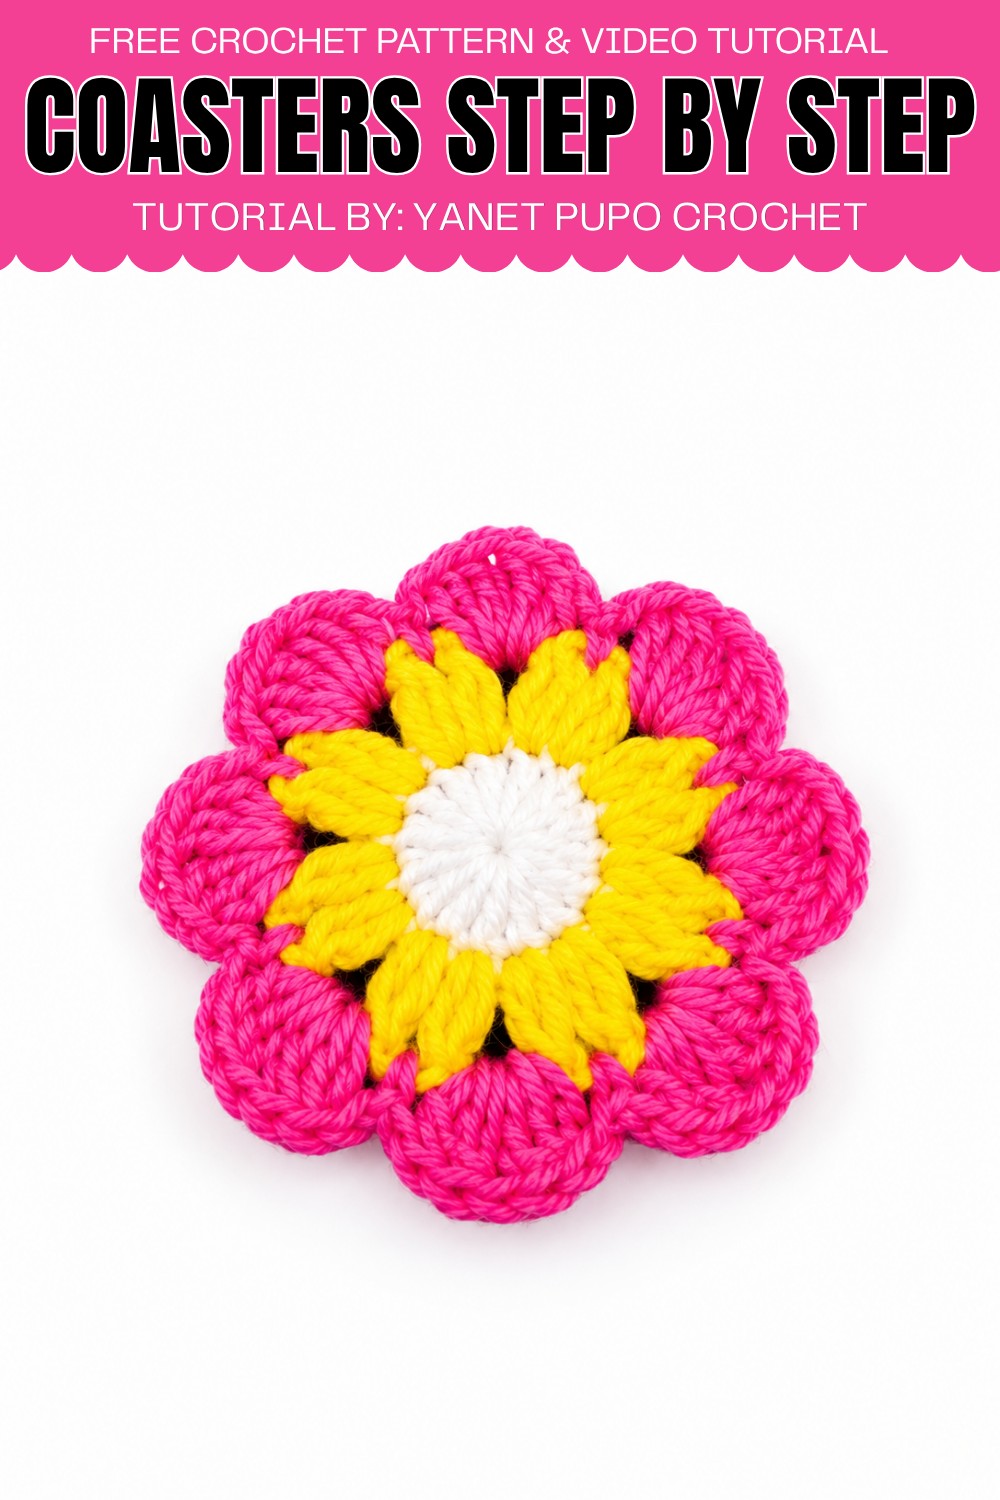
Overall, this project offers a quick and satisfying way to practice basic crochet skills while creating a handy and attractive item. Making these coasters from Yanet Pupo Crochet’s tutorial is a great choice for anyone who loves handmade crochetes.
Mini Doily or Coaster Crochet Pattern
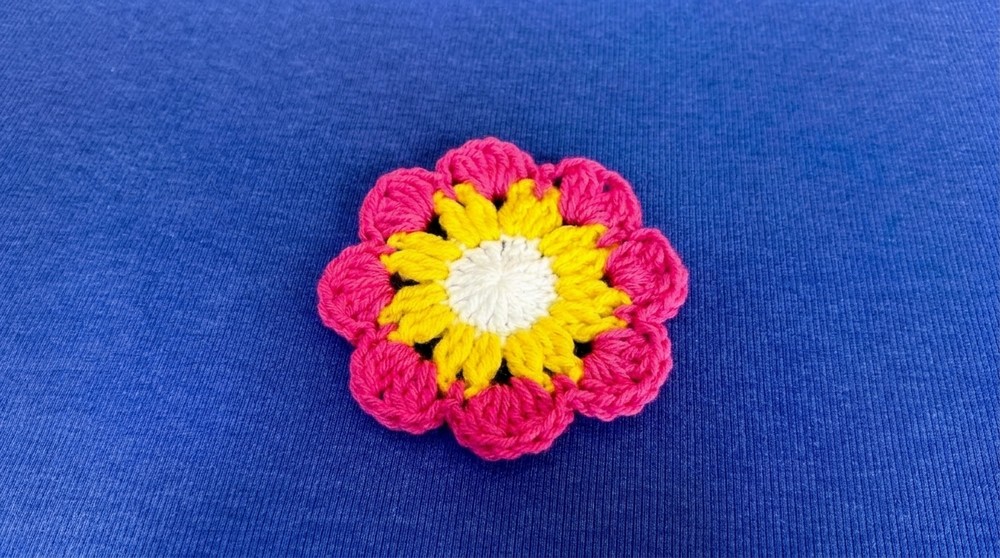
Welcome to this detailed crochet tutorial where you will learn how to make a charming mini doily or coaster from start to finish. This project uses basic crochet techniques combined with decorative finishing to create a delicate and refined piece perfect for home décor or gifts. Designed to be approachable yet elegant, this pattern is ideal for crocheters looking to practice circular patterns and decorative edges.
Quick Overview of Pattern
In this pattern, you will:
- Create a small circular base using double crochet stitches worked into a formed ring.
- Build texture and openwork with alternating double crochets and chain spaces.
- Craft clusters of double crochets within chain spaces to expand the round.
- Finish with a scalloped border made of single crochets and picots for a refined edge.
By following six clear rounds, you will complete an attractive mini doily or coaster with a professional finish.
Notes
- You may start your project with either a magic ring or a chain of 5 joined to form a ring; both methods yield the same effect.
- Consistent stitch tension is key to achieving an even circular shape.
- Pay attention to stitch placement, especially in rounds involving chains and double crochets, to keep the pattern symmetrical.
- Picots are made by chaining three and slip stitching back into the base stitch; this adds a delicate scalloped effect.
- Weave in yarn ends securely to maintain the durability and appearance of the doily.
- This pattern can be adapted to different yarn weights and hook sizes but will affect the finished size.
Skill Level
This pattern is suitable for beginner to intermediate crocheters who are comfortable with:
- Working in rounds
- Using double crochet and slip stitch
- Understanding and creating picot stitches
- Managing stitch counts and circular increases
Materials
- Yarn: Medium weight yarn appropriate to your crochet hook (such as worsted weight or DK)
- Crochet hook: Size suitable for your yarn (for example, size G/4.0 mm or H/5.0 mm)
- Scissors to cut yarn at the end
- Tapestry needle for weaving in ends neatly
Measurements / Sizing
- Finished doily diameter approximately ranges from 10 cm to 12 cm (4 to 5 inches) depending on yarn type and hook size.
- Each round progressively increases to build the circle’s diameter.
- This size is perfect for use as a coaster or small decorative centerpiece. Adjustments in yarn or hook can change dimensions.
Gauge and Stitch Pattern
Gauge is flexible for this project due to its decorative nature, but loosely:
- Round 1 forms a ring of 16 double crochet stitches.
- Round 2 alternates double crochet and chain 1 spaces for openwork.
- Round 3 builds fans of 3 double crochet clusters inside chain spaces.
- Round 4 (border) uses single crochet and picot stitches for edging.
Maintaining consistent tension throughout will keep rounds even and rounded.
Stitch Abbreviations
| Abbreviation | Stitch Name | Description |
|---|---|---|
| ch | Chain | Yarn over and pull through loop |
| dc | Double Crochet | Yarn over, insert hook into stitch, yarn over, pull through 2 loops twice |
| sl st | Slip Stitch | Insert hook into stitch, yarn over, pull through stitch and loop on hook |
| picot | Picot | Chain 3, slip stitch in base of the chain |
Special Stitches
- Magic Ring: A technique to start tightly closed circular work by creating an adjustable loop to crochet into.
- Picot Stitch: Creates a small decorative bump or “point” on the edge of fabric, done by chaining 3 and slip stitching back into the first chain.
Step-by-Step Crochet Pattern
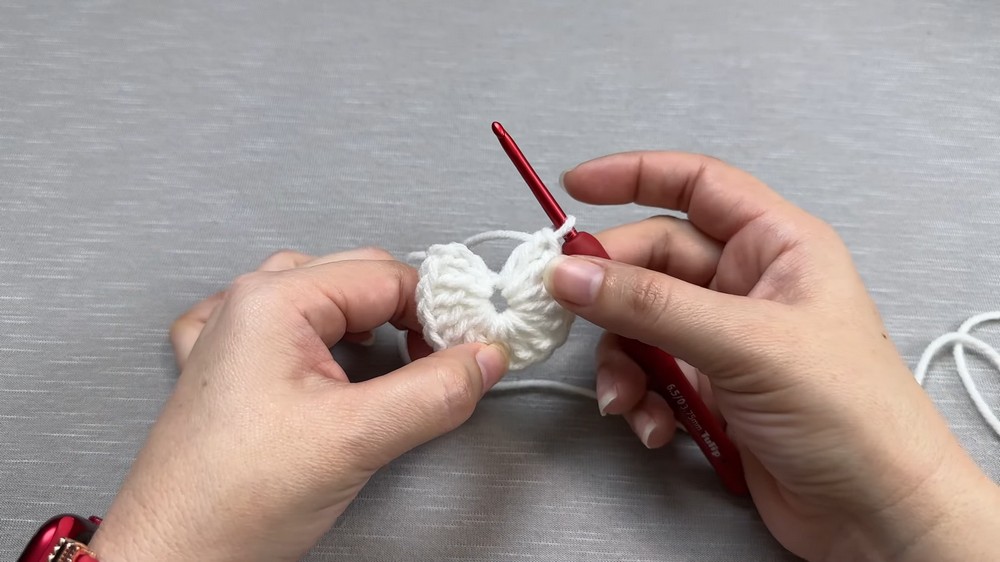
Round 1: Foundation Ring and Double Crochets
- Start:
- Create a magic ring (or chain 5 and join with slip stitch to form a ring).
- Chain: 3 (counts as the first dc).
- Work: 15 dc stitches into the ring.
- Total stitches: 16 (3 chained counts as first dc + 15 dc).
- Join: Slip stitch (sl st) into the top of the initial chain 3.
Round 2: Creating Chain Spaces
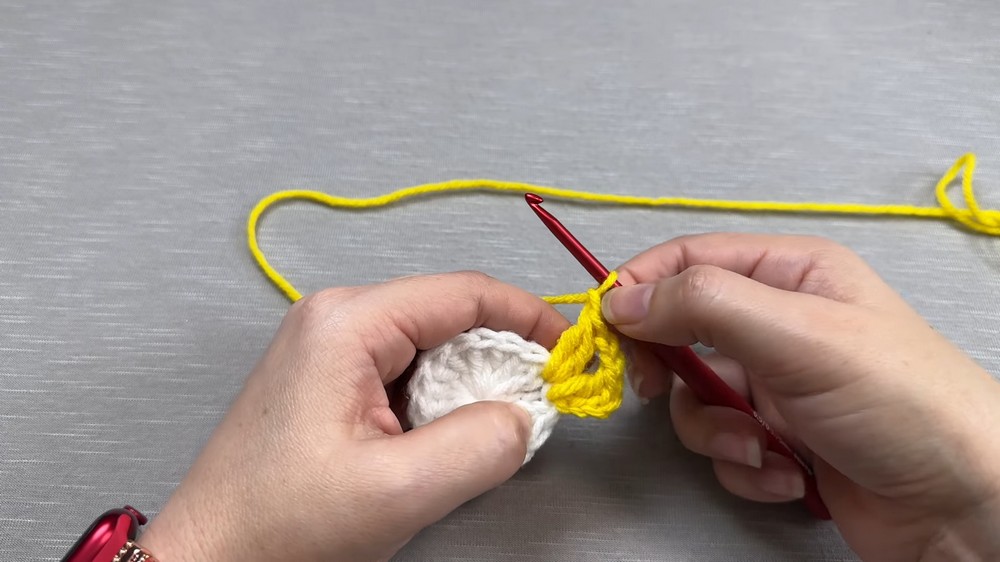
- Chain: 4 (counts as 1 dc + 1 ch).
- Repeat around:
- Double crochet (dc) in the next stitch.
- Chain 1 (ch 1).
- Join: Slip stitch into the 3rd chain of the initial chain 4.
- Tip: This round creates a light, airy texture by alternating dc and ch 1 spaces.
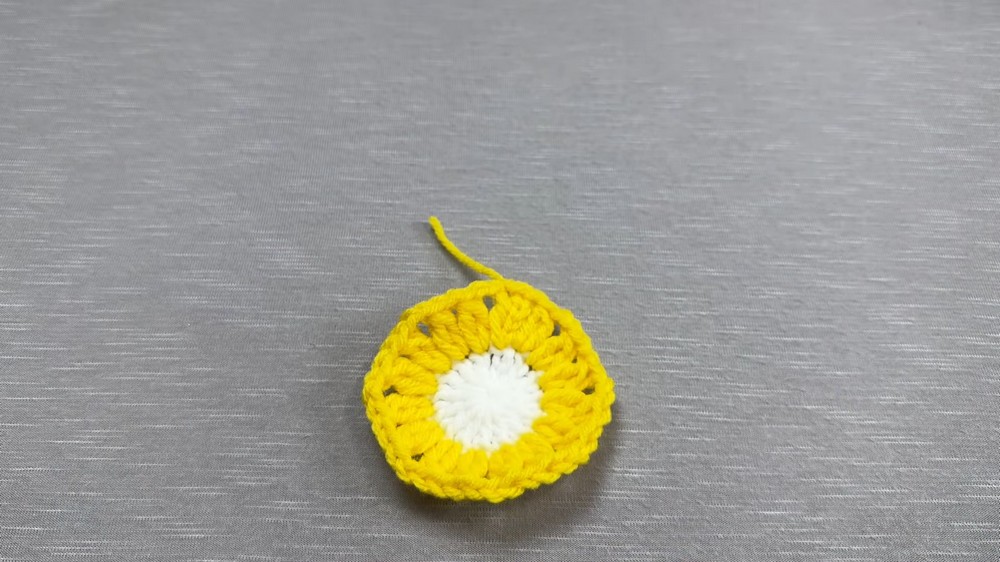
Round 3: Clusters of Double Crochets (Fans)
- Slip stitch: Into the first chain-1 space of the previous round (to position).
- Chain: 3 (counts as first dc).
- Work: 2 dc in the same chain-1 space (total 3 dc fan).
- Repeat: Work 3 dc fans in each chain-1 space around.
- Join: Slip stitch to the top of the initial chain 3.
- Result: This builds the doily out with charming textured fans.
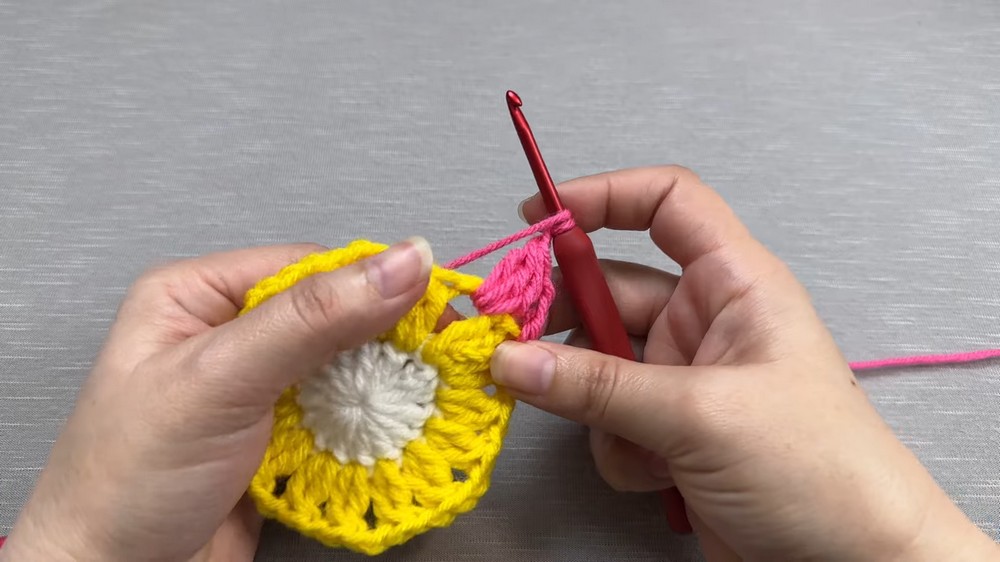
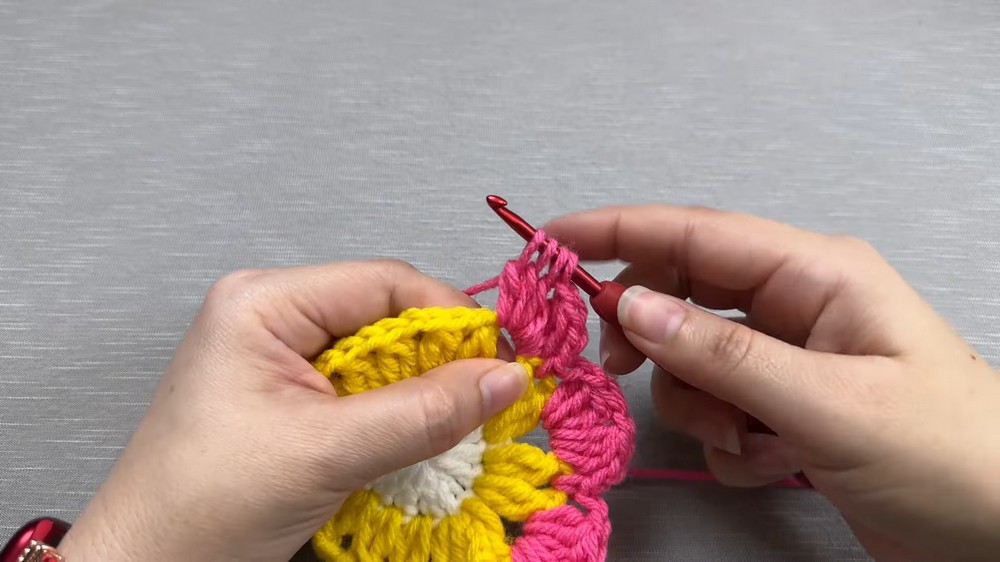
Round 4: Decorative Border with Picots
- Chain: 1 (does NOT count as a stitch).
- Repeat around:
- Single crochet (sc) in the next stitch.
- Chain 3.
- Slip stitch (sl st) into the base of the chain 3 (forming a picot).
- Join: Slip stitch to the first sc of this round.
- Effect: Creates a pretty scalloped edge with delicate picots for a perfect finish.
Finishing Your Doily
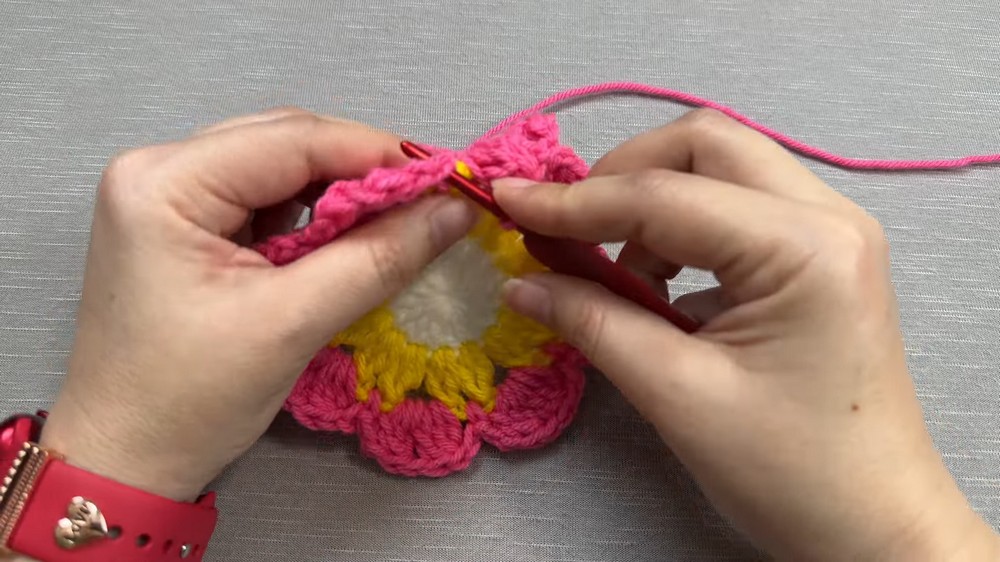
- Fasten off: Cut yarn and pull through last loop to secure.
- Weave in ends: Use a tapestry needle to hide all loose yarn neatly inside the stitches.
- Optional: Lightly block your doily by dampening and pinning it to shape — let dry flat. Blocking enhances the evenness and final presentation.
Tips for Success
- Maintain consistent tension throughout for an even circle.
- Always count your stitches to avoid mistakes.
- When working picots, keep chains firm but not stretched to preserve shape.
- Use markers if you find counting difficult, especially when working around rounds.
- Experiment with different yarn colors or weights to customize your doily size and look.
Conclusion
Congratulations on making your very own elegant mini doily or coaster! This pattern is a wonderful way to practice fundamental crochet stitches and circular working techniques while producing a lovely, functional piece. With your new skills, you can create variations by changing yarn, colors, or edging styles to make each doily uniquely yours.



Leave a Reply