

Carry your favorite items with the Crochet Bag With Granny Square Free Pattern, a colorful accessory for handmade projects and relaxed weekend plans.
Give your everyday outfits a fresh look with a beautiful handmade accessory that combines lovely colors and a practical style. The Crochet Bag With Granny Square is a fashionable yarn project that uses traditional square motifs to form an attractive everyday bag. Yanet pupo crochet shares this stylish idea for anyone who likes colorful accessories and useful crochet projects.
Easy Crochet Bag With Granny Square Free Pattern For Everyday Use
The individual squares feature decorative centers surrounded by neatly worked borders. When joined together, they form a lovely surface with visible stitch details. You can combine two or three matching yarn shades for a balanced appearance or use different colors for a more playful result. The shoulder straps complete the bag and allow comfortable carrying.
The process begins by crocheting the required granny squares. After finishing each piece, arrange them in the desired order and join their edges. Work around the top opening to give it a tidy finish, then attach the straps securely.
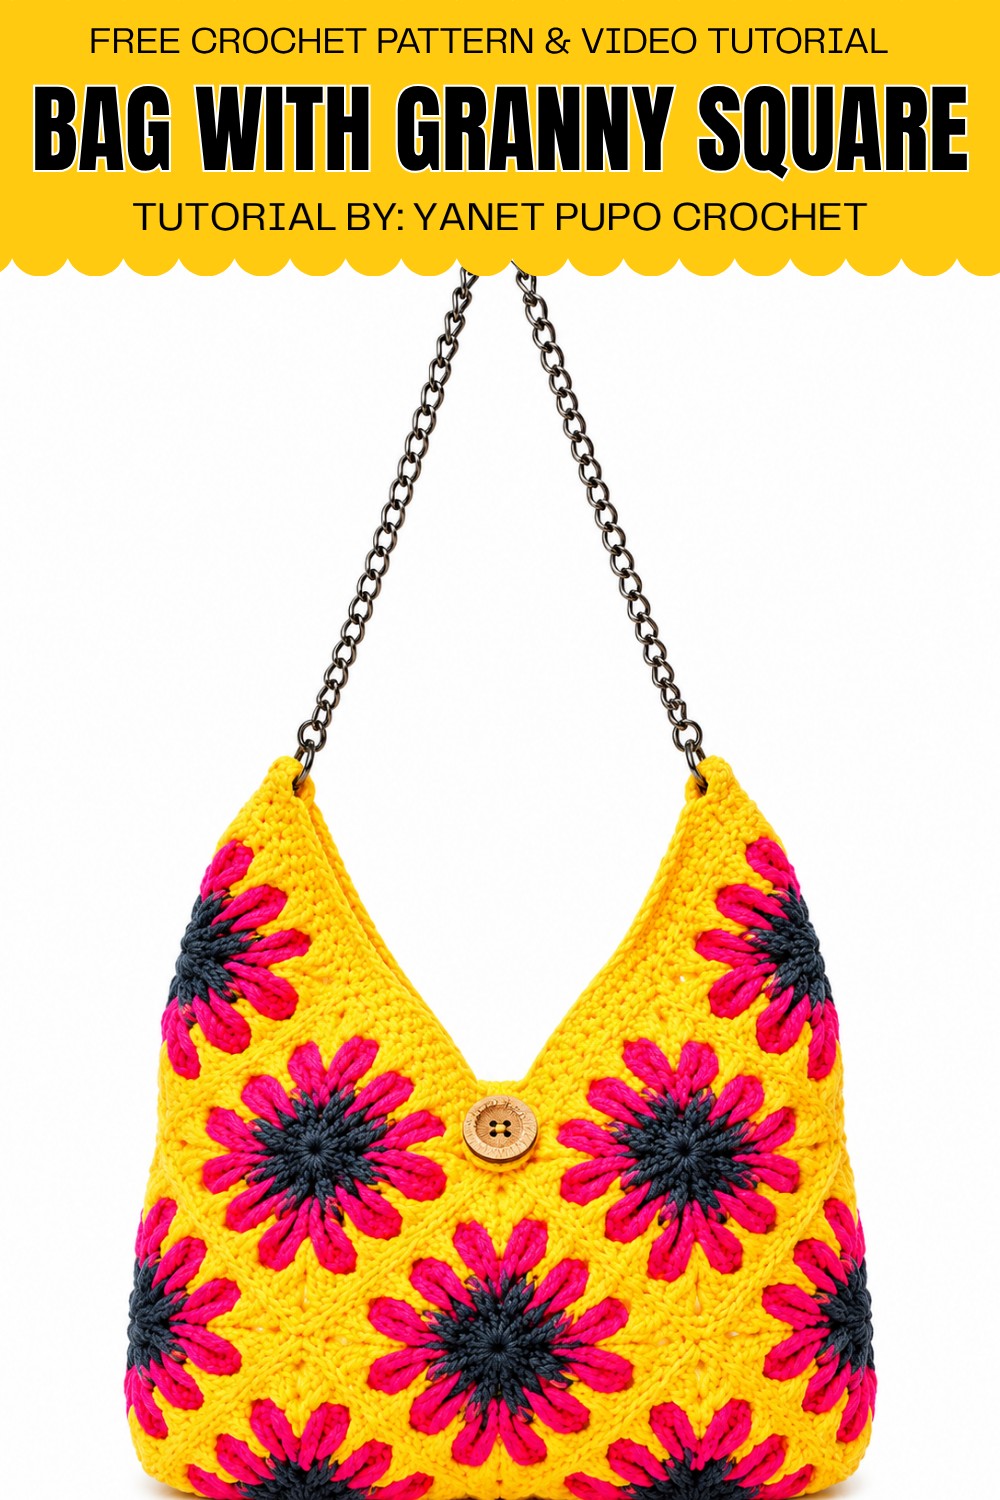
The best part of this project is the freedom to arrange the squares in your favorite color combination. Each finished bag can have its own personality while remaining useful for daily activities.
Crochet Patchwork Bag Pattern
Creating a patchwork crochet bag or wallet is a rewarding way to practice both skill and creativity. This accessory uses twelve individually worked crochet squares, joined for structure and style. With thoughtful finishing—a crocheted border, a hand-sewn closure, and a functional strap—the piece is both attractive and practical for everyday use.

About the Pattern
The pattern uses basic crochet squares, joined by hand-sewing for invisible seams. Assembly is strategic, shaping the bag from folded and aligned squares. The finishing details—three rounds of single crochet edging, a tab-and-button closure, and a chain or crocheted strap—complete your one-of-a-kind creation.
Pattern at a Glance
- Construction: Twelve striped squares (about 12g each) form the bag’s front, back, and gusset.
- Assembly: Careful arrangement and joining for a sturdy, symmetrical shape.
- Border: Single crochet worked in rounds with decreases and increases for a polished edge.
- Finishing: A crocheted closure tab, wooden button, and chain or worked strap.
Important Notes
- For invisible seams, sew squares with a tapestry needle and matching yarn, taking only the bottom loop of each chain on both pieces.
- Use the same order and color pattern for each square, or customize your palette.
- Orient all squares with right sides facing out when joining to maintain the neatest look.
- For a durable result, block your squares before assembly.
Difficulty Level
Advanced Beginner to Intermediate
You’ll need to know how to work single crochet, construct simple squares, assemble through seaming, and follow instructions for decreases and increases in a continuous round.
Supplies Needed
- ~145g #4 worsted weight yarn (estimated: 12g per square). Suggested: gray, pink, yellow—two gray stripes, one pink, one yellow per square.
- 3.75 mm aluminum crochet hook
- Tapestry/wool needle for joining and weaving ends
- Scissors
- Wooden button
- Extra yarn for closure tab
- Metal chain strap (1 meter) with rings or crocheted alternative
- Stitch markers (optional)
Size & Measurements
- Each square: ~7 x 7 cm
- Finished bag: ~20–22 cm wide x 15 cm tall
- Strap: 1 meter (shoulder length)
Gauge & Stitch Details
- Gauge is not essential, but all twelve squares should be identical for symmetry.
- Squares use single crochet (sc), arranged in color stripes: 2 gray rows, 1 pink row, 1 yellow row (or your preference).
- Edging, seaming, and tab are also in single crochet (sc).
Crochet Abbreviations
- ch: chain
- sc: single crochet
- sl st: slip stitch
- sp: space
- rep: repeat
- st(s): stitch(es)
Special Stitch Guide
- Seaming: Use a tapestry needle to whipstitch through the bottom loop of each chain, producing an invisible join.
- Single Crochet Border: Work 1 sc in each stitch around, with 3 sc in corners and sc3tog (single crochet 3 together) for shaped decreases.
- Decrease (sc3tog): Insert hook into next st, yarn over, pull up a loop; repeat in next two sts, yarn over, pull through all 4 loops.
- Increase: 3 sc in one stitch at corners to maintain curve.
Complete Crochet Pattern
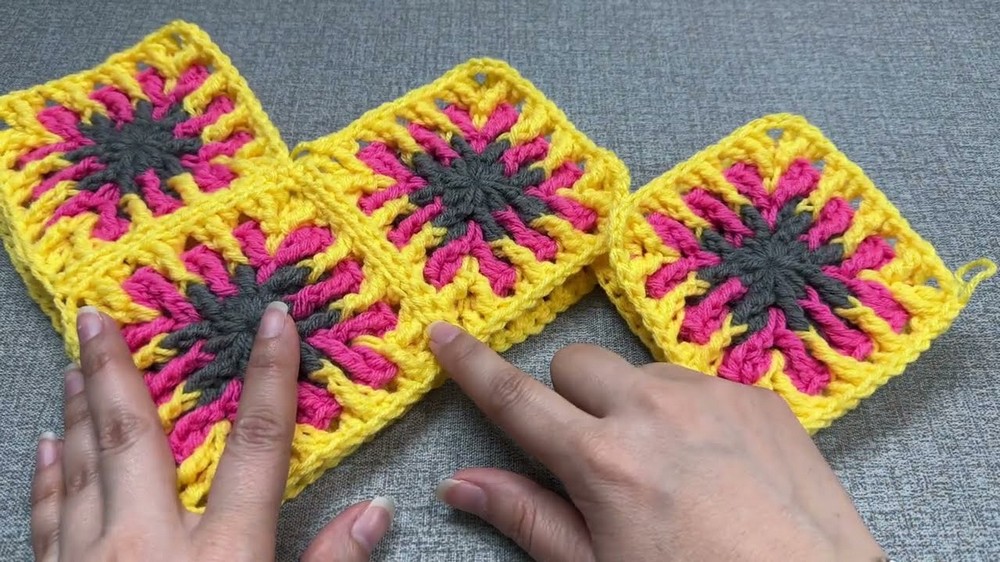
- For Squares pattern go and check the video
Make 12 Squares

- Work each square using your preferred color sequence (e.g., 2 rows gray, 1 row pink, 1 yellow).
- Finish and block all to an identical size.
Assembly
Arrange for joining:
- Set aside six squares for the front and back, all oriented with right sides out.
- Fold the remaining six as instructed, sewing along the triangle boundaries to form gussets for the base and sides.
Sewing:
- Align two squares, wrong sides together. Using a tapestry needle and matching yarn, sew through only the bottom loop of each chain across the seam with invisible stitches.
- Hold work taut but do not overtighten to avoid puckering.
- Join three squares in sequence for the front, then join three for the back, referencing your layout so corners align.
- Assemble gusset pieces by folding squares in triangle shapes. Join down and then up, creating corner triangles that open toward the sides.
- Attach gusset units along the side of the front and back, using the same seaming method.

Border
- With yellow (or your chosen color), attach yarn with a tight knot to any edge.
- Round 1:
- Work 1 sc in each st, moving smoothly along the joined edges.
- At square junctions, sc into each joining space.
- 3 sc in each corner for curve stability.
- At deepest bag curves, work a decrease (sc3tog) for shaping.
- Round 2:
- sc across each stitch, no increases or decreases except at the curve—work smoothly to maintain contour.
- Round 3:
- Work as in Round 1: sc3tog only at bag curves to maintain the rounded shaping, sc in every other stitch.
- After the final stitch, join with a sl st to your starting sc.
- Break yarn and weave in all border ends.

Closure Tab
- Create the loop:
- Wrap yarn four times around two fingers, remove, and tie a sturdy knot.
- Work single crochet (sc) tightly around all strands, covering them fully.
- Join with a sl st to the first sc to close the round.
- Tab Rows:
- Ch 1 (not counted).
- Row 1: 4 sc along the loop, ch 1, turn.
- Rows 2–5: 4 sc, ch 1, turn—repeat for five rows or until the tab folds to comfortably reach your button placement.
- Bind off, leaving a long sewing tail.
Assembly & Finished Size
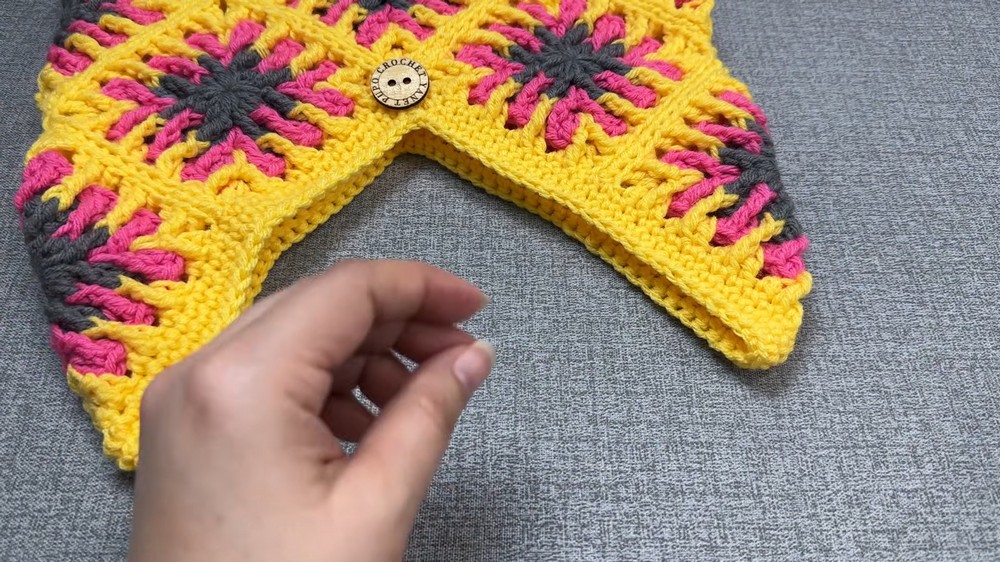
- Button:
Sew a wooden button to the front of the bag, centered just below the edge, with a thin needle if needed. - Tab:
Sew the closure tab at the top back, centered. Secure thoroughly. - Strap:
Attach a 1-meter metal chain with rings to reinforced square corners.
For a crocheted strap, work a long chain, then single crochet (sc) back and forth to desired width, sewing ends securely to bag.
Conclusion
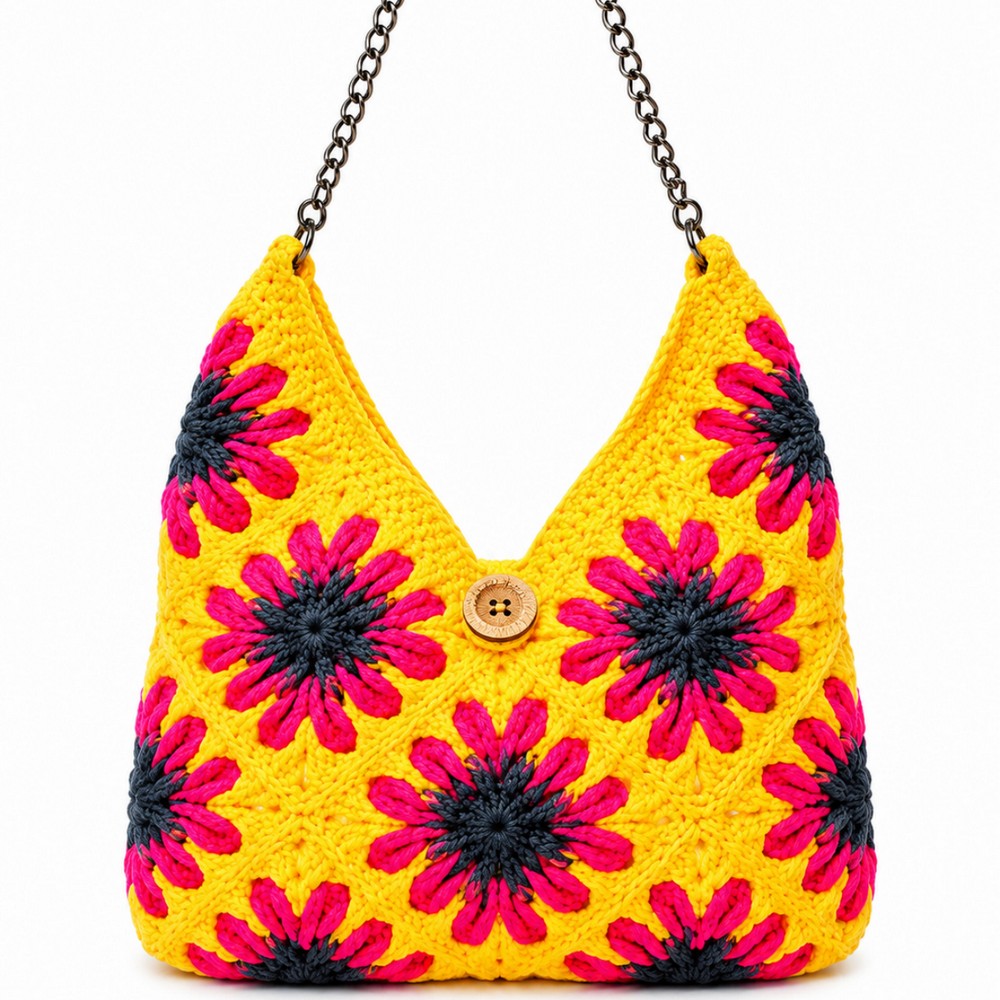
This patchwork crochet bag combines modular square construction, pleasing colorwork, and careful finishing for a practical accessory. The technique of joining squares through the bottom chain loops, working single crochet borders with shaping, and the addition of a handmade closure demonstrates attention to detail and mastery of basic techniques. Adjust colors or details as desired and enjoy carrying or gifting a handmade bag that displays your skills.



Leave a Reply