

Deliver vibrant and unique crochet granny square pattern that stand out, with easy-to-follow steps perfect for creating eye-catching and creative projects!
Attention to innovation defines the modern crochet granny square pattern. These designs have broken free from their traditional roots, inviting both novices and expert crocheters to explore a wide array of uses beyond the familiar. Think colorful blankets, trendy bags, decorative cushions, or even stylish wearables all brought to life through the versatile nature of granny squares.
Unique Ways to Use Crochet Granny Squares in DIY Projects
Offering creative joy and practical function, each square invites experimentation with vibrant colors and unique stitch combinations. Their compact size makes them ideal travel companions, perfect for working on the go, while their modular format allows for easy assembly into larger projects. By utilizing leftover yarn, these squares transform scraps into statement pieces, adding sustainability to their list of benefits.
Granny square patterns are more than just a way to pass the time; they serve as a powerful means of personal expression and connection with a global community of crochet enthusiasts. Whether enhancing your living space with handcrafted charm or crafting a heartfelt gift, these patterns offer a canvas for creativity and a means to bring warmth and personality into your world. Rich in history and brimming with possibilities, they reflect not only the past but the exciting innovations of crochet’s future.
Introduction to the Crochet Granny Square Pattern
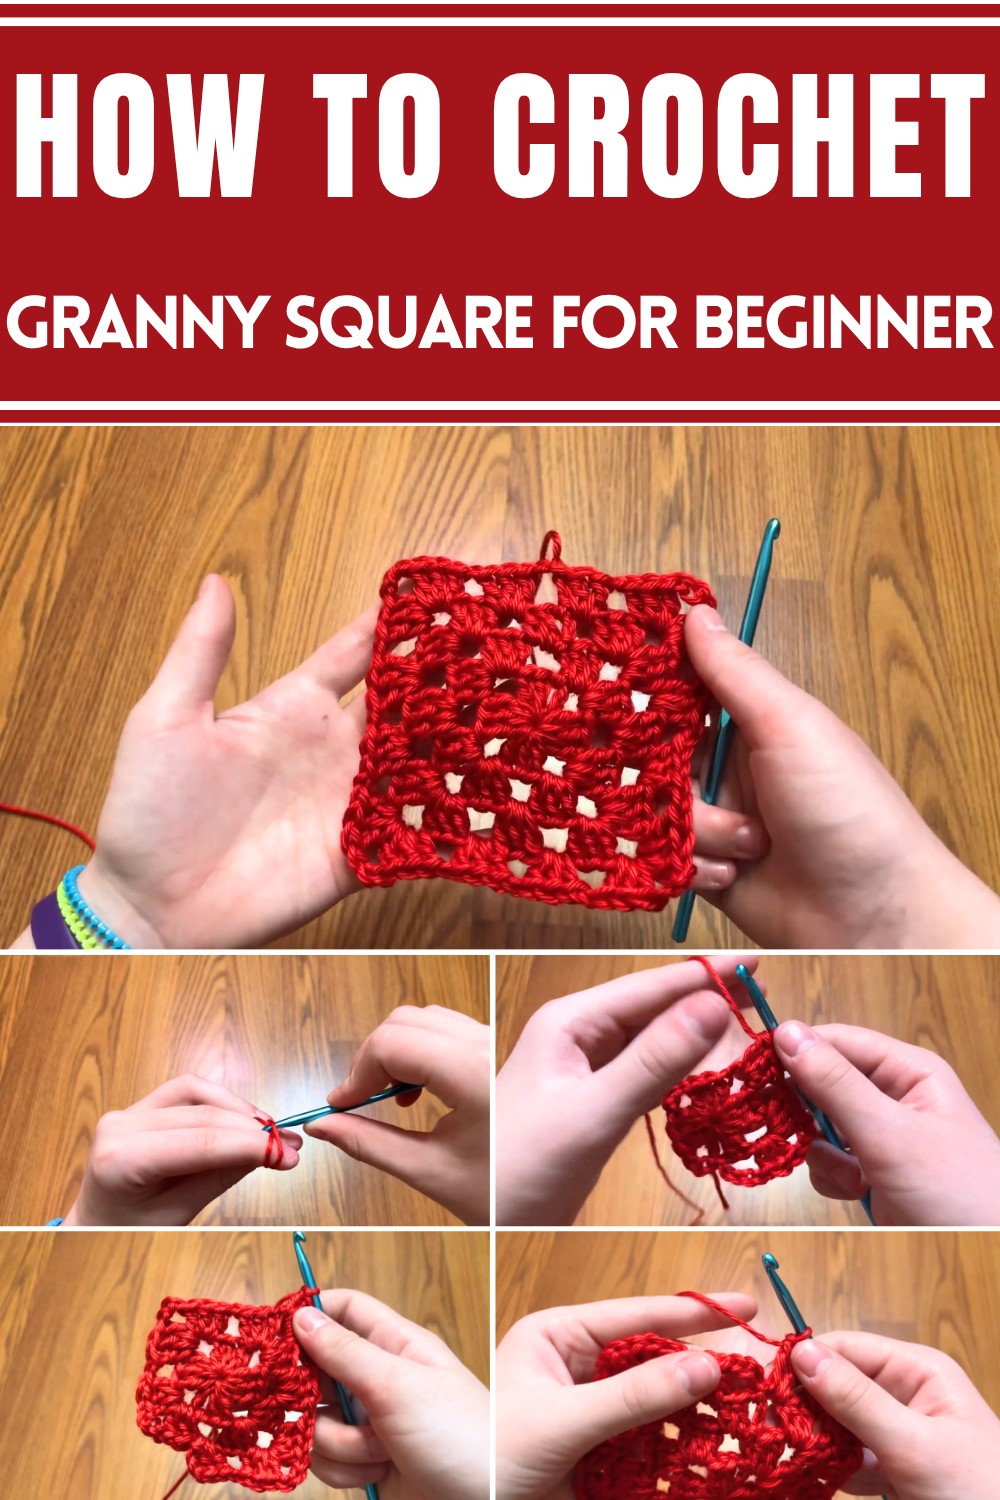
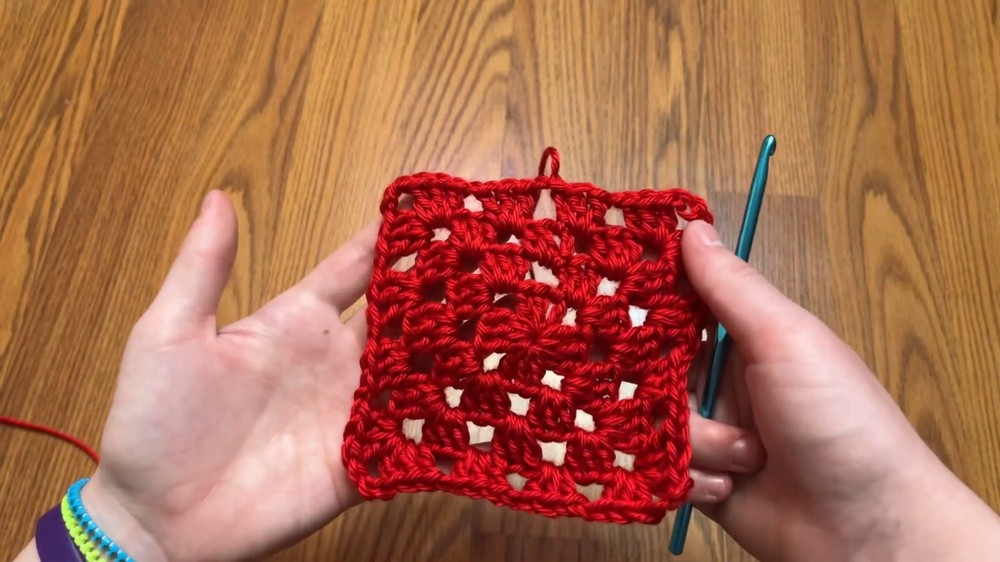
The granny square is a timeless crochet staple. It’s built using simple stitches repeated in a specific pattern, making it a wonderful choice for anyone learning to crochet or looking for an easy project. In this guide, you'll learn how to crochet a granny square starting with a magic ring and working through multiple rounds to expand the square. This pattern is all about creating corners and spaces using double crochet clusters, chains, and slip stitches.
Materials Required:
- yarn
- 5mm crochet hook
- scissors
Step-by-Step Process
Step 1: Creating the Magic Ring
- Grab your yarn and make a magic ring by wrapping the yarn around your fingers.
- Insert the crochet hook under the yarn, pull it through, and twist to form a loop.
- Chain 1 to secure the magic ring. This creates a circular foundation to work the granny square.

Step 2: Forming the First Round
- Start by chaining 3—this counts as your first double crochet.
- Add two double crochets into the magic ring to complete your first cluster of 3 double crochets.
- Create a corner by chaining 3.
- Add three double crochets into the magic ring, followed by another chain of 3 for the second corner.
- Repeat this process for two more corners:
- Chain 3 and add three double crochets into the magic ring for the third corner.
- Chain 3 and add three double crochets into the magic ring for the final corner.
- Close the round by slip stitching into the top of the first double crochet (or chain-3).
- Pull the tail to tighten the magic ring. This completes Round 1.
Step 3: Starting the Second Round
- Chain 3—this counts as your first double crochet.
- Chain 1 to create a space.
- Move to the first corner space created in Round 1 and add three double crochets, followed by a chain of 3 (to preserve the corner), and then three more double crochets in the same space.
- Chain 1 to create a space before moving to the next corner.
- Repeat the process for each remaining corner:
- Add three double crochets, chain 3, and three double crochets in each corner space.
- Chain 1 between the corners for spacing.
- At the end of the round, slip stitch into the top of the first double crochet (or chain-3) to join the corners.

Step 4: Expanding the Third Round
- Start with a chain 3 (this acts as the first double crochet).
- Add two more double crochets into the first space from the previous round—this completes a cluster of 3 double crochets.
- Chain 1 to create space.
- Move to the corners and repeat the corner pattern:
- Add three double crochets, chain 3, and three double crochets in the corner space.
- For each side of the square, add three double crochets in the middle spaces.
- Chain 1 between every cluster (middle clusters and corners).
- To finish, slip stitch at the end of the round.

Step 5: Adding More Rounds (Optional)
- Continue the same process for additional rounds:
- Work three double crochets in each space along the sides of the square.
- Maintain the corner pattern: three double crochets, chain 3, three double crochets in each corner space.
- Chain 1 between every cluster to maintain spacing.
- Each additional round adds more spaces along the sides of the square.
Step 6: Finishing the Granny Square
- Once you reach your desired size, finish the square by slip stitching into the first double crochet of the final round.
- Chain 1 and cut the yarn.
- Pull the yarn tail through and tighten the knot.
- Weave in or trim the excess yarn for a clean finish.

Conclusion
Congratulations—you’ve just completed your granny square! This classic pattern can be adapted to any size and used in countless projects, making it both functional and fun. Whether you stop at a few rounds or continue expanding, each granny square adds personality to whatever you create. Keep practicing and experimenting with different colors and textures to make your granny squares truly unique.


Leave a Reply