

Welcome warmth into your home by working on this free crochet angel amigurumi pattern that brings soft charm and festive spirit to any space.
Bulky decorations can take up a lot of space, while a tiny handmade angel brings the same festive feeling in a much smaller way. The Free Crochet Angel Amigurumi Pattern is a sweet project for making a little angel that looks soft, peaceful, and full of charm. Its small size makes it easy to place around the home without making a display feel crowded.
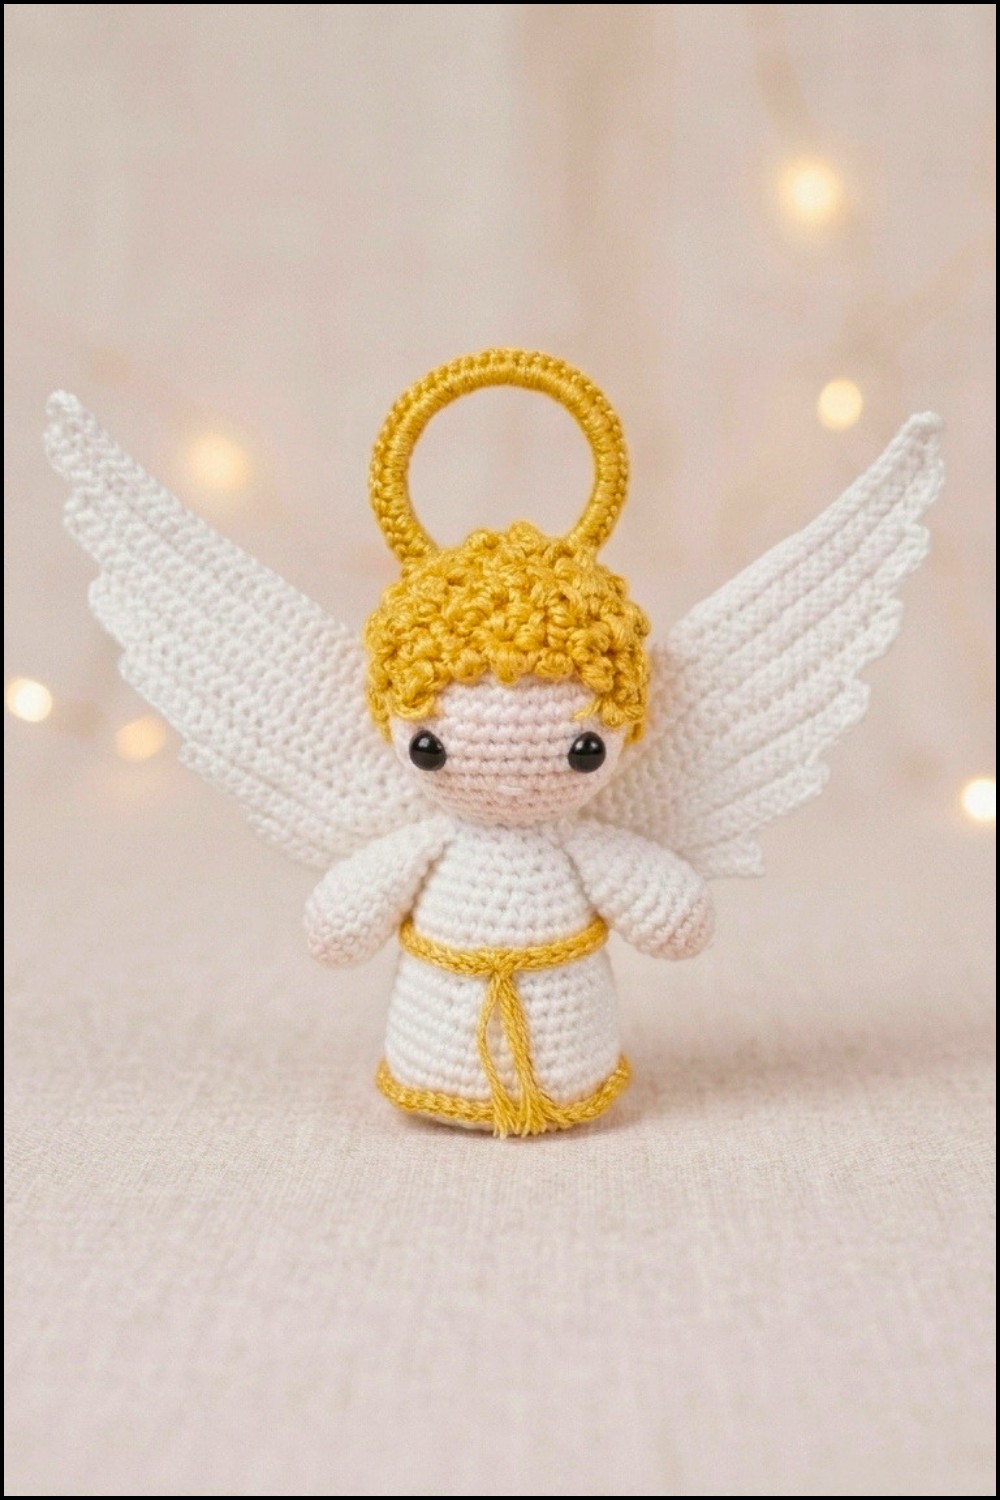
The finished angel has a cute rounded head, a small body, and pretty wings that give it a gentle shape. Tiny facial details add a friendly expression, while the soft crochet texture makes the figure warm and pleasant to hold. White and cream shades create a classic angel look, but light pink, gold, blue, or other soft colors can give the piece a fresh style.
Free Angel Amigurumi Crochet Pattern You’ll Love to Make
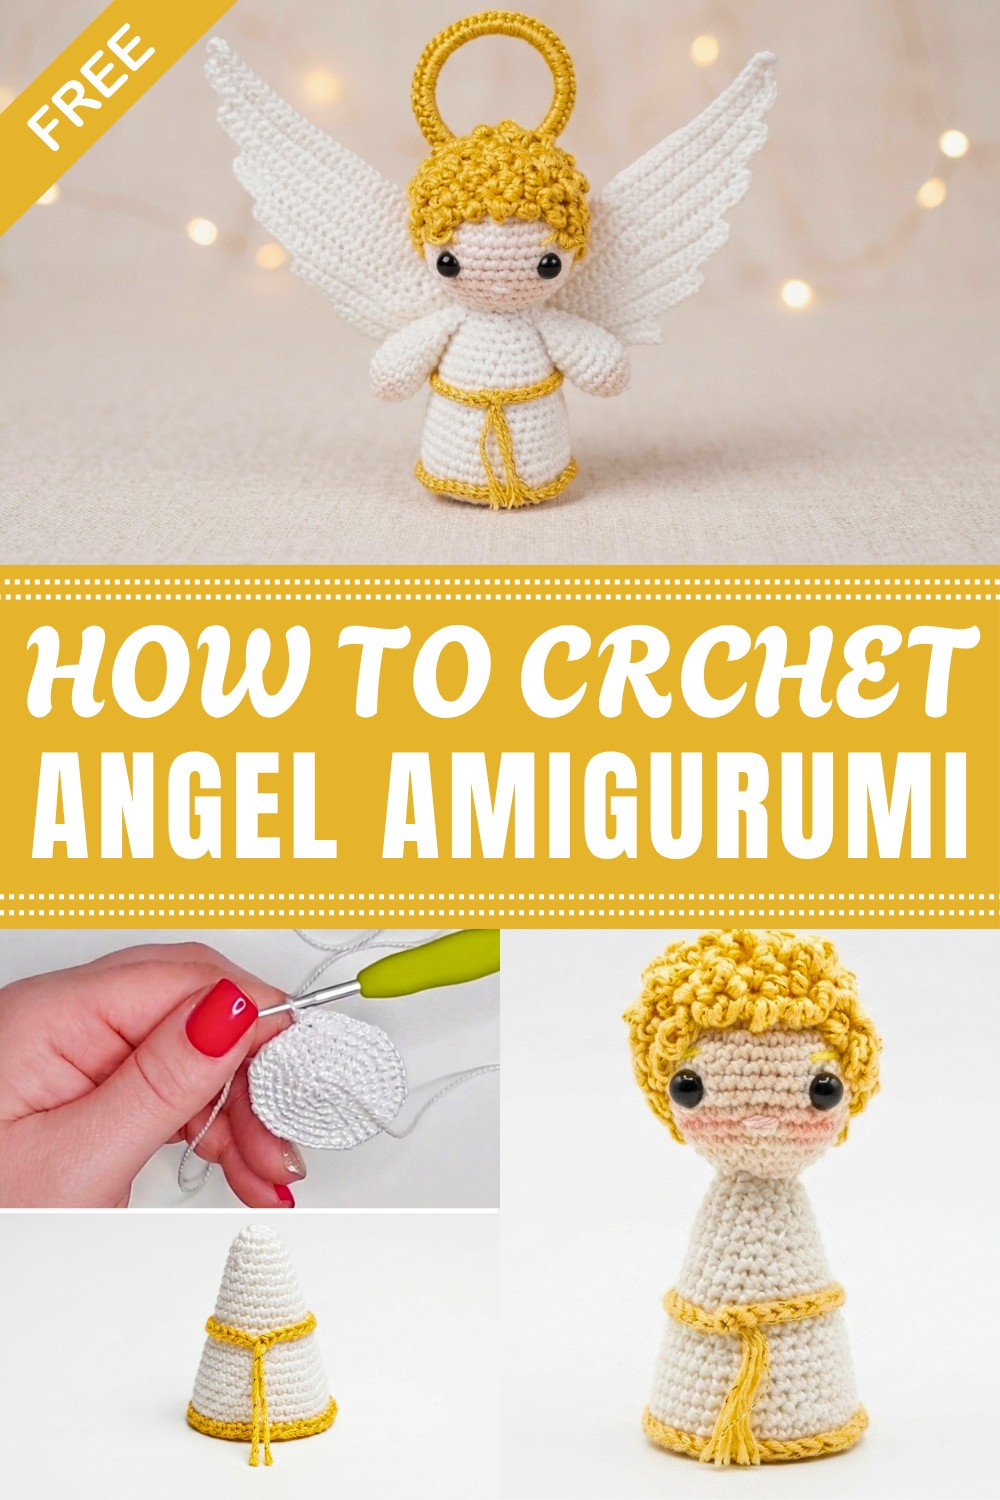
The wings are one of the main details that make this little figure special. They add a graceful touch and help the angel stand out among other holiday decorations. You can also add a small halo, ribbon, beads, or a little sparkle to make the design more personal. Changing the dress, hair, or wing colors is another easy way to give each angel a different look.
This project is well suited to crocheters who enjoy small amigurumi figures and seasonal decorations. Beginners with basic crochet skills can practice shaping, joining small parts, and adding simple details. Those with more experience can change the colors or add their own decorative touches to make each figure unique.
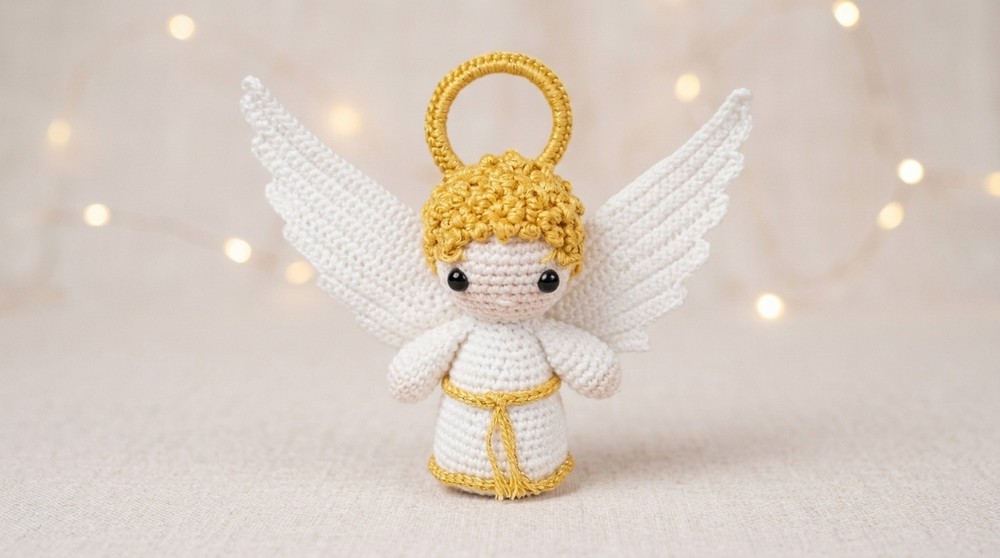
The finished angel can be placed beside a Christmas tree, on a mantel, near a candle display, or on a shelf with other holiday pieces. A few angels in different sizes can also create a lovely little winter scene.
As a handmade gift, this tiny angel has a warm and thoughtful feel. It can be given to friends, family members, teachers, or anyone who enjoys meaningful holiday decor. Its small size also makes it easy to store, bringing a familiar handmade touch back to your Christmas display year after year.
Amigurumi Angel Nativity Figure Crochet Pattern
This elegant Amigurumi Angel pattern guides you through creating a beautifully detailed nativity figure, perfect as a charming addition to Christmas decorations. Using fine mercerized cotton yarns in white, gold, yellow, and skin tones, this figure features textured wings, a delicate halo, flowing curls, and decorative trims. The step-by-step instructions ensure structured shaping and precise embellishment, bringing the angel to life with carefully worked rounds and stitch work. Ideal for crocheters looking to craft meaningful handmade holiday décor or gifts.
Quick Overview Of Pattern
- Crocheted body with integrated shaping and insert of plastic base for stability
- Gilded trims crafted in front loops creating elegant accents
- Defined head with safety eyes and embroidered facial features
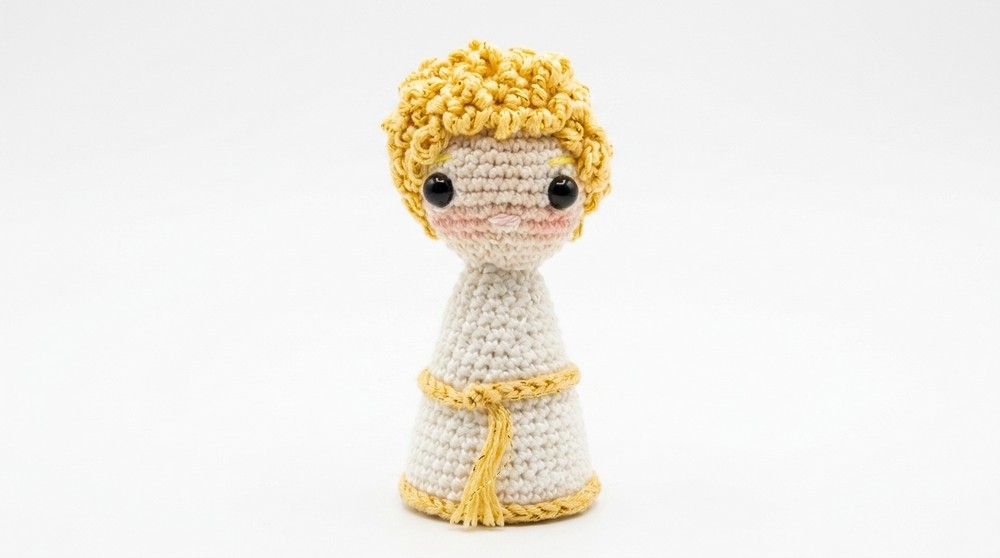
- Layered hairstyle combining a crocheted cap with gold thread curls
- Arms worked separately with color transition for skin and garment
- Textured wings formed by a combination of chains and single crochet rows
- Halo crocheted over a key ring or by magic ring for a glowing finish
Notes
- Maintain consistent tension for uniformity, especially important for tightly crocheted figure components.
- Use stitch markers to track beginning of rounds and key rows such as those designated for trimming or color changes.
- Insert the plastic sheet at the base early in the body construction for structural support.
- This pattern is worked in continuous rounds to avoid seams unless otherwise specified.
- Embroidery on the face should be done with gentle precision to retain cuteness and avoid puckering.
- Thread color changes smoothly with invisible joins for a professional finish.
- Stuff the figure firmly but evenly for shape retention. Avoid lumps or gaps.
- Wings are worked flat and sewn on; careful pinning before sewing ensures symmetry.
- The halo utilizes either a pre-made keyring or is crocheted as a closed ring, then firmly attached to the head.
Skill Level
This pattern is best suited to intermediate crocheters comfortable with:
- Magic ring foundation and continuous rounds
- Working increases and decreases evenly
- Back loop only and front loop only crochet techniques
- Embroidery basics for facial features
- Color changes and neat joins
- Working with multiple yarn thread types and textures
- Assembling multi-part amigurumi figures carefully
Materials
- Mercerized cotton yarns in:
- White (main body and wings)
- Skin-tone yarn (head and arms)
- Yellow yarn (hair)
- Gold yarn or thread (decorative trim and curls)
- Size 2mm crochet hook
- Tapestry needle
- Stitch markers
- Scissors
- Synthetic stuffing fiberfill
- Two small safety eyes
- Thin plastic sheet (cut to base diameter for internal structure)
- Small keyring (optional for crafting halo)
Measurements / Sizing
- Finished angel height approximately 15–18 cm (6-7 inches) including halo.
- Base diameter about 6 cm for stability.
- Wingspan approximately 10 cm.
Gauge and Stitch Pattern
- Gauge is flexible to allow slight adaptation. Consistency preferred.
- Key stitch techniques:
- Single crochet (sc)
- Increases by 2 sc in one stitch
- Decreases utilizing standard single crochet decrease
- Back loop only (BLO) and front loop only stitches for trims and shaping
- Continuous rounds unless working flat rows for wings.
Stitch Abbreviations
| Abbreviation | Term | Description |
|---|---|---|
| ch | Chain | Yarn over, pull through loop on hook |
| sc | Single crochet | Insert hook, yarn over, pull through 2 loops |
| inc | Increase | 2 single crochets in one stitch |
| dec | Decrease | Single crochet 2 stitches together |
| BLO | Back Loops Only | Work stitch only through the back loop |
| FLO | Front Loops Only | Work stitch only through the front loop |
| sl st | Slip stitch | Insert hook, yarn over, pull through all loops |
Special Stitches
- Magic Ring: Adjustable ring foundation eliminating hole at start.
- Front Loop and Back Loop Stitches: Used for textural detailing and for attaching trims.
- Invisible Decrease: Single crochet decrease to reduce stitch count smoothly.
The Crochet Pattern!
1. Body (White)
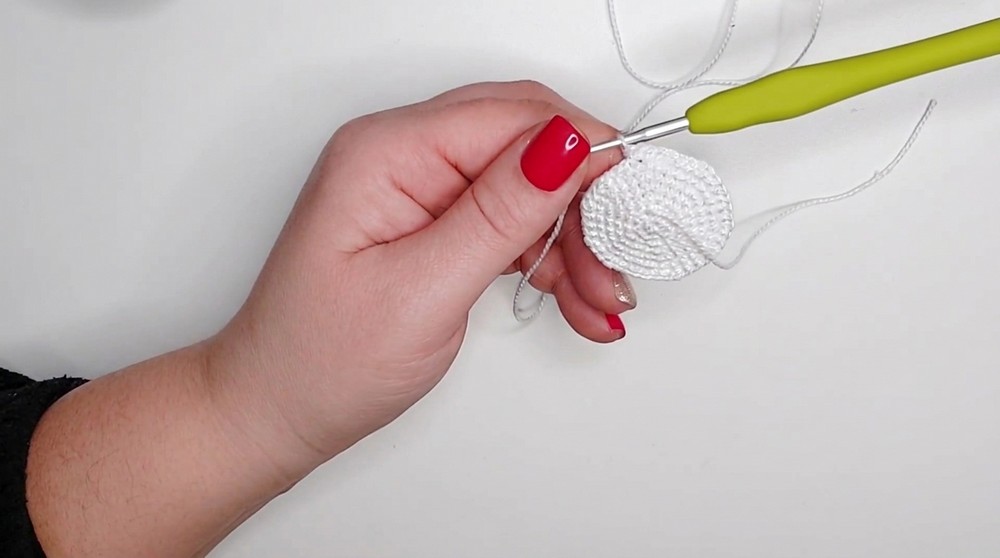
Round 1:
- Begin with a magic ring, crochet 6 single crochets (6 sc) inside.
Rounds 2-7 (Increase Rounds):
- Evenly increase stitches each round to reach 42 stitches by round 7 (for example, in round 2 double stitches in each, in following rounds increase in spaced intervals maintaining round count).
Round 8:
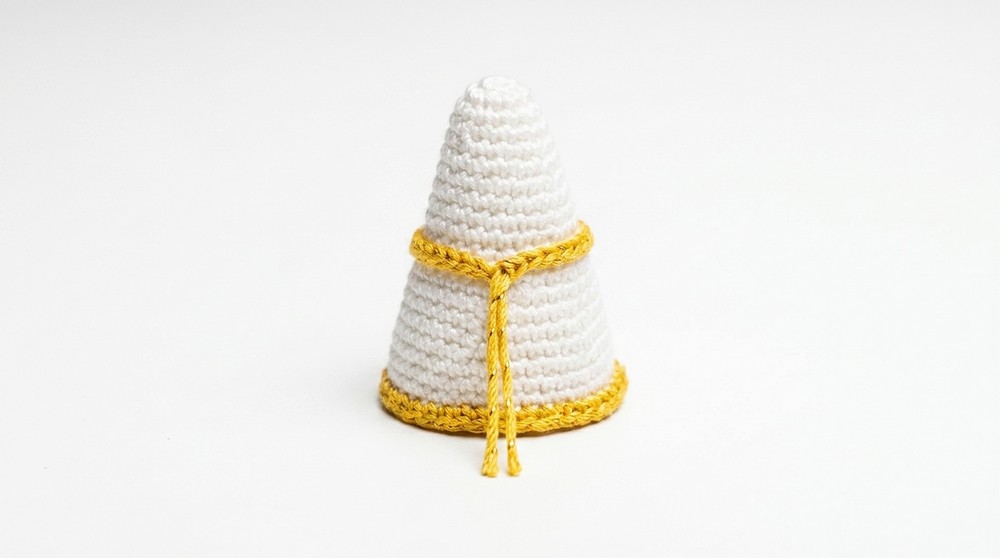
- Crochet 42 single crochets in the back loops only (42 BLO sc). This creates a loop for future gold trim attachment.
Rounds 9-12:
- Crochet 42 single crochet stitches for rounds 9 and 10;
- Begin decreases in rounds 11-12 to reduce stitches from 42 to 36.
Rounds 13-15:
- Continue decreasing evenly each round to 30 stitches.
Round 16:
- Crochet 30 single crochets in the back loops only (BLO) to provide another loop layer for gold decorative belt.
Rounds 17-19:
- Decrease stitches down to 24 stitches evenly.
Insert Base:
- At this point, insert the cut plastic sheet into the base for stability. Begin stuffing firmly around the plastic (between rounds 19-20).
Rounds 20-26:
- Continue decrement rounds uniformly to reduce to 12 stitches.
Round 27:
- Work 6 decreases to close the bottom opening.
Close the opening:
- Use tapestry needle and yarn to close the last remaining hole securely with a neat finish.
2. Decorative Trim (Gold)
Trim on Round 8:
- With gold yarn, work 42 single crochets into the front loops only (FLO) of Round 8 to create a raised decorative edge.
Belt on Round 16:
- Similarly, work 30 single crochets into the front loops only (FLO) of Round 16 to form a belt.
- Knot ends securely and weave in any tail yarn for a clean look.
3. Head (Skin Tone)
Round 1:
- Magic ring with 6 single crochets (6 sc).
Rounds 2-6:
- Evenly increase to 36 stitches by round 6.
Rounds 7-12:
- Crochet 36 single crochets per round without increasing or decreasing.
Rounds 13-15:
- Begin evenly decreasing to reduce to 18 stitches.
Eyes Placement (between rounds 10-11):
- Attach two safety eyes spaced 7 stitches apart.
Stuffing and Assembly:
- Stuff head firmly with fiberfill.
- Sew head securely onto the body with matching yarn and a tapestry needle.
4. Facial Features
Nose:
- Using embroidery thread or yarn, embroider 4-5 horizontal stitches between the eyes to form a small nose.
Eye Details:
- Embroider white color around the lower portion of the eyes for a realistic sparkle.
Eyebrows:
- With yellow yarn, embroider two small points above the eyes to simulate eyebrows.
5. Hair (Yellow)
Cap:
- Repeat the head rounds 1 to 9 by crocheting a magic ring and increasing to shape a cap in yellow yarn.
- Sew or glue the cap onto the head as a base for curls.
Curls (Using Gold Thread):
- Employ the Roman Point (loop stitch) technique to cover the cap with curls, looping gold thread all around creating a shimmering effect.
6. Arms (Skin Tone/White)
Round 1-3:
- Magic ring with 5 single crochets; increase to 10 stitches.
Color Change:
- Switch yarn to white after round 3.
Rounds 4-13:
- Increase to 20 stitches, then gradually decrease back to 10 stitches.
Assembly:
- Sew arms symmetrically onto the sides of the body.
7. Wings
- Chain 21 foundation.
- Work back-and-forth rows of single crochet along with increases and chain turns to create shaped wings with volume.
- Follow the specific increases and decreases demonstrated (approximate 43:33 to 49:29 timing) for symmetrical shaping.
- Sew wings in place on the back of the body.
8. Halo
- Crochet single crochet stitches around a small keyring (or begin with a magic ring of 50 sc stitches).
- Attach securely atop the head as a halo, either sewn or glued.
Assembly & Finished Size
After completing all components, assemble securely by sewing or gluing with appropriate adhesive where necessary. Begin with the head joined firmly to the body, followed by arms and wings placement. Attach the halo last for finishing touch. The plastic sheet at the base ensures the figure stands upright. The completed Amigurumi Angel measures approximately 15 to 18 cm tall.
Conclusion
This Amigurumi Angel pattern combines foundational crochet techniques with fine detailing to evoke a timeless nativity figure full of grace. The structured body, glimmering trim, layered curls, and delicately embroidered features collectively offer a satisfying challenge for intermediate crocheters. This project not only enhances holiday décor but also serves as a meaningful handcrafted gift. Following this step-by-step guide allows crafters to build a lovely angel that embodies craftsmanship and festive spirit—a perfect addition to your Christmas celebrations.
Leave a Reply