

Refresh your coffee table with this Crochet Table Mat Free Pattern, a sweet yarn project that gives cups, vases, and small decorations a cozy place to sit.
Want to give your dining table a fresh look without buying new decorations? Yanet pupo crochet shares a lovely idea for decorating your home with yarn. This project is useful for anyone who likes simple table decorations that can be used every day. The Crochet Table Mat is a handmade piece that sits under plates, bowls, or other table items. It gives your dining area a neat appearance and helps protect the table from light scratches.
Free Crochet Table Mat Pattern For Everyday Use
You can choose colors that match your home. Cream looks nice on a wooden table, while green, blue, or yellow can give the dining area a more colorful look. The crochet stitches form a textured surface, and the edges can have a pretty finish depending on the tutorial.
Before starting, think about where you want to place the mat. A larger piece may work well under a serving bowl, while a smaller one can sit beneath a plate. Follow the tutorial to work the required stitches and check the size as you go. Cotton yarn is a useful choice because it is easy to wash.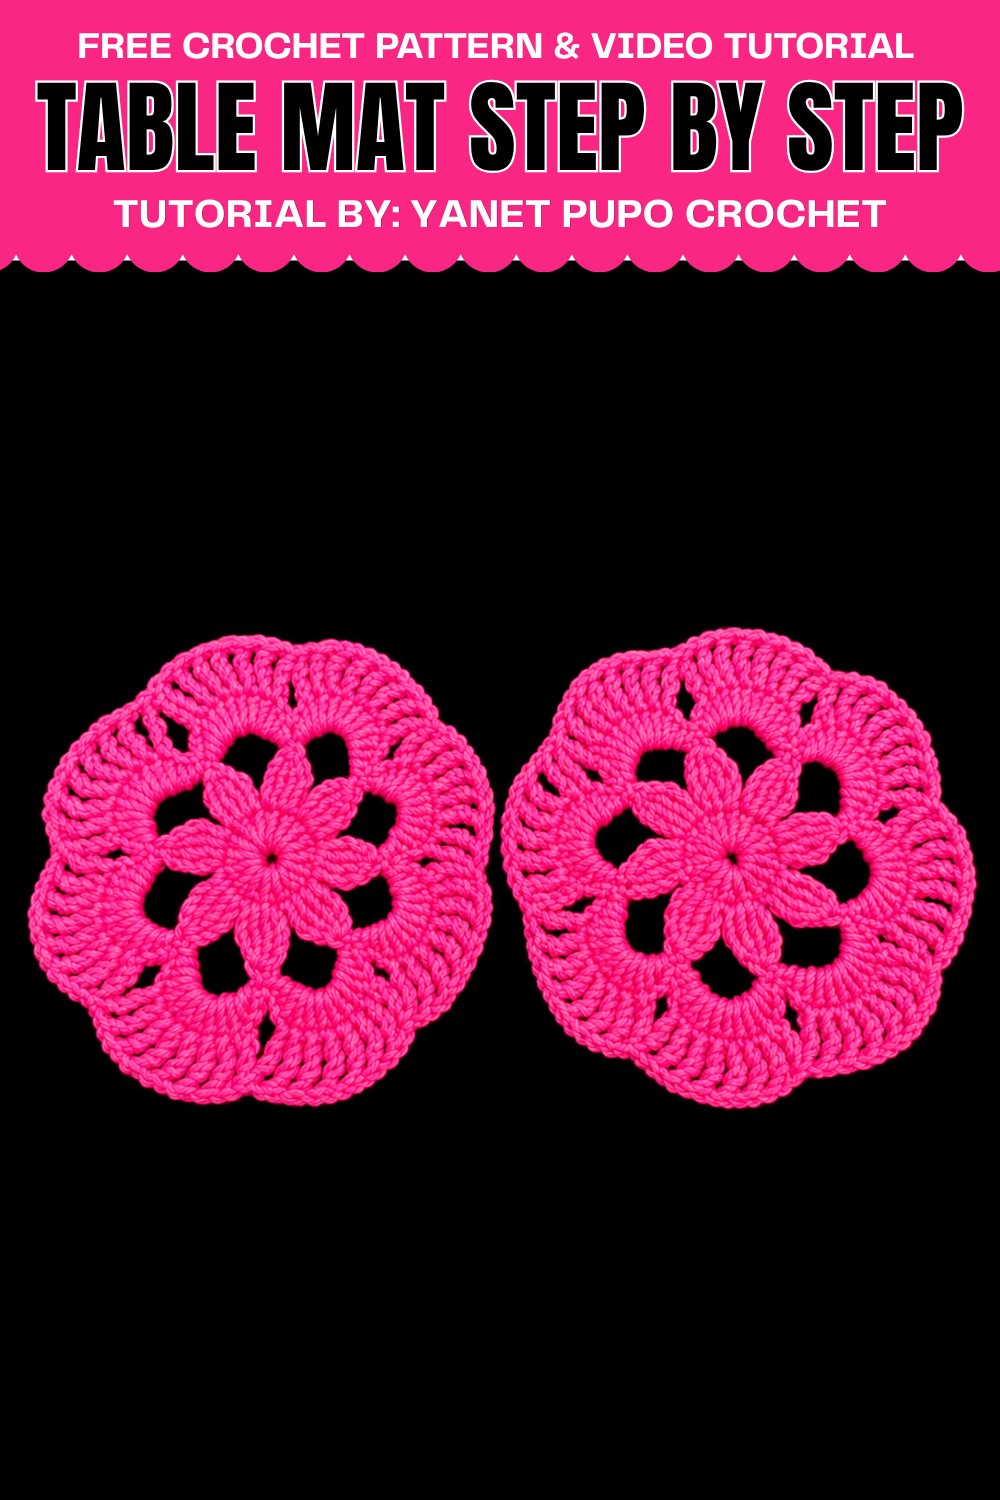
This mat can be used during family meals, tea time, or when guests come over. You can also place it on a side table under a decorative vase. Avoid putting very hot cookware directly on it unless the yarn is suitable for that use.
You can crochet several mats in matching colors for your dining table or prepare a set as a housewarming gift. The finished piece is easy to fold and store when not in use. It gives you a practical way to decorate your table with something made by hand.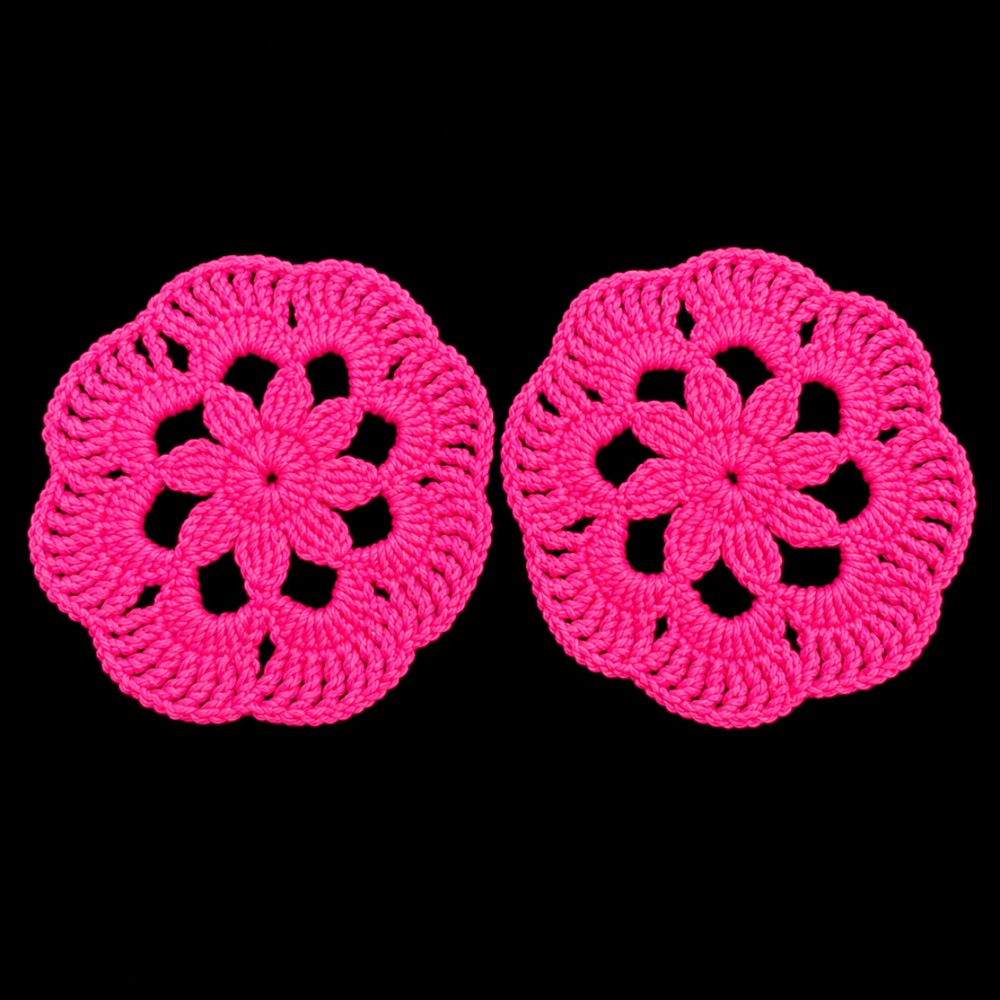
Pattern Overview
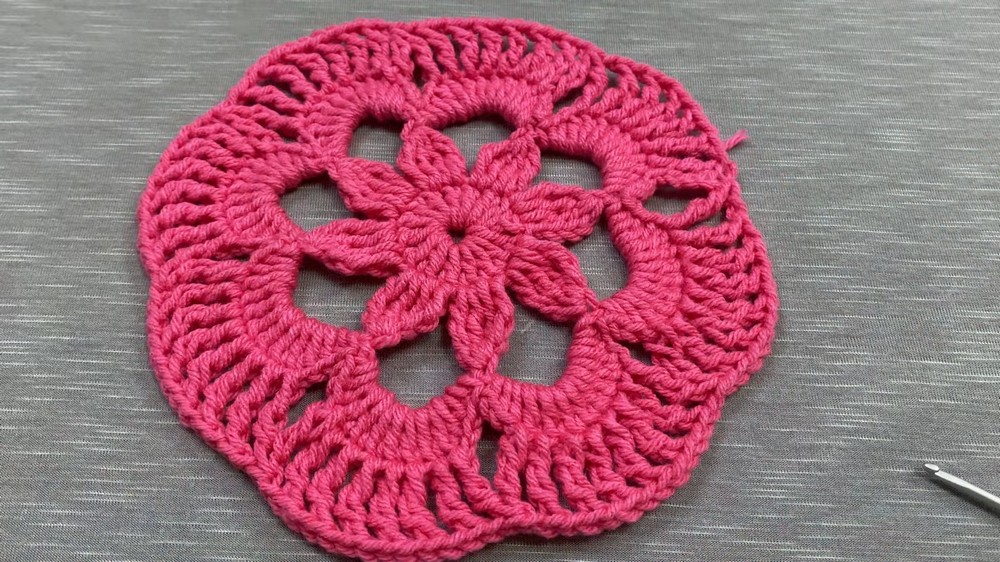
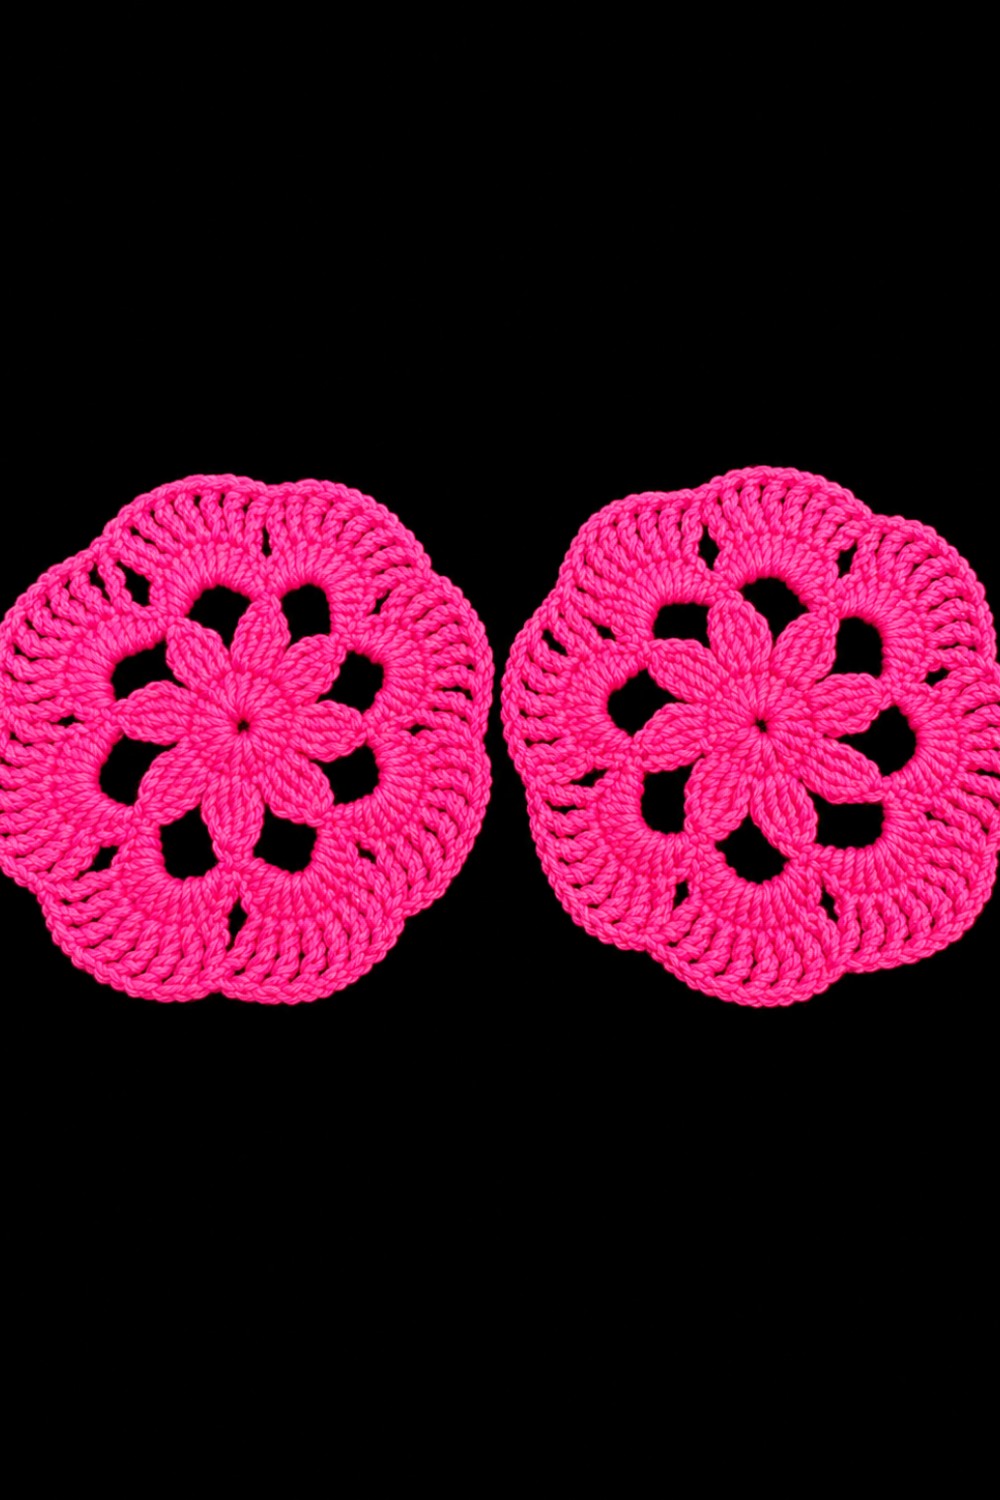
This crochet doily is crafted in rounds using thick wool for a bold and structured look. The pattern features defined petals and textured spokes, creating an ornamental shape that is ideal for table decorations, gifts, or accent pieces. Measuring about 22 cm in diameter, the doily uses basic and taller stitches for texture and interest.
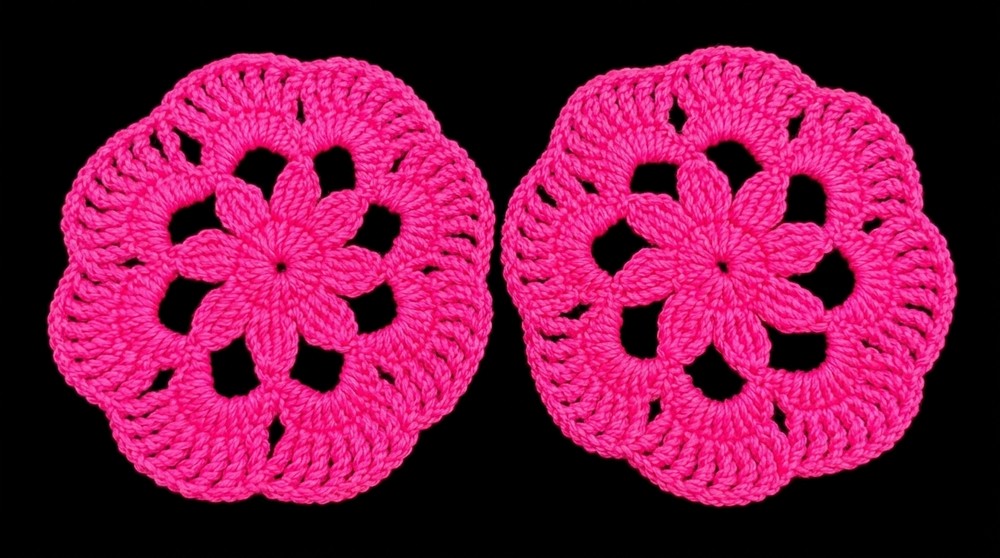
Quick Details
- Diameter: approx. 22 cm
- Structure: Center ring, petal rounds, and spoke motifs
- Stitches: chains, slip stitches, double crochets, double treble crochets, half double crochets, single crochets
- Yarn: Thick (4 mm) wool, about 10 grams
- Fastening and finishing for a neat edge
Important Tips
- Work with relaxed tension for easy stitch identification and assembly.
- Count stitches in each round to keep your petals aligned and symmetrical.
- Pull starting knots and finishing knots tight to secure the doily.
- Join rounds carefully in the correct chain to ensure the motif lays flat.
- Hide the end inside the work for a tidy appearance.
Skill Level
Easy to Intermediate. The steps use only basic and slightly advanced stitches (double treble, grouping and cluster closure) and are ideal for those comfortable with working in the round.
Materials
- Thick wool yarn, 4 mm, approximately 10 grams
- 3.50 mm aluminum crochet hook
- Scissors
Measurements
- Finished Doily Diameter: approx. 22 cm
Gauge
Gauge is not critical; the finished size will depend mostly on your yarn and hook. Focus on uniform stitch height.
Abbreviations
- ch: chain
- sl st: slip stitch
- sc: single crochet
- hdc: half double crochet
- dc: double crochet
- dtr: double treble crochet (yarn over hook twice before inserting, or follow the provided context)
- st(s): stitch(es)
- sp: space
Special Stitches
Double Treble Crochet (dtr):
Yarn over hook twice, insert into indicated stitch, yarn over and pull through, [yarn over, pull through 2 loops] three times.
Cluster of Double Treble Crochets (dtr-cluster):
Work several dtr into designated spaces as described, leaving the last loop of each stitch on the hook, then yarn over and pull through all loops to close the cluster.
Step-by-Step Instructions
Round 1: Foundation Ring
- Make a knot and ch 7.
- Form a ring by joining the first and last chain with a sl st.
- You now have a small base ring for the doily.
Round 2: Forming the Center
- Ch 3 (counts as first dc).
- Work 15 dc into the ring (for a total of 16 dc counting the starting ch-3).
- Join with a sl st to the third chain of the starting ch-3 to close the round.
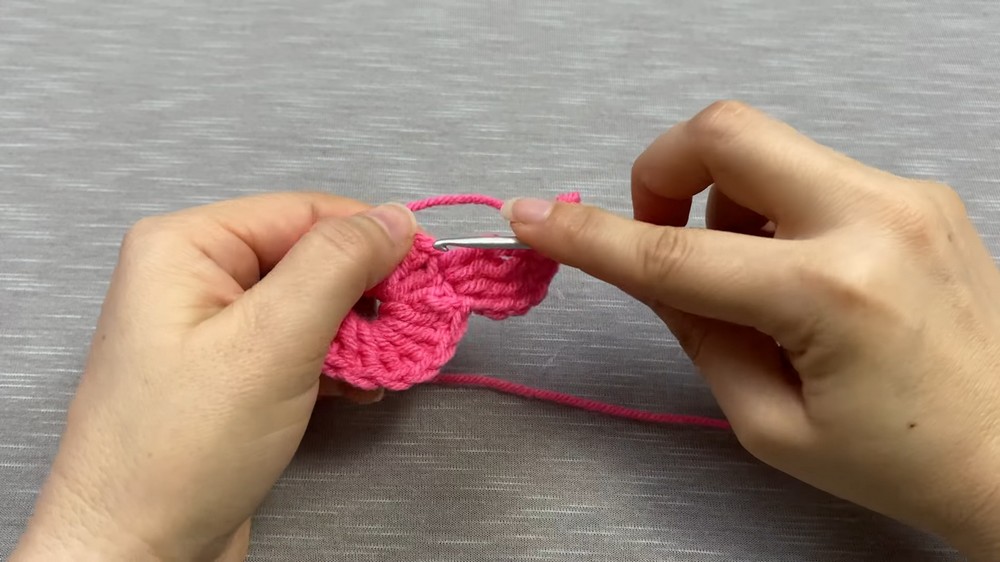
Round 3: Building Petal Clusters
- Ch 4 (serves as the base height for next stitches).
- Yarn over twice (double treble, dtr) and insert into the same joining place, pull through, yarn over and pull through 2—they stay on the hook.
- Yarn over twice, insert into next st, work another dtr but do not finish; leave the last loop on the hook.
- Yarn over twice again, insert into same st, work another incomplete dtr.
- You now have 4 loops/stitches on your hook.
- Yarn over and pull through all to close the cluster.
- Ch 7 for separation.
- At next two stitches:
- Work a cluster as above (two dtr in each of two neighboring stitches, all unfinished and closed together).
- Continue: [Cluster over two sts, ch 7] until you have 8 clusters around.
- After the last ch-7, join with a sl st to the starting point to complete the round.
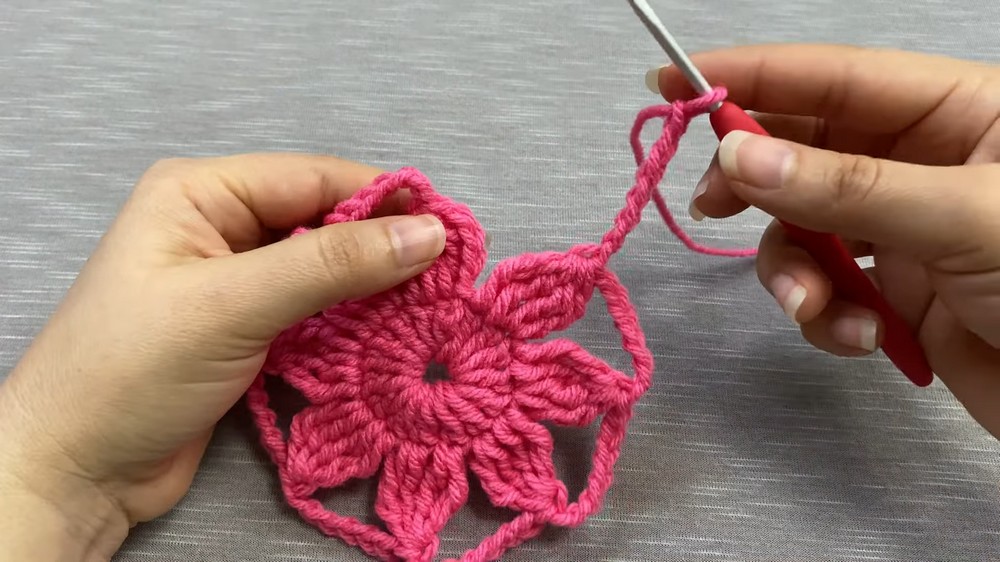
Round 4: Petal Formation
- Move with a sc into the next ch-7 space.
- In same ch-7 space: Work as follows:
- Yarn over, pull through 3 loops (this creates a partial dc or hdc-cluster—do this twice).
- 8 dc into the same ch-7 space.
- Yarn over, pull through all three loops as above, two times (repeat for cluster effect).
- sc in the same space to anchor the petal.
- Move to next ch-7 space:
- sc to move into position.
- Repeat entire petal sequence within each ch-7 space.
- Work around the circle for 8 petals.
- After completing final petal and sc, close round with a sl st where you began.
- Gently adjust (center) petal positions for symmetry.
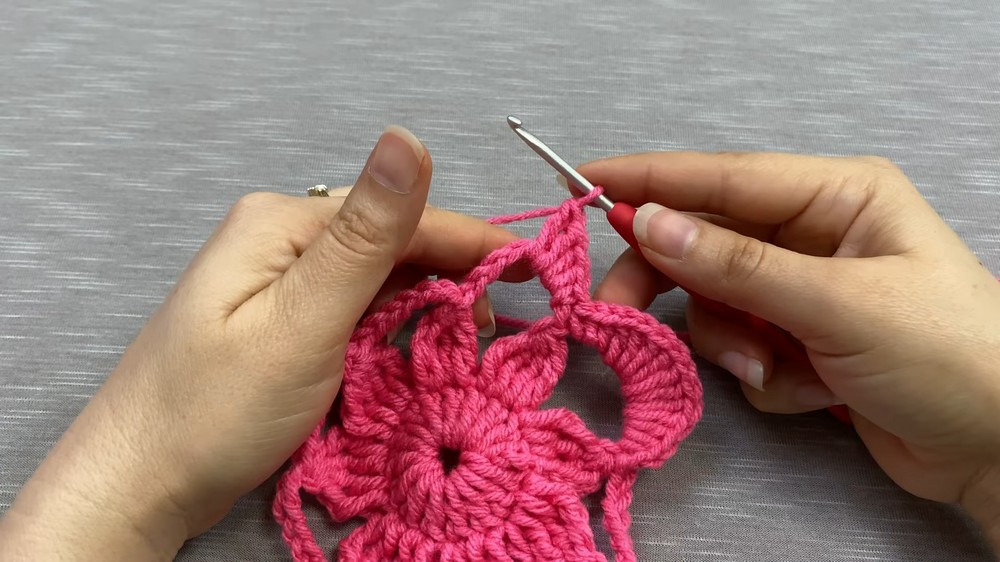
Round 5: Framing with Tall Clusters
- Slip stitch forward to align above the first dc of the previous round (slide sl st 3 times to be over first petal’s dc).
- Ch 4, and ch 1 more for separation (ch 5 total).
- Double loop yarn over to prepare for dtr.
- Into next st, work 1 dtr.
- Ch 1.
- In the following st, dtr. Ch 1.
- Repeat this (dtr, ch 1) in each next st to make a spoke pattern.
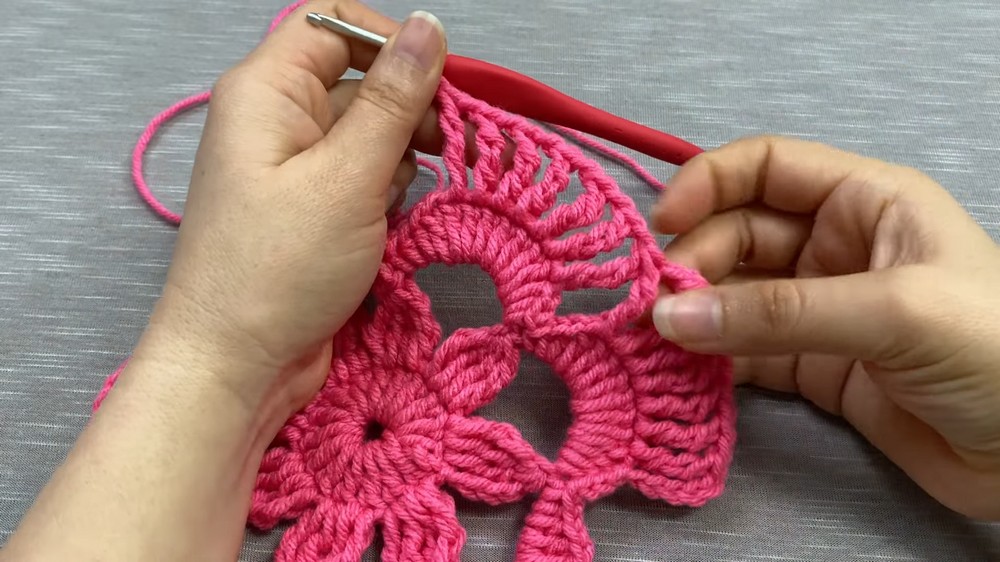
- When you reach the end of the petal group, create the last (8th) dtr as follows:
- Work partial (leave unfinished) in the last st.
- Yarn over twice, count across to align (third chain from beginning of round), insert, work an unfinished dtr.
- Three loops now on the hook—yarn over and pull through all at once to close the round.
- After closing, ch 1 for separation.
- Move to the next section and repeat (dtr, ch 1) sets, until the round is complete.
- Finish by joining with a sl st in the fourth chain of starting ch 4.
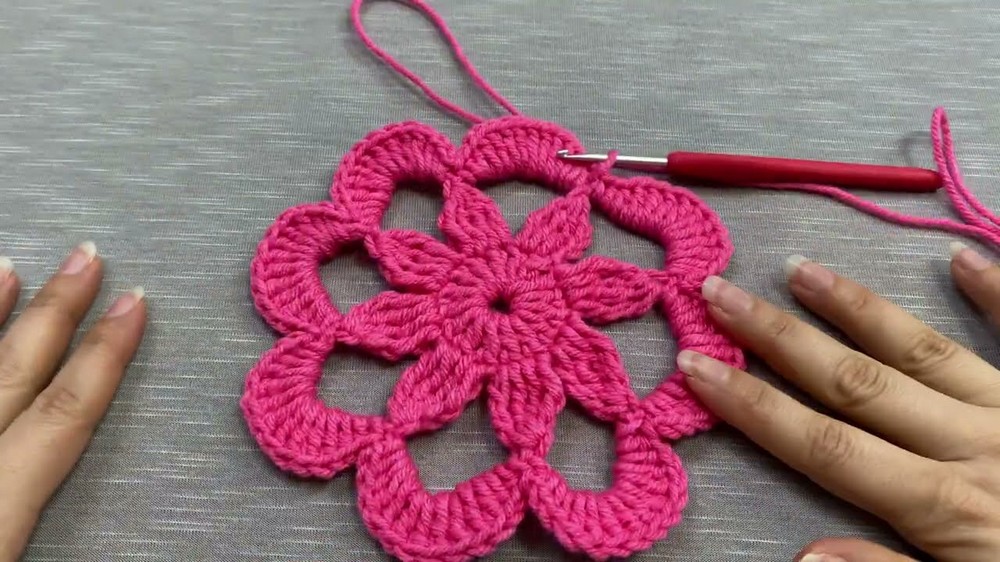
Finishing
- Cut yarn, pull through and knot securely at the back. For extra security, make a second knot if needed.
- Use the remaining tail to weave in ends inside the doily.
- Gently flatten and adjust points and petals to accentuate the shape.
Assembly
This doily is worked in a single piece. No separate assembly is required. Hide all yarn tails inside the motif.
Final Notes
This decorative crochet doily is a quick and classic project for thick wool, showcasing texture and a bold motif. The pattern uses basic stitches and some taller clusters, making it great for those who wish to practice both foundation rounds and more structural crochet elements. The stepwise repetition ensures the motif builds evenly, and the finished doily is perfect for gifts, decor, or as an accent for any flat surface. For lasting beauty, adjust your petals after finishing and secure all ends neatly.


Leave a Reply