

Refresh your coffee table using this Crochet Table Centerpiece Free Pattern, a lovely way to dress up a plain surface for family visits.
The original YouTube tutorial by Yanet Pupo Crochet offers a wonderful guide to making a beautiful Crochet Table Centerpiece, and full credit goes to her for sharing this creative and elegant project. This centerpiece is a lovely way to bring a handmade touch to your dining table or any special space in your home.
Easy Crochet Table Centerpiece Free Pattern For Beginners
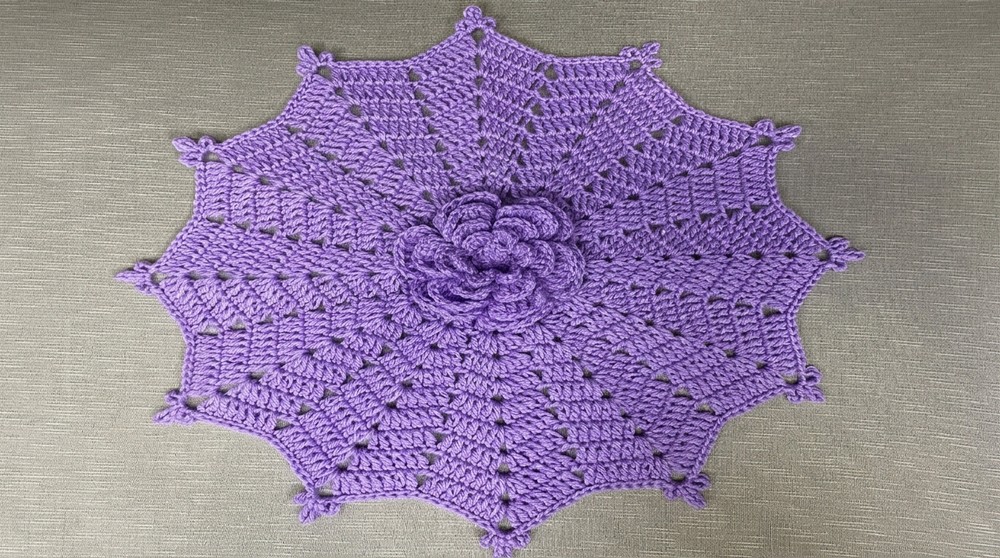
The Crochet Table Centerpiece is a decorative piece designed to sit in the middle of a table, instantly adding warmth and charm to your decor. Its main features include a delicate, intricate pattern that showcases beautiful stitches and textures, giving it a sophisticated yet cozy look. The beauty of this project lies in its ability to brighten up a room while being practical enough to protect the table surface from scratches and spills.
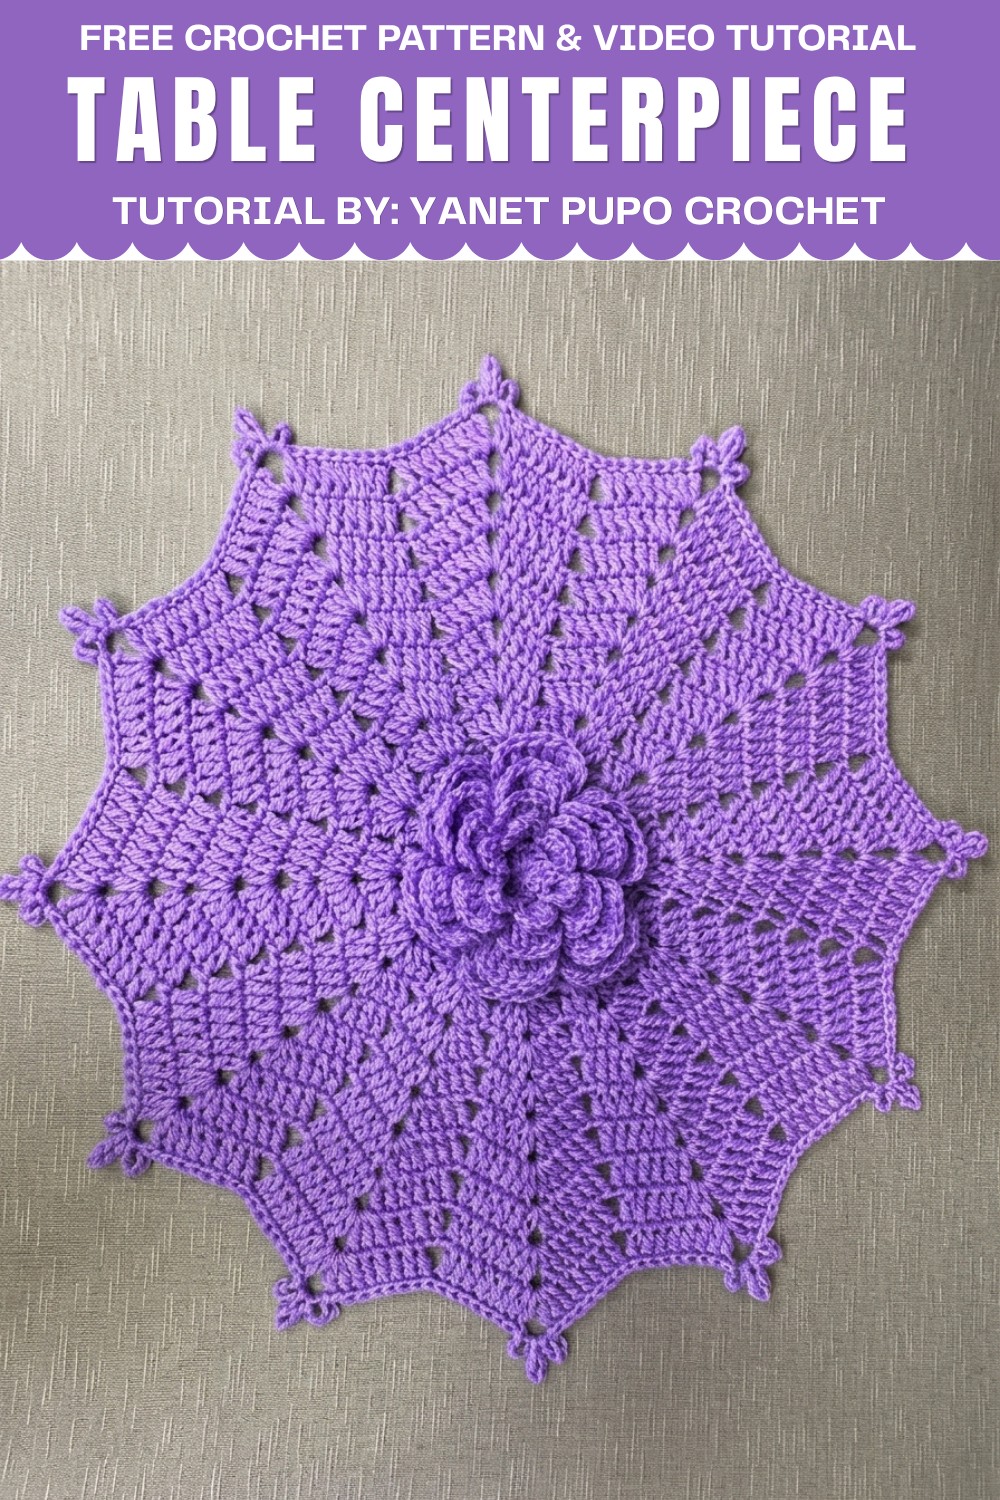
Whether used for everyday dining or special occasions, this Crochet Table Centerpiece is sure to impress guests and make your space feel cozy and stylish. Give this lovely free pattern a try and add a handmade touch to your home decor.
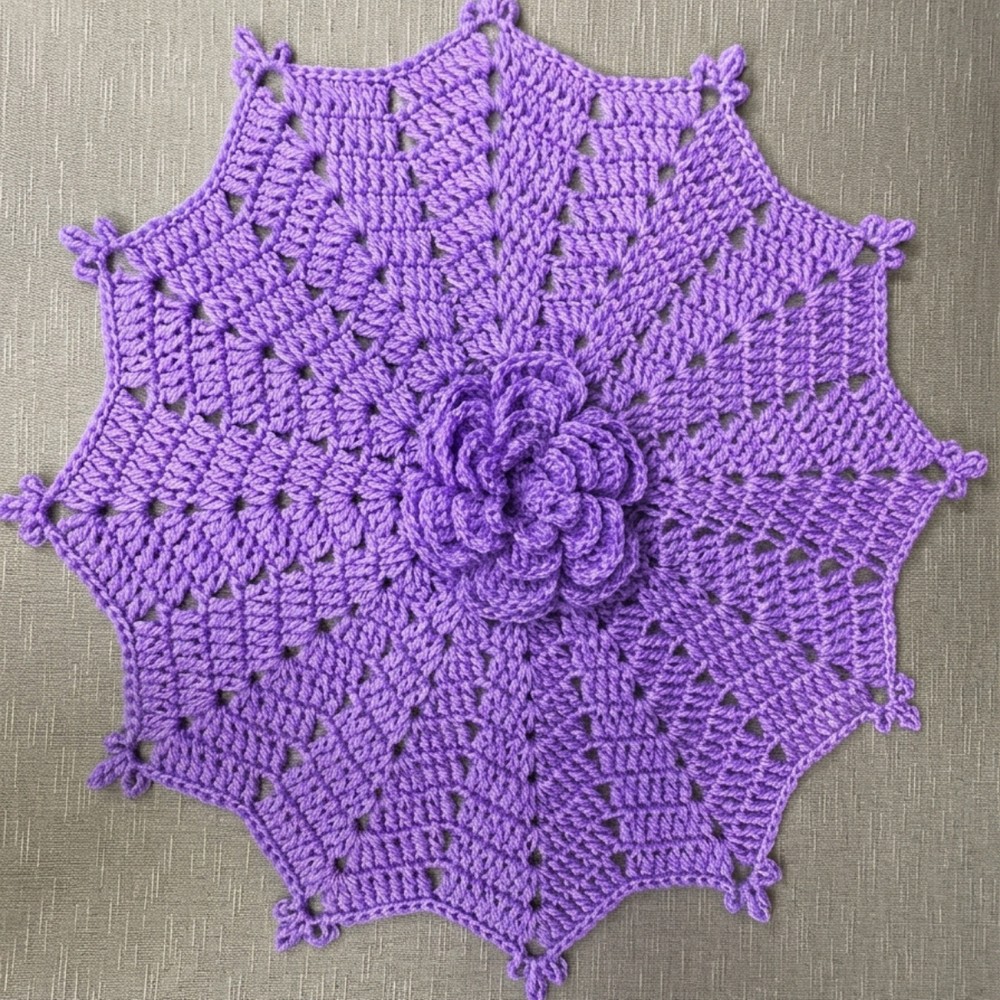
Pattern Overview
This crochet rug or centerpiece is worked in the round using thin wool and a small hook to create a delicate, layered effect. The design is built with classic double crochet, fans, V-stitches, and chain motifs, creating an elegant and decorative appearance. The pattern features rounds of increases and rounds worked without increases to maintain shape and prevent curling. Final chains and rings are added to enhance the border. The size is easily customizable to suit your space or project needs.
Quick Details
- Construction: Worked in the round, starting with a magic ring
- Stitches: double crochet, chain, slip stitch
- Final rounds and border include chains and rings for decorative finish
- Adjustable size by repeating increase rounds
Important Tips
- Always join rounds with a slip stitch in the third chain for a clean finish.
- Balance increases and rounds without increases to prevent the piece from curling or forming waves.
- Be careful to work in chain spaces for the fans in later rounds.
- Make slip stitches loose when sliding to keep the edge even.
Skill Level
Confident Beginner
Requires chaining, working in the round, making increases, V-stitches, and fan motifs.
Materials
- Thin wool yarn, 3 mm thick, approximately 60 grams
- Steel crochet hook, 2.75 mm (or use up to 3 or 4 mm as desired)
- Scissors
Measurements
- Starting magic ring: compact center
- Diameter: customizable; pattern example works up to 8 points in each fan
- Border gives decorative width
Gauge
Not specified; focus on maintaining even stitches and rounds. Adjust hook size for tighter or looser fabric.
Abbreviations
- ch: chain
- dc: double crochet (sometimes called high point)
- sl st: slip stitch
- st: stitch
- sp: space
Special Stitches
- Magic ring: Loop yarn around finger, insert hook, draw up a loop, make a knot, and work stitches into ring; pull tight to close center.
- V-stitch: dc, ch 2, dc in same space.
- Fan: A set of dc (increasing each round), separated by ch 2, worked in chain spaces in later rounds.
Step-by-Step Instructions
Center
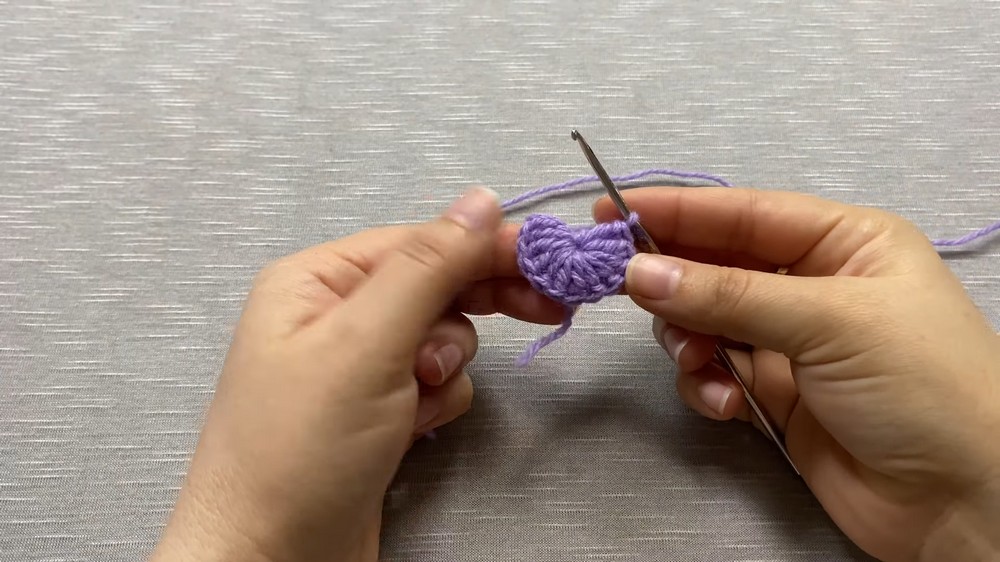
Round 1: Magic Ring & First Round
- Make a magic ring.
- Ch 3 (counts as first dc).
- Work 11 dc into ring (for 12 total including beginning).
- Join in the third chain of beginning with a sl st.
- Turn to back, pull the strand to close the center.
Round 2: Increase Round
- Ch 3
- Yarn over, make a dc in same place (first increase).
- In each dc of previous round, work 2 dc (increase) for a total of 24 dc.
- Join in the third chain with a sl st.
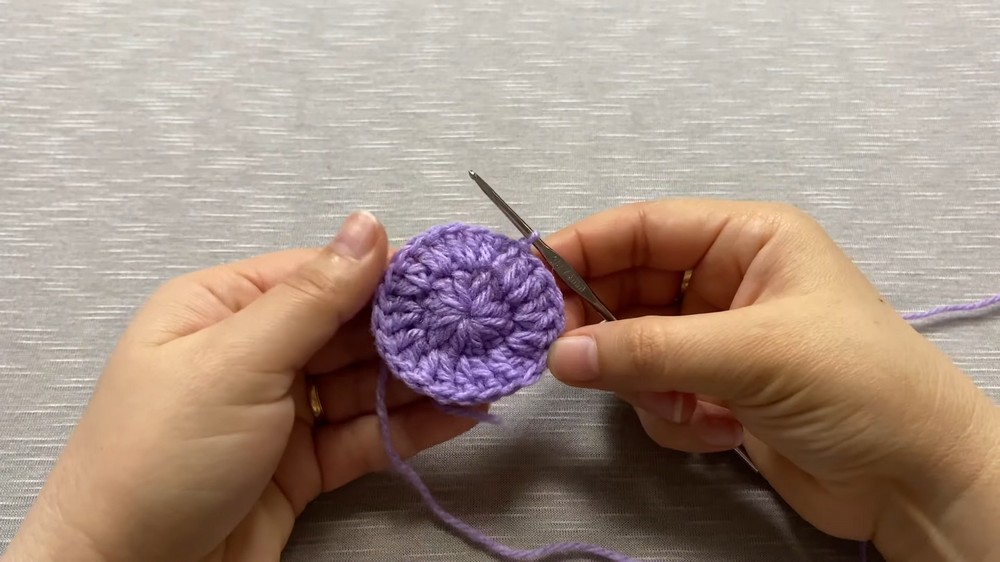
Round 3: V-Stitch Round
- Ch 3, ch 2 (total 5 chains).
- In same place, make a dc (forms V shape).
- Yarn over, skip one st at base, make dc, ch 2, dc in next st (repeat V).
- Repeat process, skipping one st at base each time, until end of round.
- Join in third chain with a sl st.
Round 4: Fan Round
- Ch 3
- Into chain spaces of previous round (V-stitches), work:
- dc (counts as 1), dc (2 total), ch 2, dc, dc (4 total).
- Continue: In each chain space, work 4 dc, ch 2, 4 dc.
- Join with a sl st in third chain.
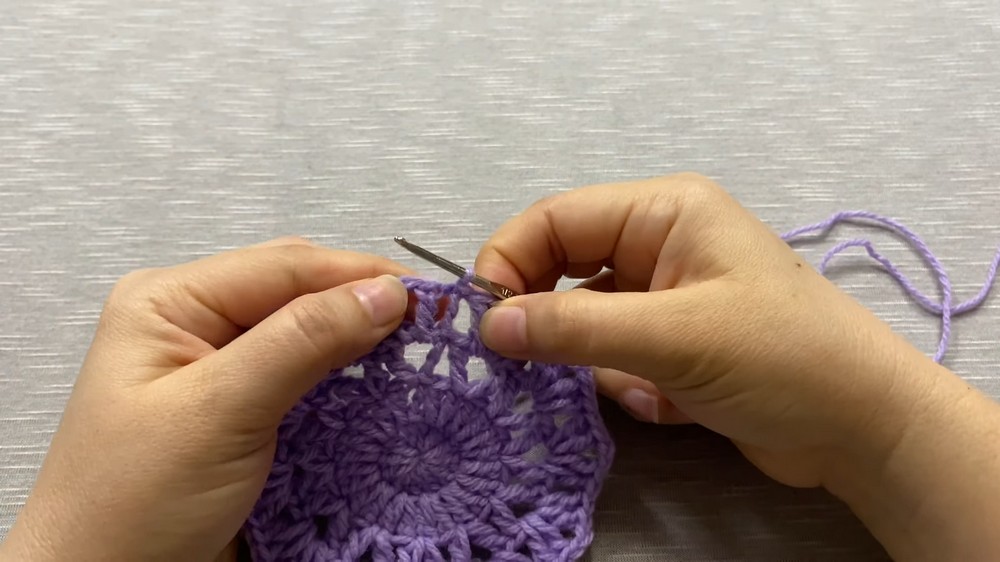
Round 5: Fan Expansion
- Slip 1 (move to next st).
- Into next st, make dc.
- In center (chain 2 space), make dc, dc, ch 2, dc, dc (4 dc total in center).
- In last st before next space, make 1 dc.
- In next chain space, repeat 4 dc, ch 2, 4 dc.
- In st after chain space, make 1 dc.
- Continue around: For each fan, 2 dc in outer sts, 4 dc, ch 2, 4 dc in center.
- Join round with sl st. Slip to start for next round.
Round 6: Increase/Expansion
- Skip first and last st, only working in center of each fan.
- Ch 3, dc in next.
- In chain 2 space: dc, dc, ch 2, dc, dc.
- In next two sts, work 1 dc in each.
- Fans grow to 4 dc each side.
- Join with sl st.
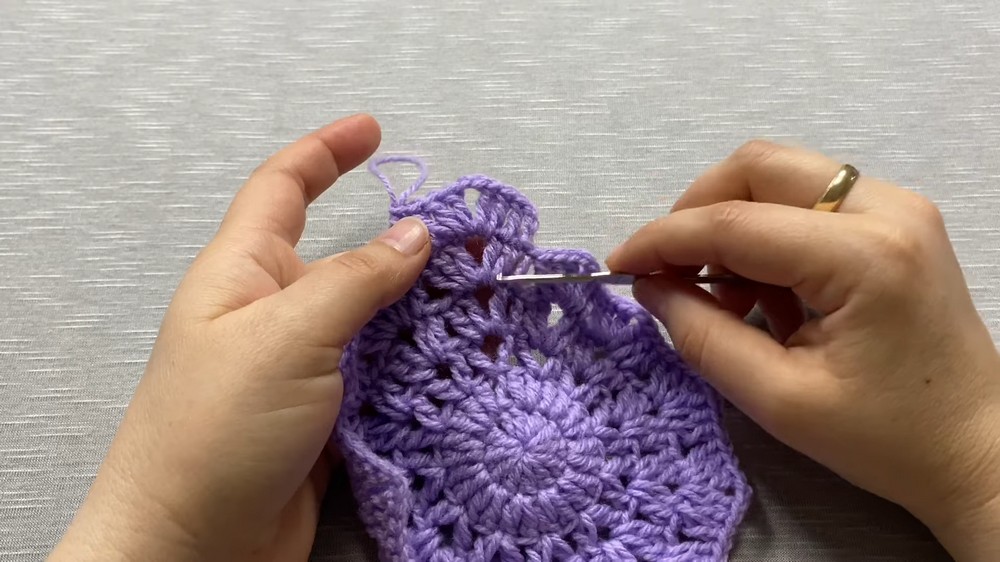
Round 7: Repeat and Increase
- For each fan, skip first and last st.
- Ch 3, dc in next, dc in next (3 on each side).
- In center: dc, dc, ch 2, dc, dc (expand to 5 per fan).
- Repeat around, join with sl st.
Round 8: Increase Round
- Slip to next st, Ch 3.
- In next 2 sts, work dc in each (3 on each side).
- In center, increase to 5 dc, ch 2, 5 dc.
- Continue, join with sl st.
Round 9: Expansion to Six
- Slip to next st, repeat process to have 6 dc per side, center as before.
- Join with sl st.
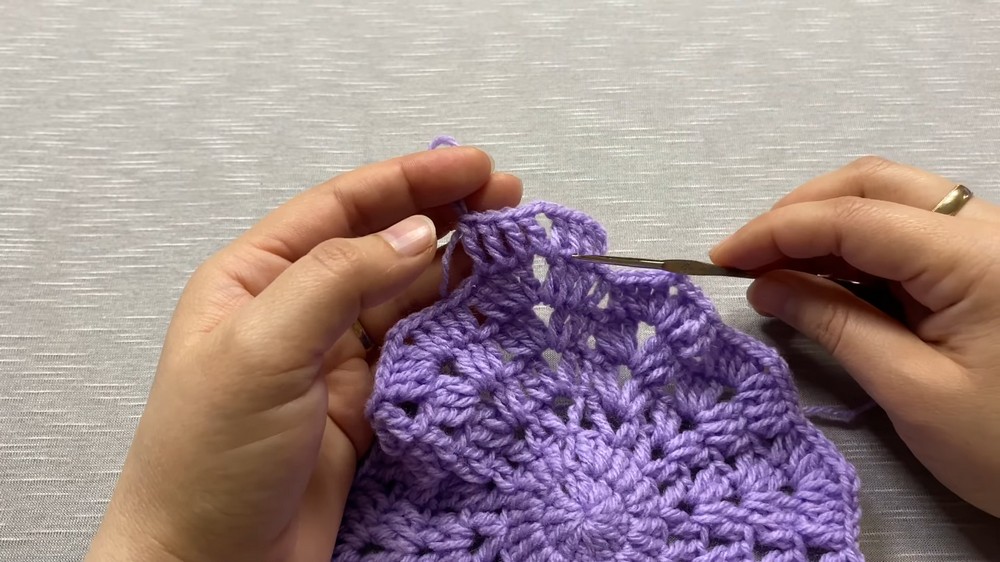
Round 10: Flat Round
- Repeat previous round but without increase (stay at 6 dc per side, one in center).
- Join with sl st.
Round 11: Expansion to Seven
- Work in the fans: expand to 7 dc per side.
- In center space: dc, dc, ch 2, dc, dc.
- Continue, join with sl st.
Round 12: Expansion to Eight
- Expand fans to 8 dc per side as above.
- Join and repeat one round without increases next if desired.
- Alternate increase rounds with one round without increase to prevent curling or waving.
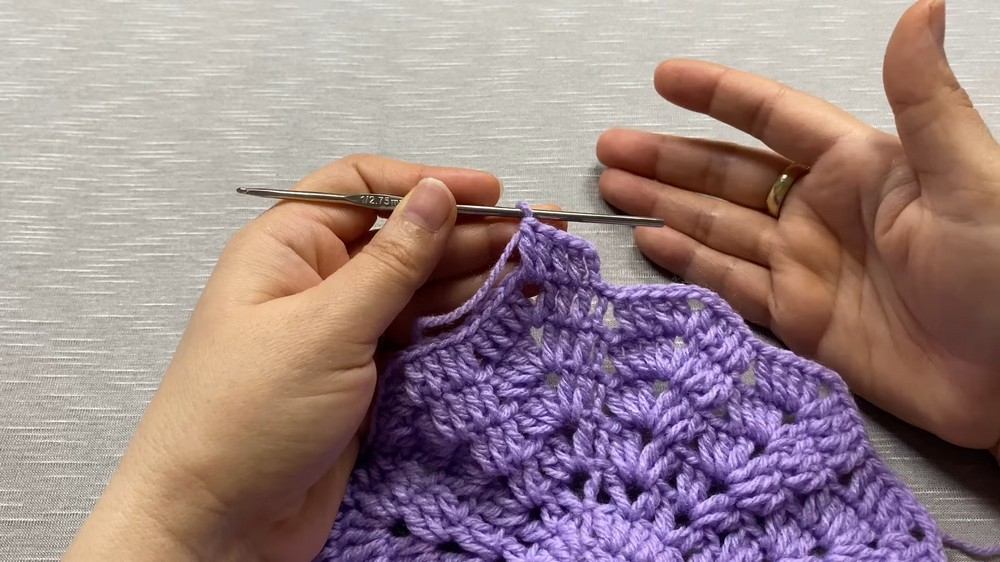
Customize size:
- For a larger rug or centerpiece, continue alternating increase and flat rounds, growing the fans as desired.
Final Border and Motifs
Chain Motifs
- Slip to the center of fan (chain 2 space).
- Ch 4, close with a sl st at same center (creates a ring).
- Ch 6, close with a sl st at same center.
- Ch 4, close with a sl st at same center.
Move to Next Fan
- Make loose sl st through each fan point (not tightly!) until reaching the center of next fan.
- Repeat Ch 4 ring, Ch 6 ring, Ch 4 ring.
- Continue motifs around the rug.
Finishing
- At end, complete final motif, join with sl st to finish.
- Cut yarn, make a knot.
- Secure and hide ends inside finished work.
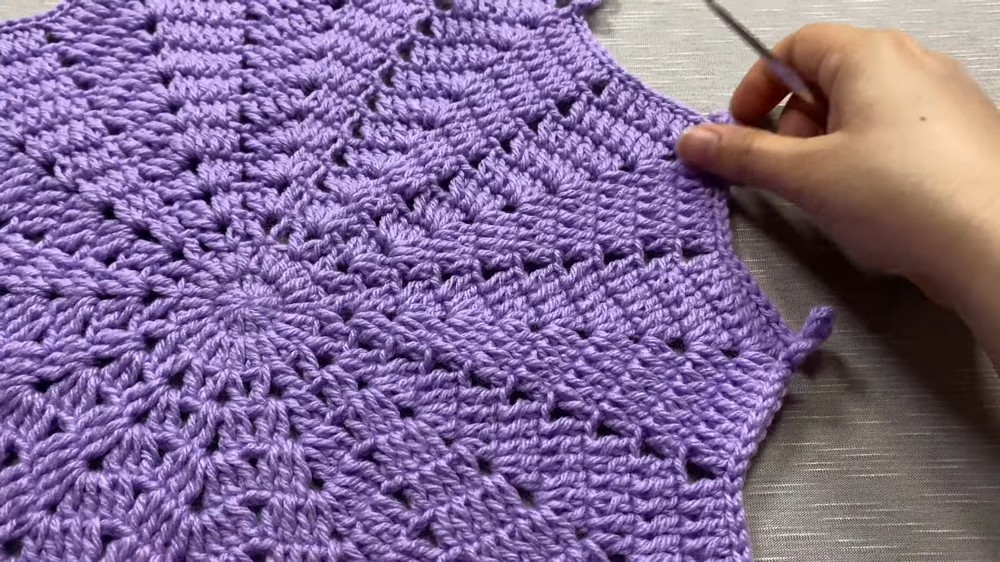
Assembly
- Once all rounds and motifs are set, weave in yarn ends securely using crochet hook or needle.
- Shape the rug or centerpiece gently by hand, smoothing the edges of the border and fans.
Final Notes
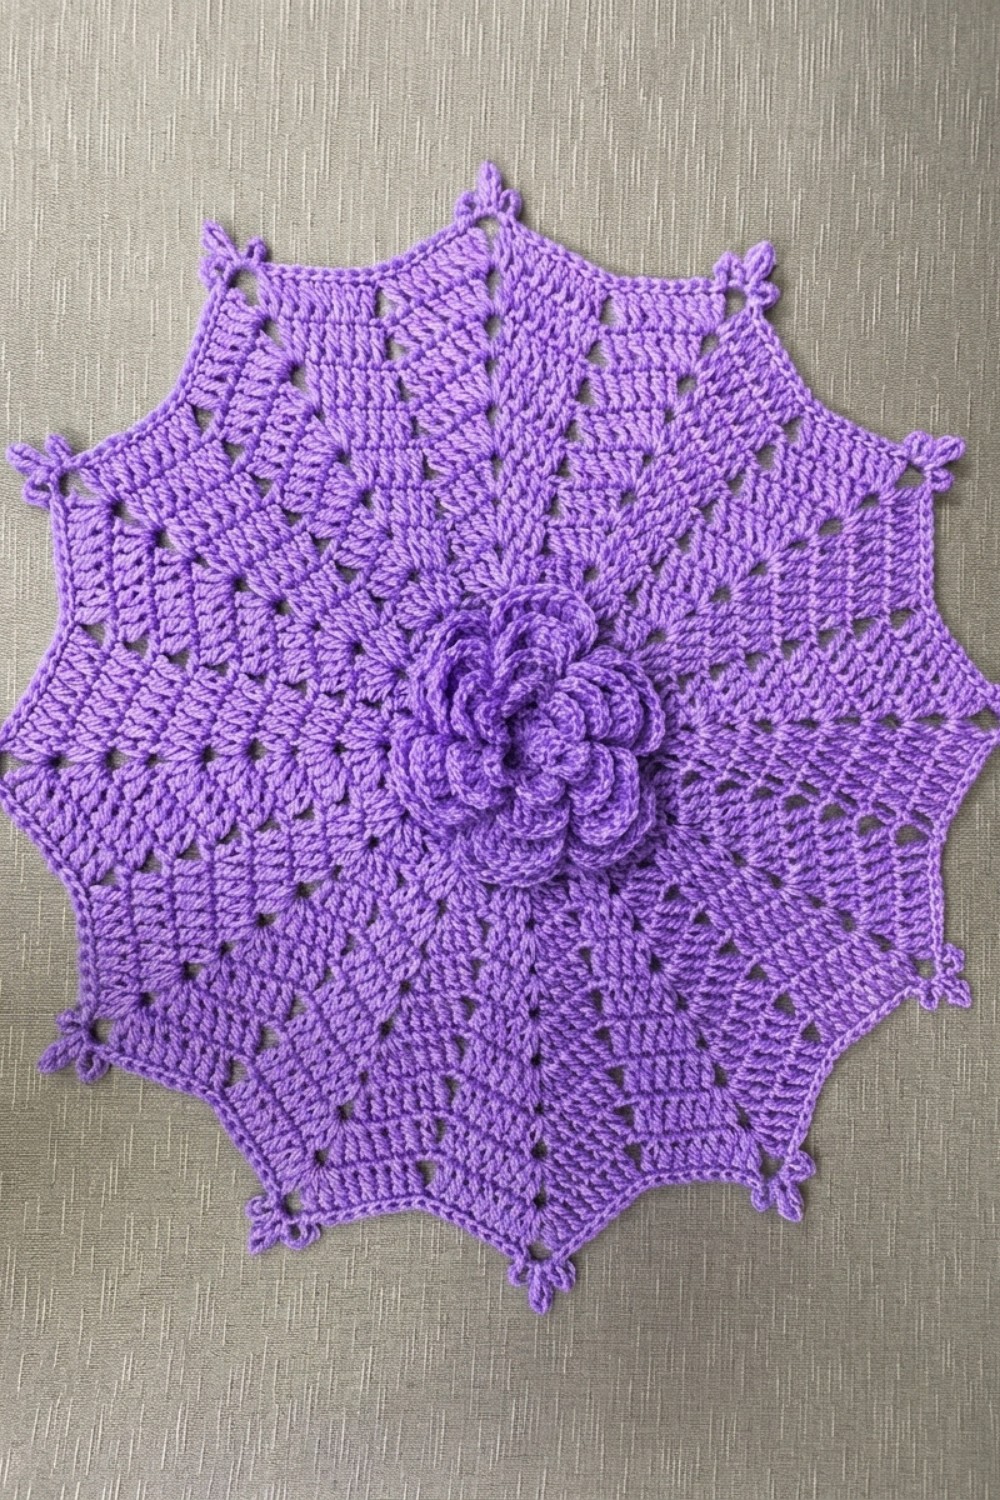
This pattern produces a lightweight, decorative rug or centerpiece, adaptable for different sizes and spaces. Adjust the fan increases and number of rounds for larger projects, or repeat without increases for a flatter shape. Decorative chain rings at the outer edge finish the piece with a lacy touch. The project is suitable for confident beginners, offering practice in working in the round and learning beautiful motifs. The completed rug can be used for tables, as a base for vases, or as a unique handmade gift.



Leave a Reply