

Create charming Crochet Amigurumi Hanging Plants with this free pattern that offers a simple and fun way to add cute greenery decorations to your home or gifts.
The delightful YouTube tutorial by Hobihobiku presents an engaging and creative way to make Crochet Amigurumi Hanging Plants, a project that brings charm and personality to any space. Full credit goes to Hobihobiku for designing this accessible and visually appealing pattern.
Free Crochet Amigurumi Hanging Plants Pattern For Home Decor
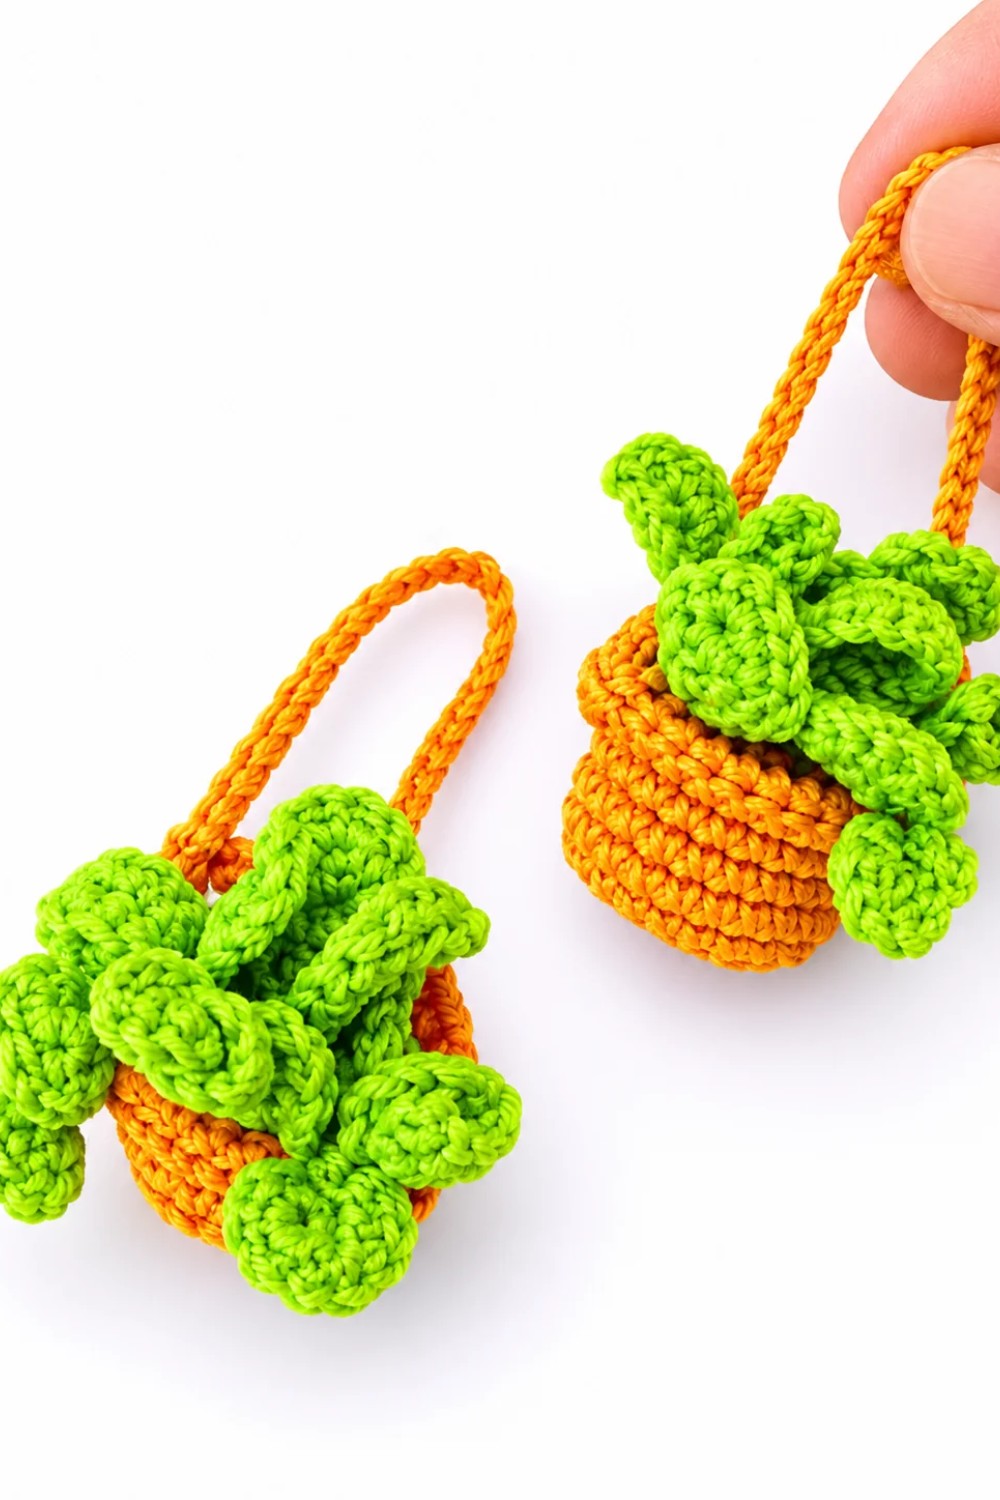
Crochet Amigurumi Hanging Plants are small decorative pieces crocheted to resemble miniature potted plants. They combine the cuteness of amigurumi with the natural appeal of plants, making them an ideal option for adding a touch of greenery to your home without any maintenance. These handmade plants can be hung on walls, windows, or door handles, brightening up your living space or office with their whimsical appeal. They also make thoughtful gifts for friends or family who love unique handmade items.
One of the highlights of this project is the ability to customize each hanging plant. You can play with yarn colors to mimic various plant types, from leafy greens to colorful succulents. Additionally, you can add extra details like tiny crocheted vines, flowers, or textured leaves to create a more lifelike or artistic appearance. This flexibility makes each piece unique and allows you to personalize it to fit your style.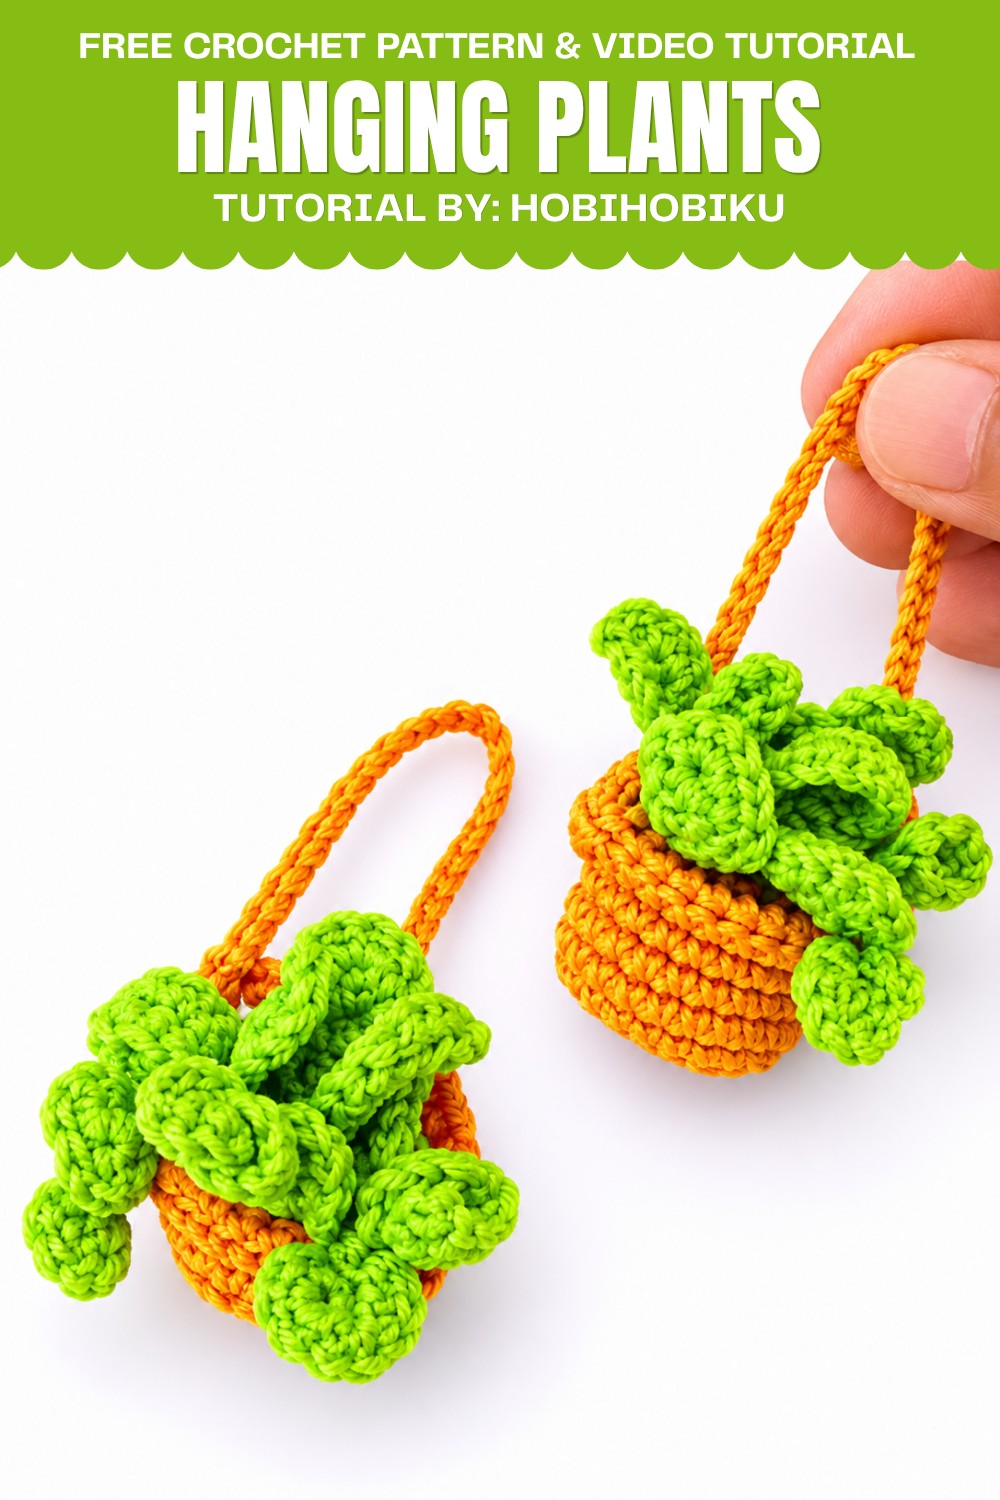
The crochet process uses beginner-friendly stitches such as chain stitches, single crochets, and increases or decreases to shape the pot and plant parts. Once crocheted separately, the pieces are sewn together carefully, and a loop is attached for easy hanging. This decoration is enjoyable and satisfying to complete, offering a perfect balance of creativity and skill development.
If you want a charming, low-maintenance crochet that spruces up your decor, try this free pattern and bring a little handmade joy into your life!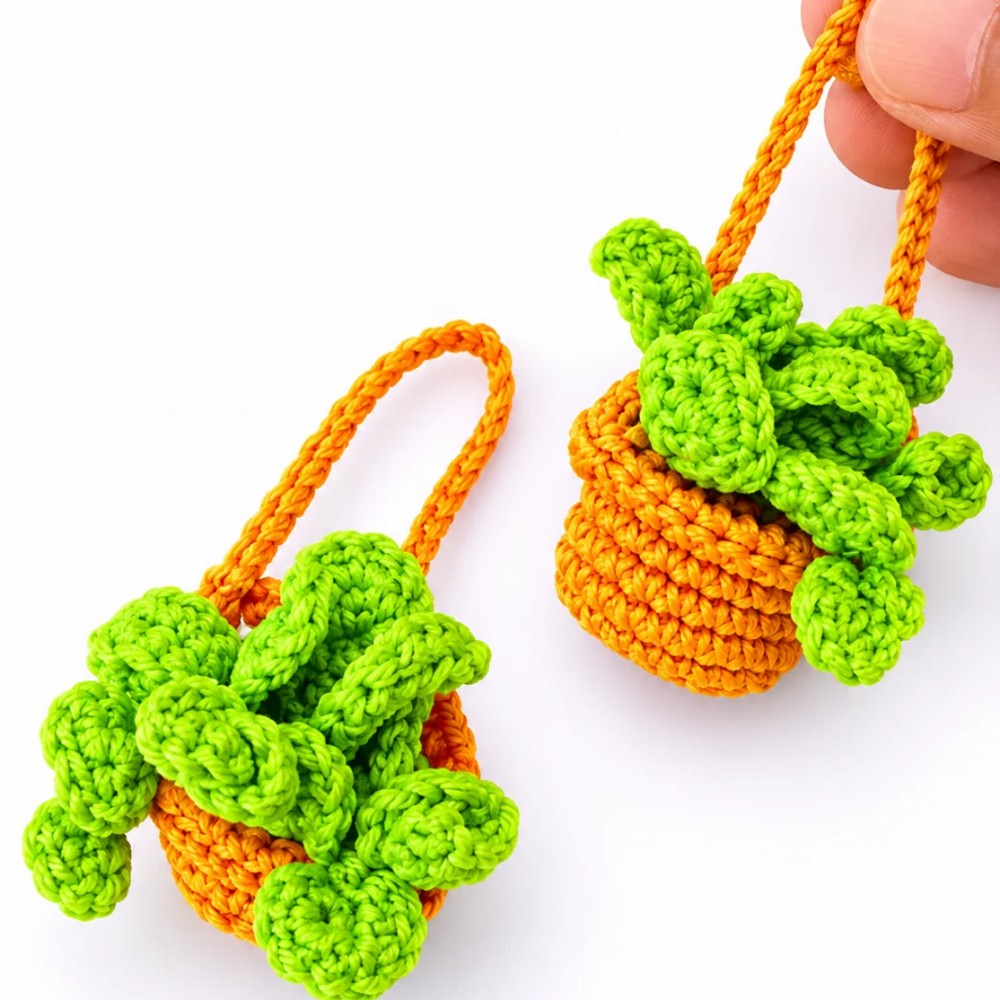
Hanging Plant Ornament Crochet Pattern
Pattern Overview
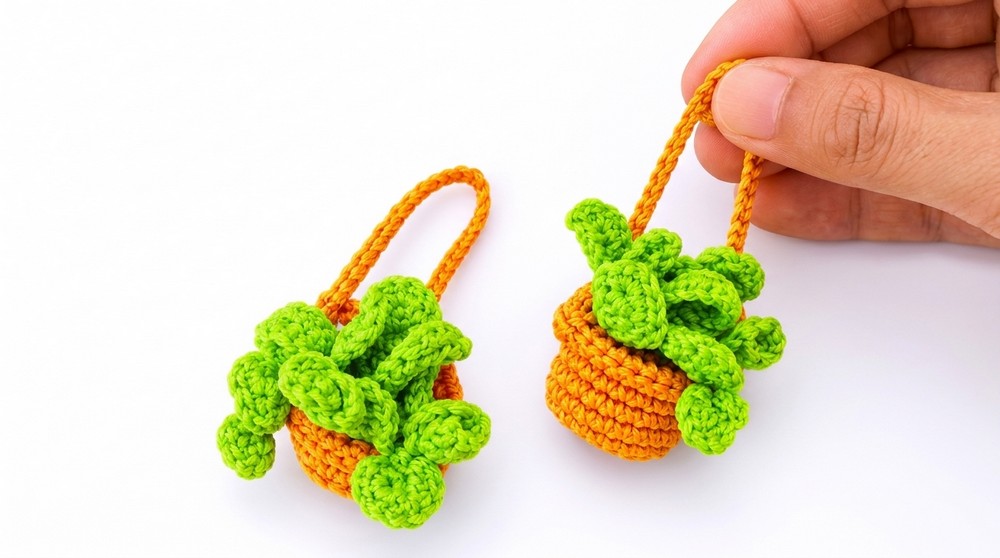
This crochet pattern is designed to create a whimsical and charming hanging plant ornament, perfect for adding greenery to any space without the maintenance of real plants. The finished piece features a crocheted vase or pot, a plush soil insert, curled vine tendrils, and vivid leaves, all assembled into a dimensional, decorative hanging ornament. It is constructed with simple stitches and basic shaping, making it suitable for crafters with some crochet experience.
Quick Details
- Project Type: Hanging plant ornament
- Primary Components: Vase (pot), Soil insert, Leaves, Tendrils, Hanging Rope
- Assembly Method: Minimal sewing, simple stuffing, glued foliage attachment
Important Tips
- Maintain consistent tension throughout for a neat, firm structure.
- Place a stitch marker for accurate row counting and assembly points.
- When directed, work into the back loop only (BLO) or other specific loops for shape and texture.
- Prepare all foliage pieces in advance for easy final assembly.
- Use a glue gun with caution, ensuring all parts are well secured.
- Join seams carefully and stuff firmly, ensuring the ornament keeps its form.
Skill Level
Experienced Beginner
You should be comfortable with the basics of single crochet (SC), double crochet (DC), working in rows and rounds, magic rings (MR), back loop only (BLO), basic assembly, and simple special stitches like hdc (half double crochet).
Materials
- Polycherry yarn in the following colors:
- Main color for vase/pot
- Dark brown for soil
- Green for leaves/tendrils
- Size 3 Tulip crochet hook (or similar)
- Dacron or other fiberfill stuffing
- Tapestry needle for sewing
- Glue gun and glue sticks
- Stitch marker
- Scissors
- Ruler or measuring tape
Measurements
- Vase approximately 3–4 cm wide, 3–4 cm tall (excluding leaves)
- Hanging rope approx. 20 cm long
- Finished ornament height including rope: ~25 cm
Gauge
- Gauge is not critical, but use a hook that gives a dense, sturdy fabric suitable for stuffing.
Abbreviations
| Abbreviation | Meaning |
|---|---|
| ch | chain |
| sc | single crochet |
| hdc | half double crochet |
| dc | double crochet |
| sl st | slip stitch |
| BLO | back loop only |
| MR | magic ring |
| rep | repeat |
| st(s) | stitch(es) |
| Rnd | round |
Special Stitches
- Magic Ring (MR): Wrap yarn into a ring, crochet as directed into the ring, pull tail to close.
- BLO: Insert hook through back loop only of next stitch.
- Puff/Leaf Shaping: Working multiple stitches (SC, HDC, DC) into the same stitch to shape leaves.
- Tendril Curl: Crocheting into chain stitches and using slip stitches to make spirals.
Step-by-Step Instructions
1. Vase (Pot)
Foundation:
- Ch 8, then add 1 extra ch (9 chains total).
Rows 1–6:
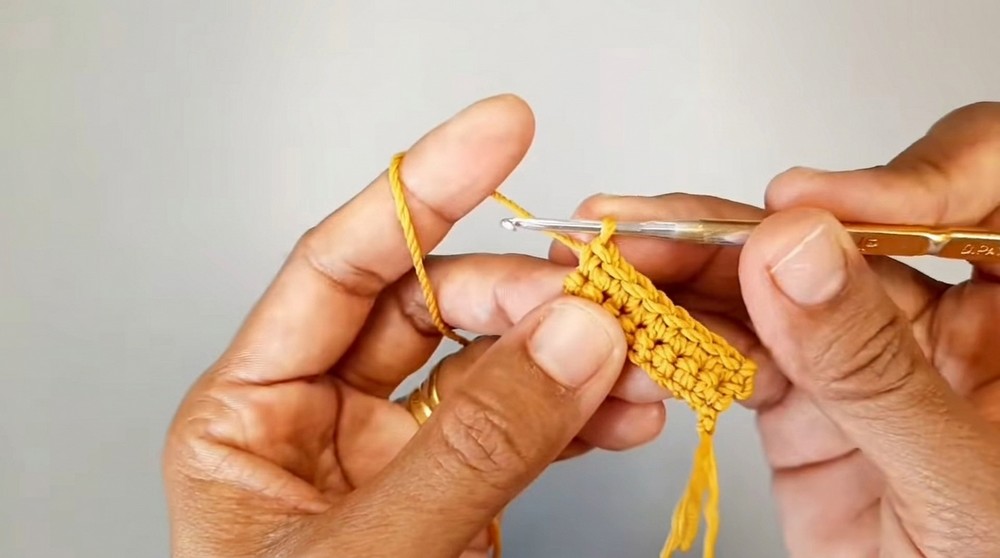
- Row 1: Starting in 2nd ch from hook, sc into each chain across (8 sc), turn.
- Rows 2–6: Ch 1, sc in each st across (8 sc), turn.
(Repeat until you have 6 rows total.)
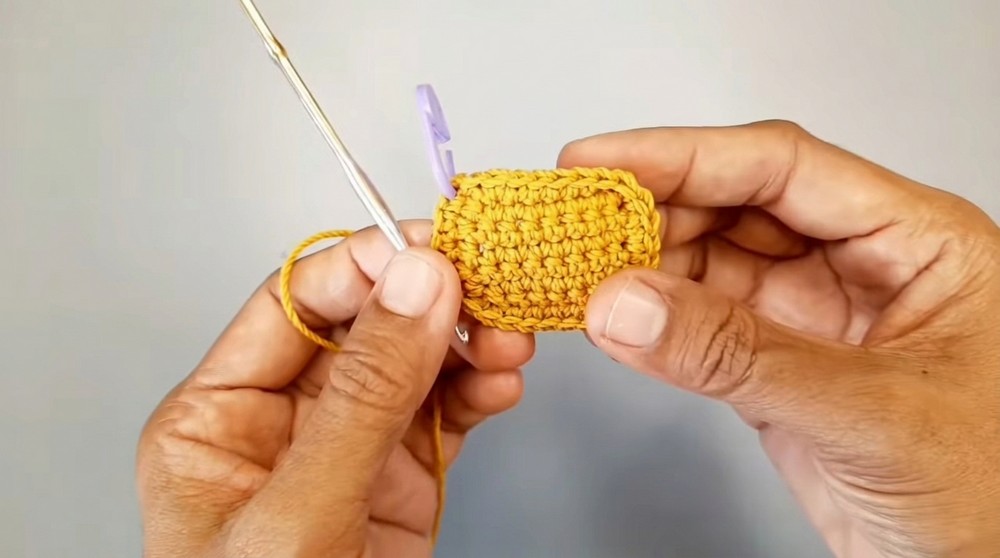
Assembly (Base):
- Place a stitch marker at the second-to-last hole of the rectangle.
- Work sc all the way around the rectangle:
- Up the side: 6 sc
- Across the bottom: 8 sc
- Down the other side: 6 sc
- Across the top: 7 sc
(You should now have a small rectangular “basket” bottom.)
Body:
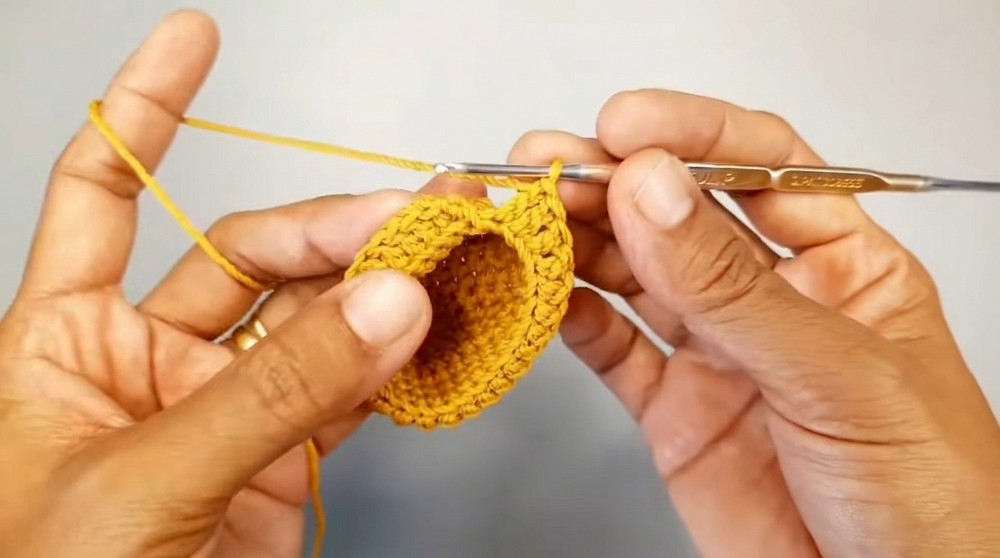
- Crochet 4 rounds of sc around the edge of the rectangle, working in continuous rounds to build up the pot sides.
- At the end of the final round, sl st, ch 2 as a transition for the rim.
Rim:
- Work one round of dc into each st around, using BLO for a defined rim edge.
- Finish with a sl st and cut the yarn, leaving a tail to weave in.
2. Hanging Rope
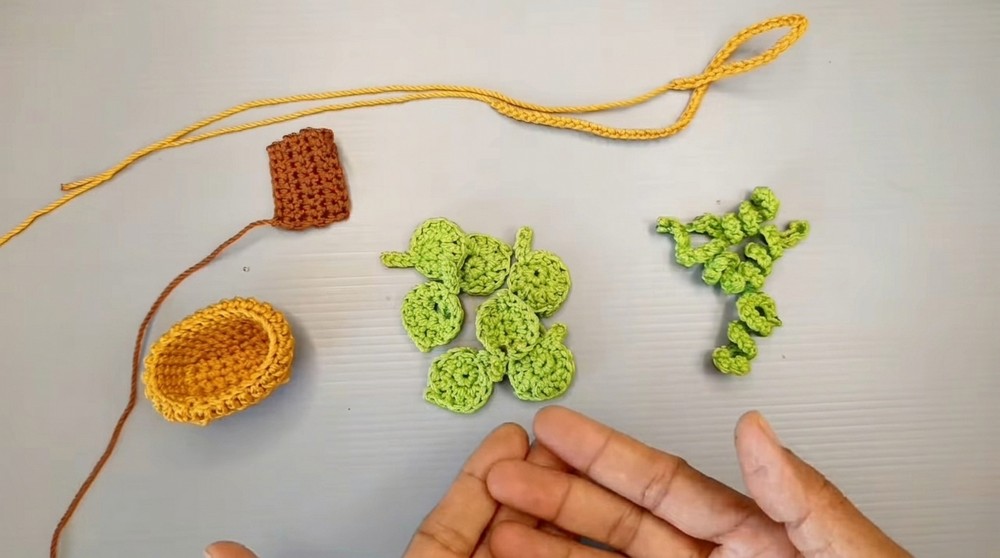
- Ch until chain measures approx. 20 cm (about 25–28 chains, but adjust for desired length).
- Cut yarn and set aside for assembly.
3. Soil Insert
Using dark brown yarn:
- Ch 8 + 1 (9 ch).
- Work as for vase foundation:
- Row 1: Starting in 2nd ch from hook, sc in each ch across (8 sc), turn.
- Rows 2–6: Ch 1, sc in each st across, turn.
- Finish off and secure ends. This will rest on the opening of the pot, forming the "soil" surface.
4. Leaves
For each leaf:
- MR, 6 sc into ring.
Round 2:
- In first sc: 1 sc and 1 hdc (both in same st).
- In next st: 1 hdc and 1 dc.
- In next st: 2 dc.
- In next st: ch 1, sl st.
- In next st: 2 dc.
- In next st: 1 dc and 1 hdc.
- In last st: 1 hdc and 1 sc.
Detailing for Leaf:
- Sl st to first sc, ch 3, sl st down the chain to make the leaf tip.
- Fasten off and leave a tail for sewing.
5. Tendrils
- Ch 20.
- Starting from the 19th ch from the hook (i.e., working backwards into the chain), do the following along the chain’s length:
- 1 sc, 1 sl st in every ch to the end.
- This will create a naturally curled, spiral effect.
Assembly
- Join Pot and Soil:
- Center the soil rectangle on the open top of the vase/pot.
- Use the tapestry needle and yarn to whip-stitch or sew the edges of the soil onto the top, matching up corners neatly.
- Stuff the Pot:
- Pause the sewing before you close the final opening.
- Fill the vase firmly with dacron until plump but not stretched.
- Complete sewing around the edge.
- Attach Hanging Rope:
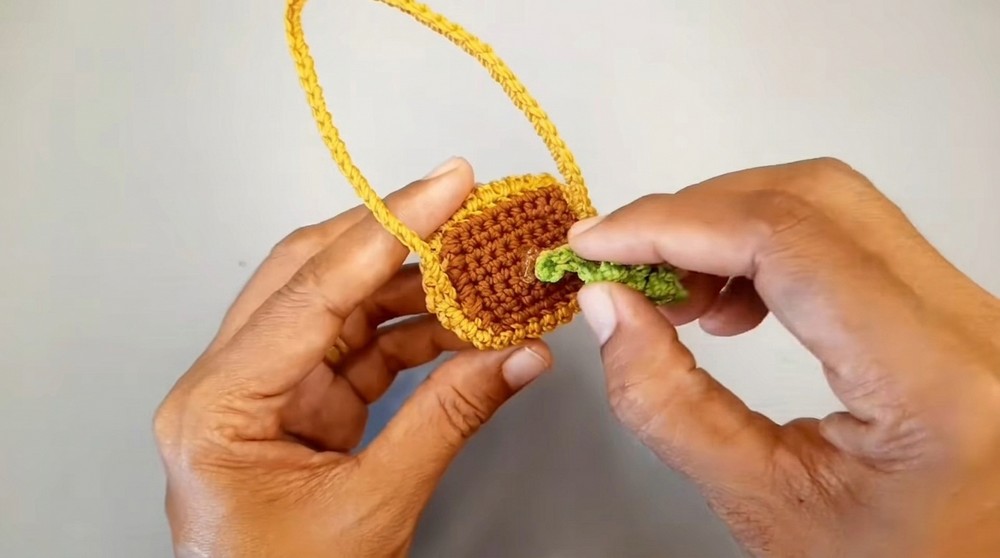
- Use the tails of the crochet rope and a tapestry needle to sew each end securely to the sides of the pot, ensuring the ornament hangs evenly.
- Attach Leaves and Tendrils:
- Use the glue gun (or sew if preferred) to attach the leaves and tendrils decoratively to the soil’s surface.
- Space them as desired for a natural effect.
- Let glue set before handling.
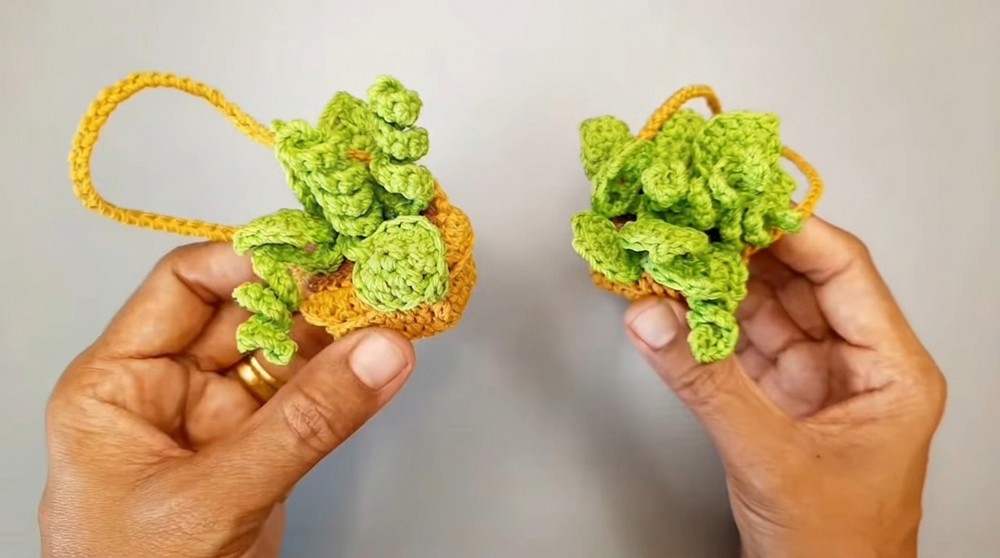
Final Notes
- Vary the number, size, and position of leaves and tendrils for different plant looks.
- Use a tapestry needle to hide all yarn ends securely inside the ornament.
- The rim of the pot stands out with BLO double crochet for a polished finish.
- Use a sturdy chain for the hanging rope to ensure the ornament’s durability.
- Glue the leaves and tendrils with care and allow to fully dry for a strong hold.
- Adjust the size of each component (chain length, base width) for custom ornament sizes.
- This cheerful hanging plant is ideal as wall décor, windowsill accent, or a unique handmade gift.
- Keep your stitches firm for best structure, especially in the body/soil of the pot.
- Embellish further by adding tiny flowers or textured “moss” if desired.


Leave a Reply