Learn how to crochet a ribbed stitch beanie with this simple yet stylish free pattern, perfect for keeping cozy and fashionable during chilly days.
Chilly winter days call for practical and stylish accessories that keep you warm without sacrificing comfort. This crochet a ribbed stitch beanie pattern brings together functionality and timeless design, making it a go-to choice for anyone seeking an easy yet rewarding project. Featuring a unique ribbed texture, the pattern provides stretch and softness, ensuring a snug fit that lasts over time. It’s an excellent choice for people of all skill levels, offering a straightforward way to create cozy, cold-weather headwear with minimal effort.
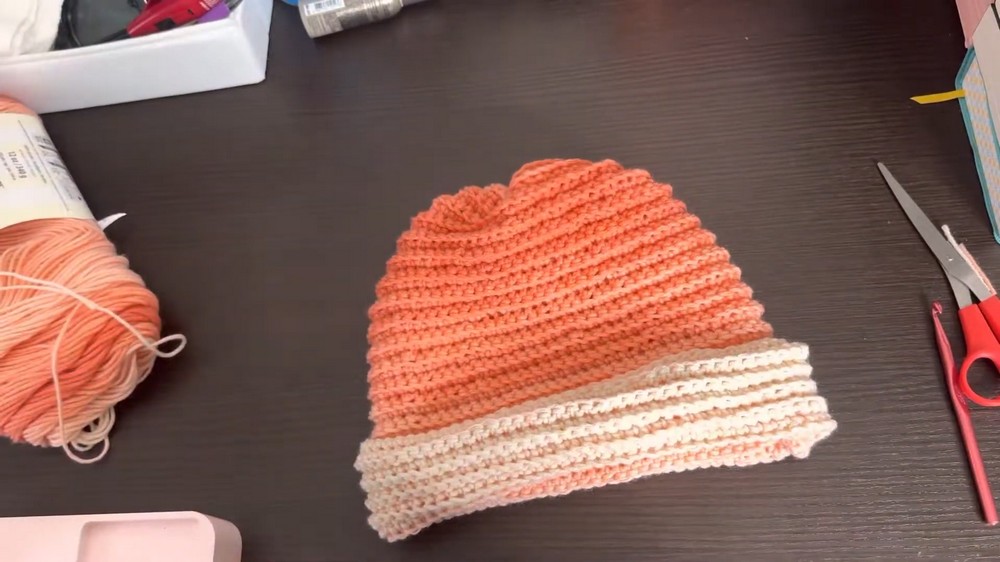
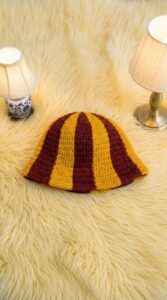
Super Simple Ribbed Crochet Beanie Pattern
The beanie is more than just an essential for cooler months; it’s also a customizable accessory that can complement various outfits. Whether made for yourself or gifted to friends and family, it can be easily adapted with different yarn colors and styles to reflect a personal touch. Its simplicity ensures quick results, yet the finished product offers classic warmth and functionality.
Ideal for battling cold winds or adding a stylish flair to outdoor wear, this ribbed stitch design truly delivers a balance between utility and charm. The end result is a useful, long-lasting accessory that offers both comfort and a sense of accomplishment.
Introduction
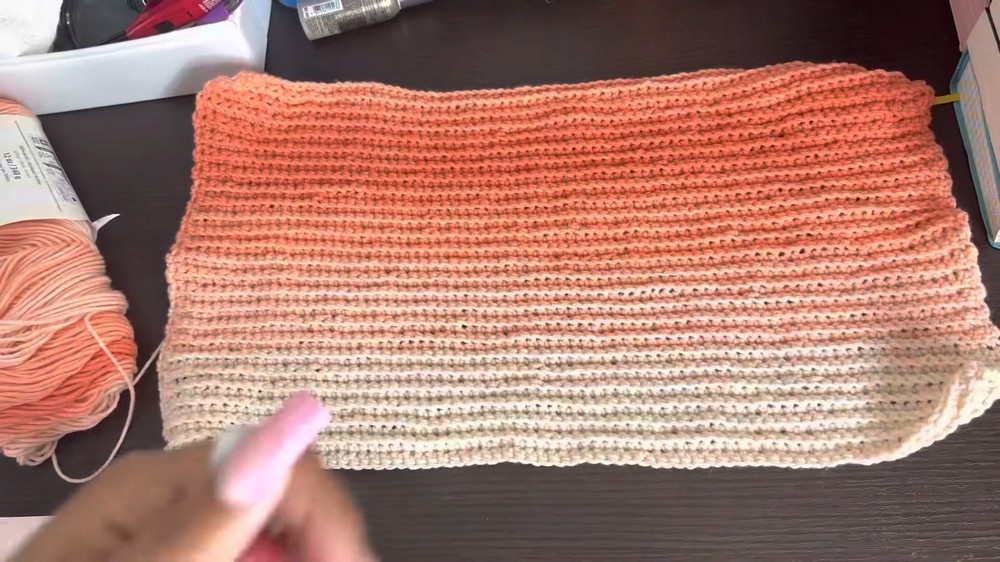
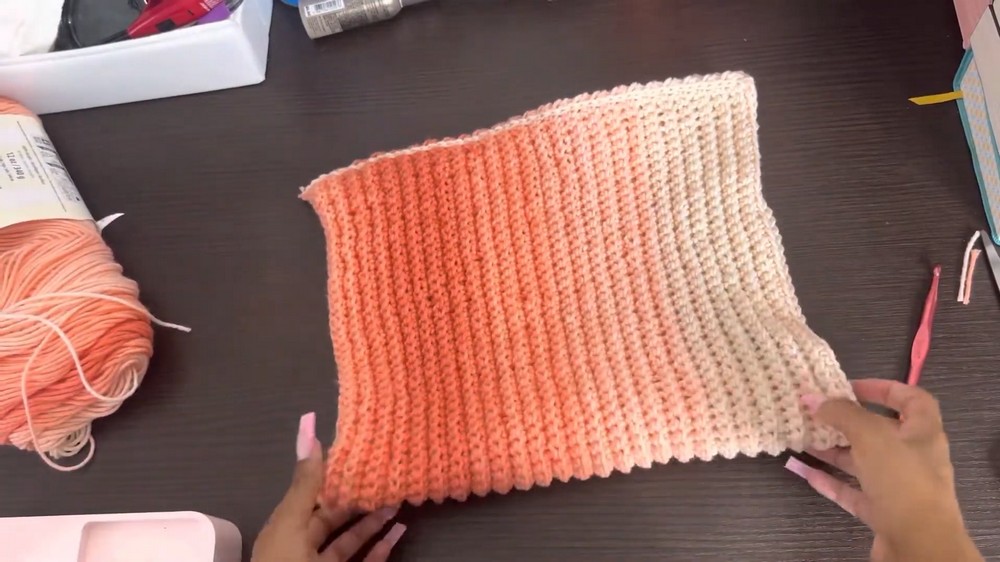
This pattern provides step-by-step guidance on how to crochet a simple ribbed beanie using single crochet stitches and a unique texture technique. The project is designed to be versatile, allowing you to customize the size of the beanie to fit any head circumference. It’s ideal for both beginners and experienced crocheters looking for a quick and straightforward project. The finished product boasts a ribbed texture that resembles a knitted look, making it a stylish and practical accessory for cooler weather. Whether creating one for personal use, gifting, or selling, this pattern delivers warmth and a polished design.
Materials Needed
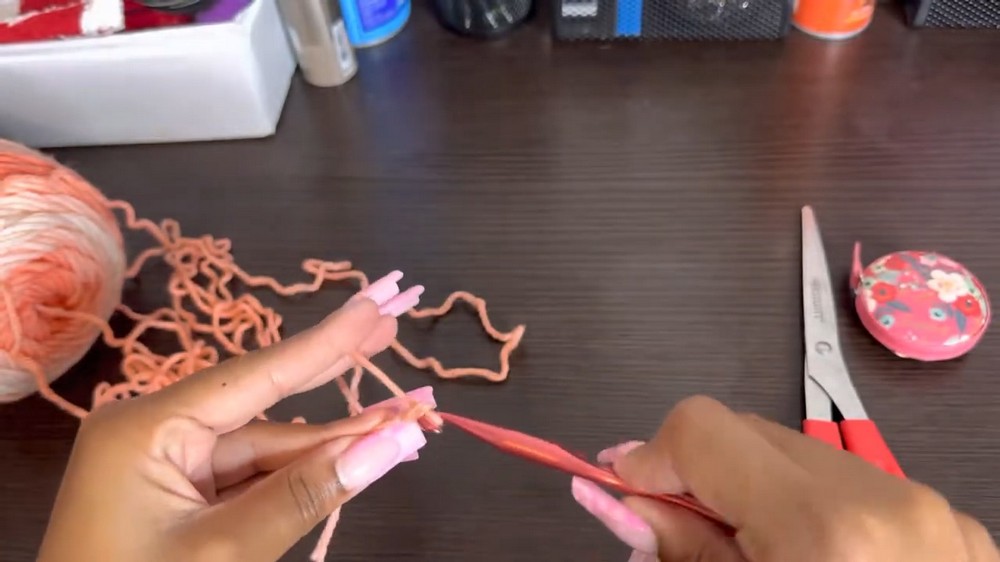
- Yarn: Jumbo ombre yarn in the color “Salmon” (medium weight - #4).
- Hook Size: Size K crochet hook, for faster progress and stretchier stitches.
- Tape Measure: Ensure it measures in inches for accuracy.
- Scissors: For cutting yarn.
- Optional: Yarn needle for weaving in ends.
Step-by-Step Guide to Crochet a Ribbed Beanie
Step 1: Starting the Chain
- Make a slip knot to start.
- Crochet a chain that measures 20 inches in length (when laid flat without stretching).
- The tutorial uses 78 chains for the example.
Step 2: Single Crochet the First Row
- Insert your hook into each chain stitch, yarn over, pull through two loops, and repeat along the row.
- Maintain single crochet for the entire row.
- Ensure no stitches are skipped for a uniform look.
Step 3: Back Loop Only Crochets from Row 2 Onward
- Chain one, flip your work, and begin the next row.
- For the first and last stitch of each row, insert the hook into both loops (to add structure to the edges).
- For all other stitches, insert the hook into the back loop only and complete single crochets.
- This technique creates the ribbed effect resembling a knitted texture.
Step 4: Repeat Rows for Beanie Height
- Continue repeating Row 2 (back loop single crochets) for the desired height of the beanie.
- Measures the height at approximately 11.5 inches when stretched.
Step 5: Fold and Join the Sides
- Fold the crocheted rectangle in half lengthwise to form the shape of the beanie.
- Use slip stitches (or single crochets, if preferred) to join the sides together along the edges.
- Ensure alignment of stitches for a neat seam.
Step 6: Closing the Top of the Beanie
- Turn the beanie inside out (so the seam goes on the inside).
- Use the hook or yarn needle to cinch the top closed.
- Pull and slip stitch through the four corners (forming a flower-like shape) to tighten the opening.
- Continue looping and securing until there are no visible gaps on top.
Step 7: Finalizing the Beanie
- Fasten off the yarn, knot securely, and weave in any loose ends using a yarn needle.
- Turn the beanie right-side out.
- Create a folded brim—either one large fold or two smaller folds, depending on your style preference.
Key Features of the Ribbed Beanie
- Textured Look: The back loop technique creates a ribbed knit-like effect, adding visual appeal.
- Stretchable Design: The flexibility ensures a comfortable fit for various head sizes.
- Thickness Control: Adjust the yarn weight for thinner or thicker beanies based on climate or preference.
Conclusion
This ribbed crochet beanie is a quick and rewarding project, offering a stylish result with minimal effort. Its textured design sets it apart from traditional crochet styles, giving it a sophisticated, crocheted appearance. By following the simple steps of chaining, single crochet, and slip stitching, you can complete a trendy and warm hat perfect for personal use or gifting. The design allows for customization, making it a versatile pattern for different needs and tastes.


Leave a Reply