

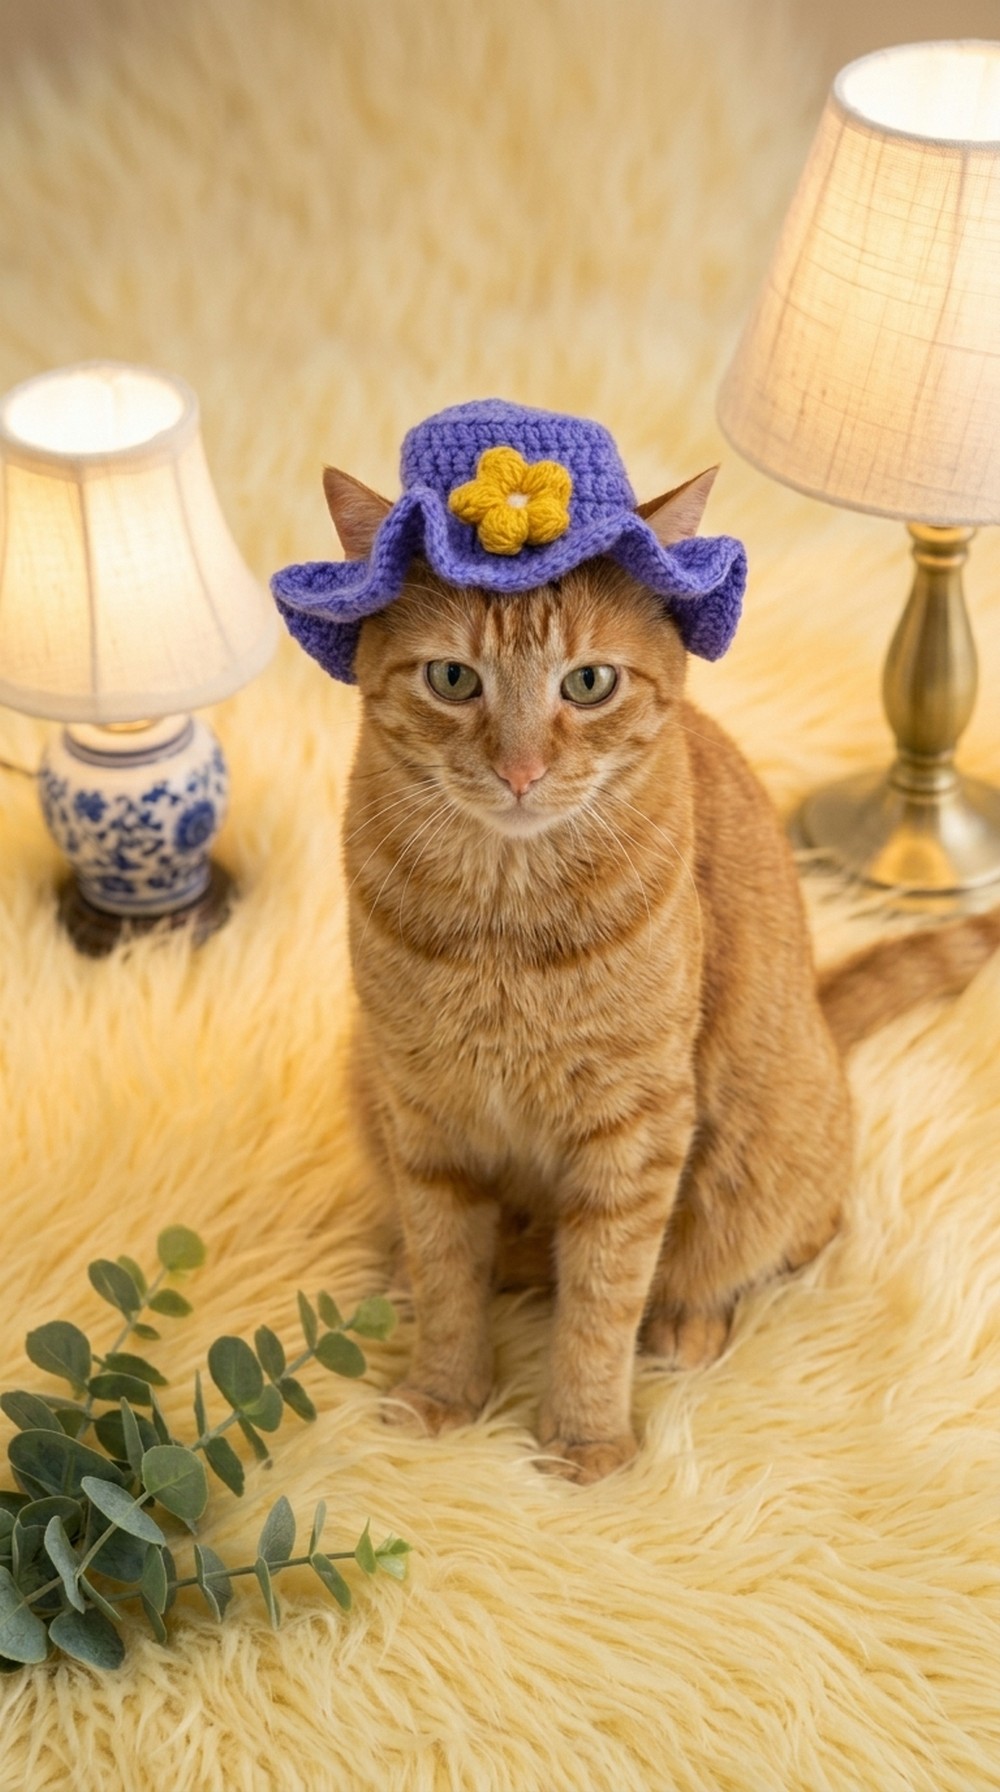
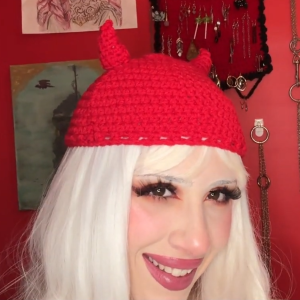
Create an adorable crochet cat hat for your furry friend, designed for comfort and cuteness, featuring perfect ear holes and vibrant patterns to match their personality.
There’s something truly fun about wearing hats that show off your personality, especially when they have a cute animal theme. One of the most adorable hats I’ve come across is a cat-themed crochet hat. The Free Crochet Cat Hat Pattern is an easy way to make a playful and cozy hat that’s perfect for cat lovers of all ages. With this pattern, you can also make matching items like cat ear headbands, mittens, or even a small pouch, just by adding a few simple touches.
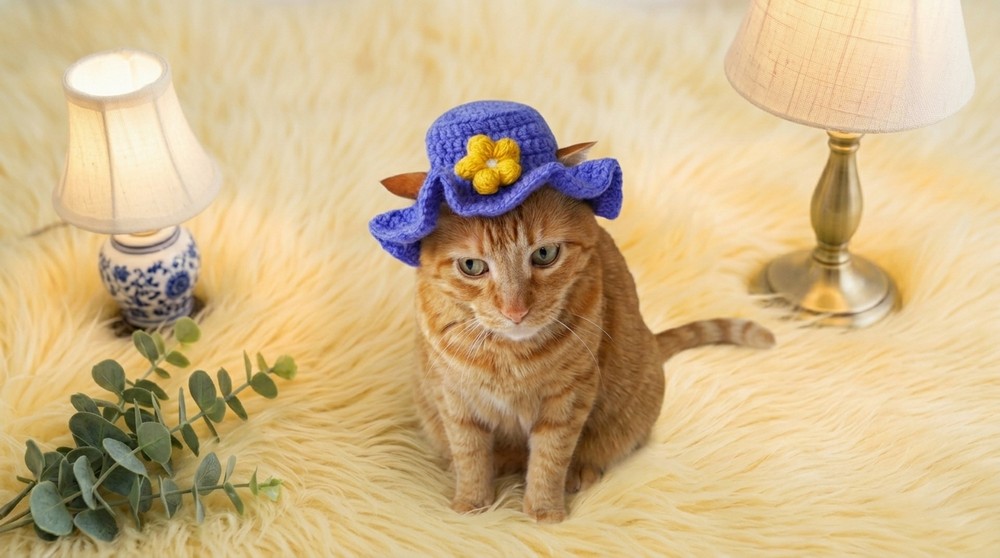
Free Crochet Cat Hat Pattern For fun
This cat hat looks amazing because of its charming design. It has little pointy ears that stick out just right, making it look like a real kitten’s head. The texture feels soft and warm, thanks to the yarn used, which makes it nice to wear during chilly days. The hat's shape fits snugly around your head, keeping you comfortable while showing off its cute cat features. It’s a perfect mix of style and comfort, with a fun look that can brighten up any outfit.

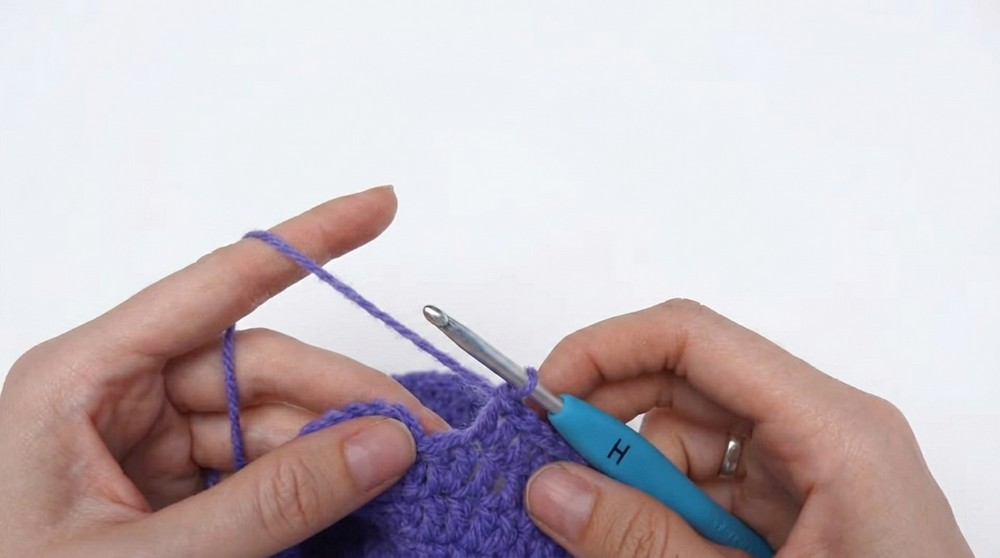
The hat is created by crocheting in rounds, mostly using single and double crochet stitches. This pattern is accessible for beginners who know the basics, and it gives clear instructions to make the ears and the body of the hat. Because the stitches are tight, the hat holds its shape well but still stretches enough for a good fit. The yarn choice also adds to the softness, making the hat cozily warm.
This Free Crochet Cat Hat Pattern is great for making gifts that cat fans will love, dressing up for events, or just adding a bit of fun to your everyday wardrobe. If you enjoy simple projects that are both useful and cute, this cat hat is a wonderful pick to try out.
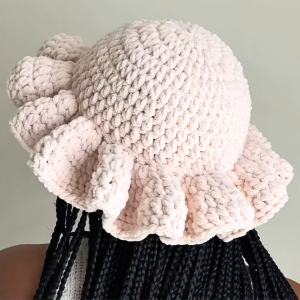
Crochet Cat Bucket Hat with Earholes (Step-by-Step Pattern)
Before You Start
- This pattern creates a cute bucket hat for cats or small pets – with earholes and a chin tie.
- You can adjust for size, and even add fun motifs like a flower.
- The hat’s worked top-down in joined rounds, with standard increases and a flared brim.
- Try the hat on your pet as you go, adjusting fit and earhole placement as needed.
- Read through the whole pattern before beginning for best results.
Pattern Notes
- The hat is worked in joined rounds using double crochet (dc), except for the brim’s first round of single crochet (sc).
- Increase rounds use chain-two (ch 2) for the starting height (ch 3 is standard for dc – use your preference).
- The brim flips outward thanks to working into the front loops only; the hat sides are shaped by working into back loops only.
- Earholes and chin tie are customizable based on pet size – follow the sample or adjust the stitch counts.
- If your stitch count is off after increases or joining rounds, adjust at the end by skipping or adding stitches to keep symmetry.
- You may add decorative elements (flower, band) to personalize.
How I Made the Crochet Pattern
- Meticulously transcribed each step and adjustment from the video tutorial.
- Counted stitches and kept notes on adjustments, especially earholes and joins.
- Carefully interpreted “errors” and repurposed as customization tips.
- Structured the whole process so you can follow, adapt, and personalize.
Skill Level
- Confident Beginner to Intermediate
Finished Size
- Sample fits a large cat; customize by skipping final increase round or adjusting stitch counts.
- Hat diameter: approximately 13–15 cm across at top, brim width: 2–4 cm, crown height: 5–8 cm.
Materials
- Worsted weight yarn (sample uses soft acrylic)
- 4.5 mm crochet hook
- Scissors
- Yarn needle
- Optional: Flower or motif (scrap DK yarn)
- Optional: Stitch markers (for earholes)
Measurements / Sizing (Schematic)
- Top circle, 10 cm before sides turn down (Round 4)
- Total stitch count after main increases: ~40–43 dc per round
- Brim width: adjustable (3 rounds at ~1 cm each per sample)
Gauge
- 4 rounds of dc = 10 cm diameter on hat top
- Gauge is flexible – try on your pet for best fit
Stitch Abbreviations
- MR – Magic ring
- ch – chain
- sl st – slip stitch
- dc – double crochet
- sc – single crochet
- st(s) – stitch(es)
- BLO – back loop only
- FLO – front loop only
Special Stitches
- Magic Ring: Adjustable loop for starting rounds.
- Back Loop Only (BLO): Work into the back strand (of “V”) only.
- Front Loop Only (FLO): Work into the front strand only.
- Earhole Chains: Ch, skip stitches, then rejoin.
The Pattern!
Top of Hat:
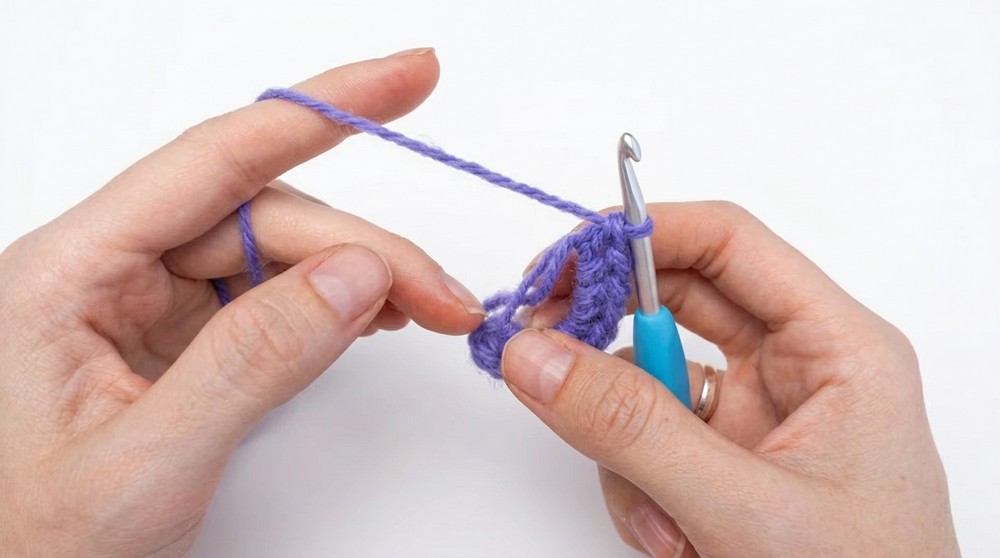
Round 1:
- MR, ch 2 (counts as dc), 9 dc into ring (10 dc).
- Sl st to first dc to join.
- Pull magic ring tight.
Round 2:
- Ch 2, 2 dc into same st.
- 2 dc into each st around (20 dc).
- Sl st to first dc to join.
Round 3:
- Ch 2, 1 dc in same st.
- 2 dc in next st, 1 dc in next st, repeat around (30 dc).
- Sl st to first dc to join.
Round 4:
- Ch 2, 1 dc in same st.
- 1 dc in next st.
- 2 dc in third st.
- Repeat 1 dc, 1 dc, 2 dc around (40 dc).
- Sl st to join.
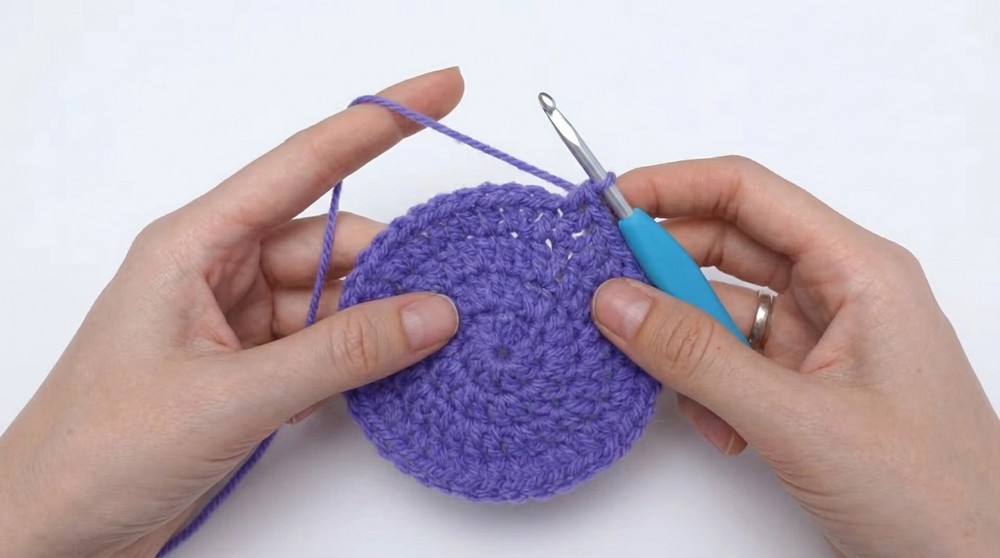
If you want a smaller hat, try skipping Round 4 or reduce increase rounds. Measure against your pet’s head for ideal diameter.
Hat Sides:
Round 5 (BLO):
- Ch 2, dc in BLO of each stitch around.
- Sl st to first dc to join.
Rounds 6 & 7:
- Ch 2, dc in each st around (through both loops).
- Sl st to join.
- (Repeat for the second round.)
Working into the back loops in Round 5, then standard rounds, creates the “downturned” hat sides. Try on your pet to check height!
Earholes:
Round 8:
- Ch 2.
- Dc in next 13 sts (back of hat).
- Ch 14, skip next 7 sts (first earhole).
- Dc in next 13 sts (front of hat, or adjust as needed).
- Ch 14, skip next 7 sts (second earhole).
- Sl st to first st to join.
Placement of earholes can be adjusted for your pet. Try chaining fewer/more or skipping more/fewer stitches for smaller/larger ears.
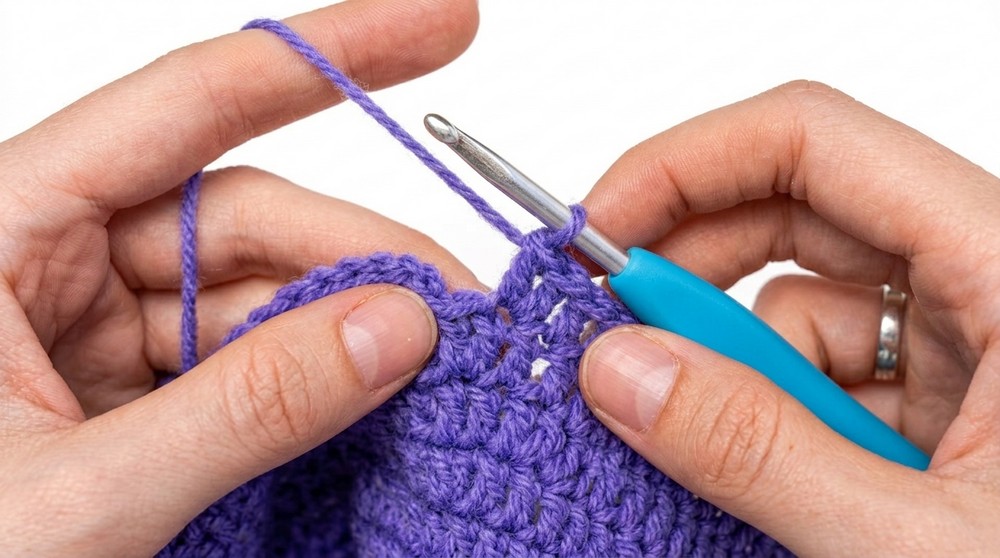
Brim:
Round 9 (FLO):
- Ch 1.
- Sc in FLO of each dc around (includes earhole chains).
- Sl st to first sc to join.
Rounds 10–12 (Brim Increase):
- Ch 2.
- Dc in next st, dc in next st, 2 dc in third st, repeat around.
- Sl st to join.
- Repeat for 2–3 rounds, as desired for brim width.
Working into FLO flips the brim outward; increases every third stitch create a floppy, wavy brim. Add more rounds for a wider brim.
Chin Strap:
- With same yarn, chain a length long enough to fit under your pet’s chin (try 45–60 ch, adjust as needed).
- Fasten off.
- Use yarn needle to weave chain through the back of hat, between earholes, and pull through side holes as described.
- Tie under chin to secure hat.
This strap helps keep the hat on during play or photos!
Assembly & Finishing
- Weave in all yarn ends using a yarn needle.
- Attach flower motif or decoration to hat front if desired.
- Try hat on pet, adjust earholes and brim as needed.
- Block lightly if necessary (optional).
- Strap should be tied securely but comfortably under chin.
Solution of Problem
- If your stitch count drifts (extra or fewer stitches), just skip/add an extra stitch at earholes or brim increase – the hat is forgiving!
- Earholes too small? Frog back to the earhole round and chain more or skip fewer stitches.
- Brim not floppy enough? Add more rounds or increase more frequently (every second stitch).
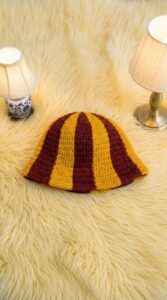
What You Can Make By Using These Stitches
- Cat or small pet bucket hats
- Doll hats or cute cup/mug hats
- Baby hats (with earholes omitted)
- Fun sun hats with floppy brims
- Add chin straps, bands, pompoms, or motifs for variation
Congratulations! Your cat (or pet) bucket hat is now ready – complete with earholes, a chin strap, and a wavy brim. This simple pattern is the perfect base for customization: try different colors, make matching motifs, or turn it into a fun accessory for other small critters.

Leave a Reply