

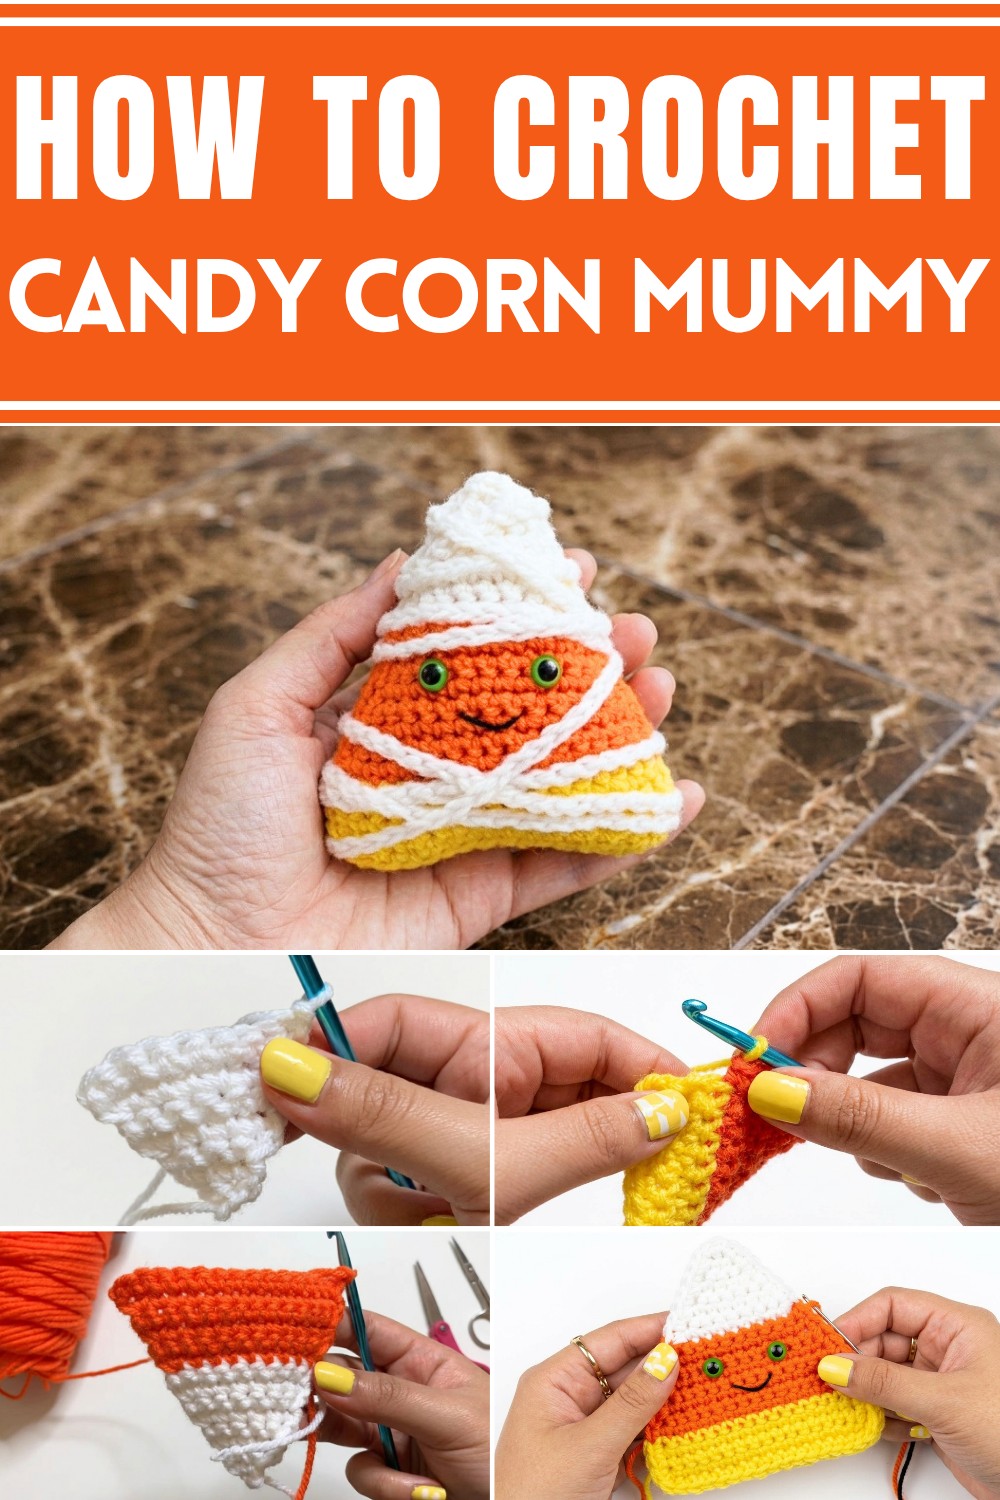
Create an adorable candy corn mummy with this free crochet pattern, featuring simple steps, color changes, and easy wrapping techniques perfect for Halloween.
If you’re searching for a cute and unique Halloween amigurumi project, you’ll love making this Free Crochet Mummy Crochet Pattern. This pattern is inspired by candy corn, but with a spooky and playful mummy twist, perfect for autumn decorations or small handmade gifts.
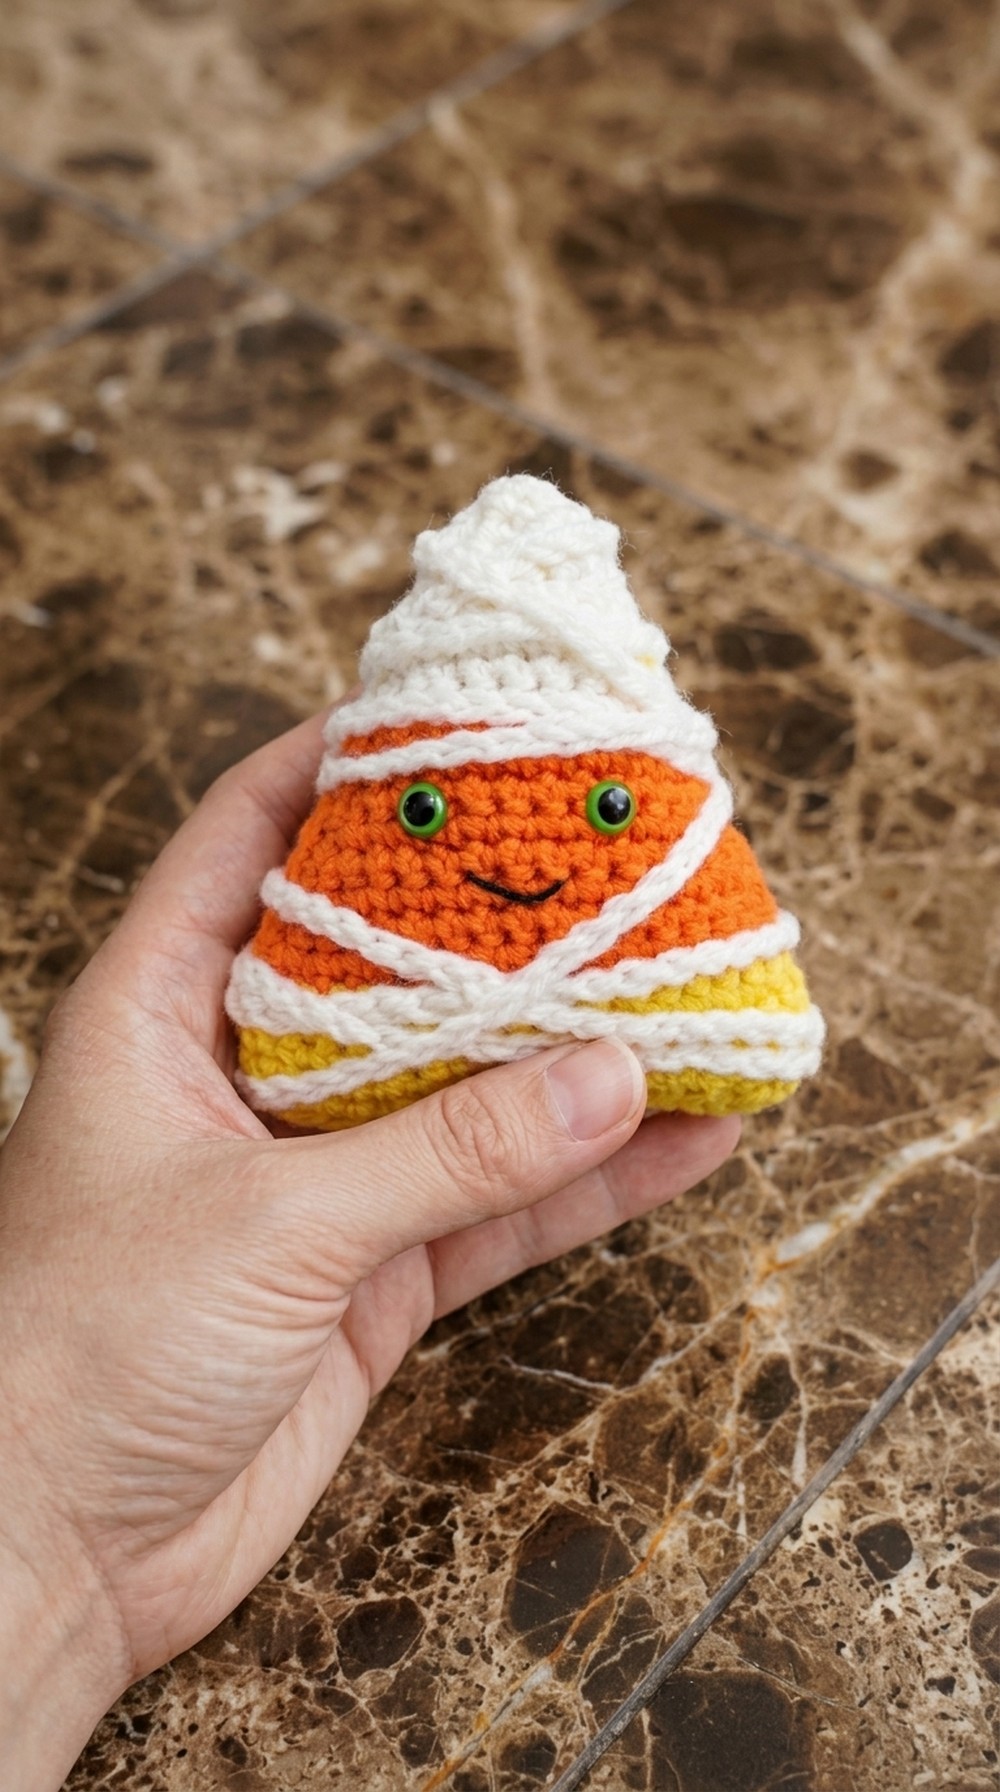
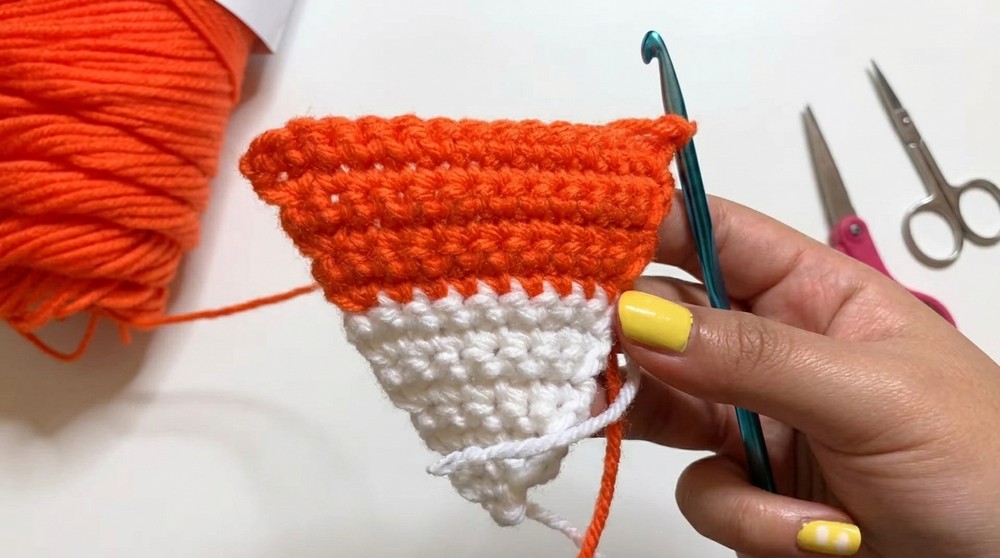
What I love most about this little crochet mummy is its fun shape and bright colors. It’s worked in rows to make a triangle with curvy corners (not too pointy), giving it that perfect candy corn look. The texture feels firm and smooth, especially when stuffed well, and the stripes of white, orange, and yellow yarn really make it pop. The most eye-catching part, though, is the surface after crocheting the triangle base, you get to wrap it with a long chained string of white yarn, just like a real mummy. This step makes each mummy totally unique, with the wrapping pattern all up to you.
Candy Corn Mummy Crochet Pattern for Halloween Decor
The face is super cute too—add safety eyes (they look lovely in green or black), and stitch a little mouth with embroidery thread for extra personality. This pattern is simple because it uses only single crochets and basic increases, so even newer crocheters can join in. The fun comes from adding your own touch, like changing the yarn color for the eyes, or making the stitches larger or smaller for different-sized mummies.
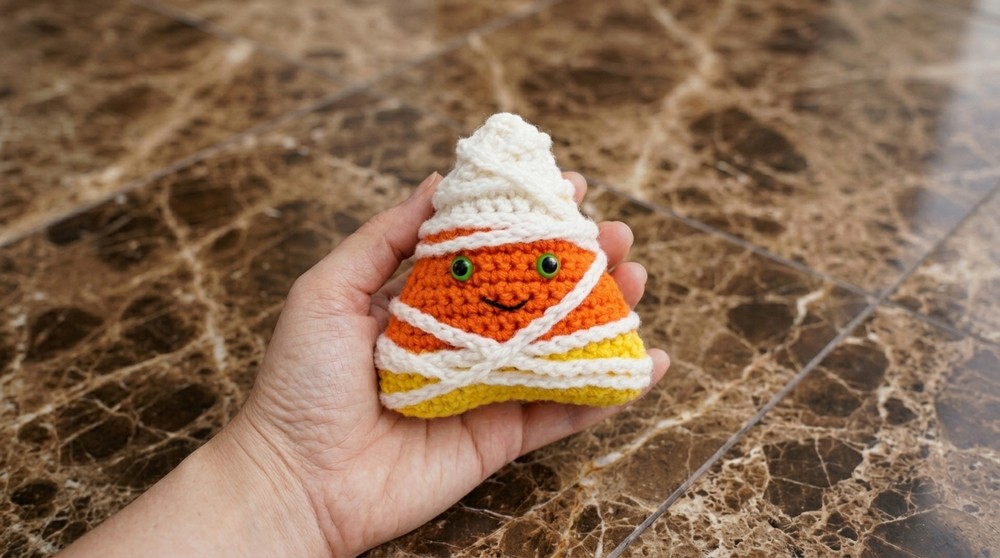
These crochet mummies work great as Halloween decorations, tiny plushies, party favors, or keychains. You could even make a bunch for a garland or to tuck into goodie bags! By just adjusting the face or how you do the wrapping, you could turn the same pattern into ghosts or other spooky friends.
Candy Corn Mummy Crochet Pattern
Get spooky and sweet with this Candy Corn Mummy pattern, perfect for Halloween decor or a quirky plush treat. This project is friendly for beginners and provides fun practice with color changes, simple shaping, finishing touches, and creative assembly. The step-by-step format below ensures you’ll get a professional finish with each triangle—and plenty of room for your own spooky creativity!
Skill Level & Terminology
Skill Level: Beginner/Advanced Beginner
Terminology: US crochet terms
Materials & Tools
- Worsted weight yarn (approx. #4) in White, Orange, and Yellow
- 5.0 mm crochet hook
- 9 mm or 10 mm safety eyes (black or green, or embroider)
- Black embroidery thread (for mouth)
- Yarn/tapestry needle
- Scissors
- Stuffing (fiberfill or yarn scraps)
- Stitch marker (optional)
- Hot glue gun (for eyes/face and optional wrapping)
Gauge
Gauge is not critical for this project. Flat triangle should measure approx. 3.5-4 inches (9–10 cm) across after row 10, depending on your tension. For best results, use a tight, even stitch so stuffing does not leak out.
Abbreviations
| Abbreviation | What it Means |
|---|---|
| ch | chain |
| sc | single crochet |
| inc | increase (2 sc in same st) |
| sl st | slip stitch |
| st(s) | stitch(es) |
| rep | repeat |
| FO | fasten off (cut yarn) |
Special Stitch Instructions
- Magic Circle: Not used here (project starts with a chain).
- Single Crochet: Insert hook, pull up loop, yarn over, pull through two loops.
- Increase: Work 2 sc in the same stitch.
- Invisible Join for Color Change: Tie new color to previous at edge for a neat transition.
Finished Size
Approx. 4.5 in (11.5 cm) high and 4 in (10 cm) wide at base. Size will vary based on yarn/hook/tension.
Pattern Overview & Stitches Used
This pattern is made with single crochet (sc) throughout, worked in rows (not rounds), with regular increases on one edge to shape a soft triangle. The three sections—white, orange, and yellow—are constructed with simple color changes. Edging is achieved by single crocheting around the finished triangle, and details (eyes, embroidery, and mummy “wraps”) give your piece personality.
The Pattern
TRIANGLE PANEL (make 2: front and back)
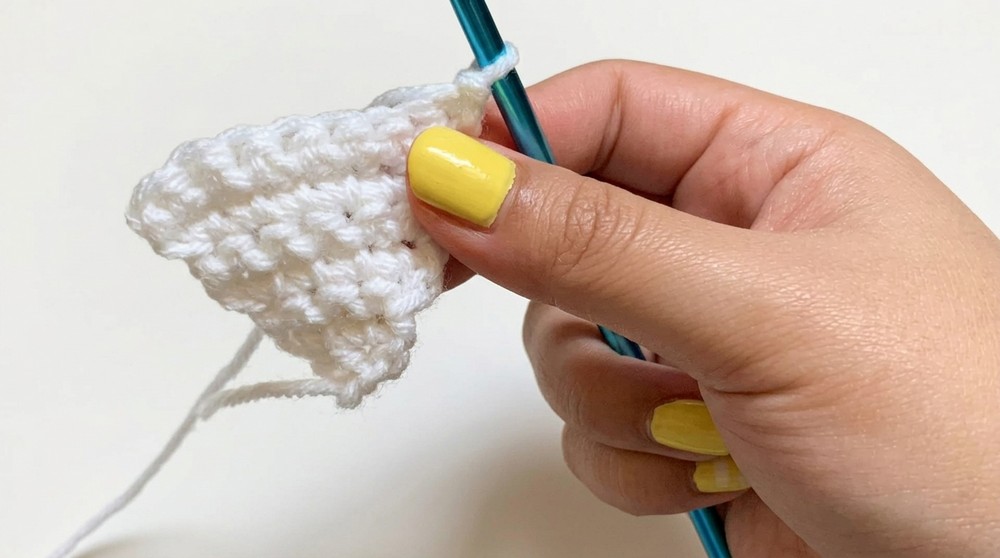
With White Yarn:
- Row 1:
Ch 2, in 1st ch: 2 sc (2 sts).
Ch 1, turn. - Row 2:
Sc in first st, inc in next (3 sts).
Ch 1, turn. - Row 3:
Sc in each of next 2 sts, inc in final st (4 sts).
Ch 1, turn. - Row 4:
Sc in each of next 3 sts, inc in last st (5 sts).
Ch 1, turn. - Row 5:
Sc in next 4 sts, inc in last st (6 sts).
Ch 1, turn. - Row 6:
Sc in next 5 sts, inc in last st (7 sts).
Ch 1, turn. - Row 7:
Sc in next 6 sts, inc in last st (8 sts).
Ch 1, turn. - Row 8:
Sc in next 7 sts, inc in last st (9 sts).
DO NOT fasten off. Cut white, attach orange using preferred method. Tie yarn ends together on WS.
If you do not read patterns: Start with two stitches, always increase at the end of every row to grow the triangle shape until you have 9 stitches at the end of row 8, switching to orange for the next section.
With Orange Yarn:
- Row 9:
Sc in next 8 sts, inc in last st (10 sts).
Ch 1, turn. - Row 10:
Sc in next 9 sts, inc (11 sts).
Ch 1, turn. - Row 11:
Sc in 10, inc (12).
Ch 1, turn. - Row 12:
Sc in 11, inc (13).
Ch 1, turn. - Row 13:
Sc in 12, inc (14).
Ch 1, turn. - Row 14:
Sc in 13, inc (15).
Ch 1, turn. - Row 15:
Sc in 14, inc (16).
Ch 1, turn. - Row 16:
Sc in all 16 sts (no increase).
Cut orange, attach yellow at row edge.
With Yellow Yarn:
- Rows 17-20:
Sc in all 16 sts across each row, ch 1 and turn at end except last row.After Row 20, FO yellow.
After both panels, you have two candy-corn-shaped triangles of single crochet—one for the front, one for the back. Color changes are simple: always cut and tie in the new yarn at row edge.
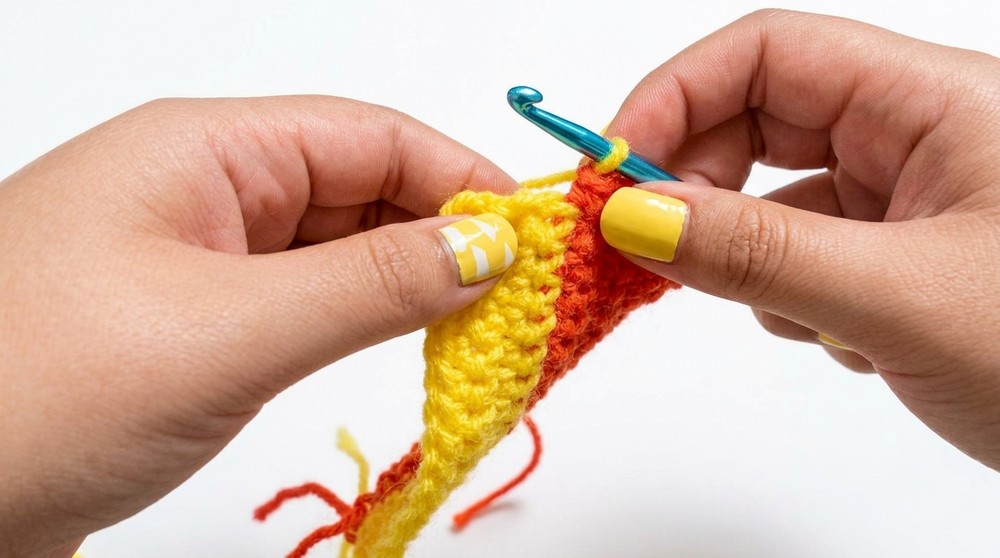
BORDER & EDGING
Work across the edge of one triangle, then the other.
- Starting with yellow, sc evenly along the sides and across bottom, placing 1 sc per row edge.
- At color change, cut and switch to orange, continue single crocheting along edge up to white; cut and switch to white, finish edge to top.
- FO and weave in all ends.
If you don’t follow patterns closely: just single crochet all around the border, switching color at the triangle’s appropriate stripe for a seamless look.
ASSEMBLY & FINISHING
- Face:
- Attach safety eyes to the orange section. Space close or wide, as you prefer.
- Embroider mouth with embroidery thread (black or red), drawing a line or gentle smile.
- To make a “scar,” stitch a short line with contrasting yarn.
- Seaming:
- Place both panels together, WS facing in and matching stripes and edges.
- Join yarn at one corner (yellow edge), single crochet panels together around, switching colors to match stripes.
- Stuff firmly before closing the last edge.
- Slip stitch to finish, FO, hide yarn tails inside.
If not reading patterns: Hold both triangles together and sew or crochet the edges closed, remembering to add stuffing before finishing.
- Mummy Wrapping:
- With white yarn, make a chain of 250 (or up to 300) stitches.
- Drape and crisscross the chain over the front, back, or all sides to look like wrapped mummy “bandages.”
- Use a hot glue gun to tack down chain ends and strategic points, hiding knots and yarn tails at the back or edge.

For those new to crochet: Make two striped triangles, join them together with single crochet around the edge, stuff before finishing, then make a long chain and glue it around for the wrapped effect.
Conclusion
You’ve now created a whimsical Halloween Candy Corn Mummy, perfect for spooky decorations or playful gifts! This pattern uses only single crochet, simple increases, color changes, and basic embroidery. It’s ideal for beginners practicing new skills as well as experienced crocheters looking for a quick festive project.
Begin at the candy corn point with just a few stitches, expand with regular increases, change color at each stripe, work flat panels, and finish with simple sewing and creative wrapping. Whether you use safety eyes or embroidery, stuffing or yarn scraps, each mummy will have its own character—make an entire army for your Halloween bash.
Leave a Reply