

Meet relaxed cuteness through Free Crochet Capybara Pattern featuring calm expression rounded shape gentle charm and lovable little friend.
Ever find yourself enchanted by the gentle charm of capybaras—the world's largest and friendliest rodents? Bringing that warm, laid-back vibe to your crochet collection becomes a joy with the Free Crochet Capybara Pattern. This project offers a delightful way to create a soft, cuddly amigurumi that captures the sweet personality of these beloved animals. Many crocheters appreciate the blend of detail and simplicity, resulting in a plush toy that’s as charming as it is fun to stitch.
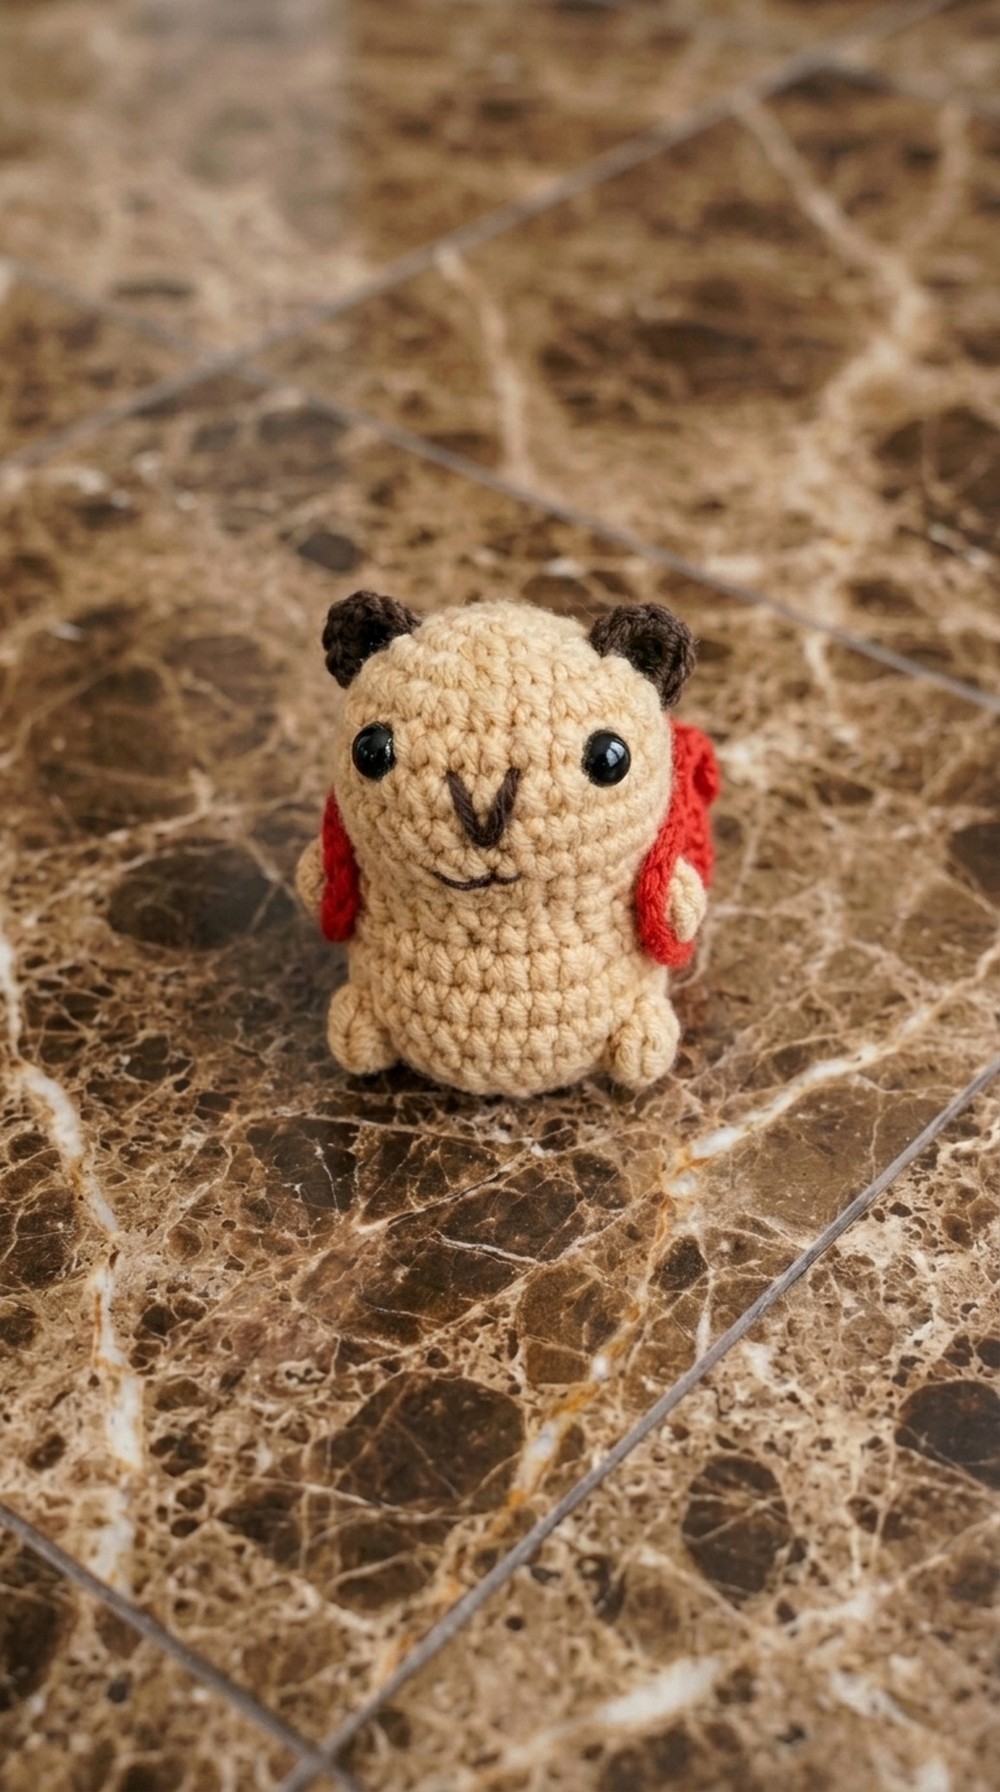
The finished capybara boasts a smooth, rounded body with a slightly elongated shape that mimics the real creature’s relaxed posture. Its texture is soft and plush, made with consistent stitches that provide a sturdy yet squeezable feel. The little ears, stubby legs, and subtle tail add personality and character without overwhelming the design, making it a perfectly balanced amigurumi piece.
Easy Crochet Capybara Patterns with Fun and Fluffy Details
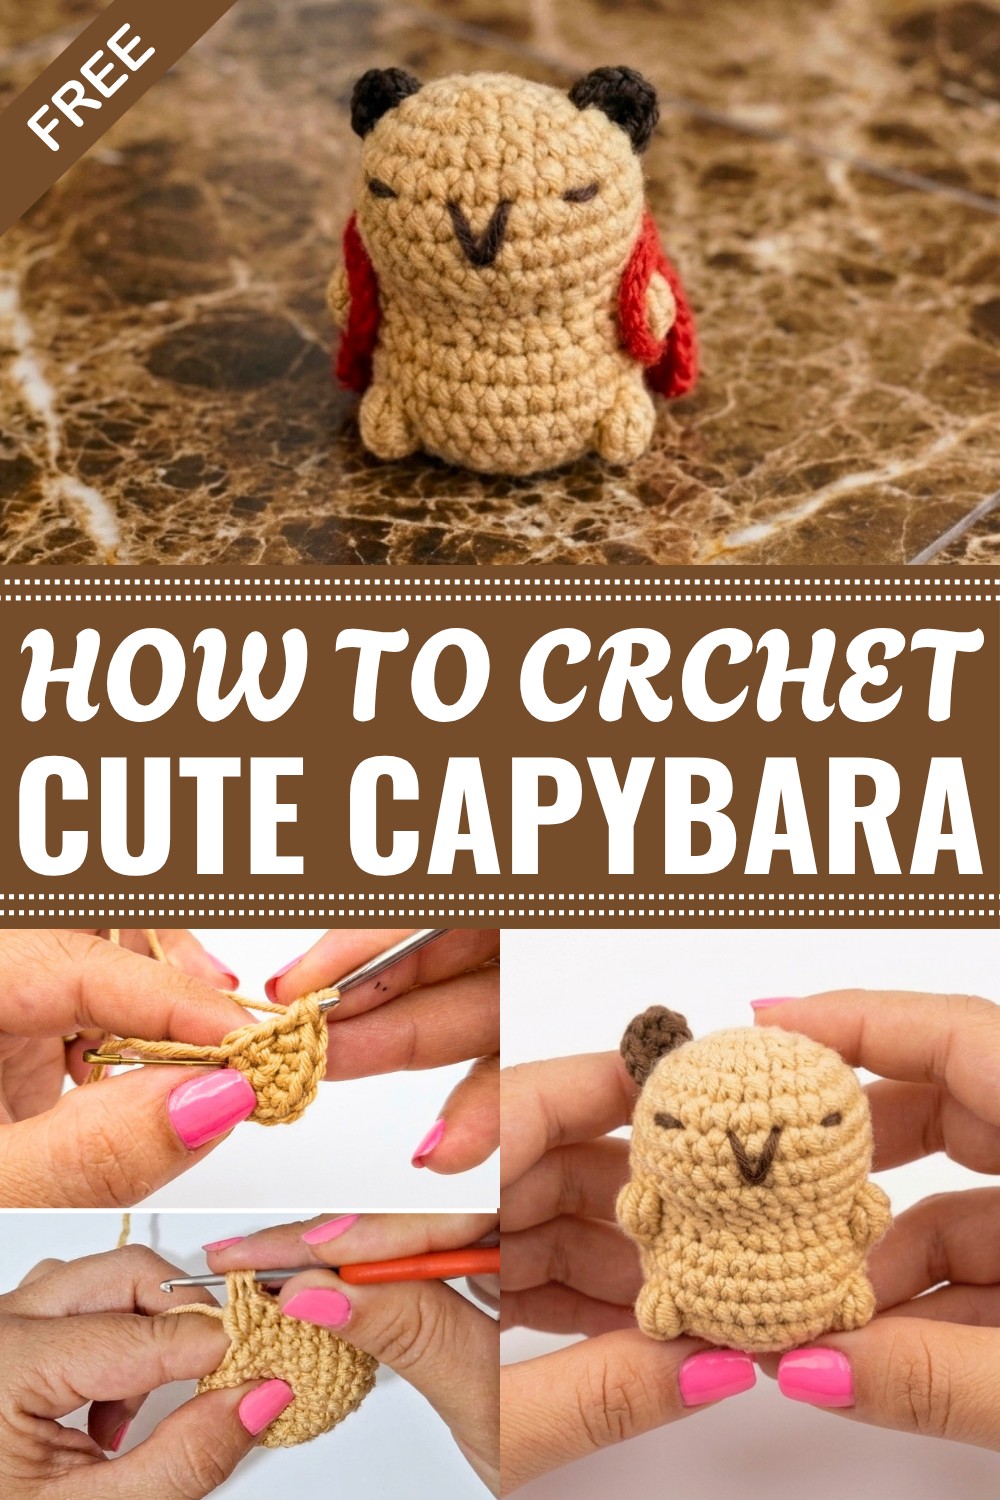
Make this project stand out—you can experiment with natural earthy tones to capture a realistic look or opt for pastel hues for a more whimsical, playful capybara. Embroidered eyes and gentle facial features bring an expressive touch that gives each creation its own unique charm. This pattern is well-suited for intermediate crocheters who enjoy shaping and detail work, but determined beginners ready to learn amigurumi techniques will also find it a rewarding challenge.
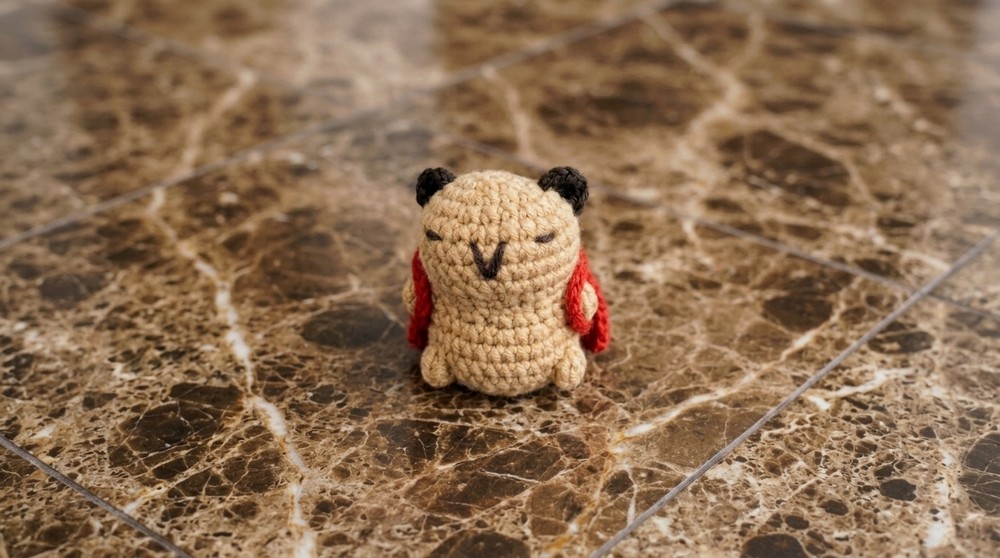
Throughout the journey of crocheting this Free Crochet Capybara Pattern, you’ll practice working in the round, managing increases and decreases, and mastering the art of sewing parts together with care. It’s a wonderful project to expand your skills while crocheting a delightful animal friend that’s ready to brighten up any space or gift to someone special.
Capybara Amigurumi Crochet Pattern With Strawberry Backpack
Welcome to this step-by-step Capybara Amigurumi crochet pattern! This tutorial guides you through creating a cute capybara doll, including the body, ears, hands, feet, facial embroidery, and a sweet strawberry-shaped backpack accessory. Perfect for adding a colorful handmade friend to your collection or gifting.
Skill Level & Terminology
- Skill level: Intermediate (some experience working in rounds and shaping required)
- Terminology: US crochet terms are used throughout.
Materials & Tools
- Yarn: Medium worsted weight yarn in brown (body), red (strawberry), green (leaf), white and black (details). Use a thicker strand for backpack if preferred.
- Hook: 3.5 mm (E) crochet hook or suitable to your yarn gauge.
- Notions: Stitch markers, yarn needle, tapestry needle, fiberfill stuffing, scissors, knitting needle (for ear assembly), embroidery needle.
Gauge
- Not critical for this pattern, but recommended gauge sample:
18 sc x 24 rows = 4 inches (10 cm) in continuous rounds to maintain consistent sizing.
Abbreviations
- ch: chain
- sc: single crochet
- inc: increase (2 sc in same stitch)
- dec: decrease (single crochet 2 stitches together)
- sl st: slip stitch
- magic ring: adjustable loop start allowing tight closure
- flo: front loop only (used in decreases)
Special Stitches
- Magic Ring: Start rounds by making an adjustable ring, working stitches inside it and pulling tight for no hole start.
- Decrease Front Loop Only: Insert hook through the front loop only of two adjacent stitches, draw up a loop, then single crochet together to reduce width while maintaining structure.
- Four Incomplete Double Crochet Together: Work four double crochets without completing each one individually, then yarn over and pull through all loops to form little hands.
Finished Size
Approximately 15 cm (6 inches) tall depending on yarn weight and tension.
Pattern
Part 1: Ears (Make 2)
- Yarn: Brown
- Start: Magic ring
Round 1:
- Work 6 sc into the magic ring. (6 sts)
- Pull ring tight, close round and chain 1.
- Cut yarn leaving a tail to fasten off. Tighten knot.
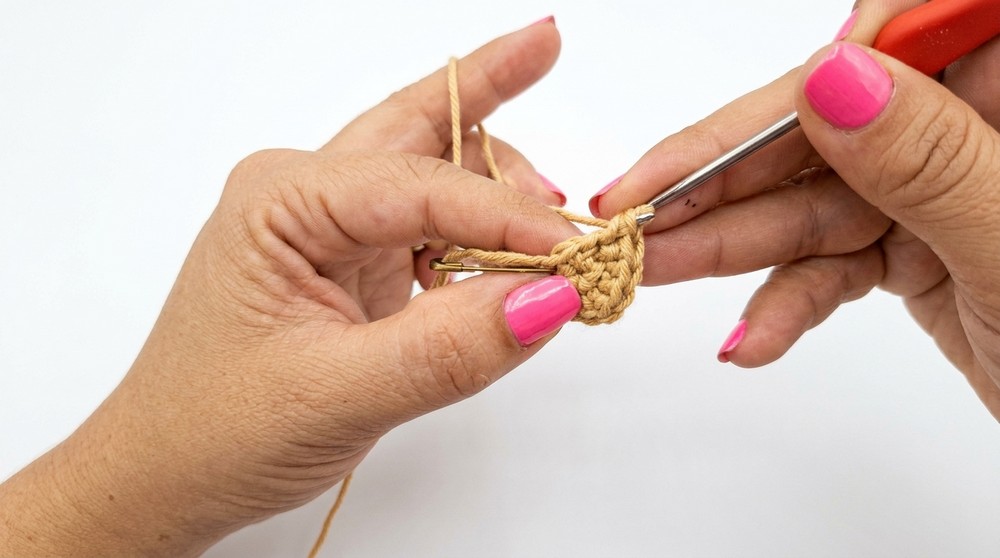
Repeat to make the second ear identical.
Summary for Non-Readers:
Two small brown circles are made as ears using six single crochets in a magic ring, finished separately.
Part 2: Body - Start with Magic Ring (in continuous spiral)
- Yarn: Brown
- Use stitch marker to mark beginning of round.
Round 1:
- Make a magic ring.
- Work 6 sc into the ring. (6 sts)
Round 2:
- Inc in each stitch (2 sc in each stitch). (12 sts)
Round 3:
- (1 sc, 1 inc) repeat 6 times. (18 sts)
Round 4:
- (2 sc, 1 inc) repeat 6 times. (24 sts)
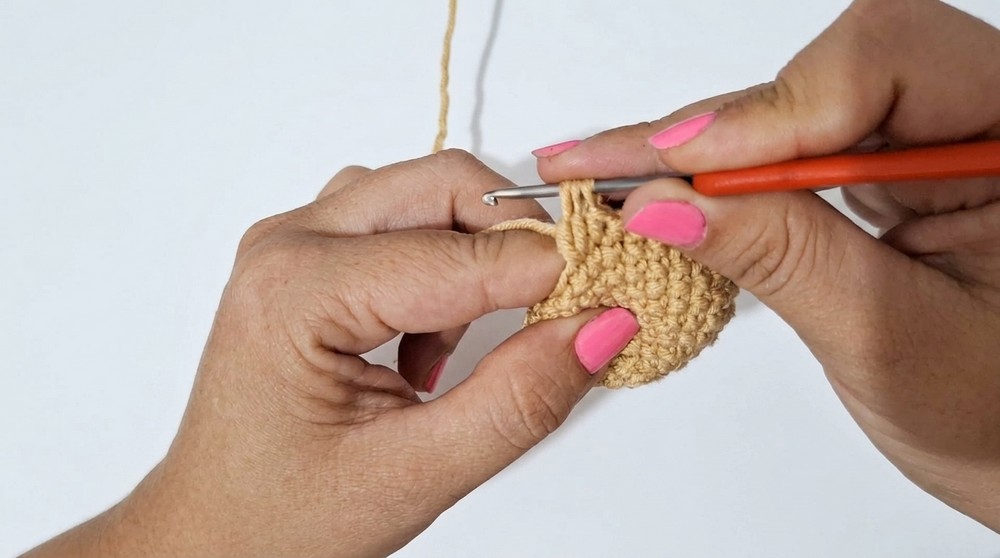
Round 5:
- (3 sc, 1 inc) repeat 6 times. (30 sts)
Round 6:
- Work 30 sc each round without increases. (30 sts each round)
Round 7:
- Work 30 sc each round without increases. (30 sts each round)
Round 8:
- Work 30 sc each round without increases. (30 sts each round)
Summary:
The body is crocheted in increasing spiral rounds starting at 6 stitches growing to 30, then stabilized to form an oval shape.
Part 3: Shaping - Decreasing and Adding Limbs
Round 9:
- Work 7 sc, then 3 dec (front loop only),
- Finish the round with 17 sc. (27 sts)
Round 10:
- Work 6 sc, then 3 dec (front loop only),
- Finish the round with 15 sc. (24 sts)
Round 11: Hands Construction
- Work 4 incomplete double crochets without finishing each one.
- Yarn over and pull through all loops to complete hand loop.
- Work 2 sc.
- Make 3 inc (increase stitches) evenly spaced.
- Work 2 sc.
- Repeat steps 1-2 for the second hand.
- End with 12 sc total. (27 sts)
Round 12
- Work 6 sc (mark after first stitch), then
- Repeat (1 sc, 1 inc) three times. (30 sts)
Round 13
- Work 30 sc each round evenly, without increase or decrease, keeping the shape.
Round 14
- Work 30 sc each round evenly, without increase or decrease, keeping the shape.
Round 15: Feet (Make 2, same as hands but larger)
Foot foundation:
- Work 6 sc.
- Yarn over and pull through two loops repeatedly to close (like hands).
- Then 9 sc evenly for sole.
Repeat for second foot.
You should maintain 30 stitches without increases or decreases.
Summary:
Feet are shaped similarly to hands but larger and fully closed with single crochets.
Part 4: Closing the Body
Round 16:
- Work (3 sc, 1 dec) around. (24 sts)
Round 17:
- Work (2 sc, 1 dec) around. (18 sts)
Round 18:
- Work (1 sc, 1 dec) around. (12 sts)
- Begin stuffing the body firmly.
Round 19:
- Work 6 dec evenly spaced. (6 sts)
- Cut yarn, leaving a long tail.
- Use yarn needle to close the remaining hole by stitching through front loops only.
- Fasten off securely.
Part 5: Assembly and Details
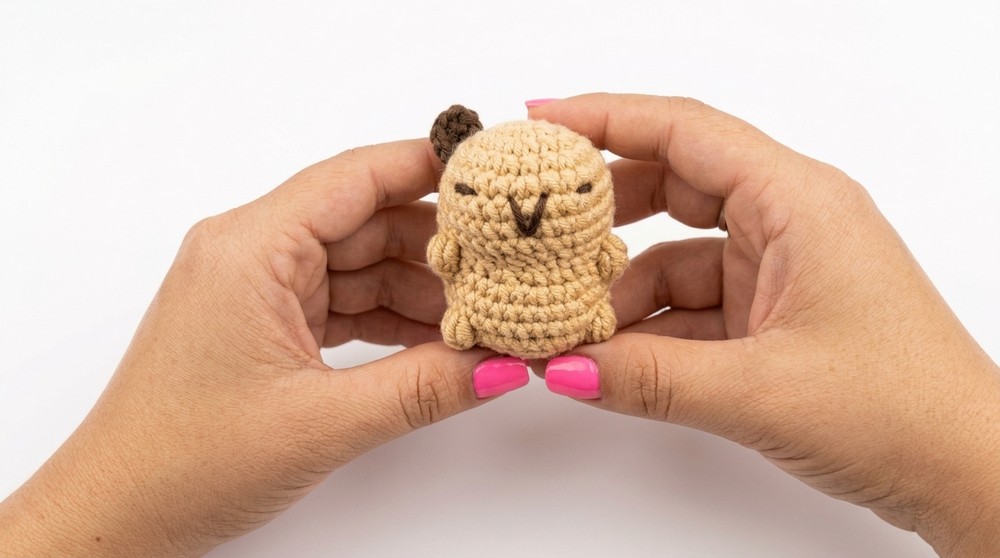
- Attach ears between round 3 and 5 of body using knitting needle to pull yarn through.
- Embroider eyes between rounds 5 and 6: skip one stitch, embroider two eye dots.
- Embroider mouth below eyes with a small "B" shape around stitches for cute smile.
- Secure all loose threads by weaving in and knotting.
Summary:
Attach ears and sew facial details to bring your capybara to life.
Part 6: Strawberry Backpack
- Yarn: Red for berry, green for leaves, white for seeds.
Base of Strawberry:
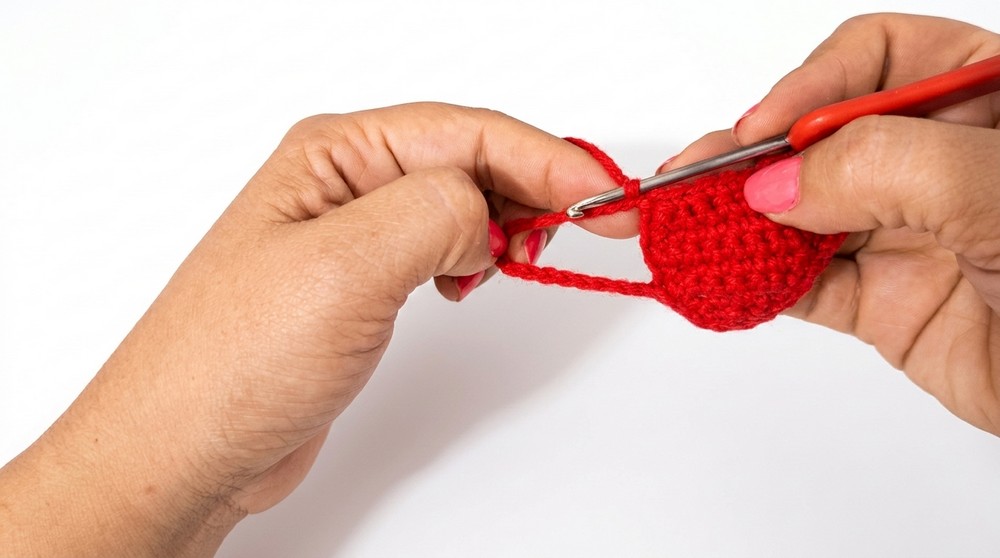
- Make slipknot and chain 3.
- Work 2 sc in 2nd chain from hook, then 1 sc. (3 sts)
- Chain 1, turn.
- Row 2: 2 inc, 1 sc. (5 sts)
- Chain 1, turn.
- Row 3: inc, 2 sc, inc. (7 sts)
- Chain 1, turn.
- Row 4: inc, 4 sc, inc. (9 sts)
- Continue even sc rows until desired size is reached.
Skipping stitches to shape:
- Skip first stitch in succeeding rows to create tapered strawberry look.
Edging:
- Work one round of sc around the strawberry for firmness.
Backpack Straps
- Chain 18 for first strap.
- Attach with slip stitch to strawberry base.
- Repeat for second strap on opposite side.
Green Leafy Top
- Insert green yarn at top center of strawberry.
- Chain 3, turn back 2 slip stitches.
- Continue alternating chains and slip stitches to create leaf texture around the top.
White Seeds
- Embroider white dots randomly to mimic strawberry seeds.
Part 7: Finishing Touches
- Attach the strawberry backpack securely onto the back of the capybara using yarn needle and matching yarn.
- Weave in all loose ends carefully.
Pattern Summary for Non-Readers
- Crochet ears as small circles.
- Create capybara’s body from magic ring increasing rounds, adding arms and legs.
- Shape and close body carefully while stuffing.
- Embroider face features for expression.
- Crochet separate strawberry with textured top and straps.
- Sew backpack on back.
- Finish with weaving in ends.
Final Notes
This pattern uses the following stitches: magic ring, single crochet (sc), increases (inc), decreases (dec) including front loop only decreases for shaping, chains, slip stitches (sl st), and a unique technique for hands using incomplete double crochets worked together.
Keep your stitch tension consistent for best results. Stuff firmly for a sturdy but soft amigurumi. Embroidery adds the charming facial details. The strawberry bag is a fun, textured accessory to complete this delightful capybara.

Leave a Reply