

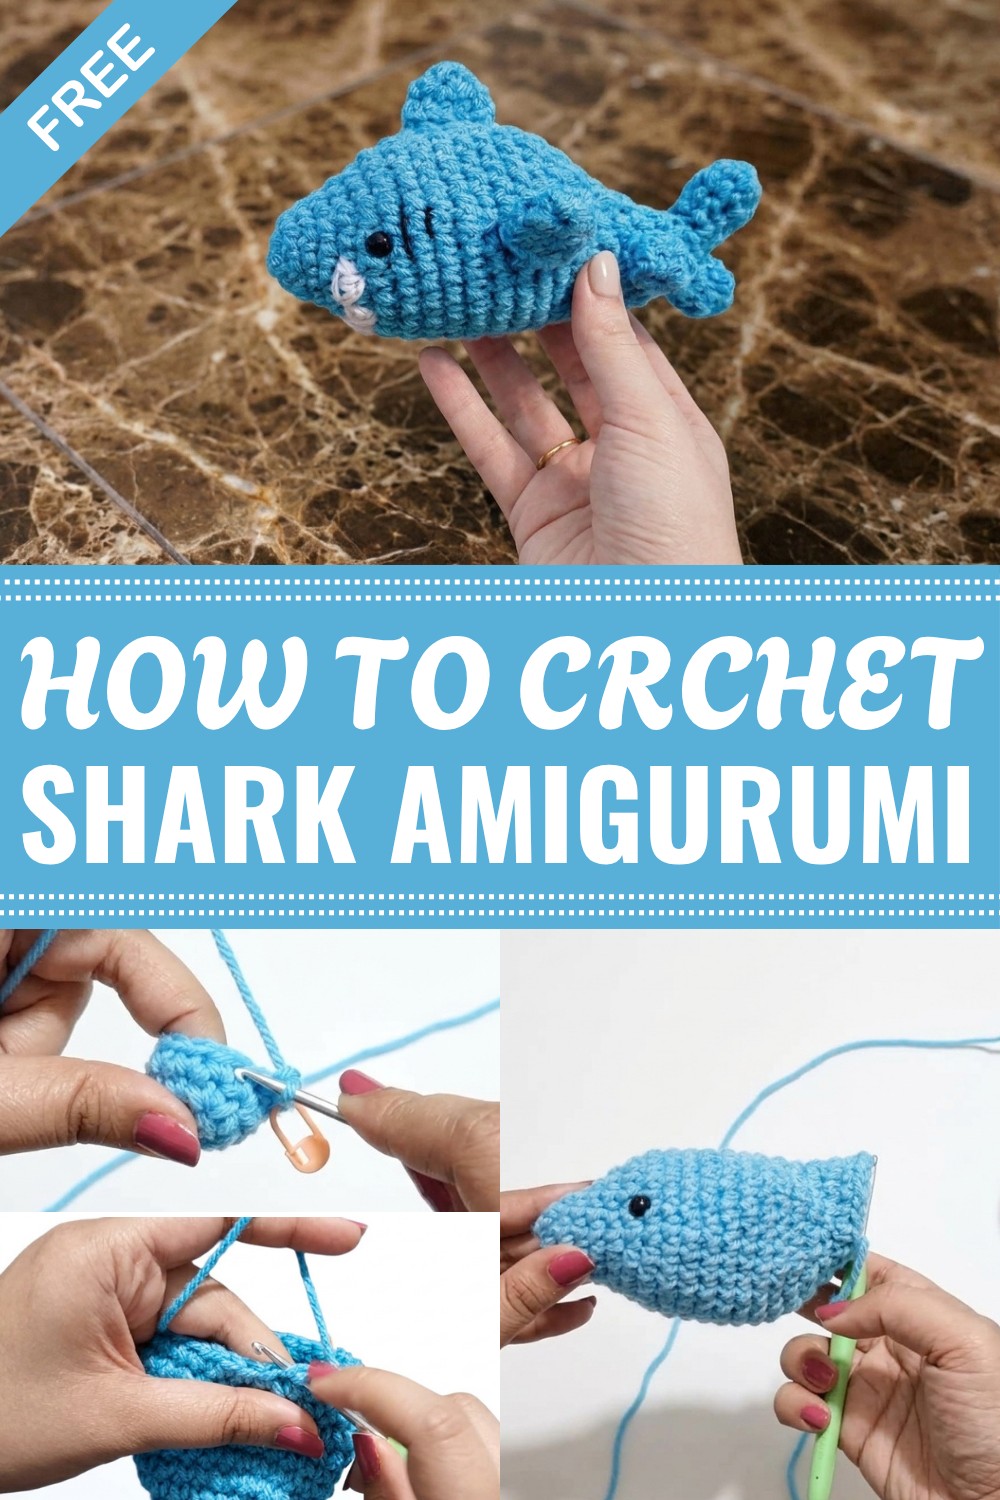
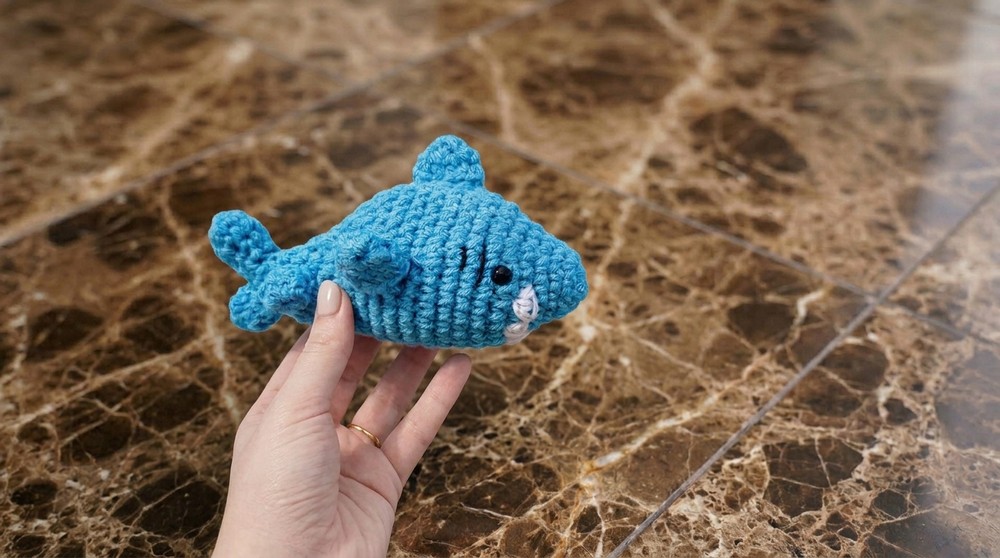
Crochet a cute and playful shark amigurumi using this step-by-step free pattern, perfect as a plushie or keychain to delight ocean lovers of all ages!
Looking for a fun and easy crochet project to brighten up your craft time? Try making a Shark Amigurumi for your next handmade adventure! This adorable plushie is quick to hook up and perfect for beginners or experienced crocheters alike. With its cute chubby body, tiny fins, and a playful tail, this little shark is sure to steal your heart.
The best part is adding those simple details, like embroidered gills and a big toothy smile. Using soft, medium-weight yarn and a small crochet hook gives your shark a lovely, squishy texture—perfect for cuddling or showing off as a keychain. You can stick with the classic grey or get creative with fun colors to make your shark unique. Either way, it comes out looking friendly and full of personality.
Free Crochet Shark Pattern for Sea-Themed Amigurumi Lovers
I love how you only need a few supplies—just some yarn scraps, stuffing, safety eyes, and a yarn needle. Simple stitches like single crochet, increases, and decreases bring everything together. As you sew on the fins and tail, you’ll really see your shark come to life!
These little amigurumi sharks make great gifts for ocean fans, kids, or anyone who loves unique handmade treasures. Plus, with so many free patterns online, you can start right away and make a whole school of sharks if you want. Give it a try and watch your project turn into something absolutely “jaw-some”!
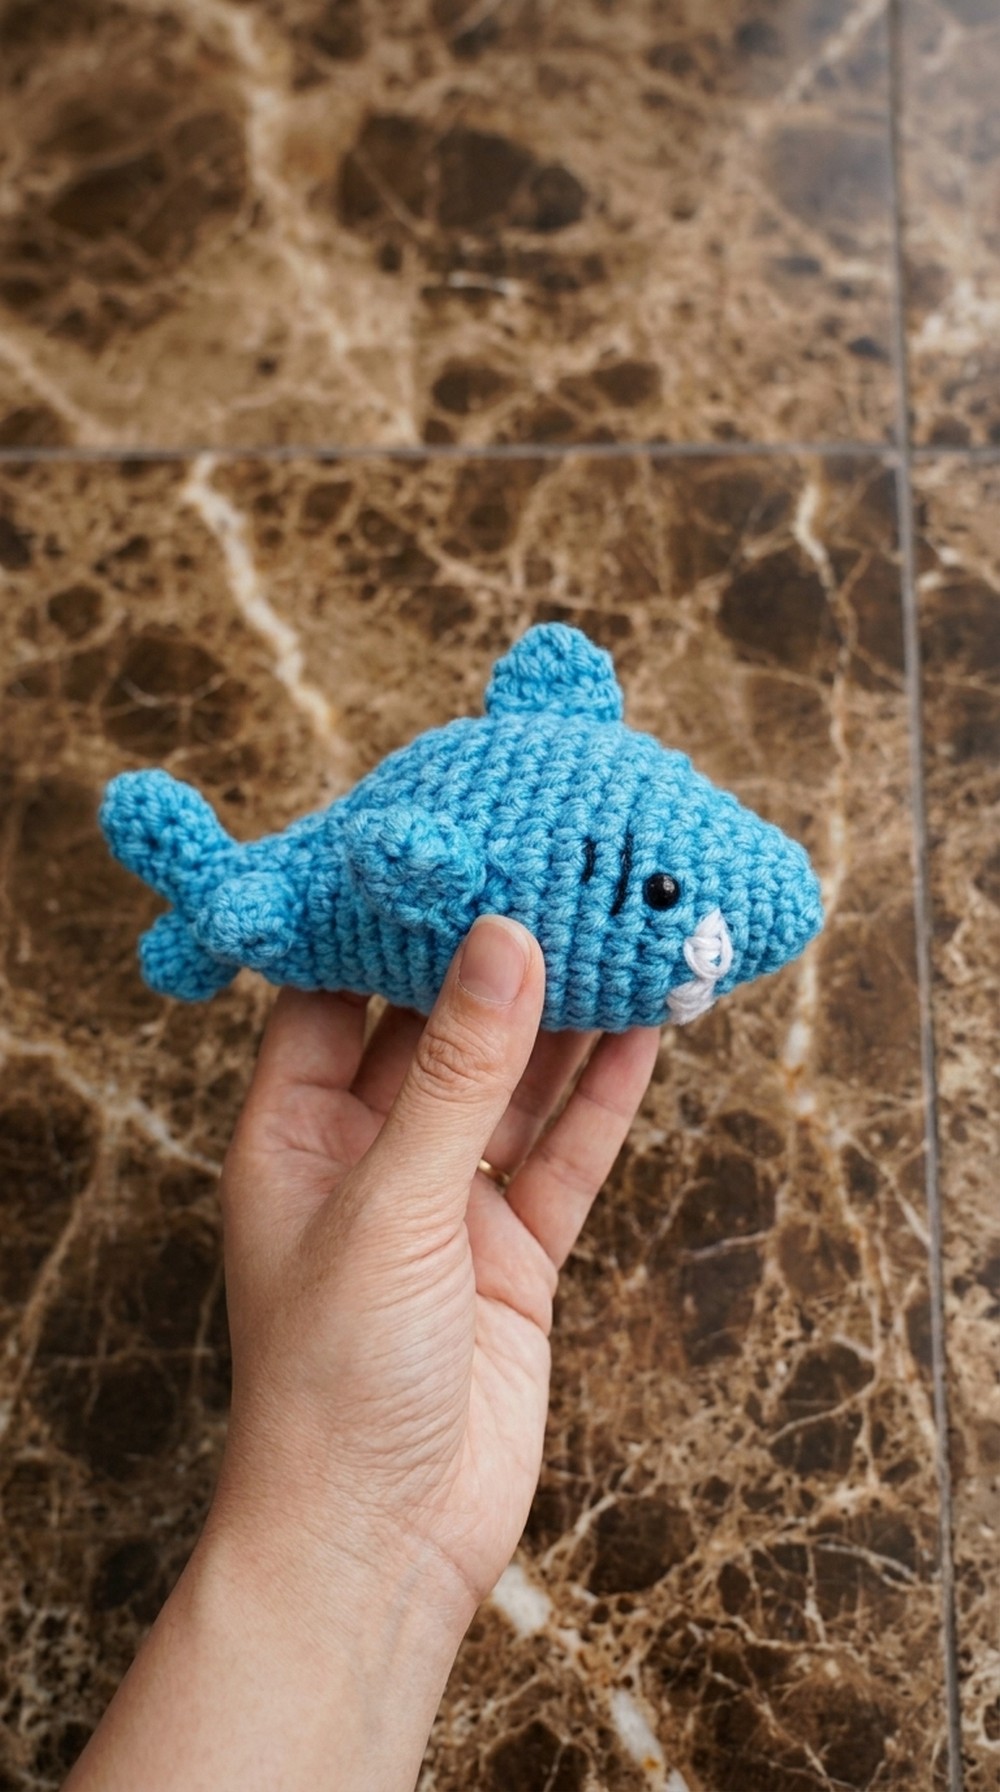
Little Shark Amigurumi Crochet Pattern
Make a cute, speedy amigurumi shark—perfect as a plush or keychain! This pattern is written with both standard crochet instructions and easy explanations for beginners. Each section is clearly separated so you can easily follow along, whatever your skill level.
Crocheting Checklist
- Brush up on basic amigurumi stitches: magic ring, single crochet, increase, decrease, working in the round.
- Review invisible decrease and surface embroidery for gills and mouth.
- Set up your workspace with all tools in reach, including safety eyes and stuffing.
Pattern Overview
- Shark body is worked in the round from nose to tail.
- Fins and tail are made separately and sewn to the body.
- Stuffing is added partway through, so keep a yarn needle near.
- White and black yarn for mouth, gills, and eye accents.
How I Created the Shark Pattern
- Crocheted the shark body in seamless rounds, shaping with increases/decreases.
- Added safety eyes early, before closing the body.
- Made fins and tail as separate pieces, then attached them securely.
- Embroidered the mouth, teeth, and gills for detail.
Skill Level
Beginner Friendly / Advanced Beginner
Finished Dimensions
- About 4" (10 cm) from nose to tail tip
- Body circumference: approx. 4" (10 cm)
Needed Materials
- Worsted weight yarn (sky blue, plus white for mouth)
- Small amount of sport weight black yarn (optional)
- Pair of safety eyes (6 mm or 8 mm)
- Stuffing (polyfill)
- Crochet hook: 3.25 mm (or size for yarn)
- Scissors
- Yarn needle
- Stitch marker
Measurements
- Approx. 4" in length, fits nicely as a pocket plush or keychain
- Fins and tail scale: main dorsal fin 1.25" (3 cm), smaller fins 1" (2.5 cm)
Gauge & Stitch Pattern
- Gauge is not critical, but stitches should be tight enough so stuffing doesn’t show.
- Work in continuous rounds unless otherwise stated.
Stitch Abbreviations
| Abbreviations | Explanation |
|---|---|
| mr | Magic ring |
| sc | Single crochet |
| inc | Increase (2 sc in 1 st) |
| dec | Decrease |
| sl st | Slip stitch |
| st(s) | Stitch(es) |
| ch | Chain |
Special Techniques
- Invisible decrease: Use only front loops of two stitches to minimize “holes.”
- Surface embroidery: Use black yarn for gills, white yarn for teeth.
- Magic ring: For seamless starts to rounds.
The Shark Pattern
BODY
With grey yarn:
- Start with a magic ring. Place 6 sc into ring. (6)
- Increase in each stitch for next round: (inc x 6) (12)
- Next round: sc in each st around. (12)
- Next round: (sc x 2, inc) x 4 (16)
- Next round: (sc x 3, inc) x 4 (20)
- Next round: (sc x 4, inc) x 4 (24)
- Next round: (sc x 3, inc) x 6 (30)
- Work 8 rounds: sc in each st around. (30 each round)
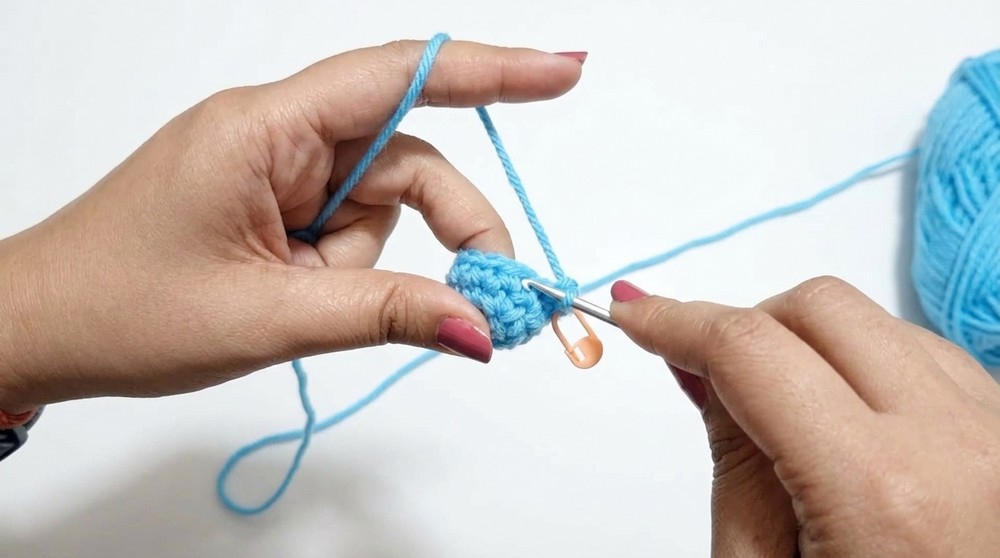
After 8 rounds, add safety eyes between rounds 6 & 7, spaced 15 stitches apart.
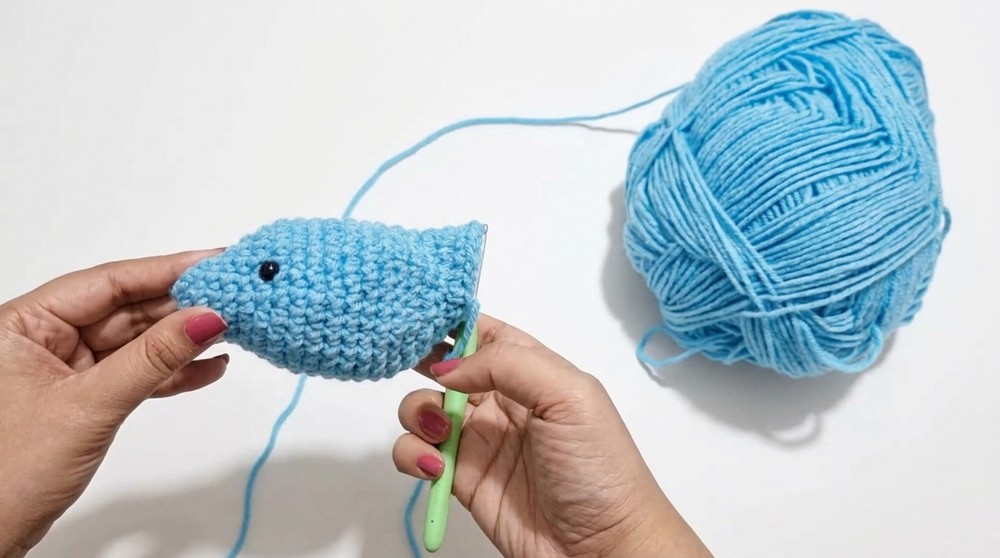
Explanatory:
Start with a magic ring and work increases to widen the nose. Next, add single crochets to build length; the safety eyes are added after the structure is established. Place them facing forward, about halfway up the head.
BODY DECREASE & SHAPING
- Next round: (sc x 3, dec) x 6 (24)
- Next round: (sc x 4, dec) x 4 (20)
- Next round:
- dec, dec, sc x 4, inc x 4, sc x 4, dec, dec (20)
- Next round: dec, sc x 16, dec (18)
- Next round: dec, dec, sc x 4, inc, inc, sc x 4, dec, dec (16)
- Next round: dec, sc x 2, dec, sc x 4, dec, sc x 2, dec (12)
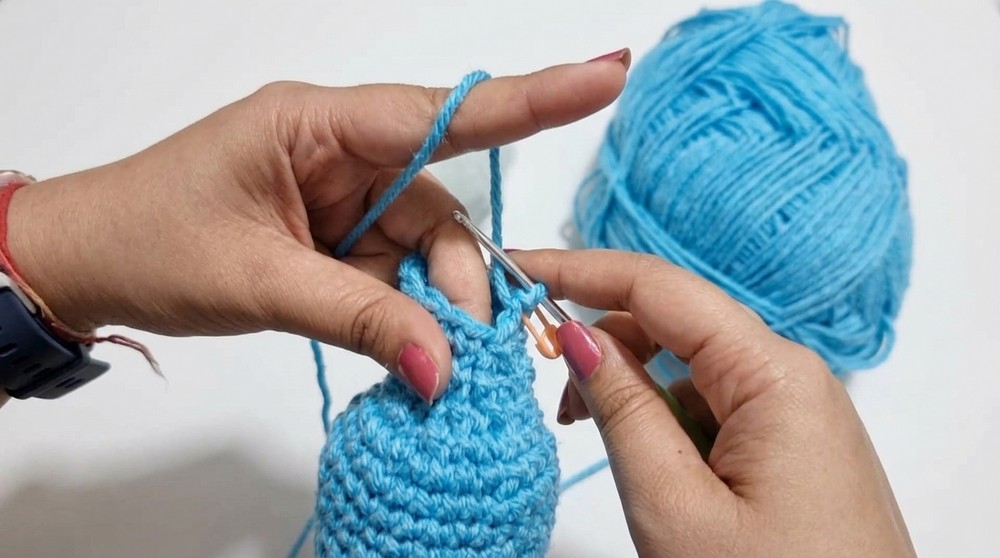
Add stuffing, pushing it into the snout and middle body.
- Next round: dec, sc, dec, sc x 2, dec, sc, dec (8)
- Last round: dec x 4 (close up) (4 stitches; thread needle, sew closed.)
Explanation:
Work decreases to taper the body, matching the typical shark shape. When you get to about 12 stitches, fill the body firmly with stuffing.
GILLS
- Embroider 2–3 lines behind each eye, using black yarn and a yarn needle.
- Make one line crossing 3 stitches, another crossing 2 stitches, spaced above and below.
Explanation:
Use black yarn to add detail near the eye—these are shark gills. Mirror on both sides.
FINS
Main Fin (Make 3)
- Magic ring, 6 sc.
- Next row: sc x 2, inc x 2, sc x 2. (8)
- Next row: sc x 3, inc x 2, sc x 3. (10)
- Repeat: Make 2 more identical fins.
Explanation:
Make three slightly larger fins—the dorsal (top) and side fins. Start from a magic ring, increase for shape.
Side Fins (Make 2)
- Magic ring, 5 sc.
- Next row: inc in 1st st (2 sc), sc in next 4 sts. (6)
- Next row: sc in each st. (6)
- **Repeat: Make one more fin._
Explanation:
Smaller side fins near the tail; start with a magic ring, add a row for dimension.
TAIL FIN
Top Tail
- Magic ring, 6 sc.
- Next row: sc x 2, inc x 2, sc x 2. (8)
- Next row: inc, sc, dec x 2, sc, inc (8)
- Next row: sc x 2, dec, sc x 2, dec (6) Finish off.
Bottom Tail
- Magic ring, 6 sc.
- Next row: sc x 2, inc, sc x 2, inc (8)
- Next row: sc x 2, dec, sc x 2, dec (6) Finish off.
Summary:
Make two pieces for tail—top and bottom—then sew together for a full tail fin.
ASSEMBLY & FINISHING
- Sew on three large fins: one centered (dorsal), two on each side behind the gills.
- Sew small fins to the rear sides of the shark body.
- Attach tail: sew top fin on top, bottom fin below at the tail base.
- Add stuffing if needed, sew body closed.
- Embroider a mouth with white yarn, add teeth with small stitches.
- Weave in all threads; trim excess.
Problem & Solution
Common Issue: Shark body looks uneven or fins floppy.
Remedy:
Double check stitch counts in shaping rounds; stuff firmly. When sewing fins/tail, use small, tight stitches and reinforce by running the thread back and forth. For floppy fins, use slightly smaller hook or edge with slip stitches.
Creative Possibilities
- Keychains for bags or backpacks
- Amigurumi toys for kids
- Desk mascots or gifts for coworkers
- Shark-themed mobiles
- Marine animal collections




Leave a Reply