

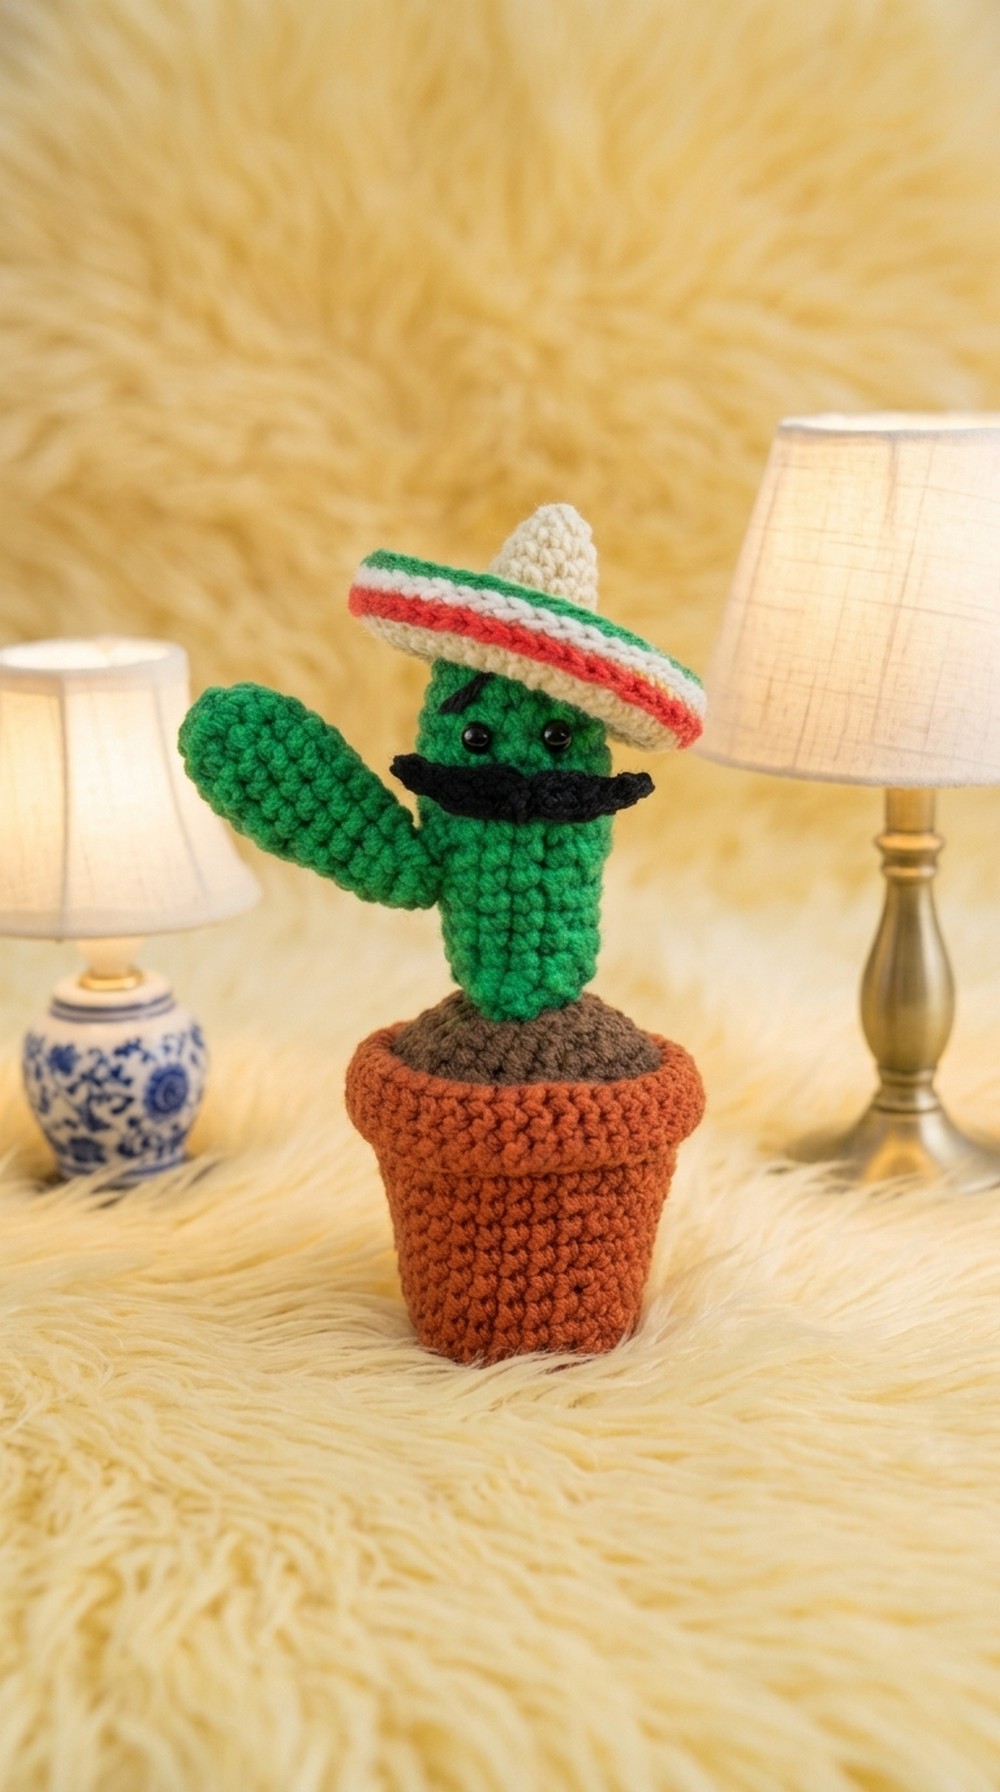
Sprinkle cheerful charm around with Free Crochet Cactus with Mexican Hat Pattern featuring festive hat happy cactus character and cute home decor.
A cheerful little decoration can brighten a room without taking up much space, and a crochet cactus is a perfect example. It stays fresh all year, needs no care, and adds a fun touch to a desk, shelf, or table. The Free Crochet Cactus with Mexican Hat Pattern combines a cute cactus with a colorful traditional hat, making it a playful project that is full of personality and charm.
This crochet cactus stands out because of its fun design and eye catching details. The rounded cactus shape, textured stitches, and bright Mexican hat work together to give it a lively look. You can keep the classic green cactus with a colorful hat or choose your own favorite shades for a different style. Add a smiling face, tiny flowers, or a decorative pot to make your finished piece even more unique. This project is a great choice for beginners who want to practice simple shaping, while experienced crocheters can enjoy adding their own creative details.
Adorable Crochet Cactus with Mexican Hat Step-by-Step
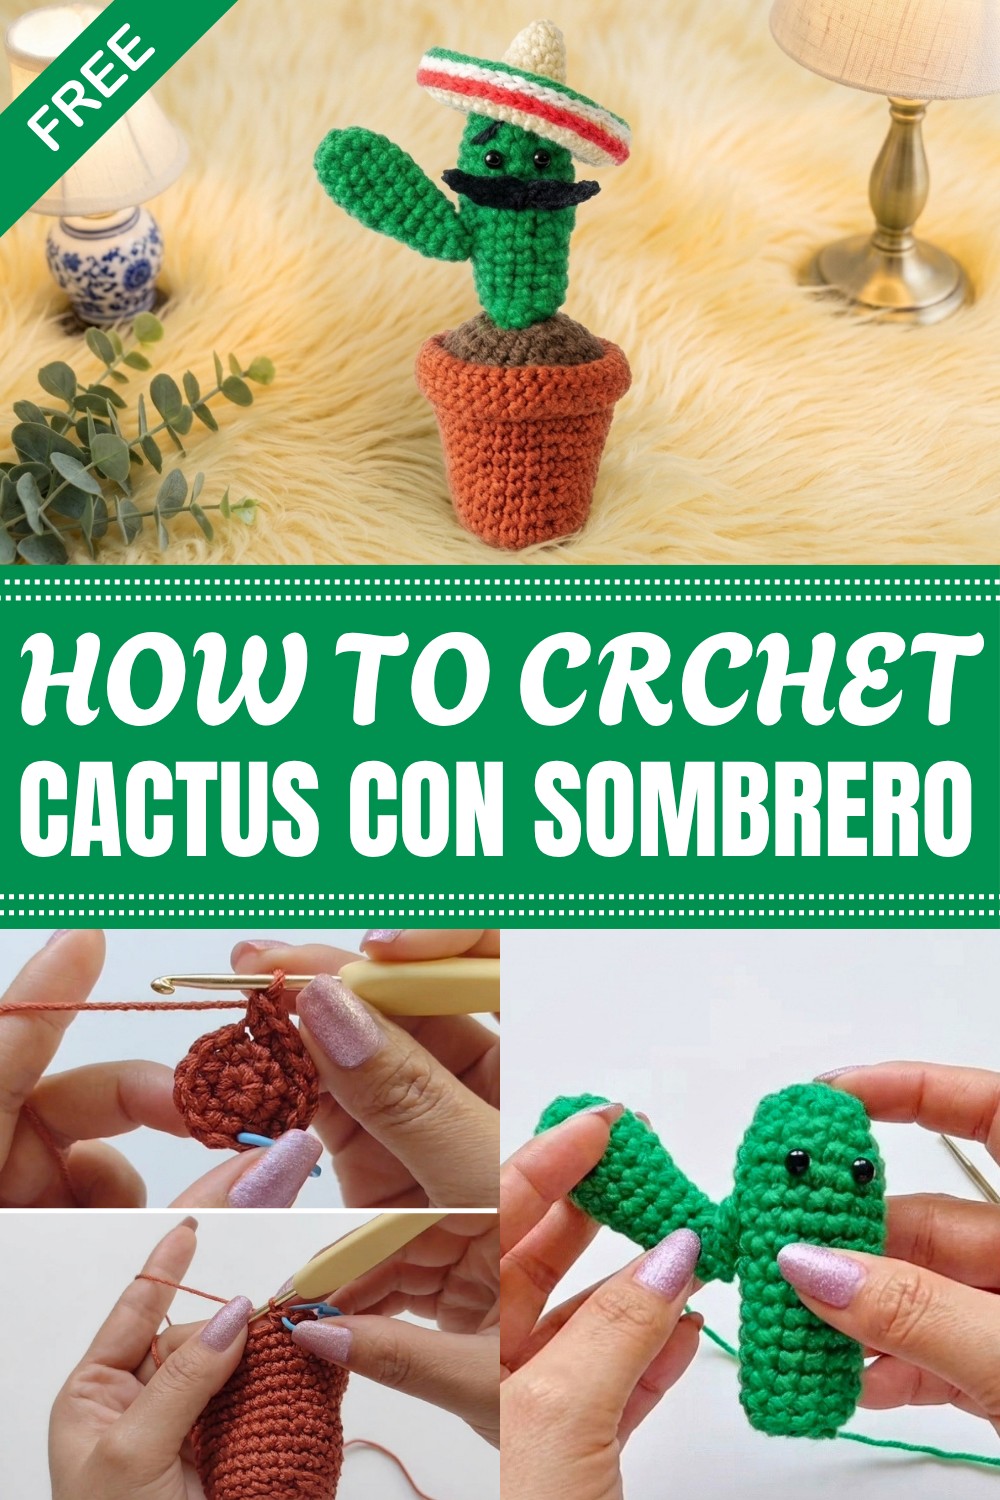
As you work through the pattern, you will learn how different crochet pieces come together to build a cute three dimensional decoration. It is a relaxing project that helps improve shaping, assembling, and finishing skills without feeling difficult. Watching the cactus and hat come together makes every step enjoyable, and the finished result is both neat and full of character.
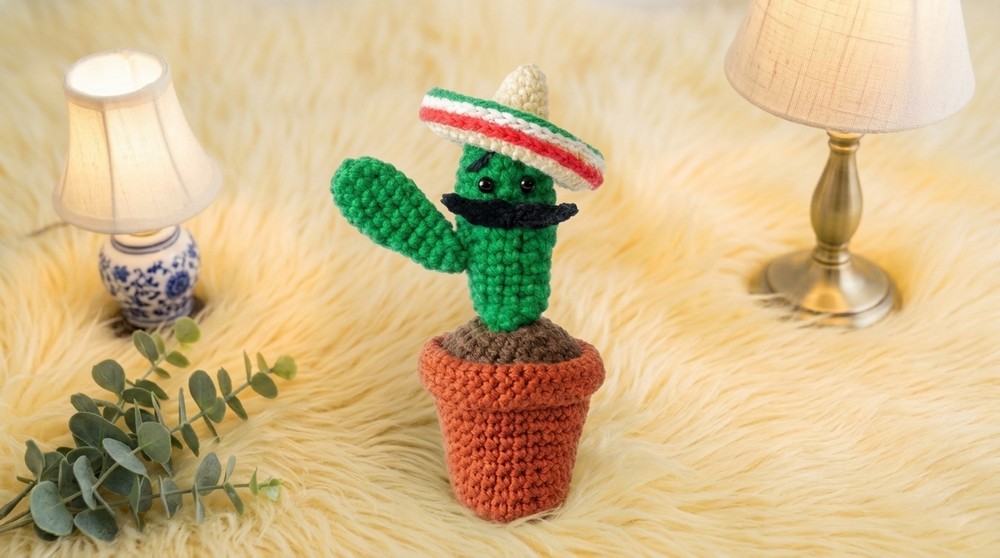
When your cactus is complete, you will have a handmade decoration that brings color and happiness to any space. It also makes a thoughtful gift for friends, family, teachers, or anyone who enjoys fun handmade items. Whether you want to decorate your home or add another adorable piece to your crochet collection, this project is sure to leave you smiling and ready to pick up your hook again.
Little Flowerpot Amigurumi Crochet Pattern – A Detailed Step-by-Step Guide
Create a charming Little Flowerpot Amigurumi with an adorable cactus and a stylish little hat with this step-by-step crochet pattern. This engaging project uses classic amigurumi techniques along with a few special textured stitches, perfect for intermediate crocheters looking for a fun, colorful softie to make.
Skill Level & Terminology
- Skill Level: Intermediate — suitable for crocheters familiar with working in rounds, increases, decreases, and slip stitches.
- Terminology: This pattern uses US crochet terms.
Materials & Tools
- Yarn Colors: Bone, red, green, white, orange, brick color, black, brown
- Crochet Hooks: 3 mm and 2 mm hooks
- Notions: Stitch markers, scissors, yarn needle, tapestry needle, safety eyes (5 mm), fiberfill stuffing
- Additional Tools: Knitting needle (optional for ear assembly or shaping)
Gauge
- Gauge is not critical for this project.
- Aim for consistent tension throughout your work for a neat finish.
- Approximate: 18 single crochet (sc) stitches = 4 inches (10 cm).
Abbreviations
- ch: chain
- sc: single crochet
- inc: increase (2 sc in one stitch)
- dec: decrease (sc 2 stitches together)
- sl st: slip stitch
- flo: front loop only (for decreases)
- magic ring: adjustable loop to begin rounds with no hole
Special Stitch Instructions
- Cross Single Crochet (Cross sc): Insert your hook from a different angle (sometimes under the stitch with hook on top), pull yarn and complete a single crochet to create a raised, textured effect.
- Front Loop Only Decrease: Work sc decrease by inserting the hook through the front loops only of two adjacent stitches to keep stitch holes minimized while shaping.
- Slip Stitch: Used to join rounds or add surface details.
Finished Size
- Approximately 5 to 6 inches (13–15 cm) tall, dependent on yarn and tension.
Pattern Instructions
PART 1: Little Flowerpot Base
Yarn: Bone color
Hook: 3 mm
Start:
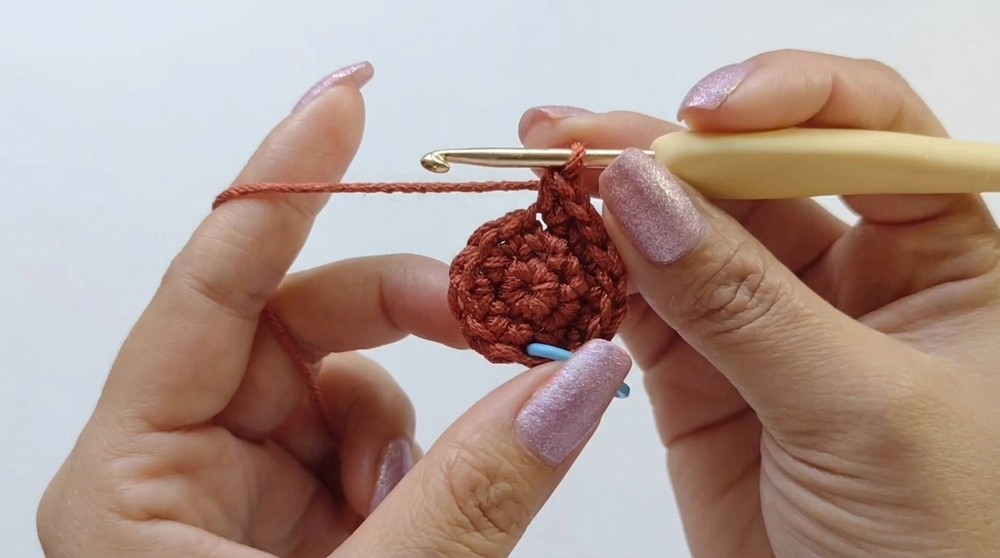
- Create a magic ring by wrapping yarn around two fingers and securing it on the hook.
- Chain 1 to begin round.
Round 1:
- Work 6 cross single crochets (cross sc) into magic ring. (6 sts)
- Pull ring tight.
Round 2:
- 2 sc in each stitch around (increase). (12 sts)
- Place stitch marker to mark round beginning.
Round 3:
- 1 sc, 1 inc repeat 6 times. (18 sts)
Round 4:
- 2 sc, 1 inc repeat 6 times. (24 sts)
Round 5:
- 3 sc, 1 inc repeat 6 times. (30 sts)
Round 6:
- Work 30 sc evenly (no increases).
Round 7:
- 5 sc, 1 inc repeat to end (shaping). (36 sts)
Round 8:
- Work 36 sc evenly (no increases).
Summary:
This forms the rounded base of your flowerpot with gradual increases in the early rounds, then stabilizing stitches for firm shape.
PART 2: Flowerpot Texture & Closing
Round 9:
- 6 sc, 1 inc repeat around. (42 sts)
Round 10:
- Work stitches evenly over the round (no increases). (42 sts)
Round 11:
- Work stitches evenly over the round (no increases). (42 sts)
Round 12:
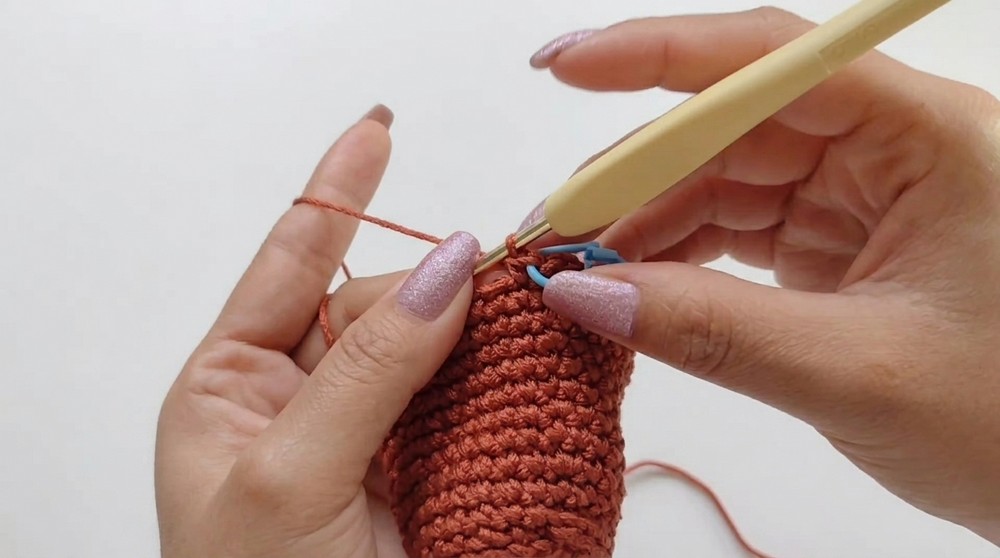
- Use back loop only (blo) technique; 7 sc (blo), 1 inc repeat.
Round 13:
- Work stitches evenly, maintaining the stitch count.
Round 14:
- Work stitches evenly, maintaining the stitch count.
Closing:
- Using a yarn needle, pull through last loops to close small opening tightly.
- Weave in all ends securely.
- Stuff the flowerpot firmly with fiberfill stuffing.
PART 3: Tierrita (Soil) Circle for Flowerpot
Yarn: Brown
Hook: 3 mm
Start:
- Create a magic ring.
- Work 6 sc in ring. (6 sts)
Round 2:
- 2 sc in each stitch (inc). (12 sts)
Round 3:
- 1 sc, 1 inc repeat (18 sts)
Round 4:
- 2 sc, 1 inc repeat (24 sts)
Round 5:
- 3 sc, 1 inc repeat (30 sts)
Round 6:
- Work 30 sc evenly without increasing.
Finishing:
- Remove stitch marker.
- Using yarn needle, weave closing stitches through the front loops only, leaving visible strands (“zebra-like”) free to facilitate stuffing placement.
PART 4: Cactus Body
Yarn: Green
Hook: 2 mm
Start:
- Chain 5.
- Work 1 sc in each chain across, then increase 3 sc in last chain, working down the opposite side of chains. (Creating a narrow oval)
Round 2:
- Work 12 sc evenly around.
- Add increases on Rounds 4 and 5 to shape cactus stoutness.
Round 3:
- Work 12 sc evenly around.
- Add increases on Rounds 4 and 5 to shape cactus stoutness.
Round 4:
- Work 12 sc evenly around.
- Add increases on Rounds 4 and 5 to shape cactus stoutness.
Round 5:
- Work 12 sc evenly around.
- Add increases on Rounds 4 and 5 to shape cactus stoutness.
Round 6:
- Continue even single crochets.
- Insert safety eyes at round 4 placement.
Round 7:
- Continue even single crochets.
- Insert safety eyes at round 4 placement.
Round 8:
- Continue even single crochets.
- Insert safety eyes at round 4 placement.
Round 9:
- Begin decreases via front loop only (flo) decrease on two designated stitches.
Round 10:
- Work decreases strategically for cactus shaping.
Round 11:
- Work decreases strategically for cactus shaping.
Round 12:
- Work decreases strategically for cactus shaping.
Round 13:
- Work decreases strategically for cactus shaping.
Round 14:
- Work decreases strategically for cactus shaping.
PART 5: Cactus Arms (Make 2)
Start:
- Magic ring with 5 sc.
Rounds 2 – 7:
- Increase and crochet evenly to reach 10 sc total.
Rounds 8 – 10:
- Begin decreasing by skipping certain stitches, finishing off round 10.
- Attach arms securely to cactus body.
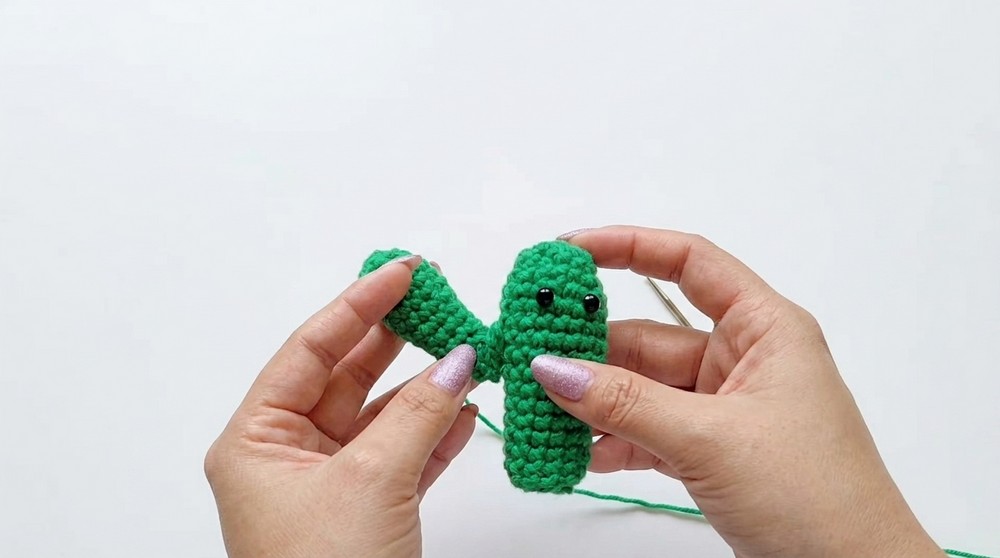
PART 6: Mustache Embroidery for Cactus
- Chain 10.
- Work back along chain alternating between slip stitches, half double crochet, double crochet to create textured mustache.
- Sew onto cactus face securely.
PART 7: Little Hat
Yarn: Bone color
Hook: 3 mm
Start:
- Magic ring. Chain 3 (counts as first dc).
Round 1:
- Work 4 double crochet (dc) inside magic ring. (5 sts including ch 3)
Round 2:
- Mark first stitch.
- Work cross single crochet in each stitch, with evenly placed increases.
Round 3:
- Work 10 sc evenly per round.
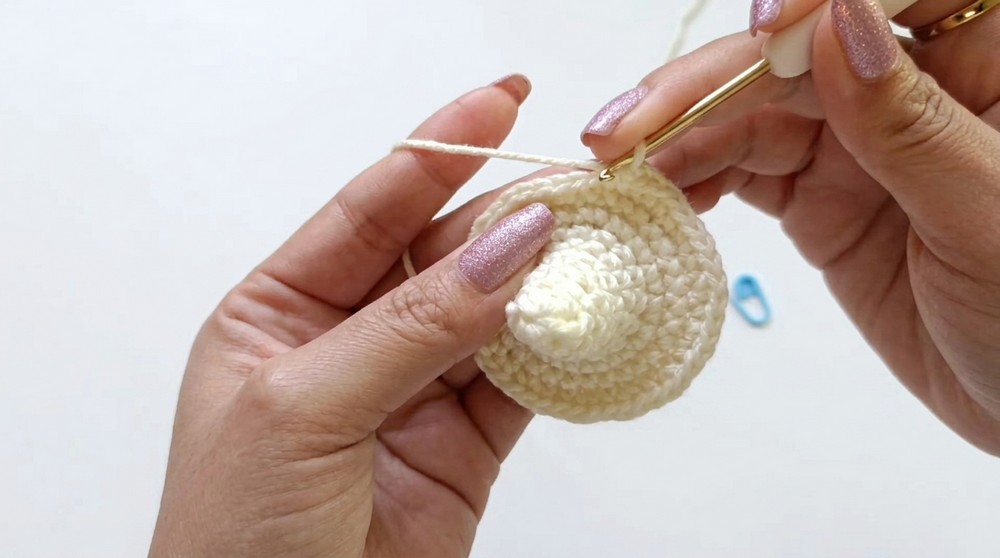
Round 4:
- Work 10 sc evenly per round.
Round 5:
- Alternate increases with sc to shape the brim of the hat.
PART 8: Hat Decoration
Using: Green, White, Orange, Red yarns
- Work slip stitches in green around hat top to simulate leaves, moving two stitches back each time.
- Randomly add white slip stitch dots to resemble decoration.
- Add red accents for a finalized look.
Assembly & Finishing
- Stuff all parts firmly but leave enough softness to maintain shape.
- Attach cactus arms to body using yarn needle and yarn matching the cactus body.
- Sew hat securely onto flowerpot.
- Embroider additional facial details and accents as desired.
- Weave in all loose ends neatly to complete your amigurumi.
Summary for Non-Readers
Start by crocheting flowerpot base with increases for shaping and texture by working stitches into loops. Then make brown soil circle similarly. Crochet cactus body with safety eyes placed, shaping through increases and decreases. Crochet arms and attach securely. Embroider cactus mustache from chains. Finish with a decorative little hat featuring leaf-like slip stitches. Assemble all parts, stuff properly and weave in ends.
Stitches Used in This Pattern
- Magic Ring: Adjustable ring start for circular work.
- Single Crochet (sc): Basic crochet stitch.
- Cross Single Crochet: Textured stitch by inserting hook at an angle.
- Increase (inc): 2 sc stitches in one stitch for widening.
- Decrease (dec): Crochet two stitches together for narrowing, often front loop only.
- Slip Stitch (sl st): Joining and surface detailing stitch.
- Half Double Crochet (hdc): Intermediate stitch used in embroidery.
- Double Crochet (dc): Taller stitch used in hat making.
- Chain (ch): Foundation stitch for starting work and spacing.




Leave a Reply