

Infuse your creations with personality with this free crochet owl pattern designed for adding clever charm and playful character effortlessly.
Owls have a special charm that makes them fun to crochet and easy to love. With their round bodies, big eyes, and cute little features, they can brighten up a shelf, desk, nursery, or cozy corner. A Free Crochet Owl Pattern is a lovely choice for anyone who wants to bring this sweet woodland bird to life with yarn while creating something that feels personal and playful.
The finished owl can have a soft, cuddly look with a compact shape that makes it easy to display or hold. Large eyes give it plenty of character, while small wings, a neat beak, and tiny feet can add extra detail. Depending on the colors and style, your owl can look cute and cheerful, calm and natural, or bright and colorful. Its soft texture also makes it a pleasant little companion for children or a charming handmade decoration.
Free Owl Crochet Pattern Perfect for New Crocheters
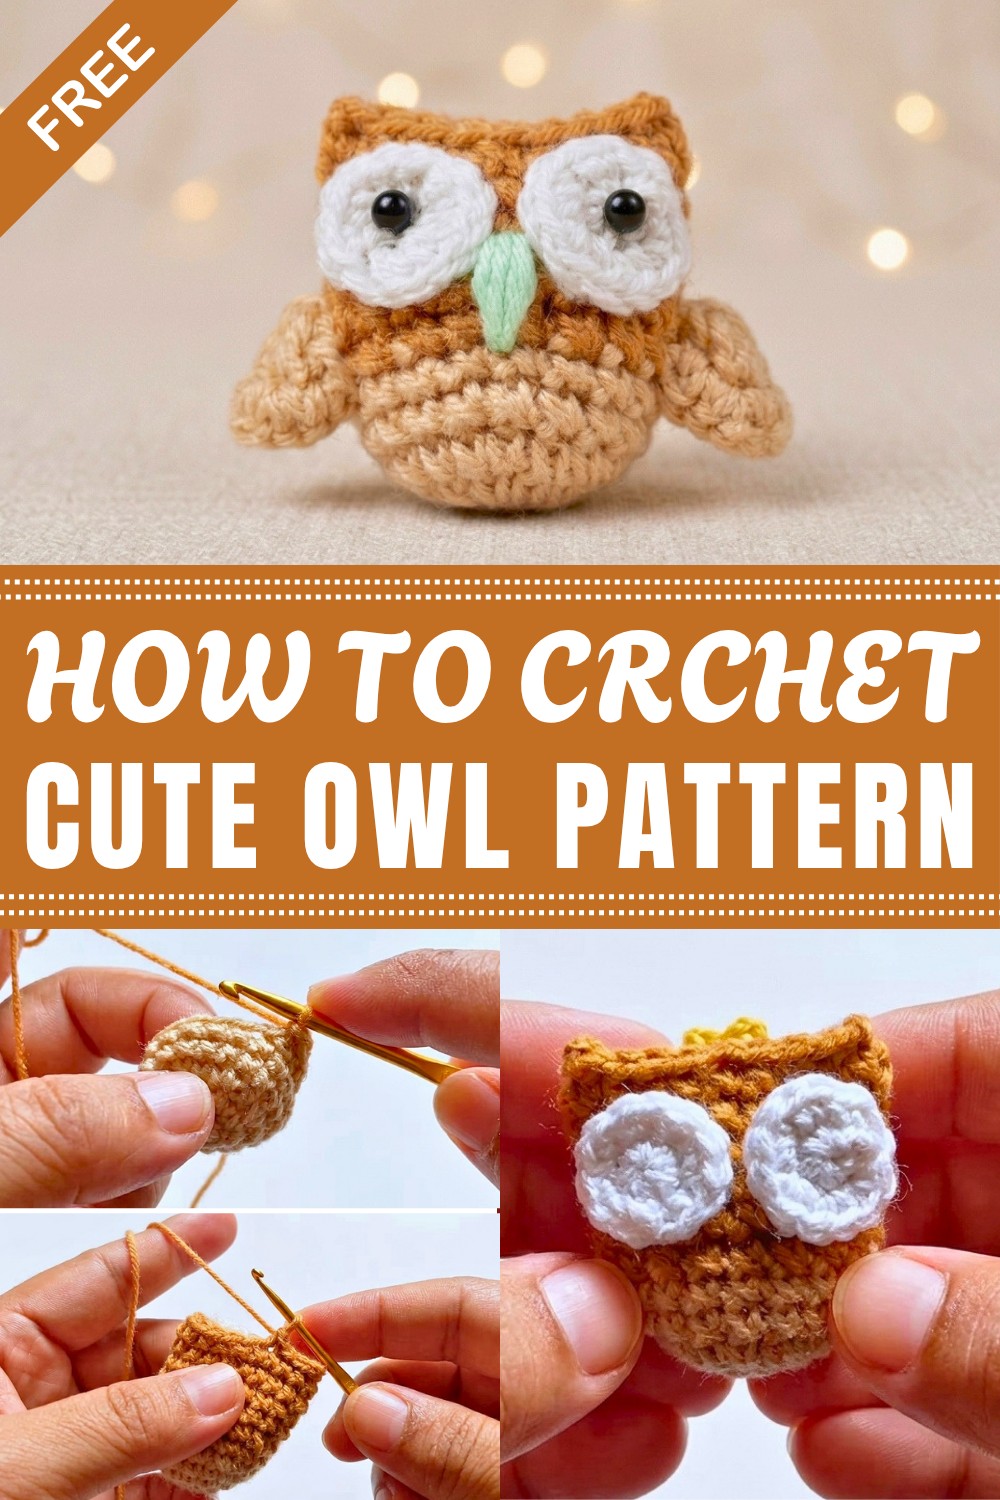
One of the best things about an owl project is how easily you can personalize it. Choose earthy shades such as brown, cream, and gray for a classic woodland feel, or mix bold colors for a fun modern look. You can also change the size to suit your space or make several owls with different color combinations for a small collection.
This project can be a fun way to practice shaping and bringing simple crochet pieces together. Beginners may enjoy the clear, rounded form, while more experienced crocheters can have fun adding their own creative touches. The finished owl can work as a cute decoration, a thoughtful handmade present, or a playful addition to a child's room.
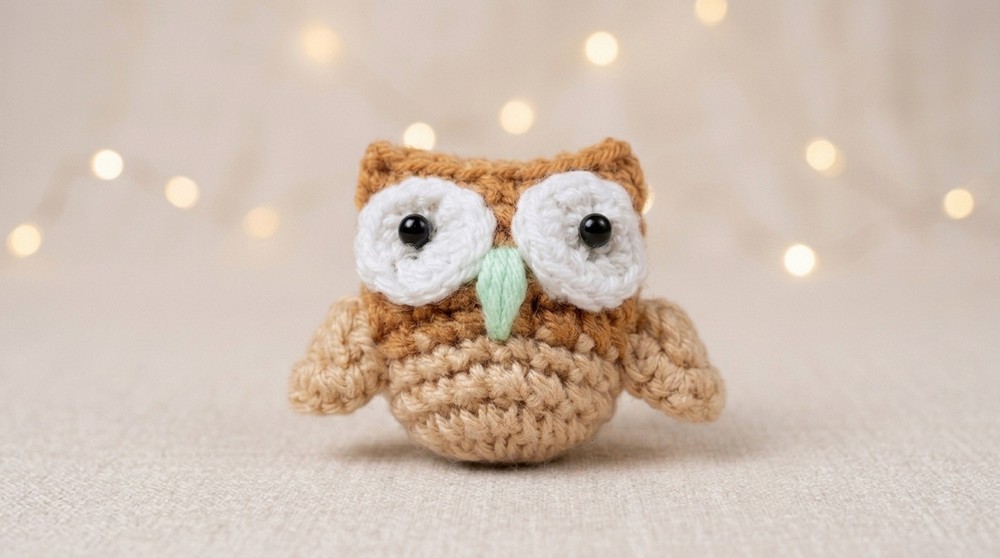
Whether you love woodland animals or simply enjoy making cheerful amigurumi, this owl offers a relaxing project with plenty of room for creativity. Check out the free pattern and give your own adorable owl a personality of its own.
Mini Owl Keychain Crochet Pattern
This detailed crochet pattern teaches you how to make a delightful mini owl keychain. The owl features a rounded body, contrasting eyes made with crocheted circles and black beads, and wings that complete its charming appearance. Using fine 2-ply wool yarn and a small 2.0 mm hook, this project is perfect for experienced beginners who want to try small amigurumi with precise color changes and shaping. Finished with fiberfill stuffing and glued eye components, the mini owl makes a cute gift or accessory.
Quick Overview of Pattern
You will begin by crocheting the owl’s body in rounds starting from a magic ring, increasing gradually to form a rounded shape, then switching colors to add natural detail. An opening is closed with slip stitches after stuffing with fiberfill. Next, you will create the eye pieces, which are white crocheted circles, and attach 2 mm black beads for pupils. Wings are crocheted as small, rounded pieces with a combination of double crochets and single crochets. Finally, all parts are assembled with glue to complete the keychain.
Notes
- Work in continuous rounds where possible to avoid seams.
- Use stitch markers to keep track of the beginning of rounds.
- Stuff the body firmly but do not overfill to keep shape well.
- Carefully place glue for eye assembly to ensure durability.
- Maintaining consistent tension will produce neat, even fabric.
- Use the back loops only (BLO) if preferred to add texture to wings or body variation.
- Allow glue to dry fully before attaching beads or handling the owl.
Skill Level
Intermediate beginner level, requiring knowledge of:
- Magic ring (magic loop) technique
- Basic stitches: single crochet (sc), double crochet (dc), chain (ch), slip stitch (sl st)
- Increasing stitches (inc)
- Color changing cleanly in rounds
- Stuffing and closing amigurumi tightly
- Basic assembly using glue
Materials
- 2-ply wool yarn in white and brown
- 2.0 mm crochet hook
- Polyester fiberfill stuffing
- Fabric glue or craft adhesive suitable for yarn
- Two 2 mm black beads (for eyes)
- Scissors
- Yarn needle for weaving ends
Measurements / Sizing
- The finished owl keychain measures approximately 3 inches (7.5 cm) tall and 2 inches (5 cm) wide at the body.
- Size may vary slightly depending on yarn thickness and tension.
Gauge and Stitch Pattern
- Gauge is flexible and not critical but aim for firm single crochet stitches to avoid gaps showing stuffing.
- The body and eye pieces use single crochet stitches in continuous rounds for a smooth fabric.
- Wings use a combination of double crochet and single crochet stitches for structure and texture.
Stitch Abbreviations
- ch: chain
- sc: single crochet
- inc: increase (2 sc in one stitch)
- dc: double crochet
- sl st: slip stitch
- MR: magic ring (or magic loop)
Special Stitches
- Magic Ring (MR): A loop made by wrapping yarn around your fingers to start crocheting stitches inside the ring, closely closed at the center.
- Increase (inc): Two single crochet stitches worked into the same stitch to increase stitch count.
- Slip Stitch (sl st): A stitch used to join rounds or close openings without adding height.
The Crochet Pattern
1. The Body
Round 1
- Begin with a magic ring (MR).
- Chain 1, then work 6 single crochets (sc) into the ring. (6 sts)
Round 2
- Increase in every stitch around: work 2 sc in each stitch evenly. (12 sts)
Round 3
- Work 2 sc in first stitch, then 1 sc in the next stitch; repeat this sequence around. (18 sts)
Rounds 4 to 6
- Work 1 single crochet in each stitch around for 3 rounds (each 18 stitches). This builds the owl’s body upward.

Rounds 7 to 11: Color Change
- Change yarn color to brown.
- Work 1 single crochet in each stitch around for 5 rounds (each 18 stitches). This color change mimics the owl’s body pattern.
Closing the Body
- Stuff the body firmly with polyester fiberfill.
- To close the opening, fold the opening edges and work slip stitches through both layers (front and back sides) securing the opening completely.

2. The Eyes
Round 1
- Make a magic ring (MR) with white yarn.
- Chain 1, then work 6 single crochets (sc) into the ring. (6 sts)
Round 2
- Increase in every stitch: work 2 sc in each stitch. (12 sts)
3. The Wings (Make Two)
Round 1
- Make a magic ring (MR) with brown yarn.
- Chain 2, then work 6 double crochets (dc) into the ring. (6 sts)
Round 2
- Chain 1, then work 2 single crochets (sc) evenly into each chain from the previous round. This rounds the wings nicely.
4. Assembly
Eyes
- Glue the two white circular eye pieces onto the upper front of the owl body, symmetrically spaced.
- Secure the 2 mm black beads at the center of each white eye piece with glue to create the pupils.

Wings
- Attach the wings to each side of the owl’s body using fabric glue. Position them slightly behind the eyes and towards the middle for a realistic wing placement.

Finished Size
Once assembled, your mini owl keychain stands about 3 inches tall and 2 inches wide. Allow the glue to dry thoroughly before handling or attaching to your keychain hardware. The firm stuffing and neat finishing result in a compact amigurumi ideal for bags, backpacks, or gift tags.
Ending Words
This mini owl keychain crochet pattern provides a fun and rewarding project to master small amigurumi techniques, including seamless color changes and textured wing creation. By using fine yarn and a small hook, the owl is delicate yet sturdy enough for everyday use. Experiment with yarn colors to personalize your owl, or increase size by switching hook and yarn thickness.


Leave a Reply