

Stitch a lovable companion with this Free Crochet Yogi Bear Amigurumi Pattern that adds charm and nostalgia to your collection or makes a thoughtful gift.
I recently tried making a fun little project that instantly brought back childhood memories, crocheting a cute stuffed toy inspired by a classic character. The free crochet Yogi Bear amigurumi pattern is perfect for anyone who loves handmade toys and wants to create a playful keepsake. This amigurumi pattern lets you whip up an adorable soft toy that’s both charming and easy to make.
Easy Free Crochet Yogi Bear Amigurumi Pattern for All Levels

This Yogi Bear crochet project captures the lovable bear's friendly face and playful look with great detail. The toy has a round head and body with soft, cuddly texture thanks to the tight stitches used. Its shape is compact and huggable, styled with signature features like the big nose, hat, and collar, making it instantly recognizable. The design stands out because of its cute expression and well-proportioned body, making it a wonderful decoration or a kid’s favorite plush companion.
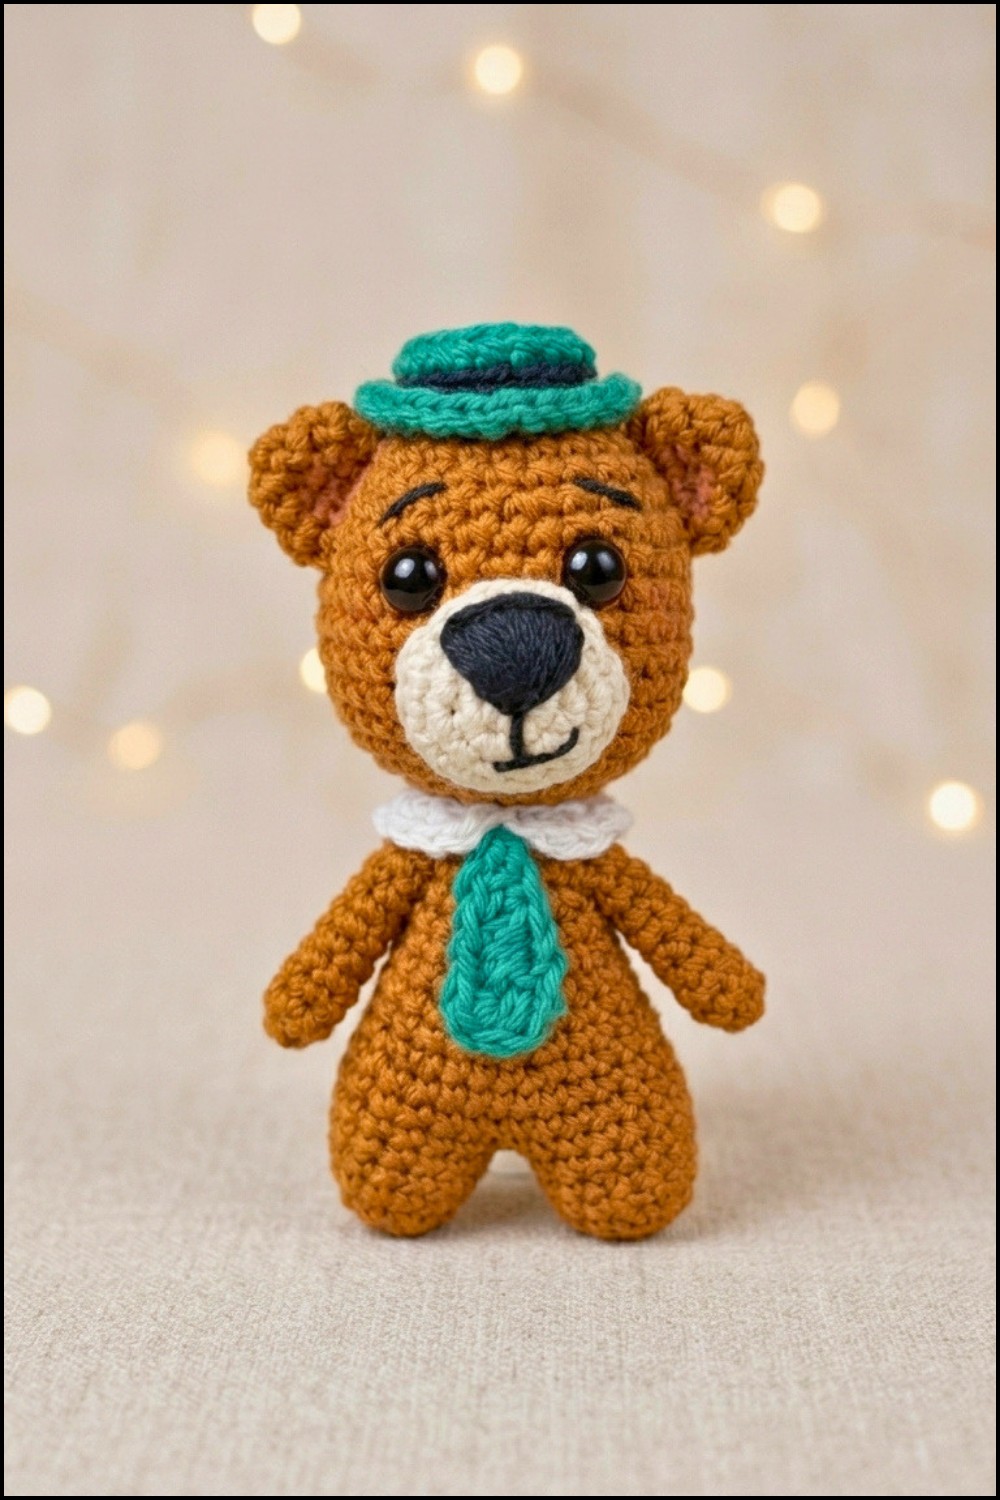
As for the skill level, the free crochet Yogi Bear amigurumi pattern suits beginners who are comfortable with basic crochet stitches. The main stitch used is the single crochet, which creates a dense fabric perfect for stuffing. The pattern includes simple increases and decreases to shape the bear, making it manageable for new crocheters willing to follow step-by-step instructions.
This crochet Yogi Bear makes a lovely gift for fans of the character or anyone who appreciates handmade toys. It can also be a soft décor piece for a nursery, or a collectible item for amigurumi lovers. It’s a fun and rewarding project that combines creativity with nostalgia.
Yogi Bear Keychain Amigurumi Crochet Pattern
This pattern turns the classic Yogi Bear into a 12 cm amigurumi figure, small enough for keychains, bag charms or a desk companion. Made with 100% cotton yarn and detailed features, this pattern is broken down into easy step-by-step instructions, perfect for both confident beginners and intermediate crocheters looking to expand their repertoire. Follow every round detailed below to bring your tiny bear to life.
Pattern Basic Points
Pattern Highlights
- Sturdy Foundation: Amigurumi worked in continuous rounds for a seamless look.
- Expressive Features: Embroidery and blush add personality to your Yogi Bear.
- Removable Accessories: Crochet hat, collar, and bowtie can be customized.
- Keychain Adaptable: Small finished size, perfect to add a keychain ring.
Special Notes
- US crochet terminology used throughout.
- Work in spiral rounds unless otherwise specified; use a stitch marker for round beginnings.
- Keep your stitches tight to prevent stuffing from showing.
- Insert safety eyes and finish facial embroidery before closing the head.
- Cotton is recommended, but this project works well with any amigurumi-weight yarns.
Skill Level
Confident Beginner / Intermediate
- Works rounds, increases, decreases, color changes, embroidery, and minor sewing/assembly.
- Suitable for those comfortable with basic amigurumi construction and wanting to try expressive details.
Materials
- Yarn: 100% cotton, sport or light DK weight
- Hazelnut/light brown (main)
- Ecru/off-white (snout)
- Green (hat, bowtie)
- Black (hat band, nose, embroidery)
- White (collar)
- 2.5 mm crochet hook
- 8 mm safety eyes
- Polyester fiberfill (stuffing)
- Stitch marker
- Yarn needle
- Scissors
- Blush/eyeshadow (for cheeks & ears)
- Sewing pins (optional, for precision while assembling)
Measurements / Sizing
- Finished height: Approx. 12 cm (4.75 in)
- Size can be adjusted by changing yarn weight and hook size.
Gauge
- Not critical, but consistent tight stitches are essential for proper stuffing containment and shape.
Stitch Abbreviations
- ch: chain
- sc: single crochet
- inc: increase (2 sc in one stitch)
- dec: decrease (sc2tog)
- sl st: slip stitch
- MR: magic ring/adjustable ring
Special Stitches
- Invisible Decrease: Insert hook in front loop of next 2 sts, yarn over, draw through both, finish as regular sc.
- Back Loop Only (BLO): Work into back loop of the stitch for added detail (used in hat rounds).
Pattern Instructions
1. Head (Hazelnut/Light Brown)
- Round 1: MR, 6 sc into ring (6)
- Round 2: 6 inc (2 sc in each st) around (12)
- Round 3: (sc, inc) x6 (18)
- Round 4: (2 sc, inc) x6 (24)
- Rounds 5-6: 1 sc in each st (24)
- Round 7: (3 sc, inc) x6 (30)
- Rounds 8-9: 1 sc in each st (30)
- Round 10: (4 sc, inc) x6 (36)
- Rounds 11-14: 1 sc in each st (36)
- Round 15: (4 sc, dec) x6 (30)
- Insert safety eyes between Rounds 10, 5 sc apart.
- Round 16: (3 sc, dec) x6 (24)
- Round 17: (2 sc, dec) x6 (18)
- Stuff firmly as you work.
- Round 18: (sc, dec) x6 (12)
- Finish with: sl st, ch 1, leave long tail for sewing.
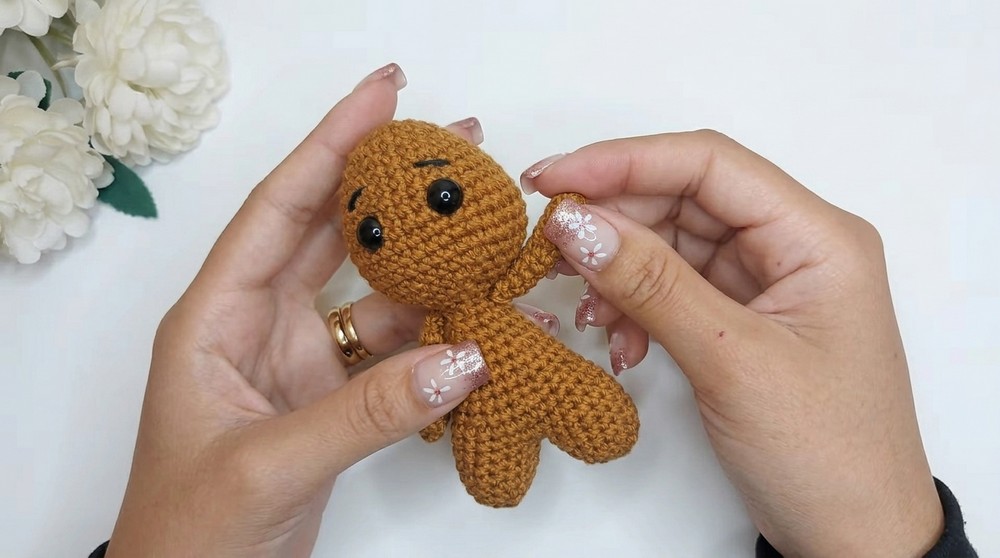
- Embroider eyebrows above eyes at this stage before closing.
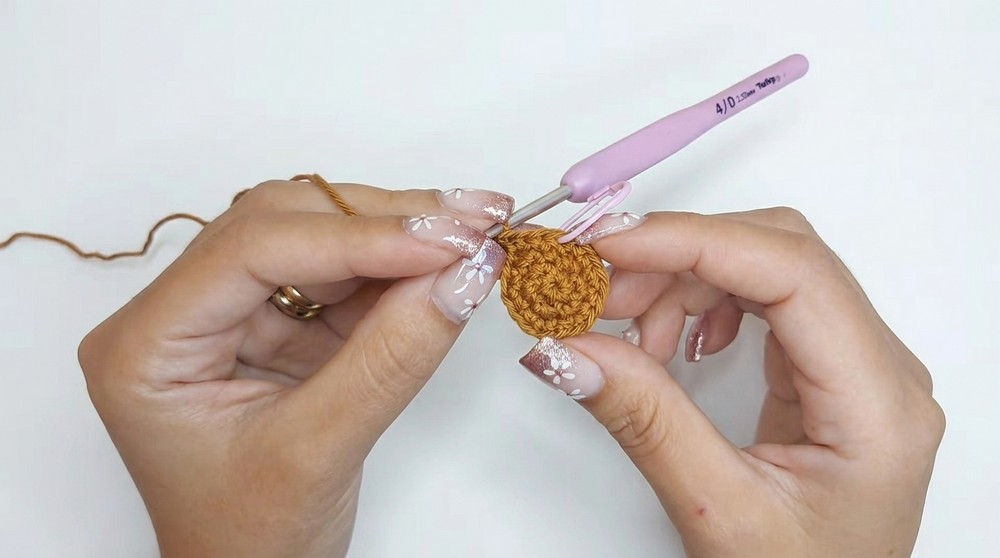
2. Body & Legs (joined as one piece)
Legs (Make 2, Hazelnut/Light Brown):
- Round 1: MR, 5 sc (5)
- Round 2: 5 inc (10)
- Round 3: (sc, inc) x5 (15)
- Rounds 4–6: 1 sc in each st (15)
- On first leg: sl st, ch 1, leave long tail for closing later, FO.
Second Leg:
- Repeat as above but DO NOT cut yarn.
- Align legs side-by-side and join:
- Round 7: Attach yarn to first leg, sc around 15 sts of this leg, sc around 15 sts of second leg (30)
- Rounds 8–9: 1 sc in each st (30)
- Round 10: (3 sc, dec) x6 (24)
- Rounds 11–13: 1 sc in each st (24)
- Stuff both legs and body.
- Round 14: (2 sc, dec) x6 (18)
- Rounds 15–16: 1 sc in each st (18)
- Round 17: (sc, dec) x6 (12)
- Firmly stuff.
- Rounds 18–22: 1 sc in each st (12)
- Round 23: 6 dec (6)
- sl st, ch 1, FO leaving tail.
- Close top with needle, tug thread to hide the end.
- Use leftover tail on first leg to sew any gap from joining.

3. Arms (Make 2, Hazelnut/Light Brown)
- Round 1: MR, 7 sc (7)
- Rounds 2–10: 1 sc in each st (7)
- sl st, ch 1, FO, leave long tail.
- Lightly stuff (Yogi’s arms are thin).
4. Ears (Make 2, Hazelnut/Light Brown)
- Round 1: MR, 6 sc (6)
- Round 2: 6 inc (12)
- Rounds 3–4: 1 sc in each st (12)
- sl st, ch 1, FO, leave long tail.
- No stuffing needed.
5. Snout (Ecru/Off White)
- Round 1: MR, 6 sc (6)
- Round 2: 6 inc (12)
- Round 3: (sc, inc) x6 (18)
- Round 4: 1 sc in each st (18)
- sl st, ch 1, FO, leave long tail.
- Stuff lightly before final closure.
6. Hat (Green and Black)
- Round 1: MR, 6 sc (6)
- Round 2: 6 inc (12)
- Round 3: (sc, inc) x6 (18)
- Round 4: BLO, 1 sc in each st (18) — Use green
- Round 5: Switch to Black; 1 sl st in each st around (18)
- Round 6: Switch back to Green; BLO, 1 sc in each st (18)
- Round 7: FLO, 2 sc in each st around (36) — all increases
- sl st, ch 1, FO, leave long tail.
7. Bowtie (Green)
- Ch 7, turn
- sc in 2nd ch from hook and next ch (2 sc)
- hdc in next 3 ch
- dc in last ch
- Ch 2, sl st in last ch.
- FO, leave long tail to sew.
8. Shirt Collar (White)
- Ch 16
- hdc in third ch from hook and each chain across
- Ch 2, sl st in end, FO, leave long tail.
Assembly & Finishing
- Embroidered Details
- Brow: Use black embroidery thread above eyes.
- Nose: Black thread, satin stitch a centered triangle on snout, then embroider a line downwards for the smile and shape a curved mouth.
- Attach Head to Body
- Use long tail and sewing pins to center above the neck; sew evenly around for a clean join.
- Attach Arms
- Seam closed, lightly stuffed arms to sides under the head, sewing securely at the body’s “shoulders,” and anchor for stability.
- Ears
- Flatten ear edges and sew to top of head.
- Add blush inside for detail.
- Snout
- Centered between and slightly below eyes. Stuff slightly as you finish sewing around.
- Collar
- Place around neck, seam the ends together, and tack at the back if desired.
- Bowtie
- Sew to front center just below the snout, leaving tails loose for natural drape.
- Hat
- Position on head, tack in place securely, using seam at rear for alignment.
- Finishing Touches
- Apply blush to cheeks and inside ears for a lively look.
- Hide all thread ends inside.
- (Optional) Attach keychain ring to top of head.
Conclusion
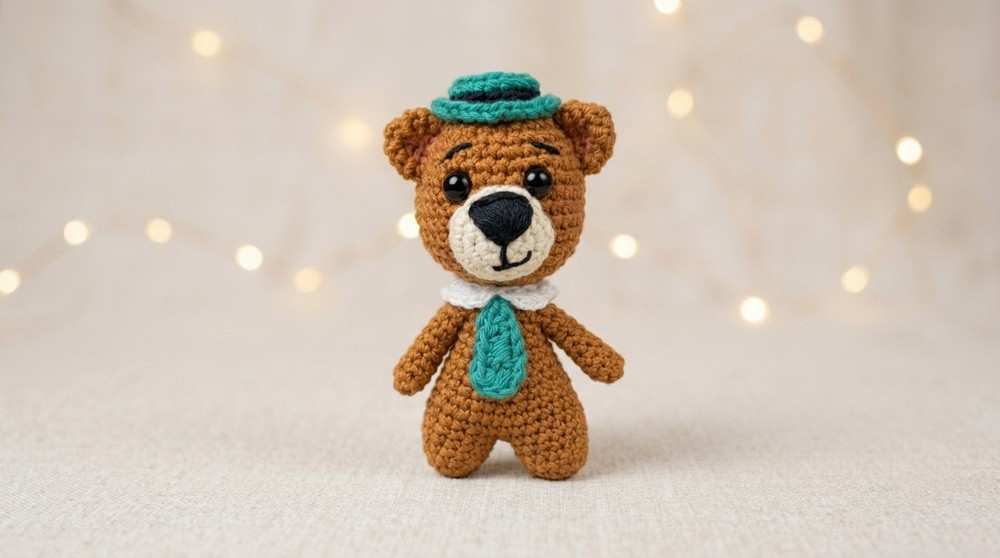
Your Yogi Bear keychain is complete, a little character filled with charm and nostalgia, perfect for gifting, collecting, or personalizing with colors and accessories. Following each step gives you a neat, detailed, and durable amigurumi.




Leave a Reply