

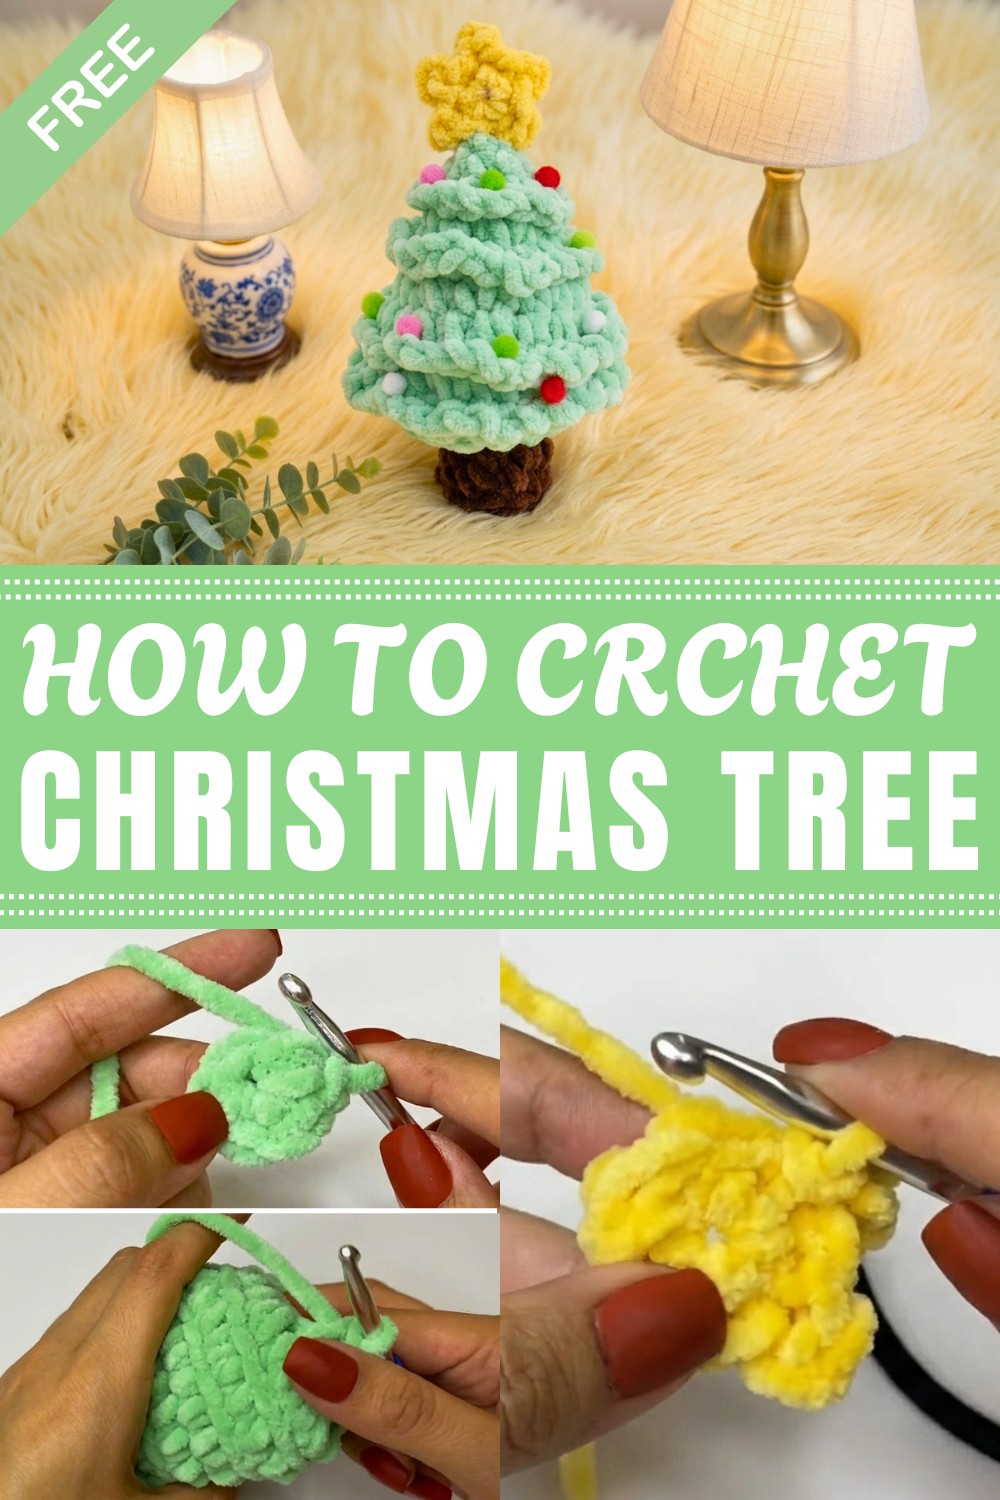
Celebrate the holiday season by creating a beautiful Crochet Christmas Tree that adds warmth and festive charm to your home decor with comfort.
Christmas feels warm and happy with a small, soft decoration that looks like a green pine tree. The Crochet Christmas Tree is a fun and popular decoration for the holidays. It often has little red balls, stars, or colorful garlands to make it look bright and pretty.
Mini Crochet Christmas Tree Free Pattern for Table Decorations
The tree is made with green yarn, but you can add other colors for decoration. The yarn is soft and nice to touch. You can put this tree anywhere in your home, and the colors will stay bright for a long time.It is easy to make because it uses simple crochet stitches. The tree is small, so you can place it on tables, shelves, or desks. It lasts a long time because it doesn’t lose needles like a real tree.
You can use the Crochet Christmas Tree in many ways. It can be a nice decoration on your table or shelf. You can also put it in a gift basket, use it as an ornament, or decorate your holiday party. It adds color and joy wherever you put it.
This tree is safe for kids and pets because it does not have small parts that can fall off. It makes your home feel friendly and cheerful during the holidays.In short, the Crochet Christmas Tree is soft, colorful, easy to make, and a lovely decoration for your home.
Crochet Christmas Tree Ornament Pattern
I bring you the pattern for these Christmas trees. I hope you like them; they measure 17 cm. At the top, you can add some chains and use them either as car pendants or as decorations for your Christmas tree.
Pattern Highlights
Festive Uses
- Can be hung as car pendants, Christmas tree ornaments, or made in various sizes and colors for different decor styles.
Flexible Yarn Choices
- The tree uses thick yarn (“Baby”/“Coffee” tones), but can also be made with brands like Sinfonía or Abuelita for a smaller result.
Simple Construction
- Worked in the round, starting with chains rather than a magic ring due to fiber structure.
- Distinctive relief rounds for textured tree branches.
- A separate base, mini spheres/beads for decoration, and a star topper.
Customizable Details
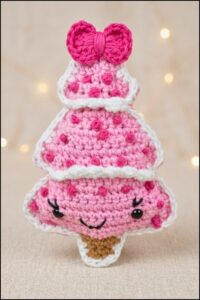
- Make the tree in any color you wish; try classic green, white, or even pink.
- Decorate with beads, stitched balls, or whatever sparkles your holiday spirit.

Notes
- Synthetic stuffing is recommended to help the ornament maintain shape.
- Hot glue is used for attaching decorative spheres and the star for ease.
- The pattern uses “chain” foundation instead of the magic ring due to yarn behavior—pulling the chain tight prevents unraveling.
- Relief rounds (worked in the back loop) give the branches a textured appearance.
- Beads or stitched balls can be used as tree ornaments; star is crocheted separately.
- The star is attached with glue if sewing proves difficult.
- You can add a chain to the top for hanging.
Skill Level
Advanced Beginner to Intermediate
You should be familiar with basic crochet stitches, working in the round, increases, decreases, slip stitch joins, and simple finishing techniques.
Materials
- Yarn: Thick yarn in green (“Baby”), brown (“Coffee”), yellow for the star, or other desired shades (white, pink, etc.).
- Hook: Number 5 (for thicker yarns)
- Stuffing: Synthetic fiberfill
- Tapestry Needle: For sewing and weaving in ends
- Hot Glue Gun & Sticks: For attaching decorations
- Small Spheres/Beads: (Purchased or handmade) for tree ornaments
- Stitch Markers: To mark rounds
- Scissors
Measurements / Sizing
- Finished Tree Height: Approx. 17 cm (with recommended yarn)
- Optional Pendant Chain: You may add a simple chain to the top for hanging; 10–20 ch recommended.
Schematic (Described):
- Cone-shaped tree body with a textured (relief) edge.
- Flat brown base (trunk).
- Star at the top.
- Decorated with glued beads or stitched balls.
Gauge
Gauge is not crucial; use recommended hook and yarn for sturdy fabric without holes (so stuffing does not show).
Stitch Abbreviations
| Abbreviation | Definition |
|---|---|
| ch | Chain |
| sc | Single Crochet |
| inc | Increase (2 sc in same st) |
| dec | Decrease (sc2tog) |
| sl st | Slip Stitch |
| st(s) | Stitch(es) |
| BLO | Back Loop Only |
Special Stitches
- Back Loop Only (BLO): Insert hook in back loop of stitch only; creates a relief round for branch effect.
- Slip Stitch (sl st): Insert hook, yarn over, pull through both loops.
- Magic Ring Alternative: Start with chain foundation as described (because “magic ring” unravels with this yarn).
The Crochet Pattern
BODY – Christmas Tree (Green Yarn)
Foundation:
- Ch 2.
Round 1:
- In first ch, work 4 sc. (4)
Round 2:
- Sc in first st (mark if needed).
- In next st, sc and inc (work 2 sc in next st).
- Continue inc in remaining sts.
- End with total 6 sc in round.
Round 3:
- Use thread as marker at round start.
- Work increases: (inc in next st) across this round (total: increases in all, end with 12 sts).

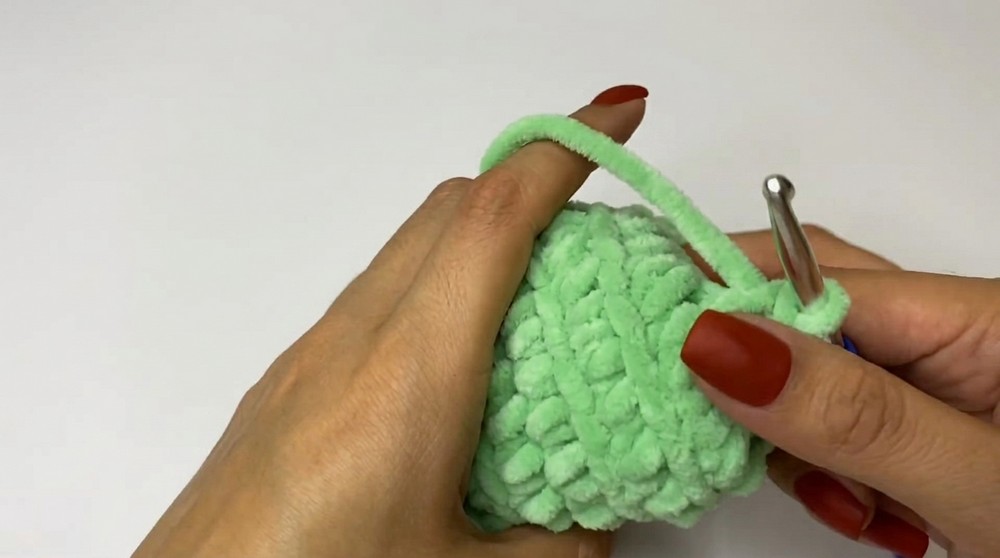
Round 4 (BLO Relief Round):
- Work in back loop only, sc in each st around. (12)
Round 5:
- Take the whole stitch, (sc in next st, inc) around.
- Continue this pattern to end of round; 18 sc total.
Round 6 (BLO Relief Round):
- Work in back loop only, sc in each st around. (18)
Round 7:
- Work the whole st, (2 sc, inc) around.
- Continue, ending with 24 sc.
Round 8 (BLO Relief Round):
- Sc in each st, back loop only. (24)
Round 9 (BLO Relief Round):
- (2 sc, dec) repeat (single crochet, single crochet, then decrease).
- Continue, finish with 18 sc.
Round 10:
- Work the whole stitch, (sc, dec) around.
- Continue, finish with 12 sc.
Finishing Steps:
- Stuff the tree body with synthetic fiberfill as you go.
- Final round, continue decreasing:
- (dec) around until you have 6 sc.
- Cut a long tail, use tapestry needle to thread through the remaining 6 sts and pull tight to close.
- Thread through center once more, tie off, and hide yarn in stuffing.
BASE – Tree Trunk (Brown Yarn)
Foundation:
- Ch 2.
Round 1:
- In second ch, work 5 sc. (5)
Round 2:
- (inc in each st) around. (10)
Round 3:
- Sc in each st around. (10)
Round 4:
- Sc in each st around, taking the whole st (10)
- Add a second round of 10 sc for a longer base if desired.
Assembly:
- Position the trunk at the bottom of the tree (where you closed the green portion).
- With needle and brown yarn, sew together: pick up one stitch from the tree base and one from the trunk alternately around.
- Tie off, hide yarn ends.
SIDE BRANCHES/RELIEF DETAILS
- Work into the raised loops at each branch level:
- Join green yarn.
- Ch 3, sl st in next raised loop; skip one, repeat all around branch level.
- Continue for each tier of the tree, finishing each round with a sl st, ch, and cut yarn, weave in ends.
STAR (Yellow Yarn)
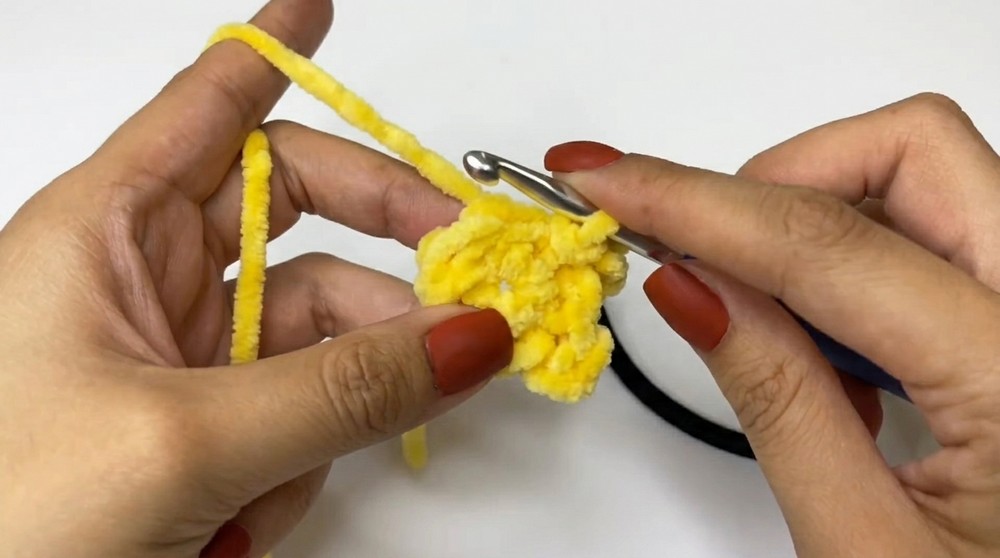
Foundation:
- Ch 2.
Round 1:
- In second ch, work 5 sc. (5)
Points:
- At first st, sl st, ch 2, sl st in same st.
- Move to next st: sl st, ch 2, sl st in same st.
- Continue for each of the 5 points.
Finishing:
- After last point, ch, cut yarn leaving tail to sew star to top of tree.
- If sewing is difficult, use hot glue to attach.
DECORATIONS
- Attach beads or stitched balls with hot glue; arrange as desired for festive effect.
OPTIONAL CHAIN LOOP
- Add chain to top as pendant loop: attach yarn, ch 10–20, join to start.
Assembly & Finished Size
- Sew or glue star to tree top.
- Use hot glue to attach small spheres/beads as decoration.
- Add pendant chain for hanging as ornament or car decoration.
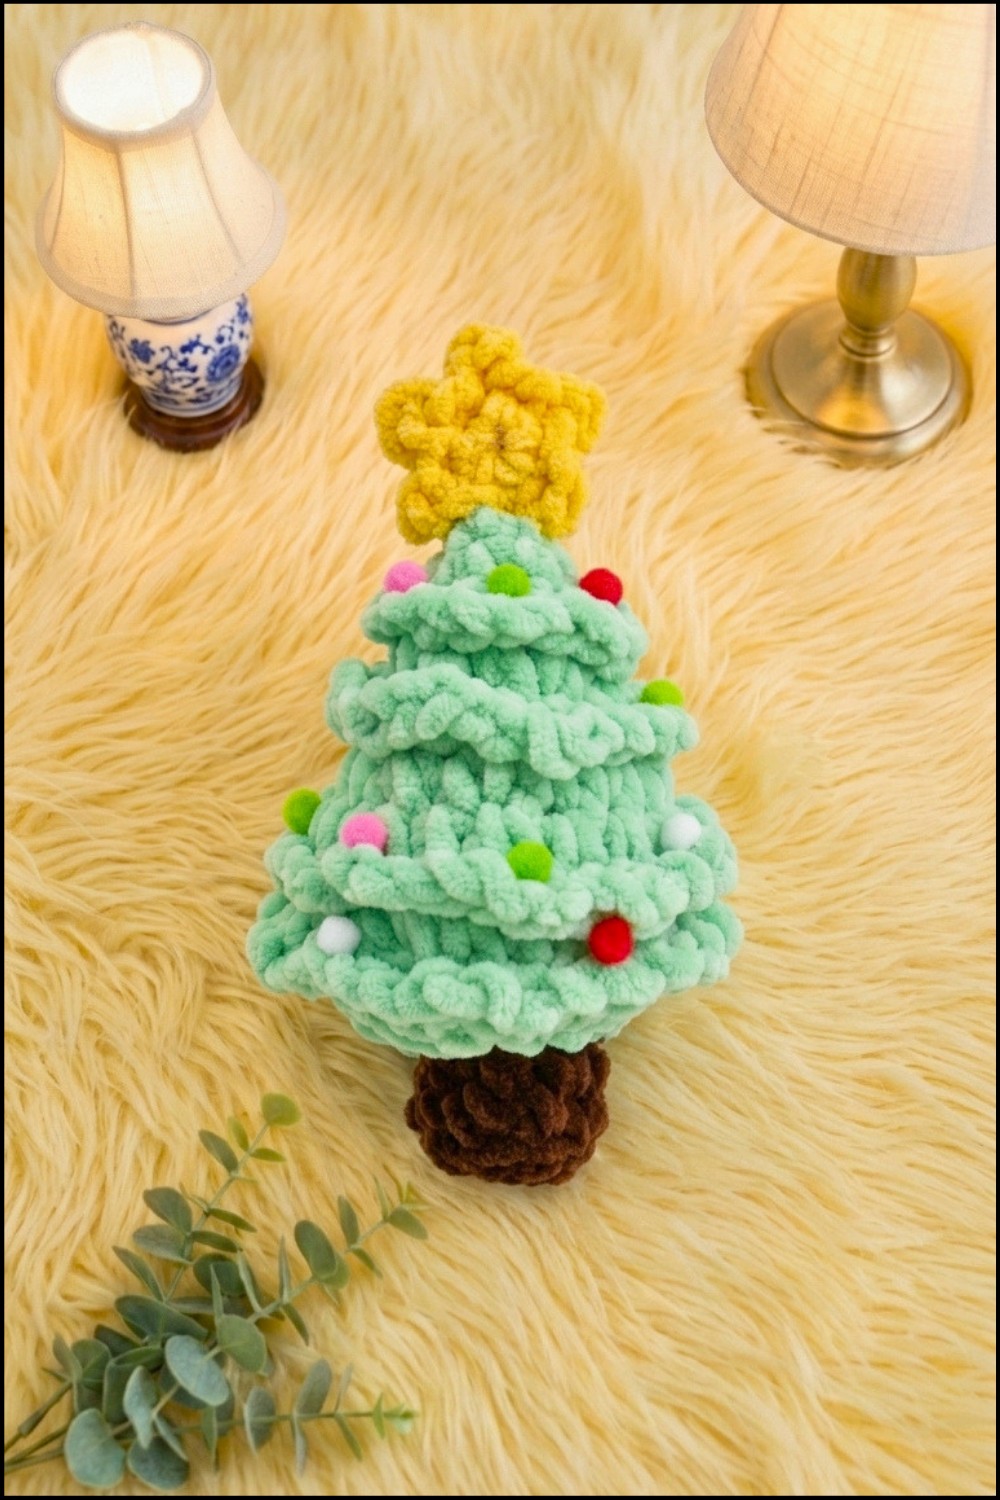
- Finished tree measures approximately 17 cm tall.
Conclusion
Your crochet Christmas tree ornament is now complete! This project blends classic festive colors with customizable yarn options for a personalized touch. The relief rounds and chained branches add dynamic texture, and the addition of beads and a star bring playful holiday flair. Whether you use it as a car pendant or as a Christmas tree decoration, these trees are sure to bring joy to your seasonal decor. Thank you for following this tutorial; subscribe and enable notifications for more creative ideas. Happy holidays and happy crocheting!



Leave a Reply