

Wrap up in comfort with this Crochet Cozy Hat Free Pattern, a lovely yarn project for chilly mornings, weekends, and a nice touch to your favorite outfits.
Cold mornings feel much better when your ears and head stay warm. The Crochet Cozy Hat is a warm yarn accessory that can help keep your head covered on chilly days. It has a simple style that works well with jackets, sweaters, and other everyday clothing.
This hat idea comes from Yanet pupo crochet.
Cute Crochet Cozy Hat Free Pattern For Girls & Women
The crochet stitches give the fabric a thick, soft feel. Depending on the design, the hat may fit closely around the head or have a little extra room at the top. You can choose dark red, coffee brown, cream, or olive green yarn. A plain color is a good choice when you want the hat to match several outfits.
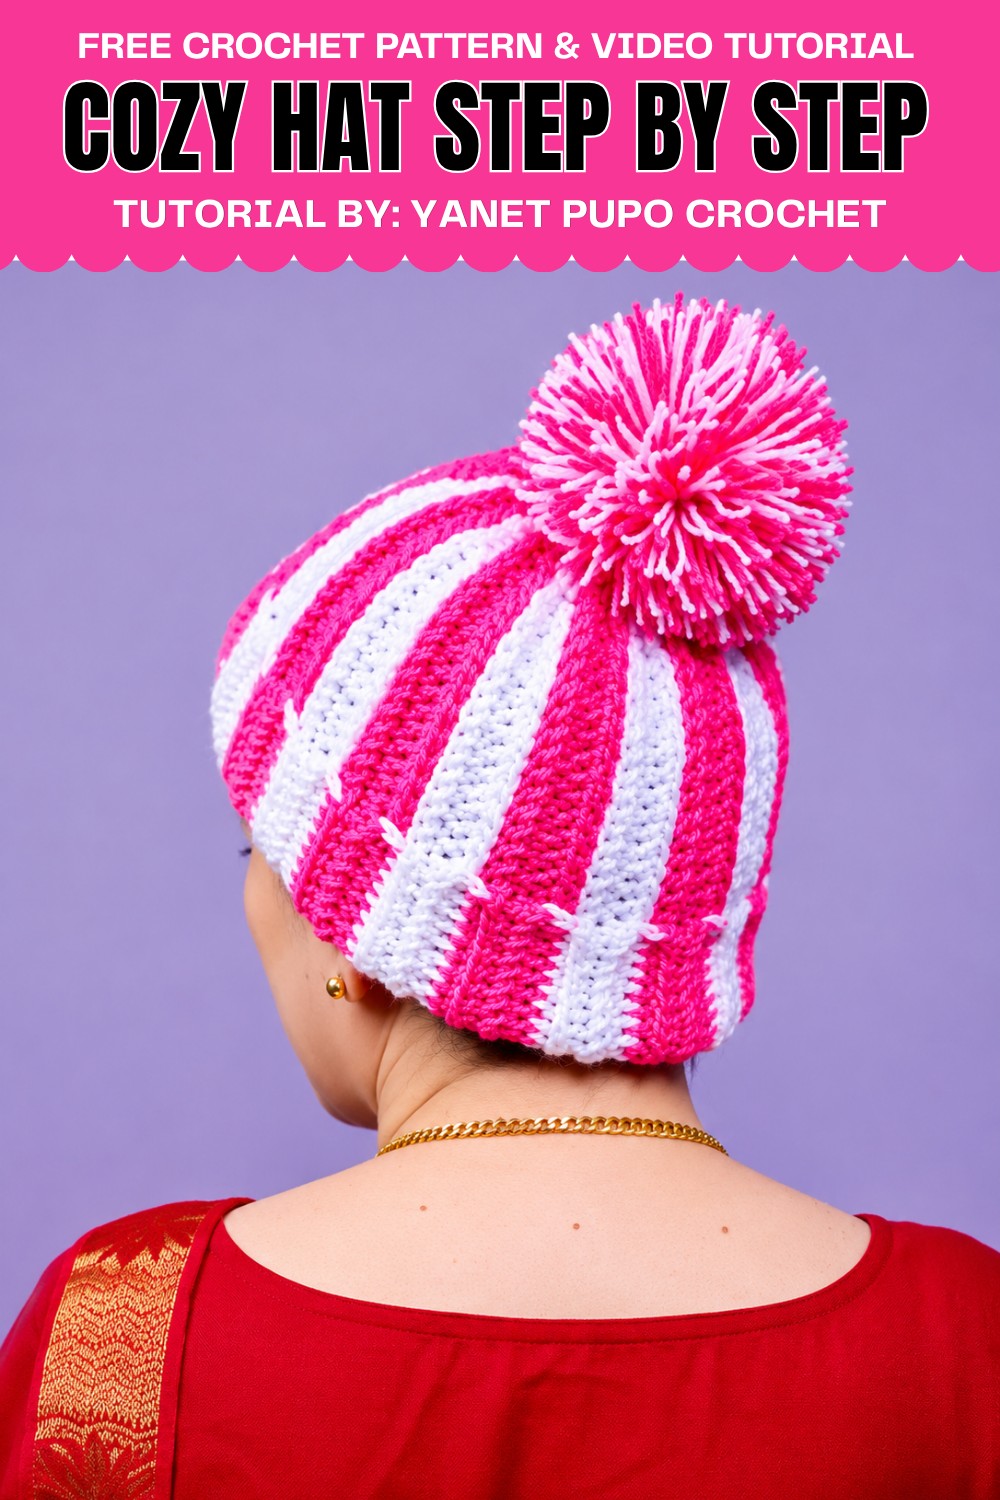
You can wear this hat while going for a morning walk, travelling to work, or spending time outside with family. It can also be paired with a matching scarf for extra warmth.
For a handmade Christmas or birthday present, choose a soft yarn in the person's favorite color. After washing, lay the hat flat to dry so it keeps its shape. With proper care, you can wear it whenever the weather turns cold.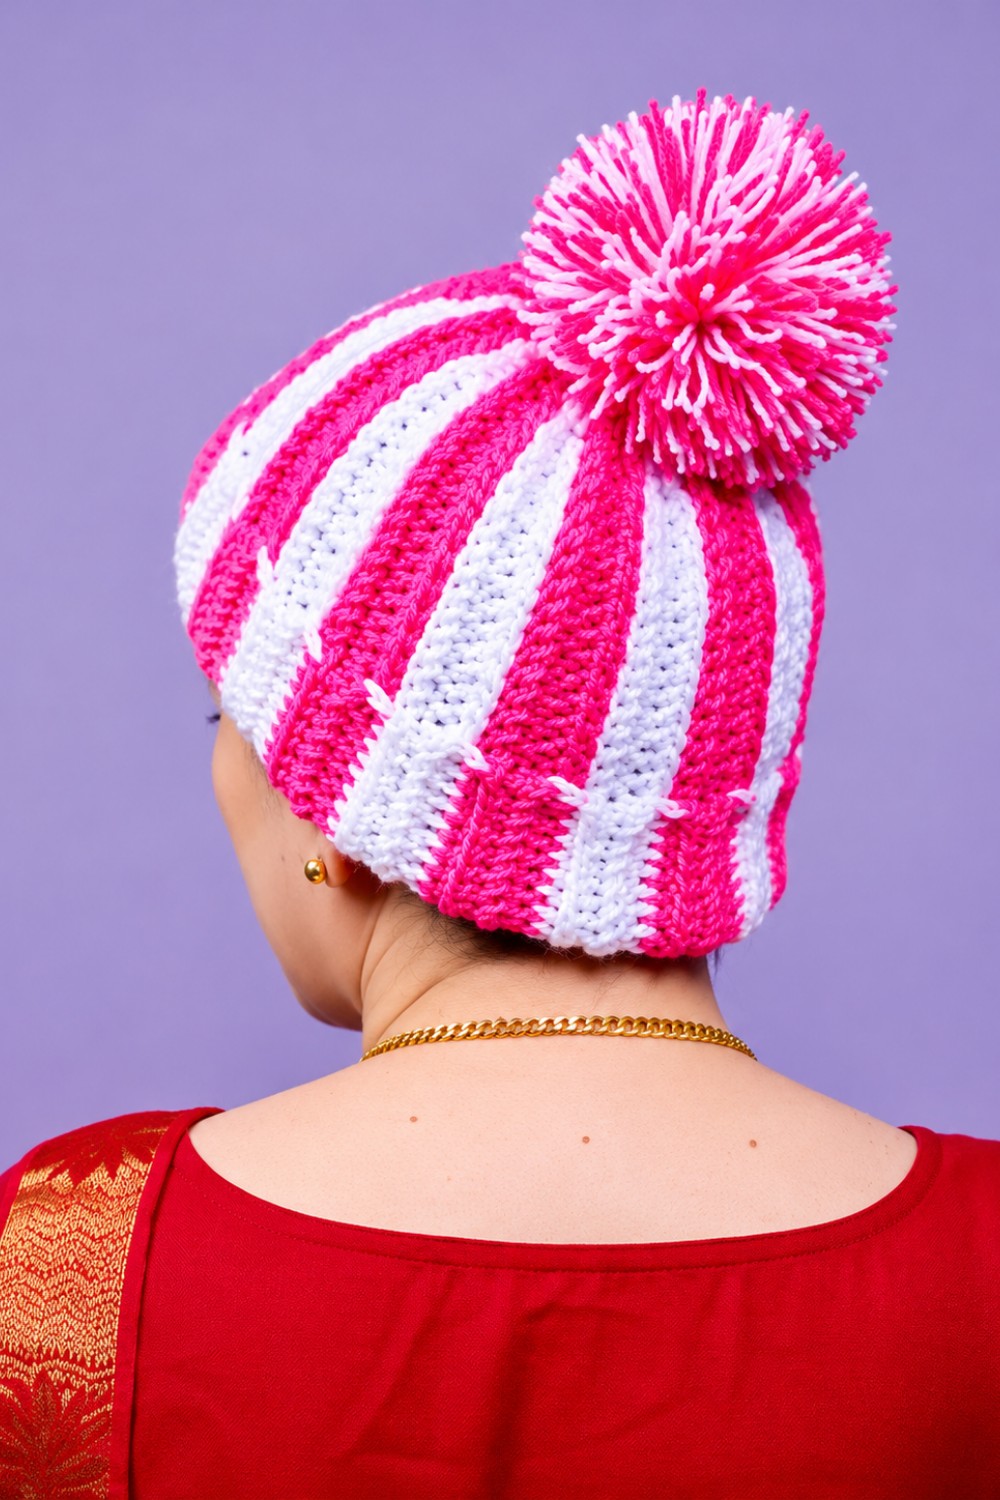
About the Pattern
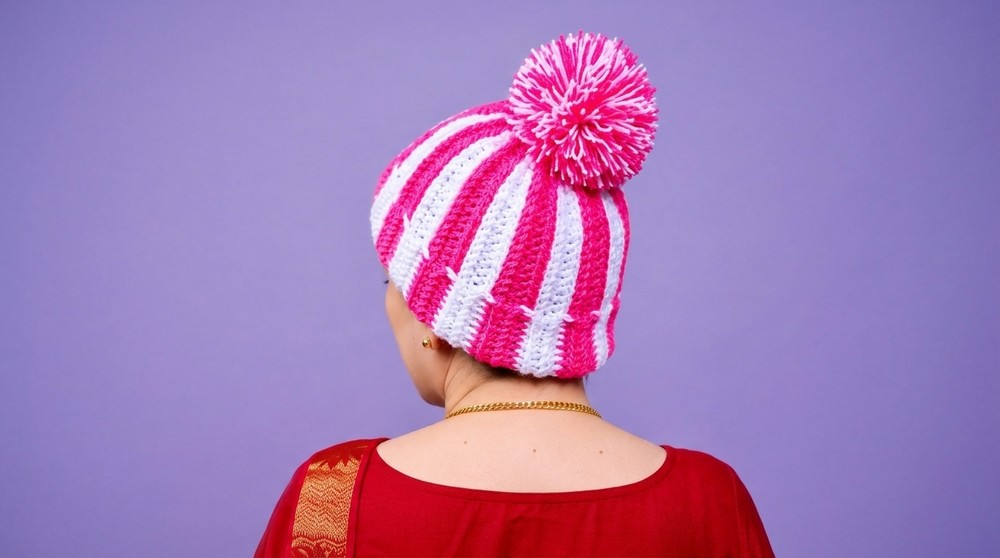
This hat design uses a beautiful textured herringbone stitch worked flat to create a modern beanie that is stretchy and comfortable. The construction starts with a foundation chain based on your measurements, followed by special joining, color changes, and classic seaming techniques. Finished, the beanie is soft, stylish, and perfect for everyday wear or gifting.
Pattern at a Glance
- Structure: Worked flat and seamed to form a textured, slightly tapered hat.
- Features: Herringbone stitch fabric, slip stitch bands, color striping option, stretchy ribbing.
- Customization: Adjust chain length for child or adult sizing. Extra chains allow for a folded brim.
Important Notes
- Always crochet with a relaxed tension, especially in the herringbone stitch, to maximize stretch and comfort.
- The foundation chain measures from crown to base—add 3-4cm for a folded brim.
- Count the first and last six stitches carefully; these form the neat slip stitch band.
- Make every color change as described for consistent stripes.
- After sewing, choose which side you prefer as the “right side”—both are attractive.
Difficulty Level
Beginner to intermediate. Requires basic slip stitch and single crochet skills, paying attention to stitch placement. Ideal for those ready to try a new texture.
Supplies Needed
- Yarn: Worsted weight (No. 4) wool, approx. 120g
- Hook: 3.75mm aluminum crochet hook
- Scissors
- Wool needle (for seaming)
- Stitch marker (optional, for band edge)
Size & Measurements
- Adult hat foundation chain: 43 ch (reference size)
- Standard panel: about 46 cm wide (bottom, un-stretched), 24 cm high
- For children, adjust initial chain per head size; always measure from center crown to ear for height, and measure around the forehead for width.
Gauge & Stitch Details
- Gauge is flexible due to stretch.
- Herringbone stitch produces a textured, soft fabric.
- Slip stitch edge creates stability at brim.
Crochet Abbreviations
- ch: chain
- sl st: slip stitch
- sc: single crochet
- st(s): stitch(es)
- YO: yarn over
Special Stitch Guide
- Slip Stitch (sl st): Insert hook in stitch, YO, pull through both loops.
- Herringbone Single Crochet:
- Insert hook in last loop drawn up, YO, pull through, insert in next base stitch, YO, pull through (3 loops on hook), YO, pull through all loops.
- Repeat, always picking up last completed stitch and the next base stitch.
Complete Crochet Pattern
Foundation Chain and Set-Up
- Ch 43 or desired number for your size (measure from the center crown to base of the ear, add 3–4 cm for a folded edge if desired).
- Turn your work so the chain is flat, not twisted.
Row 1: Slip Stitch Band
- Skip the last ch, begin in next ch from the hook.
- Work 6 sl st, one in each back bump of the chain.
- Pro tip: Turn your chain over and insert hook into the back “little ring” of each chain for a clean edge.
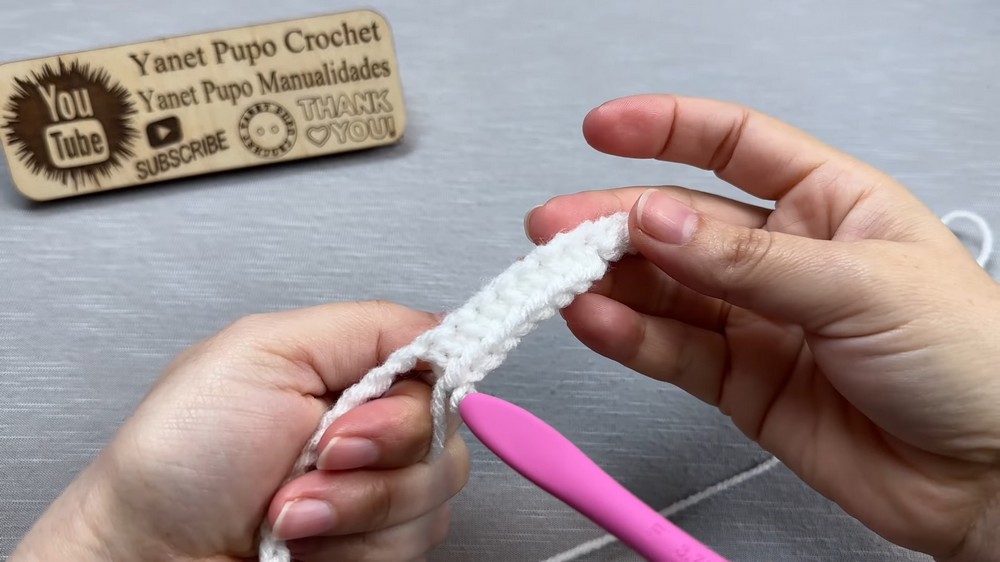
Row 1 continued: Herringbone Single Crochet
- Starting after the 6 sl st, work with a slightly loose tension:
- Insert hook, YO, pull up a loop. Before closing, insert hook in the next base stitch, YO, pull up another loop (3 loops on hook). YO, pull through all loops.
- For each new stitch:
- Always insert hook first into the last strand of previous completed stitch, then into the next base stitch, YO, pull up loop (three on hook), YO, pull through all three.
- Continue this process across the row until last stitch.
Row 1 End:
- Work the final stitch as herringbone single crochet.
- Ch 1 (for turning, does not count as stitch), turn your work.
Row 2:
- 6 sl st in back loop only of first 6 stitches.
- Now, work one herringbone single crochet (see Special Stitch Guide above) across remain row:
- Always keep your tension even and pick up just the back loop for depth and texture. Use a marker to mark slip stitch section if needed.
- At row end, ch 1, turn.
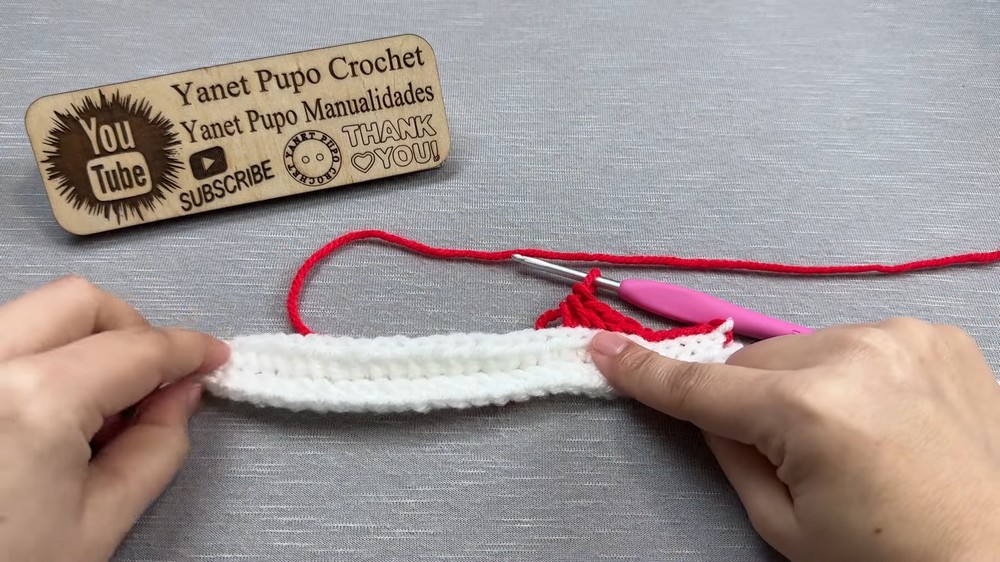
Row 3 and Onward:
- Repeat Row 2 for entire length.
- Every row begins with 6 sl st worked in back loop only, followed by herringbone single crochet across to end.
- Change colors as desired:
- For stripes: After completing a row, cut current yarn, undo the last stitch, join new color using a nearly invisible knot, finish the row in new color.
- Make 2 rows per color for neat stripes (or alternate as you prefer).
Continue until you reach the desired width:
- For reference, 40 rows = approx. 46 cm for adult size (un-stretched).
- The panel will be narrower at the top and wider at the bottom due to stitch construction.
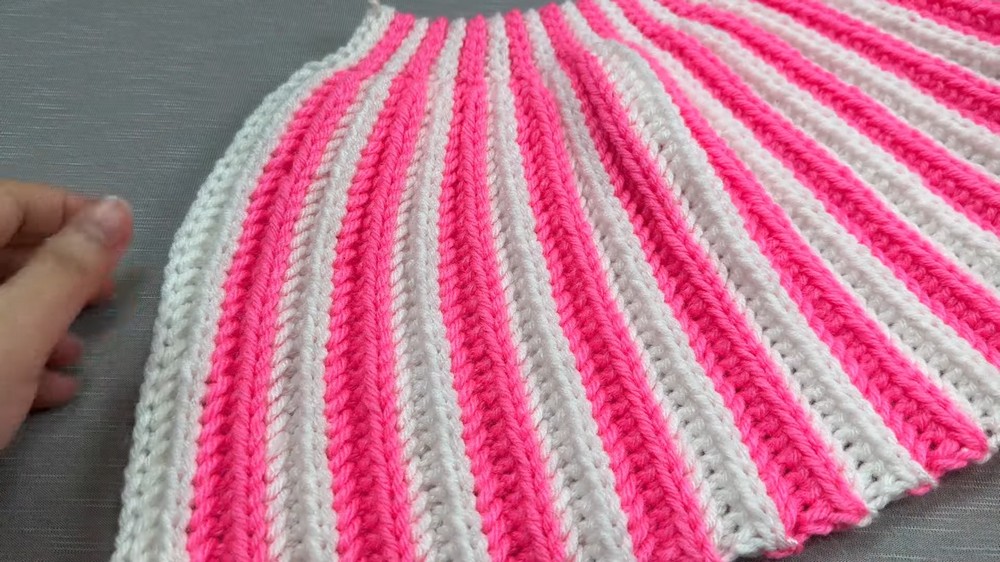
Color Tip:
- Alternate two rows per color. Finish with the original start color so the ends match seamlessly before assembly.
Assembly
Seaming the Sides
- Place finished panel with right sides together (choose which is the right side).
- Sew sides together:
- Join at the edge with matching color yarn or use a wool needle.
- Work one strand from each side together by sl st through both edges (or whipstitch with needle).
- Continue up to top edge.
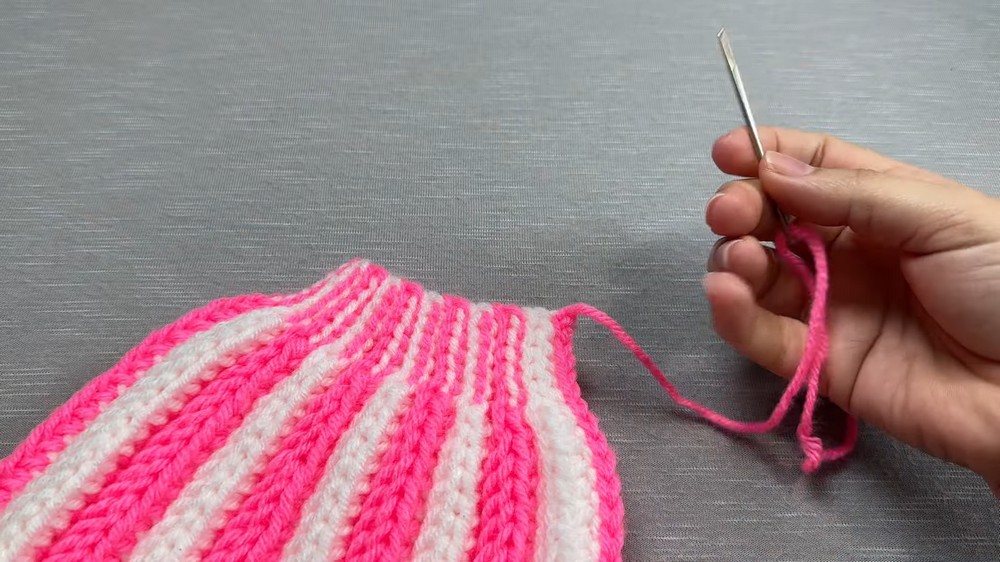
Gathering the Crown
- Leave a 30cm yarn tail at top.
- Using a wool needle, weave the yarn in a zig-zag (one stitch up, one stitch down) along the top edge.
- Work all the way around.
- Gently pull yarn to cinch closed, tightening the crown.
- Add a few small stitches through gathered top to reinforce and close the hole.
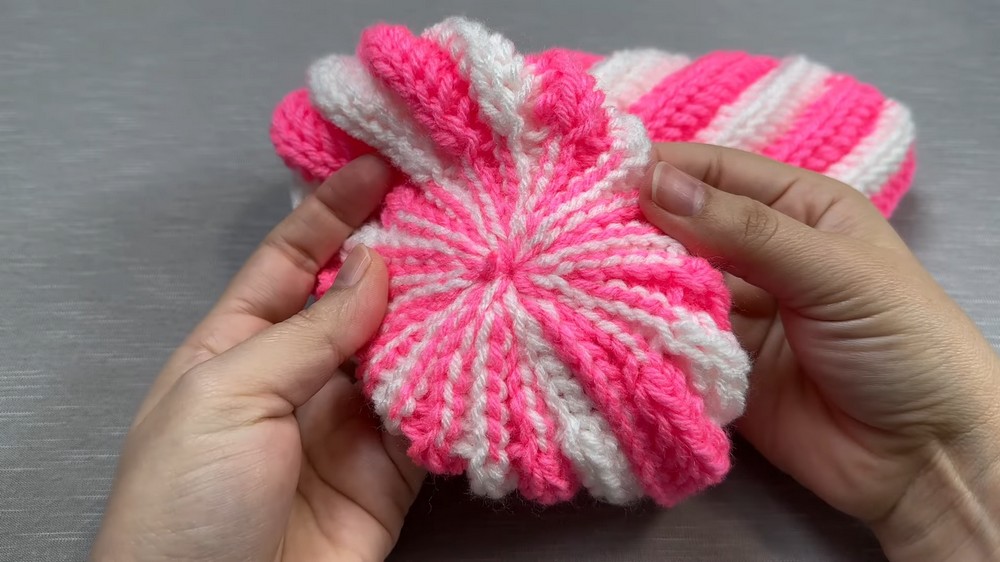
Finish and Turn
- Fasten off, make a secure knot, and cut excess yarn.
- Turn the hat right side out.
- The lower edge may be folded up for a decorative brim.
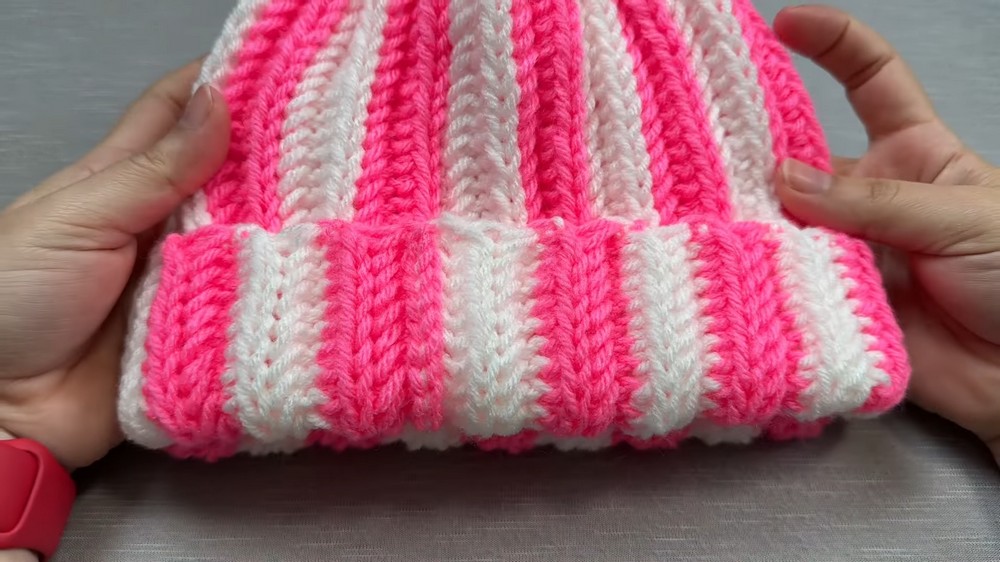
Finished Size and Final Notes
The completed hat is highly elastic with plenty of stretch. It measures about 46 cm around the base and 24 cm high before stretching. Adjust measurements as needed for smaller or larger heads. The fabric has a subtle slant and beautiful drape due to the herringbone stitch.
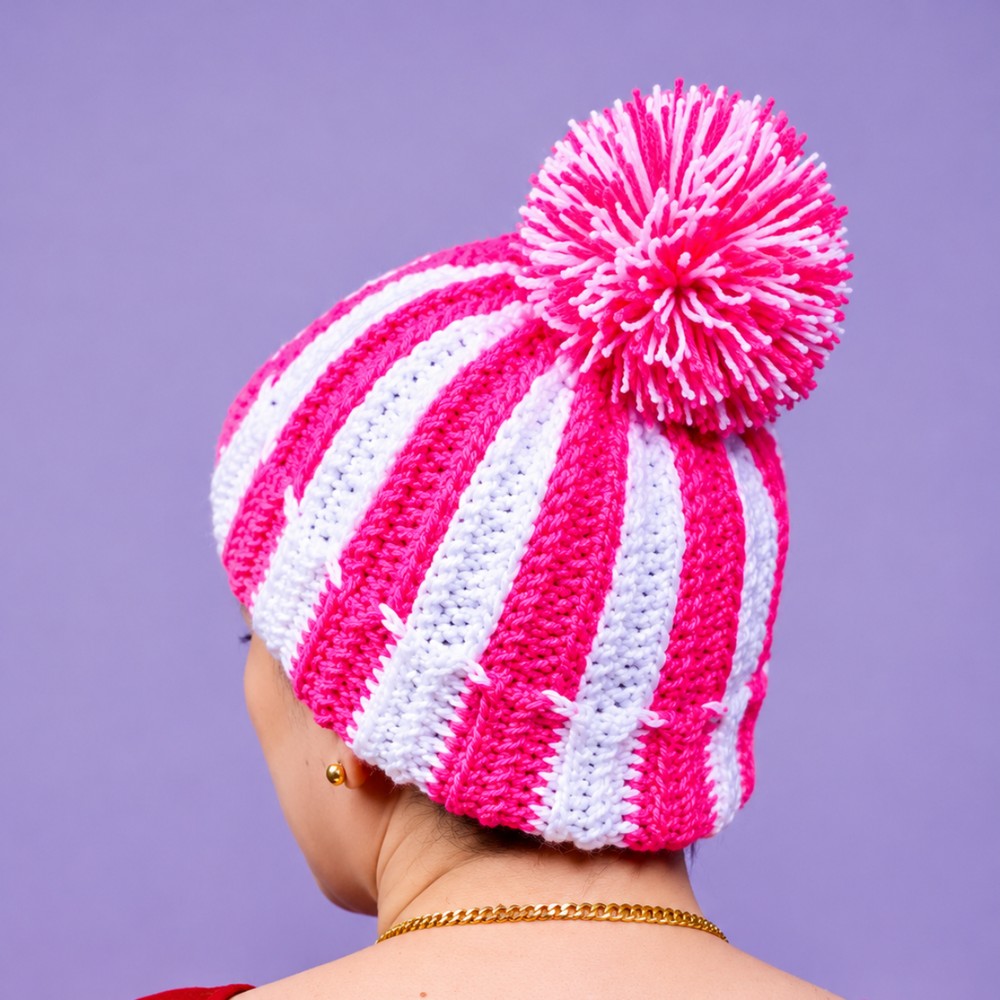
The result is a stylish, comfortable, and easy-to-customize hat suitable for any season. Choose your favorite colors for stripes, fold a brim, and enjoy a hand-knit look with strong shaping and durability. This design will fit most adults and can be adjusted for any size by changing the foundation chain or the number of rows.


Leave a Reply