

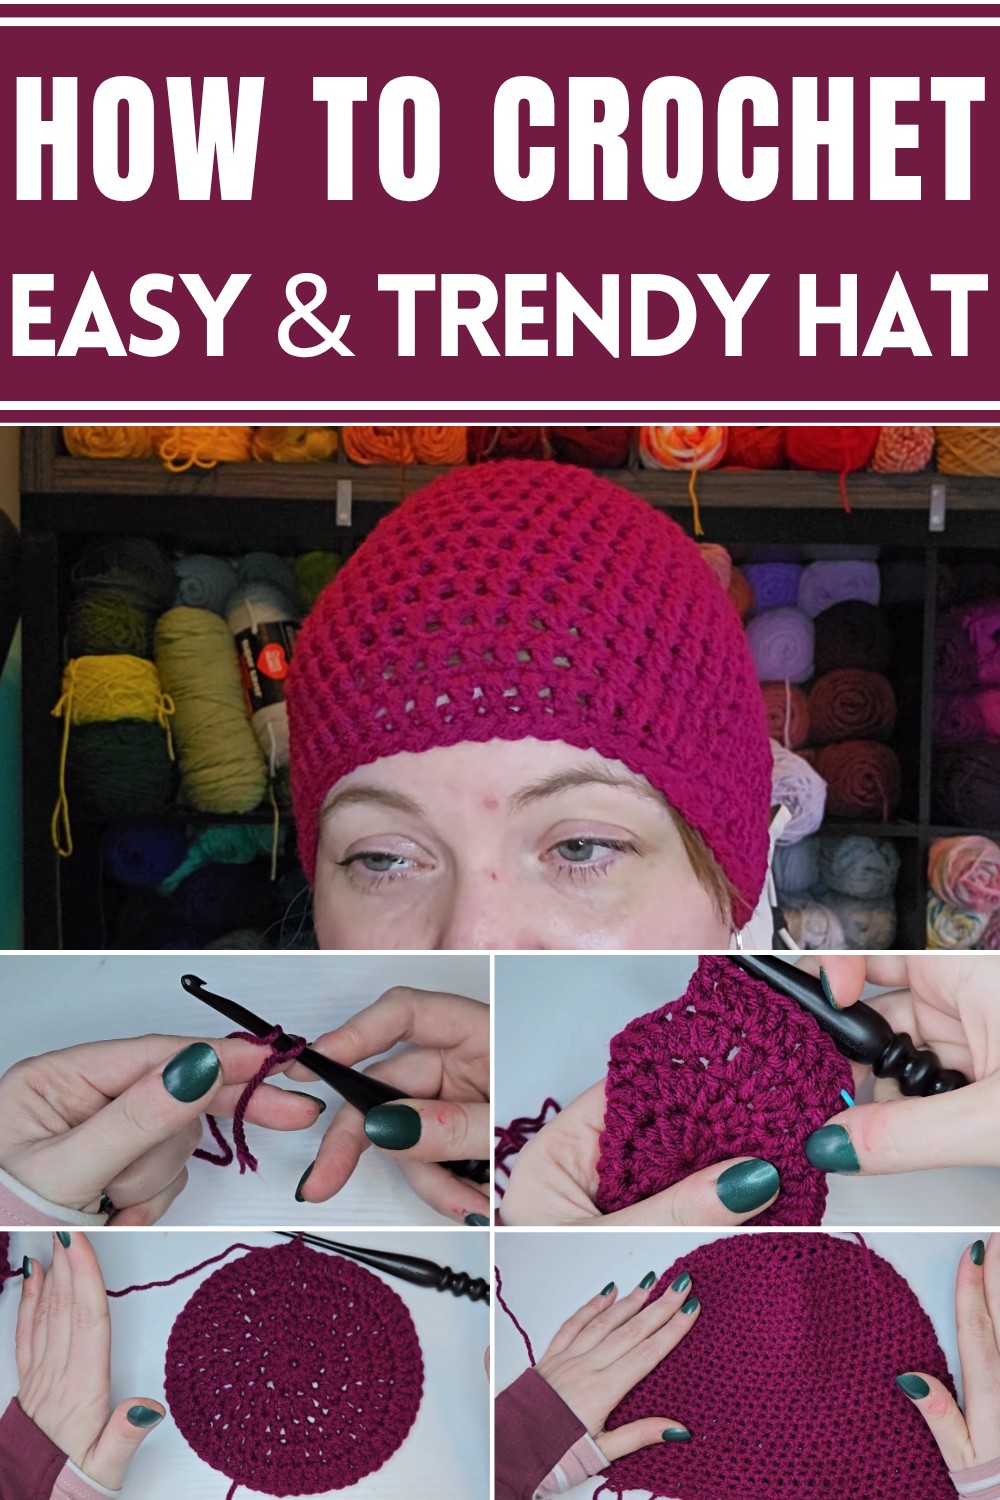
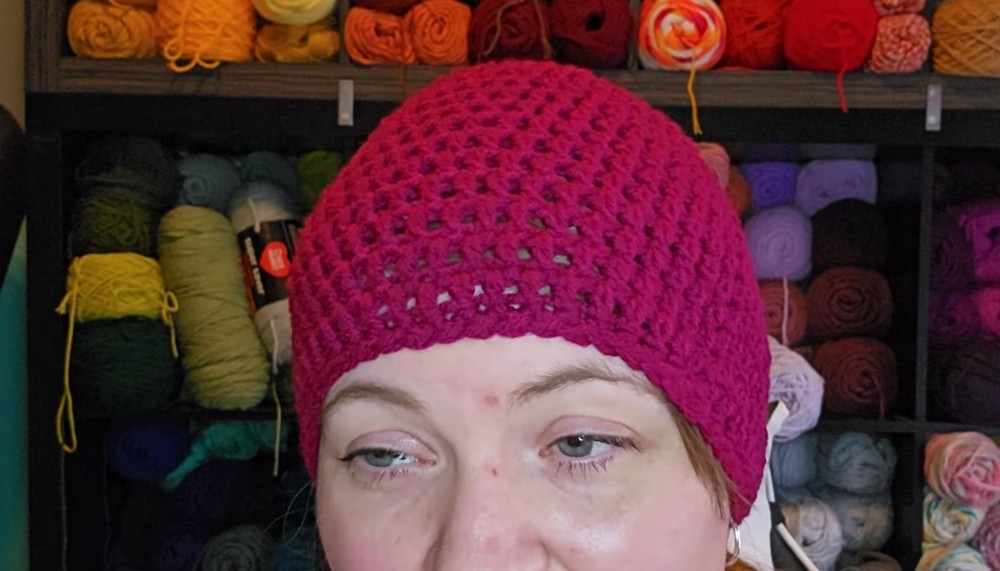
Stay cozy and stylish with the Crochet Hat, a versatile accessory designed to keep you warm while adding a charming touch to your everyday outfits.
Keeping warm while looking stylish has never been easier. A crochet hat offers comfort and versatility for every season, making it a favorite for all occasions. Its soft, breathable design provides warmth during cold days, yet remains lightweight enough for sunny weather, making it the perfect year-round accessory.
Ultimate Crochet Hat Pattern For Every Style
Stylishly Handmade with intricate pattern, the crochet hat adds a touch of charm to both casual and sophisticated outfits, reflecting personality and thoughtfulness. The material ensures durability while providing a snug fit that feels cozy without pulling or discomfort. It's more than just an accessory; it's a practical solution for protecting against chilly winds or adding a layer of flair to an everyday look.
Made sustainably, many crochet hats align with eco-friendly values, offering a thoughtful alternative to fast fashion. With countless designs, colors, and textures available, it’s easy to find one that complements your unique style. Whether gifting or enjoying yourself, this handmade accessory balances functionality with artistry. Perfect for all seasons and all ages, the crochet hat is an ideal blend of comfort, utility, and timeless elegance. Its appeal lies in how effortlessly it enhances outfits while remaining reliable and thoughtfully designed.
Materials Needed
To make the beanie, you'll need the following supplies:
- Yarn: A skein of worsted weight (#4 yarn recommended). Optionally, you can use DK or chunky weight yarn, but adjustments to hook size and stitch count may be needed.
- Hook: A 5.5 mm crochet hook (adjust for yarn weight as needed).
- Other Supplies:
- Yarn needle (for weaving in ends).
- Scissors.
- Stitch marker (optional for tracking rounds).
Step 1: Preparing the Yarn
Begin by finding the center-pull end of your yarn skein. To do this:
- Insert a finger into each side of the skein to gently separate it.
- Locate what feels like a loose thread and pull carefully to reduce yarn barf.
While this isn’t a perfect method, it helps make working with the yarn easier.
Step 2: Making the Base Circle
The beanie is created top-down. Start with a small base circle:
Option 1: Magic Ring
- Wrap the yarn around your fingers to form a loop and create a criss-cross.
- Slide your hook under the first thread and pull through the second thread.
- Chain two to secure the ring.
- To tighten, pull on the tail end.

Option 2: Chain Circle
- Create a slip knot, then chain 4 stitches.
- Insert your hook into the first chain and pull through to form a loop.
- Chain two to begin working into the center.
Step 3: Round 1 – Adding Double Crochets
- Chain 2: This adds height (not counted as a stitch).
- Create 11 double crochets into the ring.
- To make a double crochet: Yarn over, insert hook into the ring, yarn over, pull through (3 loops on hook). Yarn over, pull through 2 loops, yarn over, pull through remaining 2 loops.
- Tighten the circle by pulling the tail end.
- Slip stitch into the first double crochet to join.
You now have 11 double crochets forming the base of your beanie.
Step 4: Rounds 2–5 – Increasing
Each round adds width to the beanie. Follow these steps for each round:
Round 2: Increase to 22 stitches.
- Chain 2: Adds height (not counted as a stitch).
- Place two double crochets into each stitch from the previous round.
- Slip stitch into the first double crochet to join.
Round 3: Increase to 33 stitches.
- Chain 2 and place two double crochets in the first stitch.
- Follow the sequence: 2 double crochets in one stitch, then 1 double crochet in the next stitch. Repeat this pattern around.
- Slip stitch to join.
Round 4: Increase to 44 stitches.
- Chain 2 and place two double crochets in the first stitch.
- Follow the sequence: 2 double crochets in one stitch, then 1 double crochet in the next two stitches. Continue this pattern until the end.
- Slip stitch to join.

Round 5 (Final Increase Round): Increase to 55 stitches.
- Chain 2 and place two double crochets in the first stitch.
- Follow the sequence: 2 double crochets in one stitch, then 1 double crochet in the next three stitches.
- Slip stitch to join.
Step 5: Rounds 6–16 – Adding Length
With the width complete, work the necessary length of the beanie:
- Chain 2 at the beginning of every round.
- Place 1 double crochet in each stitch all the way around.
- Slip stitch into the first double crochet to join each round.
Customize the number of length rows depending on the size desired. For this tutorial, 11 rows were added for a total of 16 rows (includes the 5 increase rounds).

Step 6: Finishing the Edge
You can finish the brim of the beanie in several ways. For this tutorial, a row of single crochet was used:
- Chain 1 and single crochet into each stitch around. (Insert hook into stitch, yarn over, pull through, yarn over, pull through both loops).
- Slip stitch into the first single crochet to join.
Step 7: Weaving in Ends
- Use your yarn needle to weave in the ends at the top and bottom of the hat.
- Secure the top of the beanie by weaving the yarn through the ring in multiple directions (back, front, and backward again).
- Weave the tail at the bottom into the stitches from the last row.

Optional: Adding Pom-Poms
If desired, add a pom-pom to the top using a store-bought faux fur piece or create one with a pom-pom maker or by hand.
Conclusion
Congratulations on completing the basic beanie! This pattern is beginner-friendly, customizable, and perfect for quick projects, charitable donations, or thoughtful gifts. Whether you keep the design simple or embellish it with pom-poms, it’s sure to bring warmth and happiness to the wearer. With this timeless pattern in your toolbox, you’ll be able to crochet hundreds of hats for any occasion.


Leave a Reply