

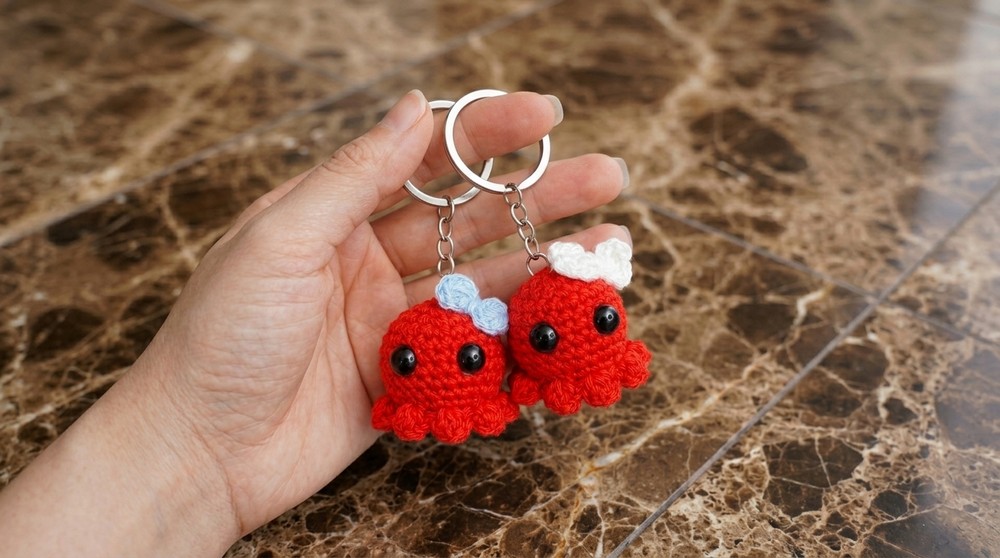
Learn how to make a cute crochet octopus keychain, perfect for beginners. Add charm to your keys or bags with vibrant colors and adorable curly tentacles.
Making a tiny, cute octopus that you can carry everywhere sounds like so much fun. The Free Crochet Octopus Keychain Pattern lets you do just that. This little octopus isn’t just adorable, it’s also easy to make and very useful. You can use it as a keychain, hang it on your backpack, or even turn it into a small toy. Plus, if you want, you can change the size or colors to make lots of different versions. For example, try using bright colors for a fun look or soft pastels for something gentle.
Adorable Free Crochet Octopus Keychain Pattern
The octopus looks super sweet with its big round head and eight tiny legs. It feels soft because it’s made with special yarn called worsted weight yarn, which is nice to touch and easy to crochet. You can pick any color you like from sunny yellow to deep blue and make your octopus stand out. When finished, it’s small enough to fit in your palm, making it perfect for carrying around or giving as a cute gift.
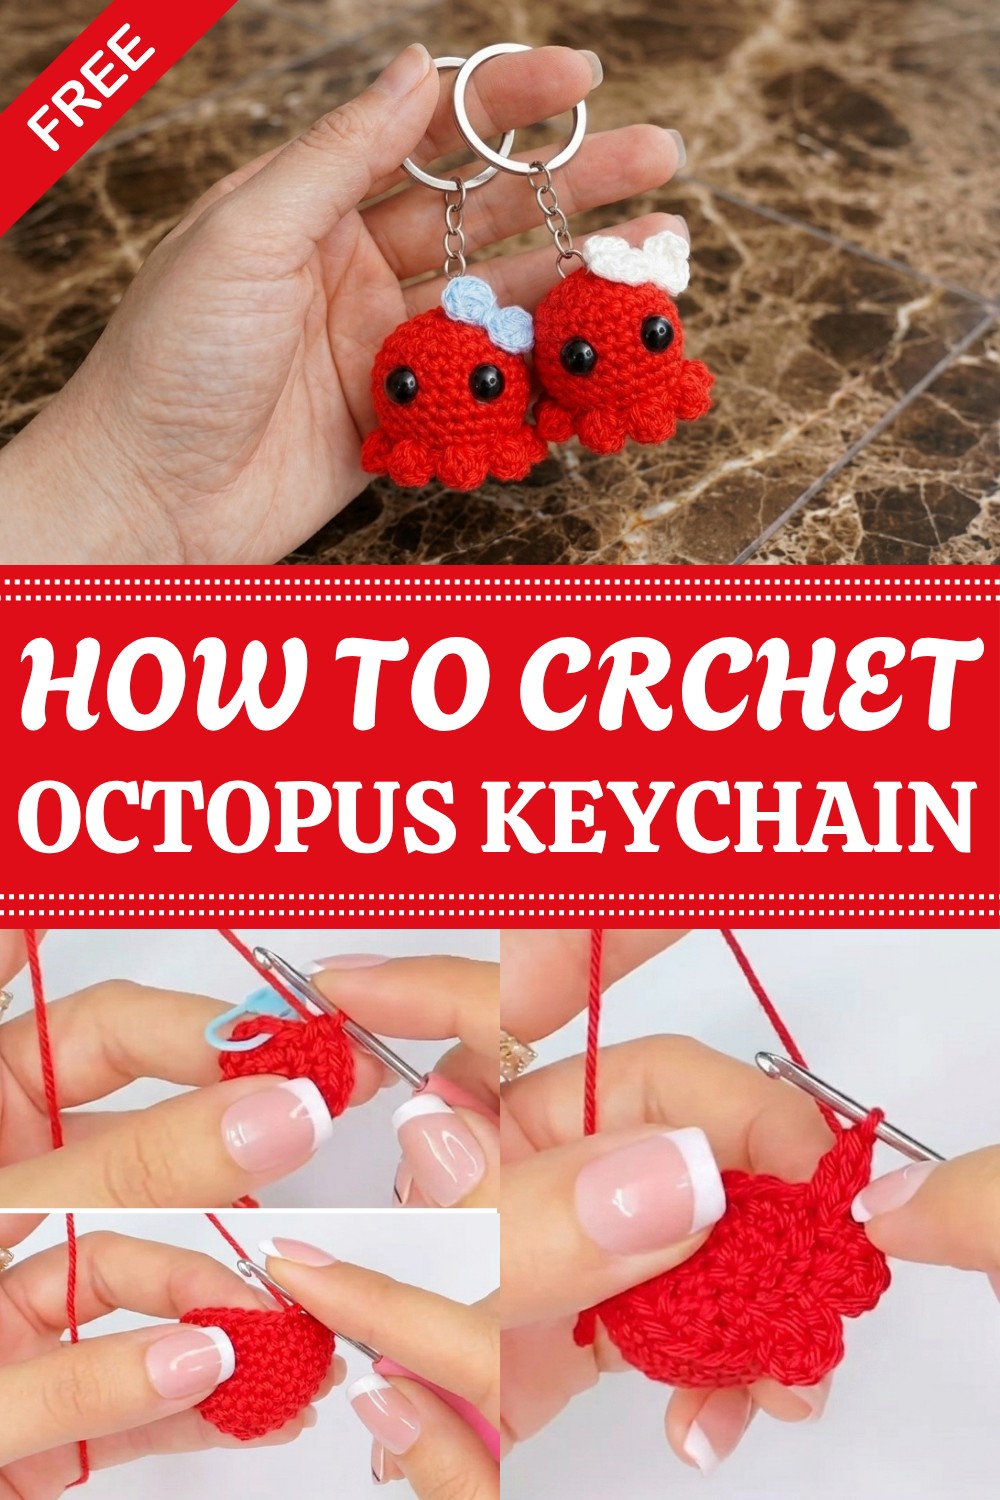
This project is made using a 3.5 mm (E) crochet hook, which is just the right size to make tight stitches so stuffing won’t show through. The most important stitch in this pattern is the single crochet, which keeps the octopus firm and neat. You also use a bit of the magic ring to start making the round parts, which helps give the octopus its perfect shape.
The Free Crochet Octopus Keychain Pattern is fantastic for people of all ages who want a fun, quick project. You can also use this pattern to make a bag charm, a zipper pull, or a cute little gift topper. If you like small, creative projects that you can finish fast and enjoy, this octopus keychain is just right for you.
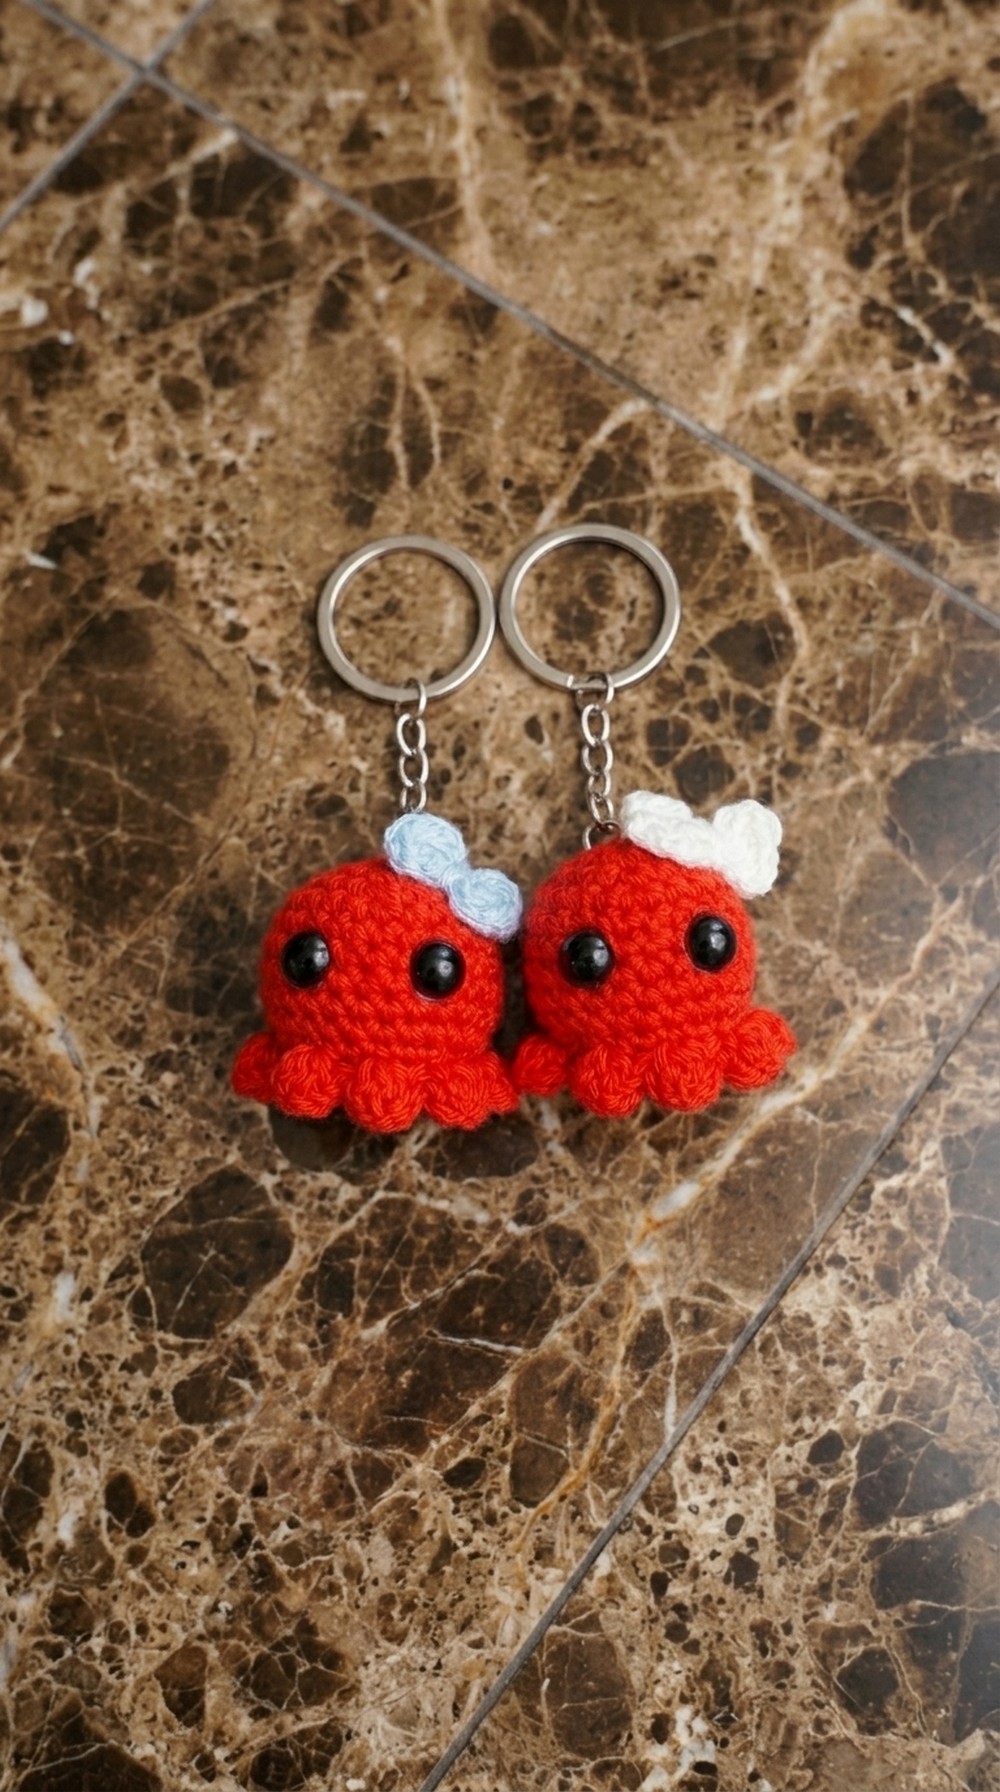
Cute Mini Octopus Amigurumi with Bow – Step by Step Pattern
Before You Start
- This is a small and quick project, perfect for using up scrap yarn.
- Makes a cute charm, keychain accessory, or small gift for loved ones.
- The bow and octopus can be made in any color scheme.
- Some basic sewing and stuffing is involved.
- Familiarize yourself with working in the round with single crochet increases and decreases.
Pattern Notes
- The octopus is crocheted amigurumi-style, in a spiral without joining rounds (use a stitch marker).
- Legs/tentacles are made by working into the front loops left from a decrease round.
- The bow is crocheted separately in rows, then fastened to the head.
- Safety eyes or half-pearls are attached with glue; embroidery works as a substitute.
- Adjust hook and yarn for a larger or smaller octopus.
How I Made the Crochet Pattern
- Transcribed and organized every step from the video tutorial.
- Made sure to count stitches and rounds precisely.
- Clarified how to work tentacles, bow, and assembly for easy replicability.
- Included tips for eyes and variations on facial details.
Skill Level
- Beginner (some Amigurumi/foundation in the round knowledge helpful)
Finished Size
- About 4–6 cm tall (size depends on yarn and hook)
Materials
- Acrylic yarn (fine/Diva Plus or similar); two colors for body and bow
- 2.5 mm crochet hook
- Yarn needle
- Polyester stuffing
- Scissors
- Stitch marker
- Half pearl eyes, safety eyes, or embroidery thread for face
- Glue (for eyes/bow) or hot glue gun (optional)
- Keychain ring (optional)
Measurements / Sizing
- Body circumference after increase rounds approx. 11–14 cm
- Finished mini size fits comfortably as a bag charm or toy
Gauge
- Not essential for amigurumi. Use a hook size to make tight, gap-free stitches.
Stitch Abbreviations
- MR = magic ring
- sc = single crochet
- inc = increase (2 sc in same stitch)
- dec = decrease (sc2tog, single crochet 2 together)
- ch = chain
- dc = double crochet
- sl st = slip stitch
- BLO = back loop only
- FLO = front loop only
Special Stitches
- Amigurumi Decrease (sc2tog): Insert hook in next st, yarn over, pull up loop, insert into next st, yarn over, pull up loop (3 loops on hook), yarn over, pull through all 3.
- Tentacle Start: Work in unworked front loops left from BLO round (see tentacles section).
The Pattern!
Octopus Body (Main Color)
Round 1:
- MR, 6 sc in ring. (6)
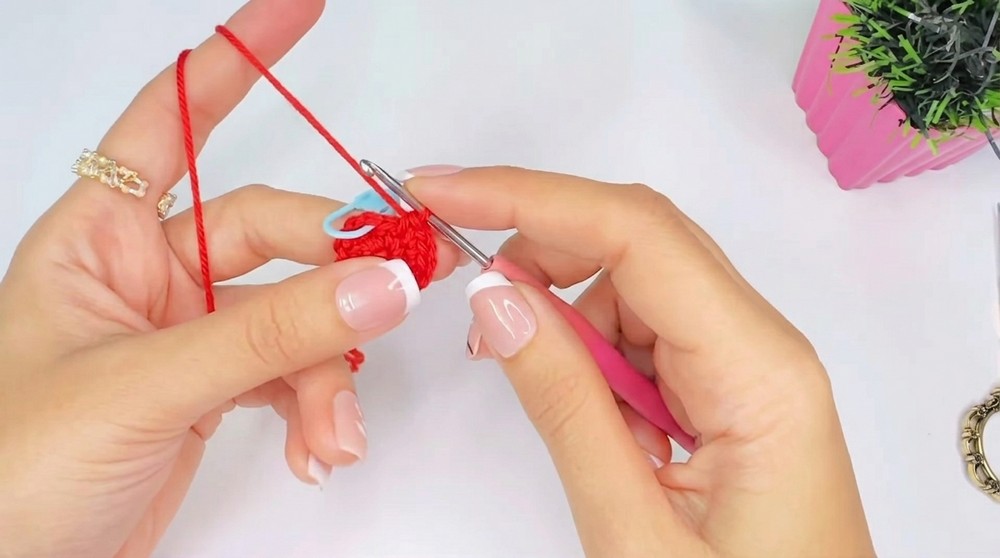
Round 2:
- 2 sc in each stitch around (inc). (12)
Round 3:
- (1 sc in next st, inc in next) repeat around. (18)
Round 4:
- (1 sc in next 2 sts, inc in next st) repeat around. (24)
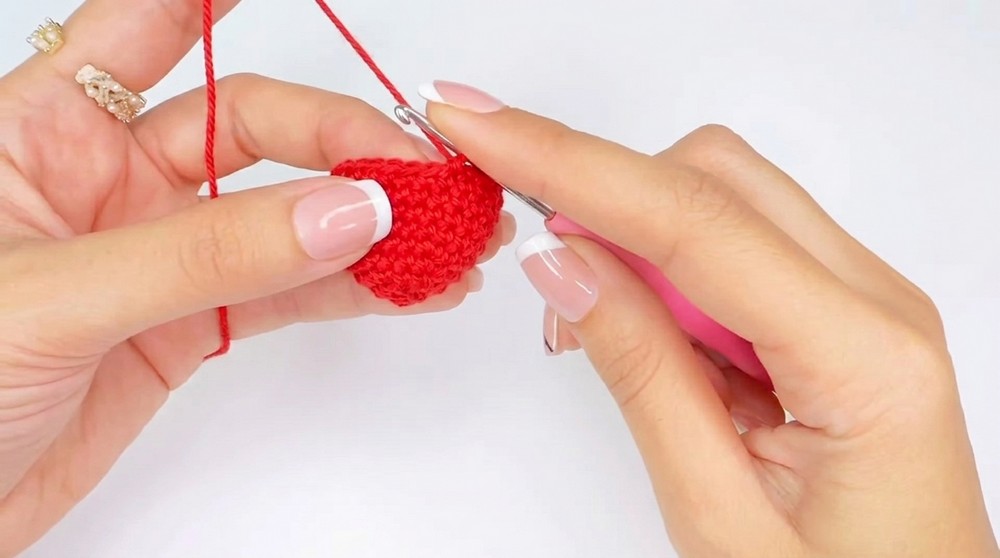
Rounds 5–9:
- Sc in each stitch around. (24 st each round)
At this point, use stitch marker for first st. Continue working in a spiral. You’ve finished the rounded head/body.
Round 10 (Start Decreases):
- (sc in next 2 sts, dec over next 2 sts) repeat around. (18)
Round 11 (BLO, Decrease for closing):
- (sc in BLO next st, dec in BLO next 2 sts) repeat around. (12)
- Pause here to stuff the head firmly.
Round 12:
- (dec over next 2 sts) repeat around. (6)
- Fasten off, leave tail for closing.
- Use yarn needle to weave through the front loop of each final st; pull tight to close the hole securely. Weave in end.
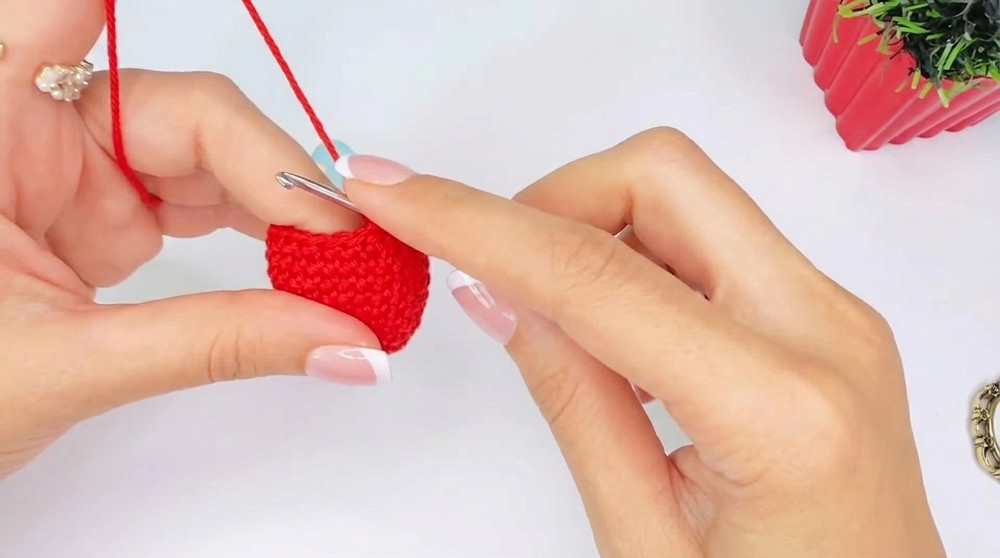
Tentacles (Front Loops left from BLO Round)
- With octopus right side up, locate unworked FLO from Round 11.
- Attach same color yarn to any front loop.
- Ch 2, 2 dc in same loop, ch 2, sl st in same loop, sl st in next FLO (repeat on two consecutive FLOs; this forms one leg).
- For each tentacle:
- Ch 2, 2 dc in same FLO, ch 2, sl st in same loop;
- Then sl st in next FLO and repeat process.
- Continue evenly around until you have 9 tentacles. You will finish last tentacle by slip stitching to the starting point.
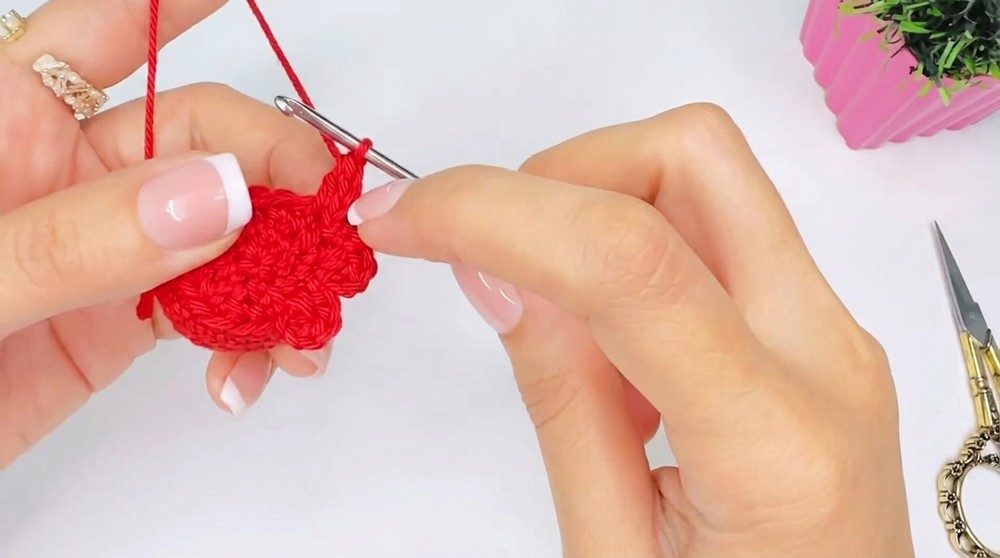
Don’t forget to weave in any tails when finished. All tentacles should be the same size and evenly spaced.
Bow (Contrasting Color)
- Ch 3.
- Skip 2 chains, 3 dc into last chain.
- Ch 2, sl st into same chain as the 3 dc (first half of bow made).
- Ch 3, 3 dc into same chain, ch 2, sl st again into same chain.
- Ch 1, leave a long tail to sew to head, then fasten off.
You should have a double-petal bow shape. Adjust chains/dc for a bigger/smaller bow.
Assembly & Finishing
- Stuff octopus firmly after decreases, before final closure.
- Close opening as described, weaving yarn through front loops.
- Using glue or needle, attach eyes (between rounds 4 and 5; count stitches to make them symmetrical).
- Attach bow to side/top of head with yarn tail or glue.
- Embroider mouth and cheeks if desired.
- Add a keychain ring on top of the head with a yarn loop if making a keychain.
- Hide and secure all yarn tails with the needle.
Solution of Problem
- If you have trouble with gaps, try using a smaller hook.
- If tentacles look uneven, count carefully and mark FLO positions before starting.
- Safety eyes are a choking hazard for young children – embroider eyes instead.
What You Can Make By Using These Stitches
- Keychain octopus charms
- Plushies for kids or gifts
- Desk ornaments or pin cushions
- Mini octopuses for mobiles or baby gyms
- Multi-colored garlands with bows
You’re finished! This adorable octopus amigurumi comes together quickly and is perfect for gifting or personalizing. Try experimenting with colors, bows, and facial details to make it your own.




Leave a Reply