

Bring home a fun and unique Crochet Spiderman that adds charm to your collection and makes a perfect handmade gift for fans of all ages and skill levels.
Have you ever dreamed of holding a tiny superhero in your hands? The Crochet Spiderman Amigurumi is a small and cute version of Spiderman that you can hold in your hand. It has bright red and blue colors just like the real Spiderman costume and big friendly eyes that make it look fun and inviting. This soft and small toy is perfect to put on your desk, shelf, or even carry around as a keychain.
Cute Crochet Spiderman Amigurumi Free Pattern for Superhero Fans
This Amigurumi is great for anyone who loves superheroes, whether you are a kid or an adult. It makes a lovely handmade gift or a nice decoration for your room. The colors are bright and cheerful, and the soft yarn makes it nice to touch and hold.
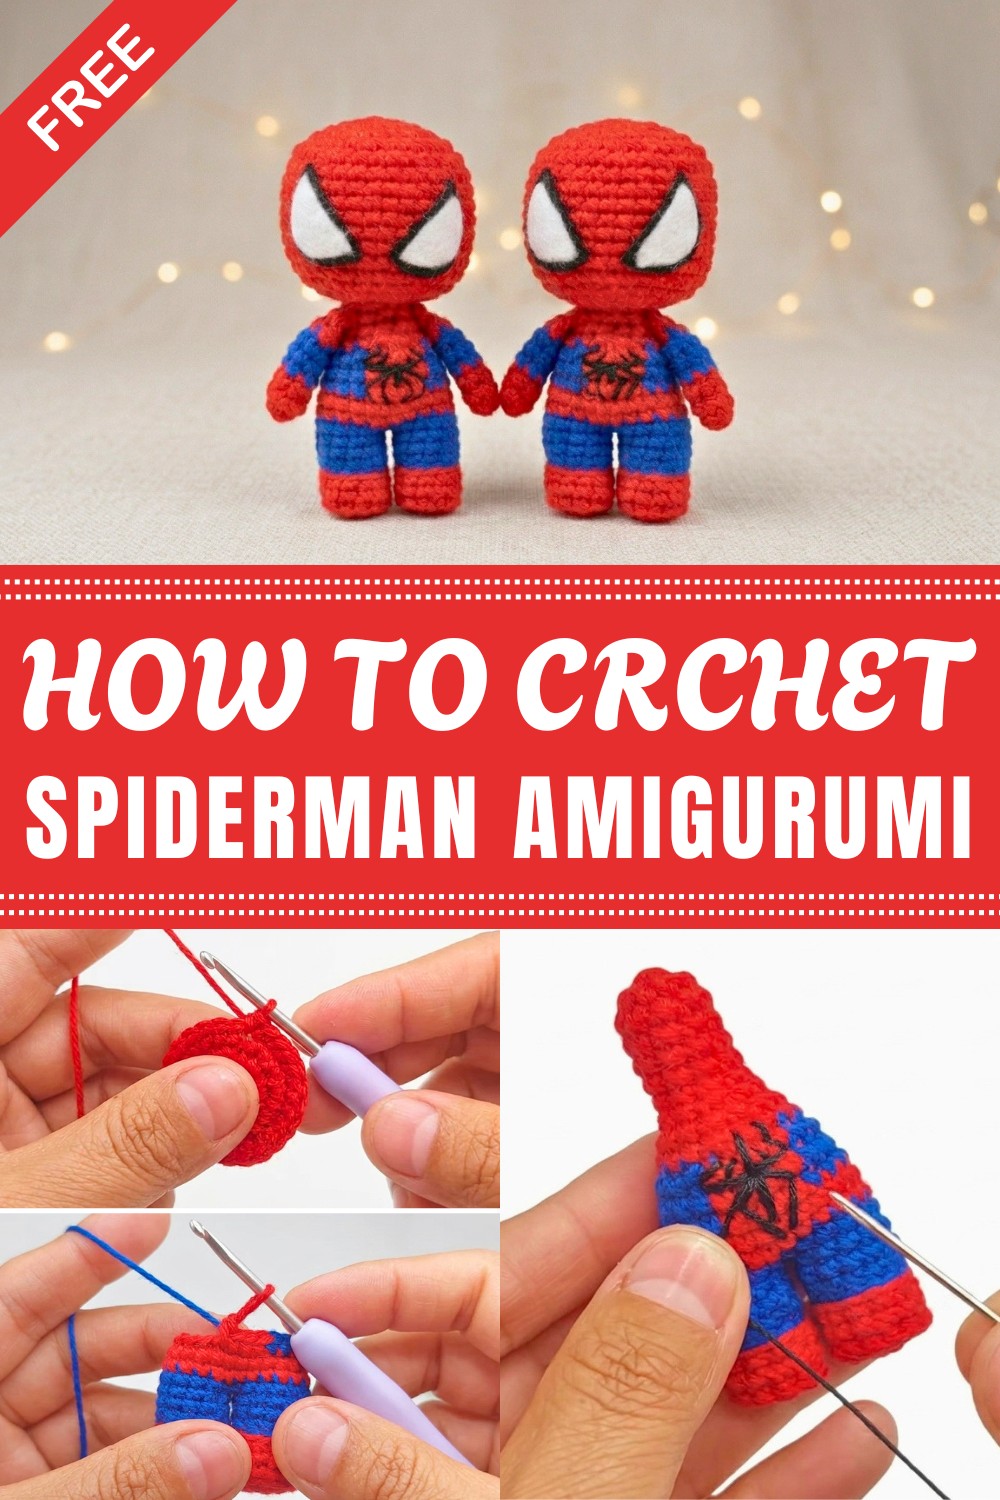
Though the design looks detailed with its web patterns and costume colors, it is simple to make. People who are new to crochet will enjoy this project because it is easy and fun. It also helps you learn new skills while making something special you can be proud of.
If you want to make your own little Spiderman, a free pattern is ready for you. It will guide you step by step. Give it a try and bring your very own crochet superhero to life today!
Amigurumi Spider-Man Pattern
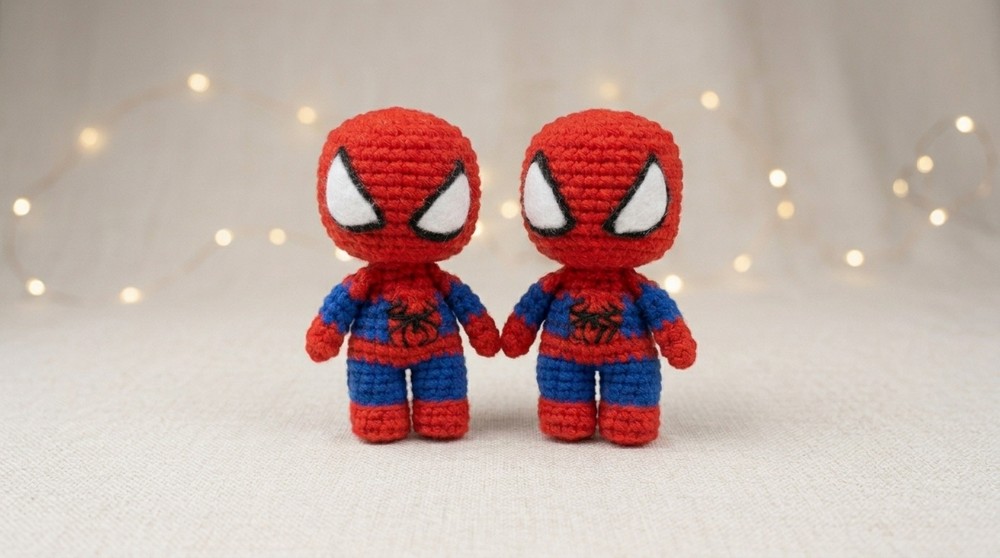
In this pattern, I will show you step by step how to make an amigurumi inspired by Spider-Man. The finished piece measures 8 cm tall and is crocheted using a 1.75 mm Tulip crochet hook, four-ply fingering-weight cotton thread (Noreli brand), and features felt and embroidery details for the eyes and spider symbol.
Pattern Basic Points
General Construction
- Constructed in joined rounds and rows, with color changes for authentic Spider-Man detail.
- The body is made from the legs up, joined at the hips before creating the torso and neck.
- Arms are made separately and sewn on after the body is completed.
- The head is worked as one piece, all in red, and topped with custom felt eyes.
- Fine details (the spider logo and eyes) are added at the end for full character.
Special Notes
- Use a stitch marker or a contrasting thread to mark the first stitch of every round—this keeps stitch counting accurate.
- For a smooth finish, always crochet tight enough so stuffing does not show through.
- Compacting stuffing with a felting needle or sharpened needle improves firmness and helps shape limbs/body.
- Use pliers or tweezers for easier stuffing in small parts, such as legs and neck.
- For color changes, always finish the last step of the previous stitch with the new color yarn for seamless transitions.
Skill Level
Intermediate – Suitable for crocheters comfortable with basic amigurumi techniques, invisible decreases, seamless color changes, and basic embroidery.
Materials
- Yarn: Four-ply (fingering-weight) cotton thread in red and blue
- Felt: Small pieces of white and black felt for eyes
- Embroidery Thread: Very thin black thread for chest spider symbol
- Hooks: 1.75 mm crochet hook (Tulip recommended)
- Stuffing: Polyfill or appropriate amigurumi stuffing
- Needles: Sharpening/compacting needle, tapestry/embroidery needle
- Accessories: Pliers or tweezers for stuffing
- Glue: Fabric or craft glue for the felt eyes
- Scissors
- Stitch marker or scrap yarn
Measurements / Sizing
- Finished size: 8 cm tall
Gauge
- Not critical for amigurumi; use a hook size that gives a firm fabric with your chosen yarn.
Stitch Abbreviations
| Abbreviation | Term |
|---|---|
| MR | Magic Ring |
| sc | single crochet |
| inc | increase (2 sc in one stitch) |
| dec | decrease |
| sl st | slip stitch |
| ch | chain |
| BLO | back loop only |
Special Stitches
- Magic Ring (MR): Create a tight circle for amigurumi bases.
- Invisible Decrease: Insert hook through front loops of two stitches, yarn over and pull through both, then yarn over and pull through remaining loops.
- BLO (Back Loop Only): Insert hook into the back loop of the stitch only, not both loops.
Pattern
Legs (Make 2)
With red:
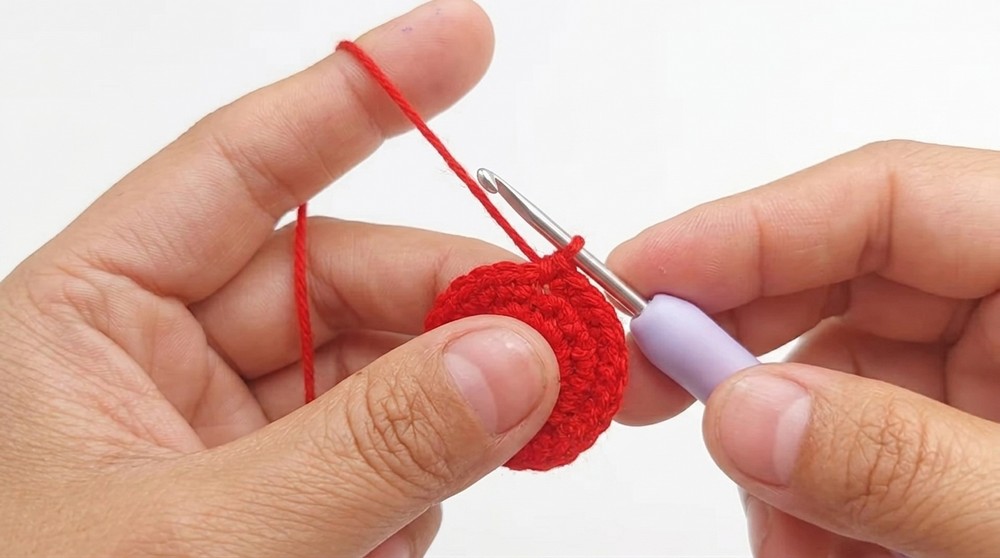
Round 1:
- 6 sc in MR (6)
Round 2:
- Increase in each st around (12)
Round 3:
- 12 sc BLO (12)
Rounds 4–5:
- 12 sc (12; 2 rounds)
Change to blue:
Round 6:
- 12 sl st BLO (12)
(Don’t pull too tight; makes next round easier.)
Round 7:
- 12 sc BLO (12)
Rounds 8–9:
- 12 sc (12; 2 rounds)
Finish off first leg and cut yarn.
Work second leg as above but do not cut the yarn at the end of Round 9.
Join Legs / Body
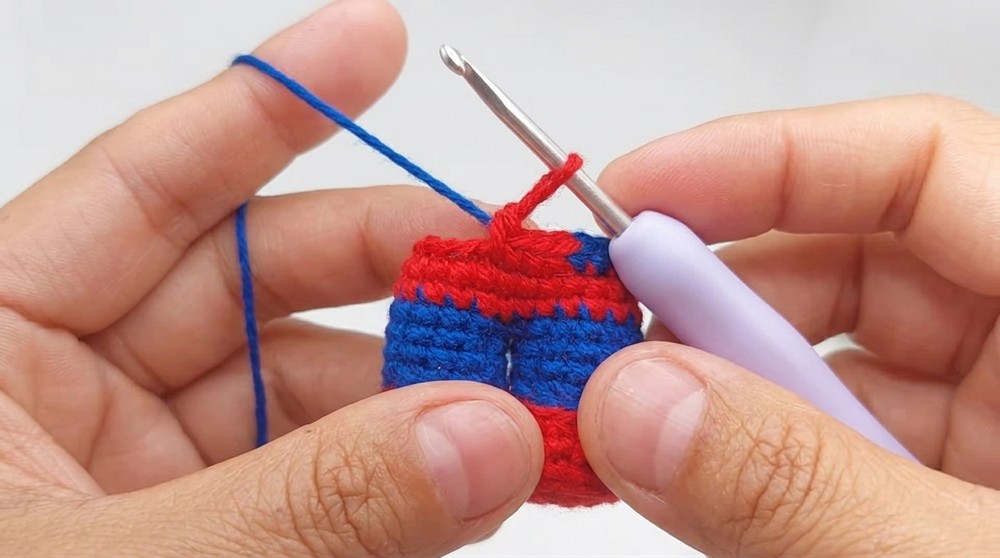
Round 10:
- Join legs: sc around 12 sts of first leg, then continue directly to 12 sc of second leg (24)
- Mark first st with stitch marker/scrap yarn.
Round 11:
- Change to red: 24 sc (work first sc in same place as sl st join)
Round 12:
- 24 sc (do not work into slip stitch and chain from previous round—skip them)
Stuff legs firmly, using clamps/pliers for best result. Compact stuffing as needed.
Torso / Chest
Round 13:
- Change to blue: 4 sc, 1 dec, 4 sc, change to red: 4 sc, change to blue: 4 sc, 1 dec, 4 sc (22 sts)
Round 14:
- Blue: 4 sc, 1 dec, 3 sc, change to red: 4 sc, change to blue: 3 sc, 1 dec, 4 sc (20)
Round 15:
- Blue: 8 sc, change to red: 4 sc, change to blue: 8 sc (20)
From here, work in red only:
Round 16:
- 2 sc, dec five times (15)
Round 17:
- 15 sc
Round 18:
- sc, dec five times (10)
Rounds 19–24:
- 10 sc (each round for 6 rounds)
Pause to stuff upper body. Use needle to compact stuffing, especially in neck region.
Round 25:
- 5 dec (5)
- Close with inverted magic ring: pull yarn through front loops of each stitch, tighten to close. Push center inside for a flat finish.
Spider Symbol Embroidery
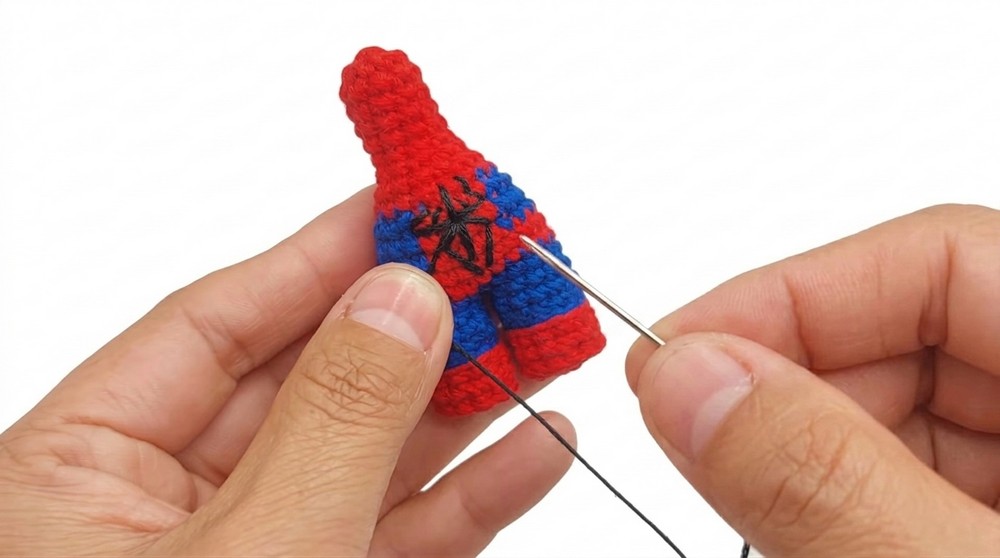
- Using thin black thread, embroider a spider over three body rounds, following straight vertical and horizontal stitch lines.
Arms (Make 2)
With red:
Round 1:
- 6 sc in MR (6)
Rounds 2–3:
- 6 sc (6 for each round)
Change to blue:
Rounds 4–6:
- 6 sc (6 each round; 3 rounds)
Change to red:
Round 7:
- 6 sc (6)
- Flatten the end and join both sides with 3 sc across.
- Fasten off, leaving tail for sewing.
- Sew arms to body between rounds 17 and 18.
Head
Follow linked/previous tutorial as directed; all in red, and do not use safety eyes.
Eyes (Felt Detailing)
- Cut two black felt ovals and two white felt ovals, each white slightly larger.
- Glue black onto white, forming Spider-Man’s eye mask.
- Attach to head:
- Bottom edge between rounds 12 and 13, two stitches back from the front.
- Top edge sits eight stitches back on the head.
Assembly & Finished Size
- Sew arms to sides between rounds 17–18.
- Attach head to body using glue, or sew with a stitch if an articulated neck is desired.
- Position and glue felt eyes to face as above.
- Embroider spider symbol on chest, covering three lower rounds.
- Check all pieces are secure and threads woven in.
Final Size:
- Height: ~8 cm tall

Conclusion
This project used classic amigurumi stitches, careful color changes, creative assembly, and iconic embellishments to capture Spider-Man’s look. Your attention to detail, from colorwork to embroidery, ensures a fantastic result. Thank you for choosing this project; may it inspire fun, creativity, and more superhero amigurumi for your collection.




Leave a Reply