

Add a touch of spooky charm to your Halloween with this free crochet mummy amigurumi pattern, an exciting and easy project perfect for decorations or gifts.
If you enjoy making cute and fun toys, then a small crocheted mummy amigurumi can be a perfect project. The free crochet mummy amigurumi pattern makes it simple for anyone to create this little spooky friend. It is an adorable crochet that looks just like a tiny mummy wrapped in soft yarn bandages.
Adorable Free Crochet Mummy Amigurumi Pattern to Try
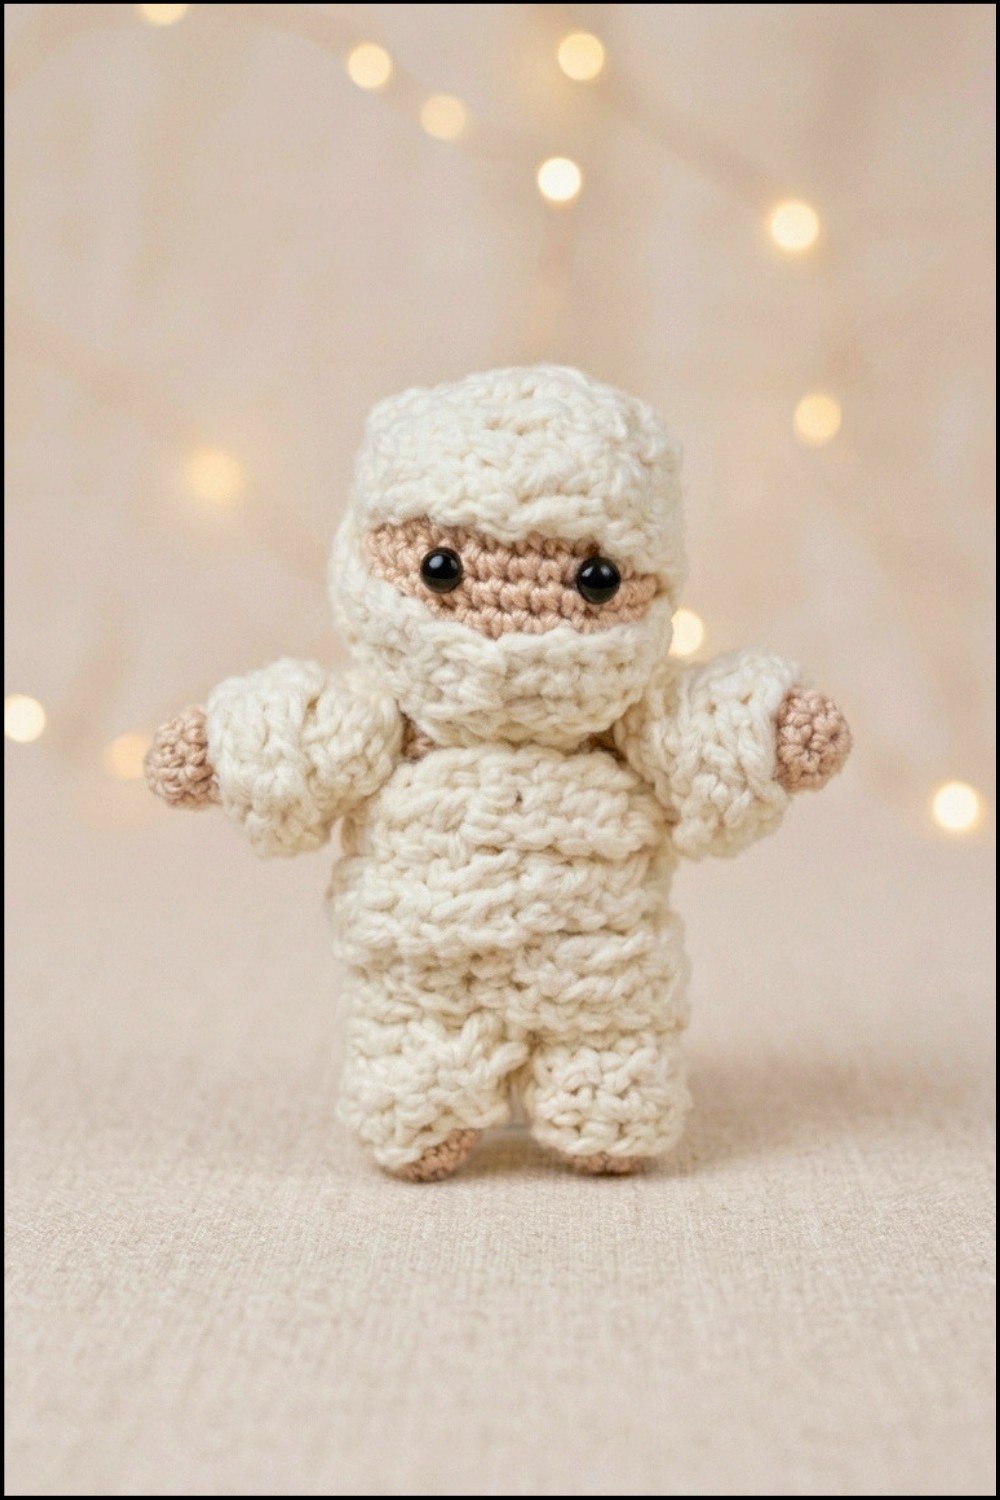
The most attractive design of this mummy is its wrapped texture that looks like easy-to-see creepy lines made from white or cream yarn. Its round head and little body give it a friendly and funny look instead of something scary. The shape is compact and perfect for holding in your hand or using as a small decoration. You can choose soft yarn to give it a squishy and cuddly feel, making it nice to touch and hold.
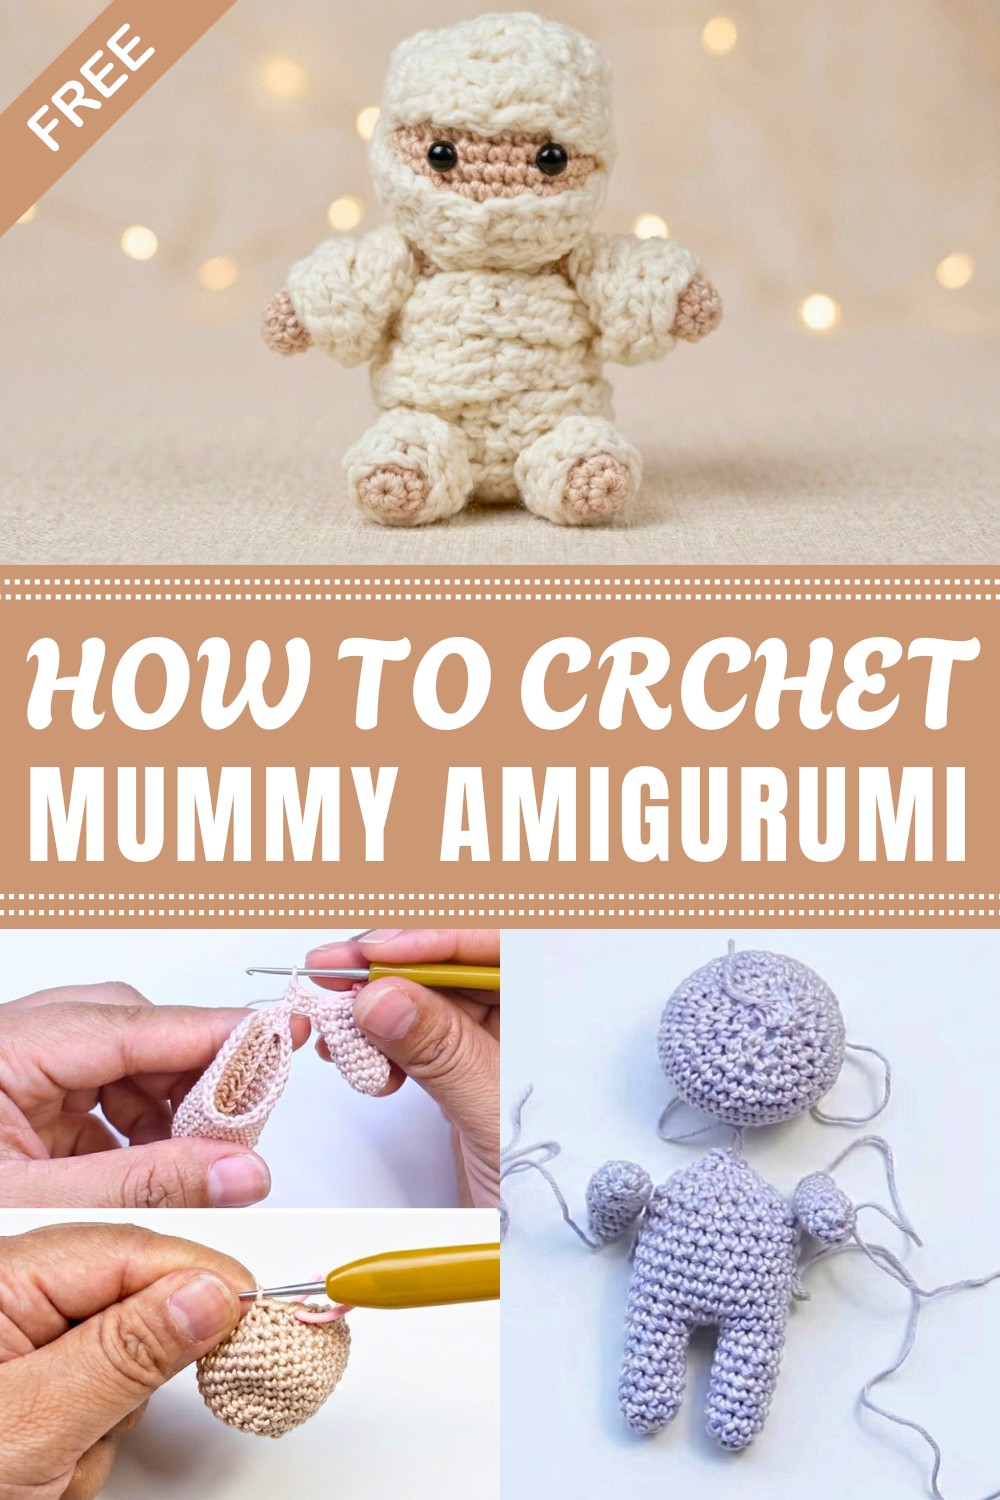
You can use this crocheted mummy in many ways. It makes a cute Halloween decoration to place on shelves or desks. It can also be a keychain or a bag charm, adding a playful touch to your everyday things. Kids will love having it as a small toy, and adults can enjoy gifting it to friends or family who like handmade crafts with a spooky twist.
This pattern is great for beginners and even experienced crocheters who want a quick and enjoyable project. If you know basic crochet stitches like single crochet, increases, and decreases, you can easily follow the pattern to make your own little mummy. It is perfect for anyone who wants to create a charming, handmade character that brings fun and creativity to Halloween or any time of the year.
1
Amigurumi Mummy Crochet Pattern
Step into the world of Halloween and handmade treasures with this detailed amigurumi mummy crochet pattern. Perfect for crafters seeking a fun and rewarding project, this guide takes you through every step, from the magic ring to the final bandage wrap—creating a delightful and spooky mummy toy. Amigurumi, the beloved Japanese art of crocheting small stuffed creatures, translates beautifully to festive favorites like this charming mummy. Whether you’re making it as a treat for yourself or a unique gift, this project is a delightful addition to your crochet repertoire.
Pattern Basic Points
- Worked in the round: All parts are crocheted in seamless continuous spirals.
- Tight stitches: Ensure a dense fabric to keep stuffing hidden.
- Simple shaping: Increases and decreases shape the body and head.
- Beginner-friendly bandages: Strips are crocheted, then wrapped and glued.
- Safety eyes: For secure, child-friendly finishing.
Special Notes
- Use a stitch marker to keep track of your rounds, especially since you’ll be working in continuous spirals.
- Bandages can be varied in thickness and looseness for more character.
- Choose yarn and hooks that result in a tight, even fabric.
- Adjust eye placement to match your desired facial expression—leaving bandage gaps for a playful look.
Skill Level
Beginner to Intermediate
This project is suitable for enthusiastic beginners who are comfortable with basic crochet stitches and increases/decreases. Some sewing and assembly skills are helpful, but each step is explained clearly for best results.
Materials
- Main Yarn: Beige yarn (for the base/body)
- Bandage Yarn: Cream or white yarn (for the bandages)
- Synthetic Stuffing: Polyfill or similar
- Two Crochet Hooks: Sizes appropriate for your yarn weights (typically 2.5–3.5 mm for amigurumi weights)
- Plastic Safety Eyes: Size 8–12 mm (as preferred)
- Pins & Needles: For sewing and securing parts
- Stitch Marker
- Craft Glue: To fix the bandage strips in place
- Scissors
Measurements / Sizing
- Finished Size: Approximately 12–15 cm (5–6 inches) tall, depending on yarn weight and hook size.
- Schematic: (Not to scale)
- Arms: 6 cm
- Legs: 7 cm
- Body: 7 cm tall
- Head: 5 cm diameter
Gauge
- Gauge: Not critical for this pattern. Aim for a tight, dense fabric so stuffing won’t show through.
- Typically: 8–9 sts & 8 rows = 2.5 cm / 1 inch in single crochet.
Stitch Abbreviations
| Abbreviation | Stitch |
|---|---|
| MR | Magic ring |
| sc | Single crochet |
| dc | Double crochet |
| inc | Increase (2 sc in 1 st) |
| dec | Decrease (sc 2 sts together) |
| ch | Chain |
| st(s) | Stitch(es) |
| sl st | Slip stitch |
Special Stitches
- Invisible decrease: Insert hook into front loop of next two stitches, yarn over and pull through both loops, yarn over and pull through remaining loops.
- Magic Ring: Create an adjustable loop as the base for working in the round.
Pattern Instructions
1. Arms (Make Two)
- Round 1: MR, work 6 sc into the ring. (6 sts)
- Round 2: (2 sc, 1 inc) repeat 2 times = 8 sts.
- i.e.: sc in next 2 sts, 2 sc in next st; repeat.
- Rounds 3–10: 1 sc in each st around (8 sts each round).
- Finish:
- Fasten off and leave a long tail for sewing.
2. Legs and Body
Legs (Make Two)
- Round 1: MR, work 6 sc into the ring. (6 sts)
- Round 2: (1 sc, 1 inc) repeat 3 times = 9 sts.
- i.e.: sc in next st, 2 sc in next st; repeat.
- Rounds 3–8: 1 sc in each st around (9 sts per round).
- Do Not Fasten Off after the second leg; proceed to join legs.
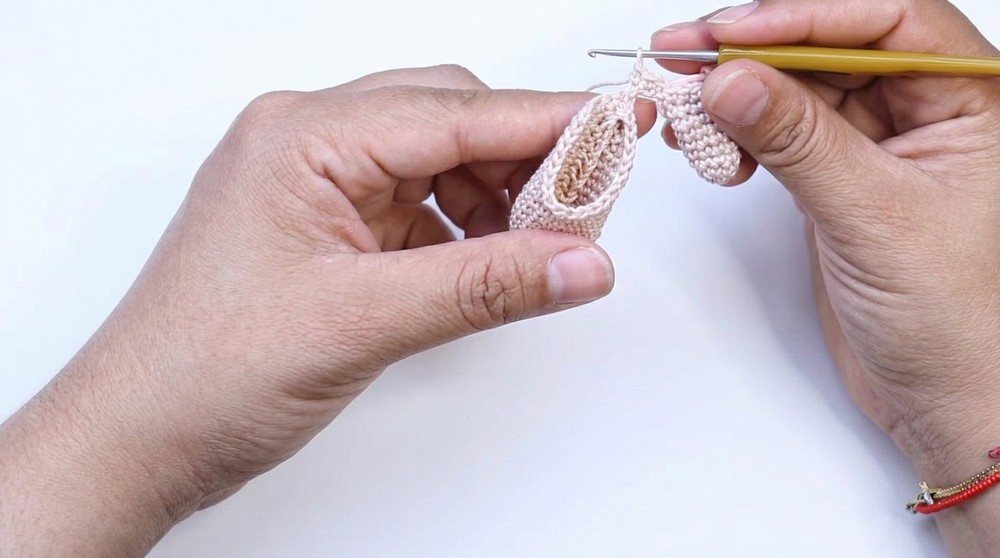
Joining Legs (Round 9):
- With the second leg still on your hook, ch 3.
- Join to the first leg with a sc.
- Work 9 sc around the first leg.
- 3 sc across the bridge chains.
- 9 sc around the second leg.
- 3 sc along the opposite side of the chains.
- (Total: 24 sts) This forms a seamless join for the body.
Body Rounds:
- Rounds 10–17: 1 sc in each st around (24 sts per round).
- Continue in a spiral to build height.
- Stuff the body as you go for best shape.
- Round 19: (1 sc, 1 dec) repeat around = 12 sts.
- 1 sc, sc2tog (dec); repeat.
- Round 20: 6 dec to close = 6 sts.
- sc2tog around to close the body.
- Finish off and leave a tail for assembly.
3. Head
- Round 1: MR, work 6 sc into the ring. (6 sts)
- Round 2: Inc in each st = 12 sts.
- Round 3: (1 sc, 1 inc) repeat around = 18 sts.
- Round 4: (2 sc, 1 inc) repeat around = 24 sts.
- Round 5: (3 sc, 1 inc) repeat around = 30 sts.
- Rounds 6–10: 1 sc in each st around (30 sts).
- Round 11: (3 sc, 1 dec) repeat around = 24 sts.
- Round 12: (2 sc, 1 dec) repeat around = 18 sts.
- Round 13: (1 sc, 1 dec) repeat around = 12 sts.
- Stuff the head with synthetic filling.
- Final round: 6 decreases to close = 6 sts.
- Fasten off with tail for sewing.

4. Assembly and Bandages
- Sew the head to the body, closing any gaps and shaping as you go.
- Attach the arms on either side of the body at shoulder height.
- Insert safety eyes: Place them between bandages for a classic mummy look.
- Bandages:
- Crochet a long strip:
- Ch 4.
- Work rows of 2 dc until you have a strip long enough to wrap the doll (at least 60–70 cm / 24–28 inches).
- Wrap and glue: Secure one end and artfully wrap the bandage around the body, arms, legs, and head, leaving gaps for the eyes. Dab glue strategically to hold in place.
- Crochet a long strip:
- Final shaping: Adjust bandages and stuffing for desired effect.
Assembly & Finished Size
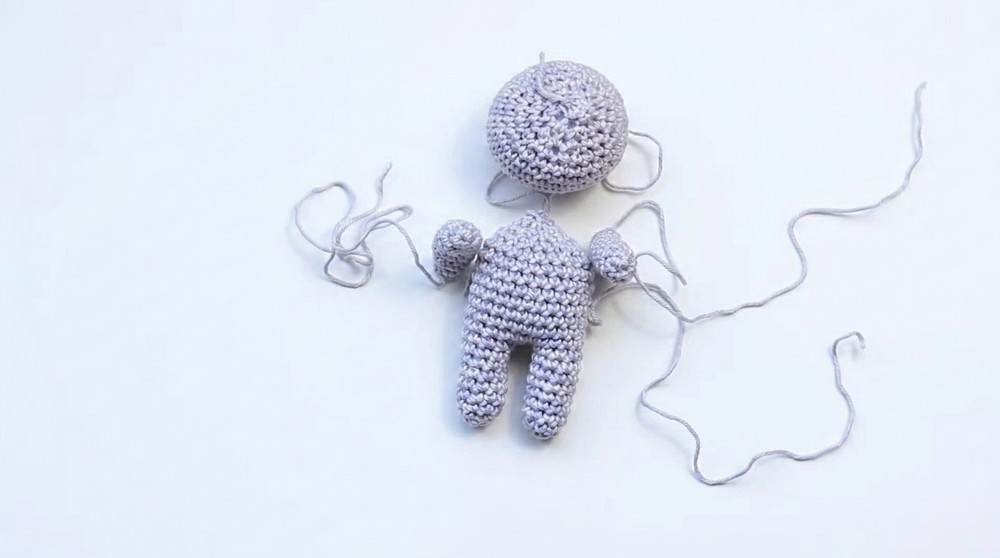
- Assembly Order:
- Sew legs and body together if separate.
- Attach head.
- Secure arms.
- Add safety eyes.
- Wrap bandages and glue in place.
- Final adjustment for perfect spooky style.
- Finished Size: Approx. 12–15 cm tall, depending on yarn and gauge.

Conclusion
This pattern is designed to be approachable yet detailed, blending classic amigurumi techniques with a touch of Halloween mischief. Whether you’re gifting this quirky little figure or making a set for seasonal décor, you’ll enjoy the seamless rounds, expressive details, and creative freedom in wrapping the bandages just the way you like.




Leave a Reply