

Create cozy charm with our unique Crochet Pumpkin and Mushroom patterns that add a warm, handmade touch perfect for fall decor and thoughtful gifts.
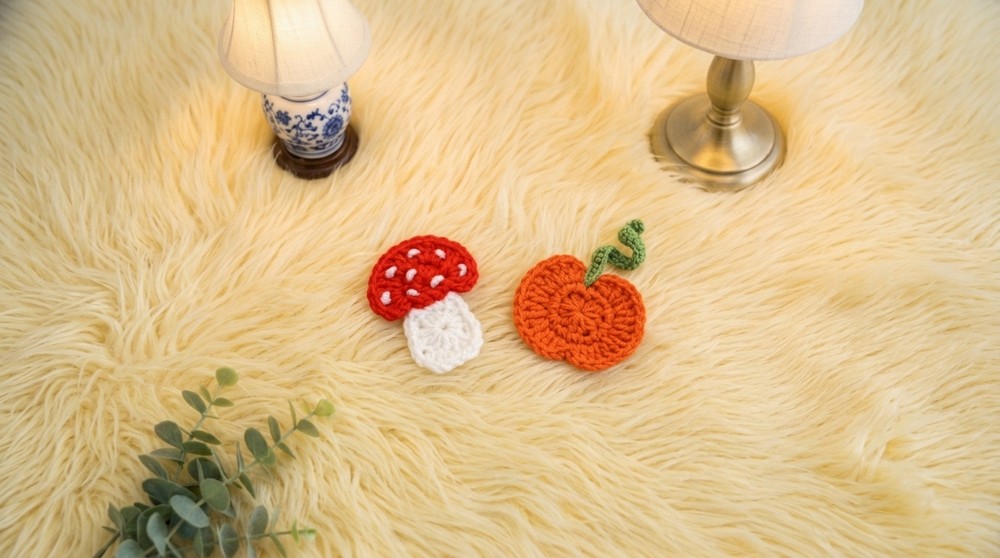
Looking for a simple and enjoyable crochet project? The Crochet Pumpkin and Mushroom are perfect choices that add a cozy feel to your home. The pumpkin is round with gentle ridges, while the mushroom has a smooth cap and sturdy stem, both giving a charming, natural look.
Easy Crochet Pumpkin and Mushroom Free Pattern for Beginners
These pieces often feature warm, autumn-inspired colors like bright orange, deep red, earthy brown, and soft cream. Using good-quality yarn ensures the colors stay vibrant over time. The basic shapes and easy stitches make them ideal for beginners, and they can be completed fairly quickly.
Besides being decorative, these Crochet Pumpkin and Mushroom have many practical uses. You can place them on shelves, desks, or windowsills to brighten your space. They also work well as keychains, bag charms, or even party favors for seasonal events. Their small size means they fit nicely almost anywhere without taking up room.
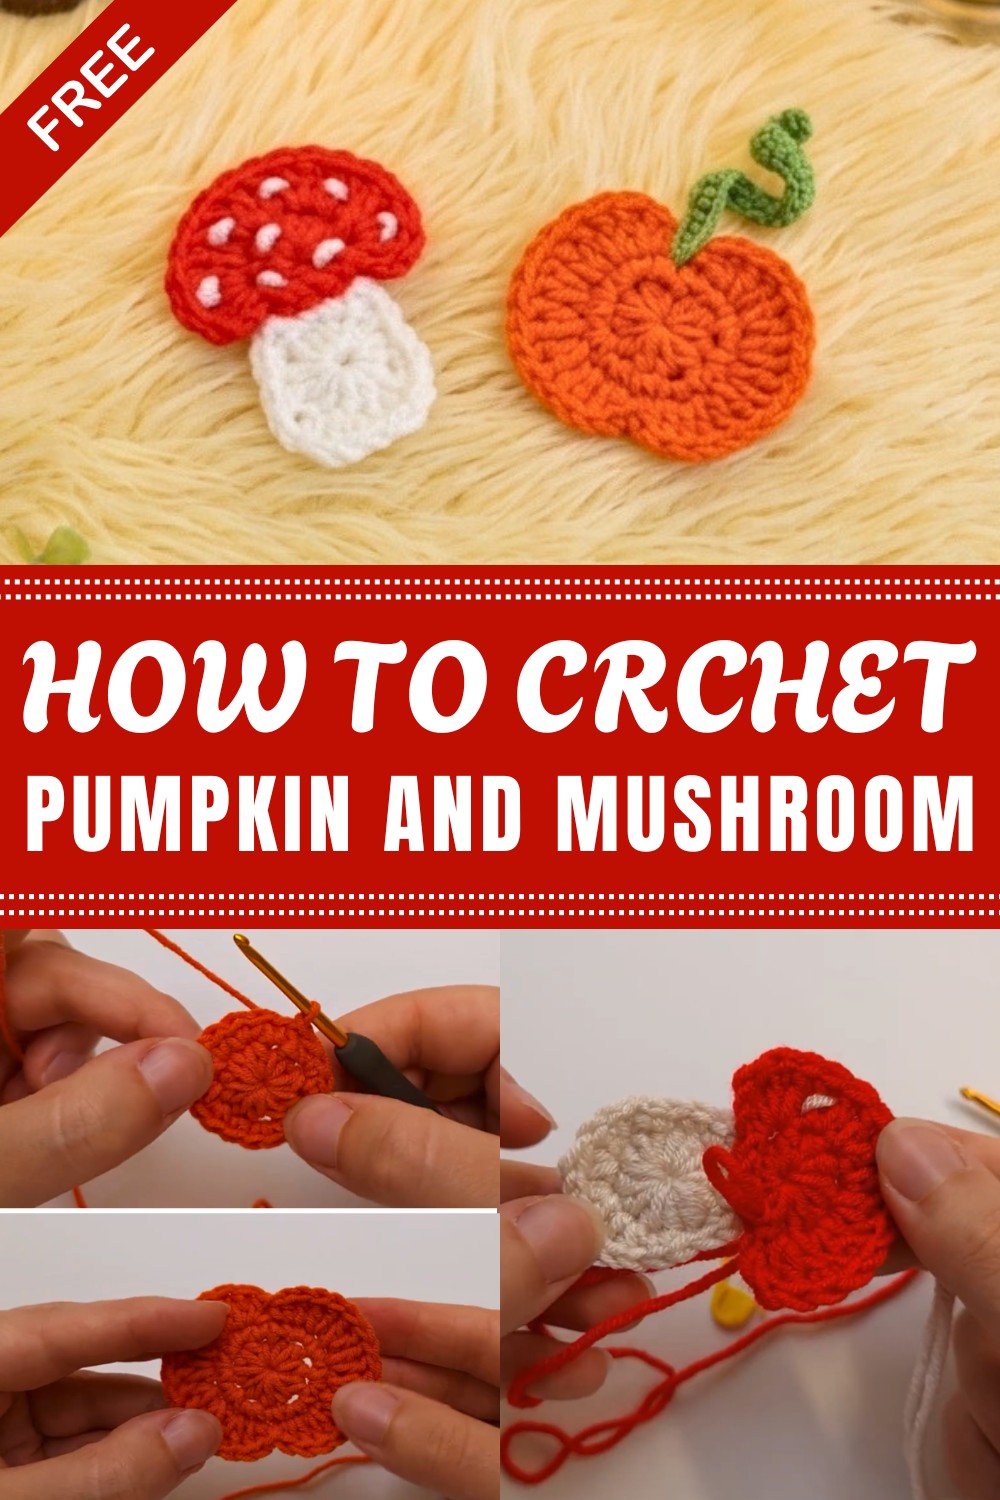
Overall, the Crochet Pumpkin and Mushroom bring warmth and personality to your surroundings while offering a relaxing and rewarding crochet experience. Their lovely colors and versatile uses make them a delightful project for anyone wanting to add a handmade touch to everyday life.
Autumn Crochet Pumpkin and Mushroom Pattern
In this pattern, we’ll be making a little pumpkin and mushroom—these are part one of a set of cozy Autumn book sleeves, but you can also use them separately as adorable amigurumi or seasonal decorations. This step-by-step guide closely follows the instructions and details every round and stitch so you can confidently recreate each piece.
Pattern Basic Points
Main Features
For the Pumpkin
- Worked in the round: Begins with a magic ring.
- Lovely plump shape: Achieved with rounds of half double crochets, single crochets, and double crochets.
- Sturdy stem: Made with green yarn, joined to the top using a skipped stitch for extra realism.
For the Mushroom
- Constructed in three sections: Mushroom stem, spots, and head, all crocheted separately and then joined together.
- Whimsical texture: The combination of single, half double, and double crochets forms a naturalistic look.
- Finishing details: Mushroom spots are created with a tapestry needle for a finishing touch.
Special Notes
- No parts skipped: Every step and stitch in the transcription is included.
- Seamless join: The pumpkin stem and mushroom head are attached using the “slipper stitch” through marked positions for a seamless finish.
- Versatility: Both the mushroom and pumpkin are perfect as decor, brooches, or cozy autumnal accessories.
Skill Level
Advanced Beginner – Intermediate:
The pattern is suitable for those comfortable with magic rings, increasing and decreasing, single, half-double, and double crochet stitches, and following patterns round by round.
Materials
- Yarn: Worsted or DK weight in:
- Orange/creamy color (pumpkin)
- Green (pumpkin stem)
- White (mushroom stem and mushroom spots)
- Red or brown (mushroom cap)
- Crochet Hook: 3.5–4 mm, or size suited to your yarn
- Tapestry Needle: For sewing and embroidery (spots)
- Scissors
- Stitch Marker: (Optional, for marking rounds and stitches)
- Fiberfill Stuffing: (Optional, if you’d like plush-style mushrooms/pumpkins)
Measurements / Sizing
- Pumpkin: About 4–5 cm (1.5–2 inches) across
- Mushroom: About 5–6 cm (2 inches) tall
- Sizes will vary slightly depending on yarn and tension
Gauge
Gauge is not critical but use a smaller hook for a tight fabric. Aim for stitches close together so stuffing doesn’t show.
Stitch Abbreviations
| Abbreviation | Meaning |
|---|---|
| ch | chain |
| sc | single crochet |
| hdc | half double crochet |
| dc | double crochet |
| sl st | slip stitch |
| st(s) | stitch(es) |
| MR | magic ring |
Special Stitches
Magic Ring (MR)
Wrap the yarn to form a ring, crochet the required number of stitches into the loop, then pull tight to close.
Slipper Stitch
As referenced in the video, this is a slip stitch used to join or finish rounds, as well as to attach two parts together.
The Crochet Pattern
PUMPKIN
Pumpkin Body
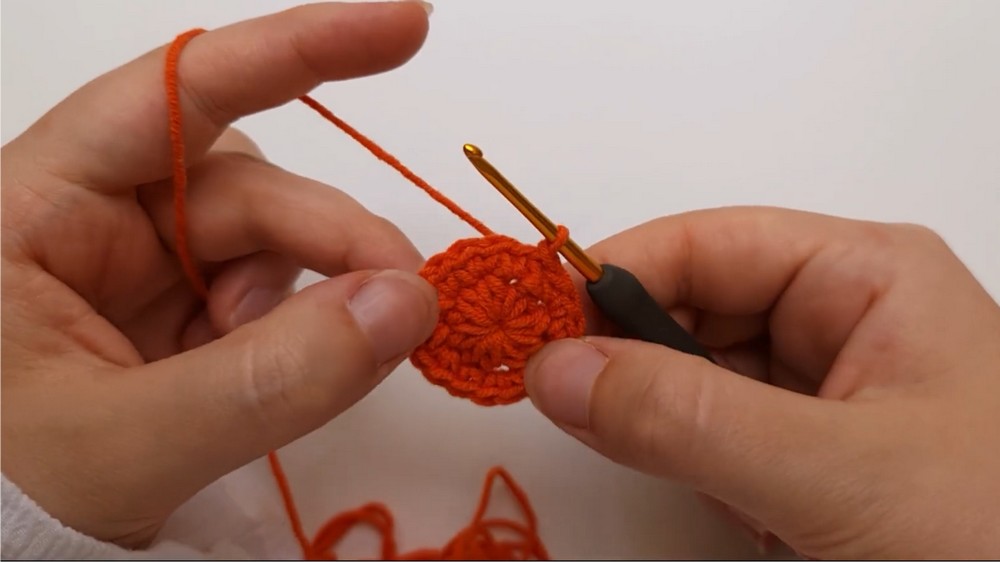
- Round 1:
- Make a magic ring.
- Insert 10 hdc into the MR.
- Pull tight to close the ring.
- Round 2:
- Ch 1
- Insert 1 sc in the first st.
- In the next 4 sts, insert 2 sc in each st. (Total: 8 sc in this section)
- In the next st: 1 sc
- In the next 4 sts, insert 2 sc in each st again.
- Sl st into the very first sc of the round to close.
- Round 3:
- Skip the first st.
- In the next st, 1 hdc and 1 dc.
- In each of the next 6 sts, insert 2 dc in each st (for a total of 12 dc here).
- In the next st, 1 dc and 1 hdc.
- Sl st into the next st.
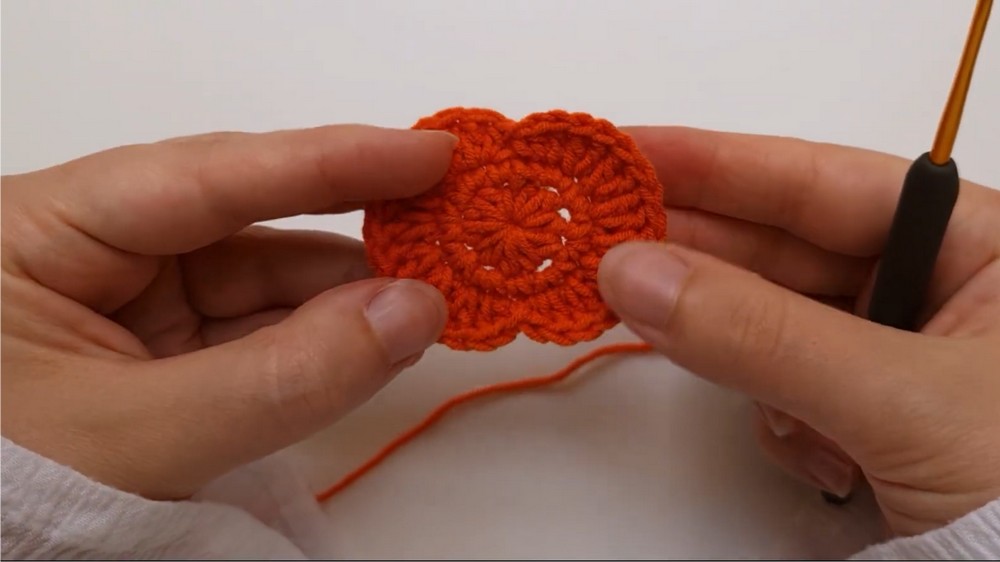
Half of the pumpkin is done; now repeat everything in reverse for the second half, working back around the circle.
- Reverse Side:
- In next st: 1 hdc and 1 dc
- In the following 6 sts: 2 dc in each st (total of 12 dc)
- In the next st, 1 dc and 1 hdc
- Sl st into the stitch you originally skipped at the very start to finish your pumpkin. Fasten off and weave in ends.
Pumpkin Stem
- Attach green yarn to the skipped stitch (center top of pumpkin).
- Ch 4
- In third chain from hook, insert 1 hdc
- Sl st into the next st on the pumpkin to anchor stem
- Fasten off
MUSHROOM
Mushroom Stem
- Round 1:
- Make a magic ring.
- Ch 2.
- Insert 12 hdc into the ring.
- Pull to close.
- Round 2:
- Sl st into the first hdc (not the chs).
- Ch 1.
- 1 sc in first st.
- Ch 1.
- Next st: 1 hdc and 1 dc.
- Next st: 2 hdc.
- Next st: 1 dc and 1 hdc.
- Ch 1, 1 sc in next st.
- Sl st into the following st.
- 1 sc in next st.
- Ch 1, 1 sc in next three sts; mark the third one.
- Ch 1, 1 sc in next st, then sl st.
- (You should now have the shape of the stem.)
- Leave a tail and cut the yarn (save for spot embroidery later).
Mushroom Cap
- Round 1:
- Make a magic ring.
- Ch 1 (so you have two chains total).
- Insert 7 hdc into the ring, then 3 sc (all into the magic ring).
- Pull to close.
- Round 2:
- Sl st into the first hdc (as before)
- Ch 2
- 3 dc in first st
- In the next 2 sts, 2 dc in each
- In next st: 1 dc
- In next 2 sts, 2 dc in each
- 3 dc in next st
- Ch 2, sl st in same st
- Do not cut yarn yet.
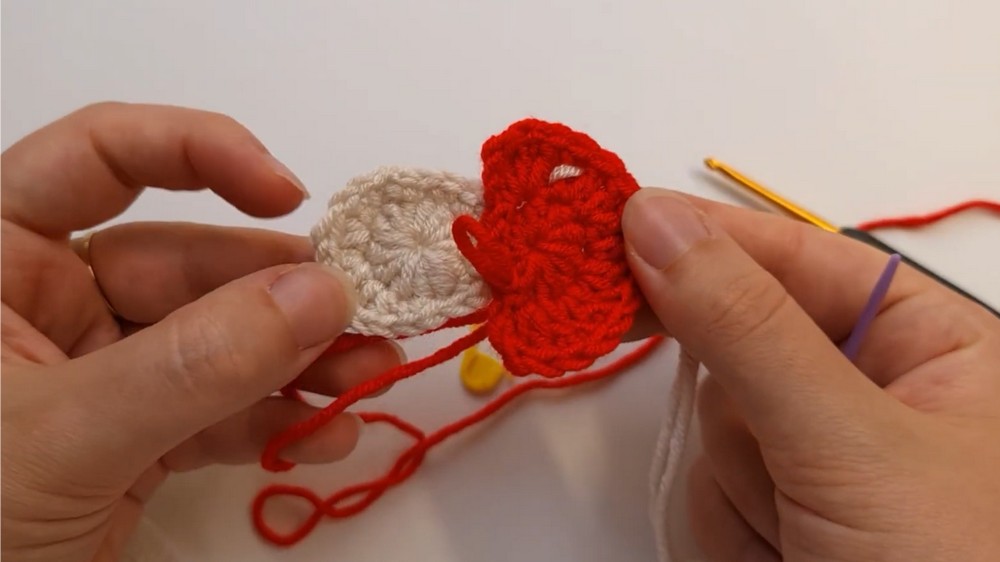
Joining the Stem and Cap
- Align the three single crochet (sc) sts from the stem and three sts from the cap.
- With the yarn still attached to the cap, insert hook through the first st of the cap and the first marked st of the stem.
- Sl st to join.
- Repeat for each corresponding stitch (three times total).
- Secure and fasten off.
Mushroom Spots
- With white yarn and tapestry needle, embroider spots randomly on the cap:
- Bring the needle from the base through the inner stuffing up to the cap, create small knots or stitches, and repeat several times to form spots.
- Weave in ends.
Assembly & Finished Size
- Weave in any remaining ends.
- Slightly stuff the mushroom/pumpkin if you’d like more volume.
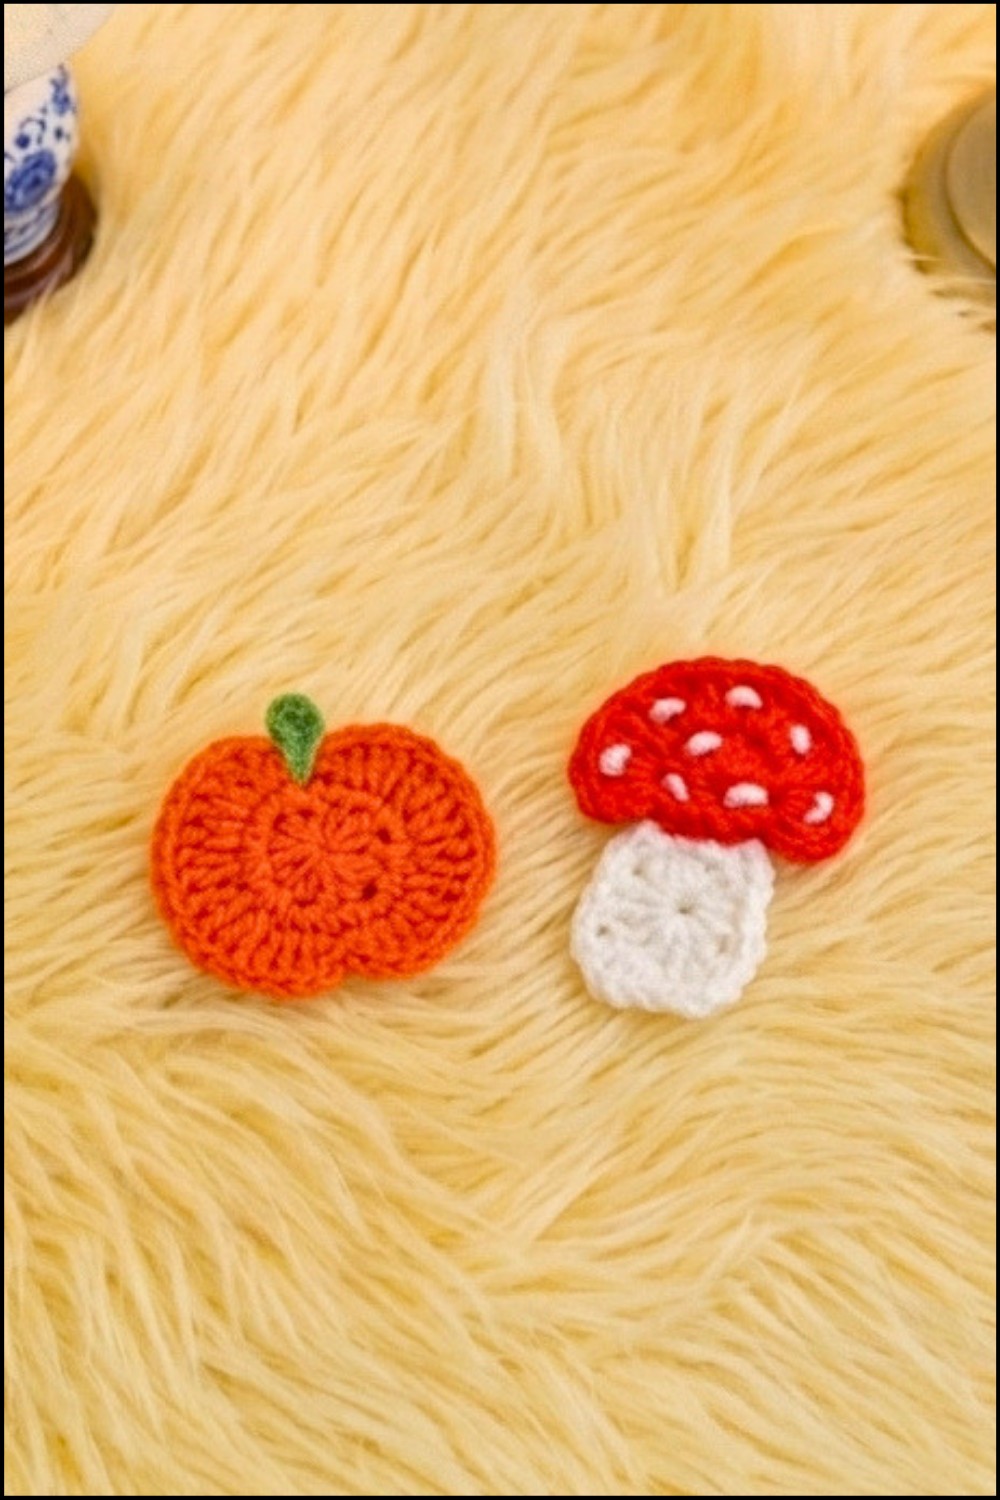
- Your pumpkin should measure around 4–5 cm across, and the mushroom about 5–6 cm in height.
- These pieces can be used as autumnal motifs for book sleeves, pins, magnets, or mini decorations.
Conclusion
Your autumn-inspired crochet pumpkin and mushroom are now ready to bring seasonal charm to your books or creative projects! This step-by-step pattern ensures accessible instructions for all levels, including every stitch and join as demonstrated in the pattern. Personalize your pieces with color or embellishments, and attach them to book sleeves or keep them as adorable standalone treasures. Thank you for following along; your thoughtful feedback and creative ideas are always welcome—please share them in the comments.
Leave a Reply