

Carry your daily items in handmade style with this Crochet Granny Tote Bag Free Pattern, perfect for shopping, errands, outings, and everyday use.
Looking for a fun and useful project to try? This Crochet Granny Tote Bag is perfect! It has a cozy, classic look that’s full of charm. You can use it as a gift, decoration, or just keep it for yourself. It’s a lovely addition to any collection of handmade items.
Free Crochet Granny Tote Bag Pattern For Shopping
The bag is a medium size—big enough to hold your wallet, books, or small tablet. It has a square shape with soft, strong sides made from connected blocks called granny squares. These squares create a pretty, textured pattern. You can pick bright or soft colors to make it your own. The handles are sturdy and easy to hold, making it great for everyday trips or special outings.

This project is good for beginners with some crochet experience or those at an intermediate level. You’ll practice basic stitches like double crochet, slip stitch, and how to join granny squares. These skills help you get better at crochet while making a useful and beautiful bag.
The Crochet Granny Tote Bag is not only stylish but strong and long-lasting. If you want to learn more crochet techniques or add a handmade bag to your collection, this project is just right. It’s simple enough to follow but interesting enough to keep you working happily.
Make a unique bag that shows your style and love for crochet. Grab your hook and yarn, and enjoy creating this charming, handy tote!
Crochet Granny Square Tote Bag Pattern
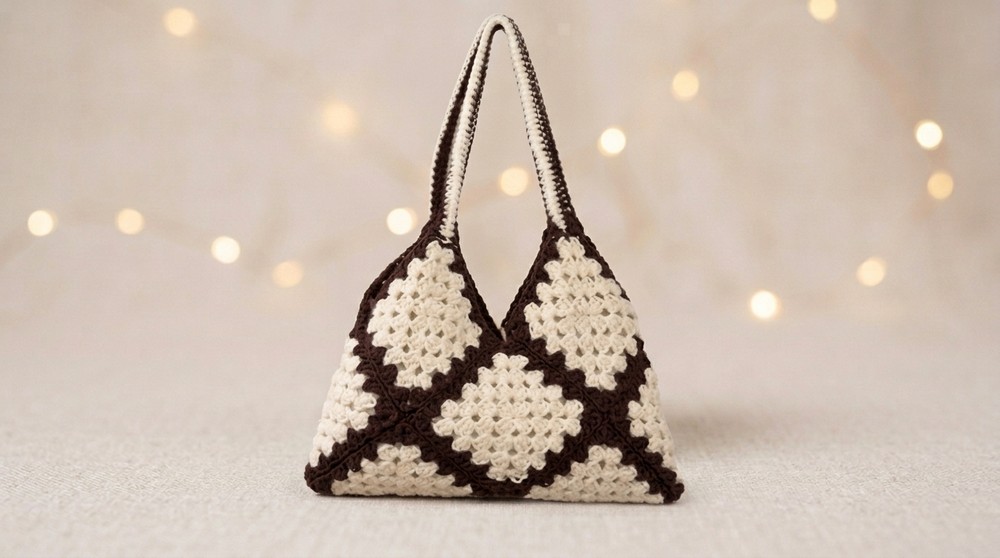
This delightful crochet tote bag boasts classic charm and versatility. The foundation is made from ten vibrant granny squares, seamlessly joined for durability and style. Color-blocked straps and careful assembly techniques ensure a sturdy, functional bag—a perfect accessory for casual outings or carrying your craft projects. This pattern is thoughtfully detailed for clear and accessible results.
Pattern Basic Points
Key Features of This Crochet Tote Bag:
- Constructed using ten granny squares
- Visual appeal enhanced by contrasting border and straps
- Clean seams achieved with special joining method
- Color-blocked straps add a modern touch
- Designed for reliable daily use
Special Notes
- Granny squares can modify the look; choose colors that suit your taste.
- Joining method creates a decorative seam and extra sturdiness; be mindful of loop placements.
- The strap length can be customized to fit your preference; shorter for hand-carry, longer for shoulder use.
- Assembly requires careful placement—use stitch markers for accuracy.
Skill Level
Beginner to Intermediate
While granny squares and basic stitches are beginner friendly, joining in front/back loops and color-blocked straps require moderate attention to detail. Familiarity with crochet fundamentals and joining techniques recommended.
Materials
Yarn:
- Brown (border and joining, also for strap edges)
- Beige (strap color contrast—middle rows)
Tools:
- Crochet hook (size suitable for yarn; typically 4.0 mm / G or 4.5 mm / 7)
- Darning needle
- Stitch markers
- Scissors
Measurements
- Finished bag size: Approx. 12" wide x 12" tall (excluding straps)
- Strap length: Approx. 16" to 20" (adjustable based on chain count)
- Each granny square: Approx. 4" x 4"
Gauge
- Granny Square: 1 square = 4" x 4"
- Gauge Pattern: Classic granny square (using double crochet clusters)
Stitch Pattern:
- Granny square clusters: [3 dc in space]
- Single crochet (strap)
Stitch Abbreviations
- ch = chain
- sl st = slip stitch
- sc = single crochet
- dc = double crochet
- st(s) = stitch(es)
Special Stitches
Granny Square Cluster:
Work 3 double crochets in space (ch-2 space typically), forming a cluster.
Slip Stitch Join (Front Loop/Back Loop):
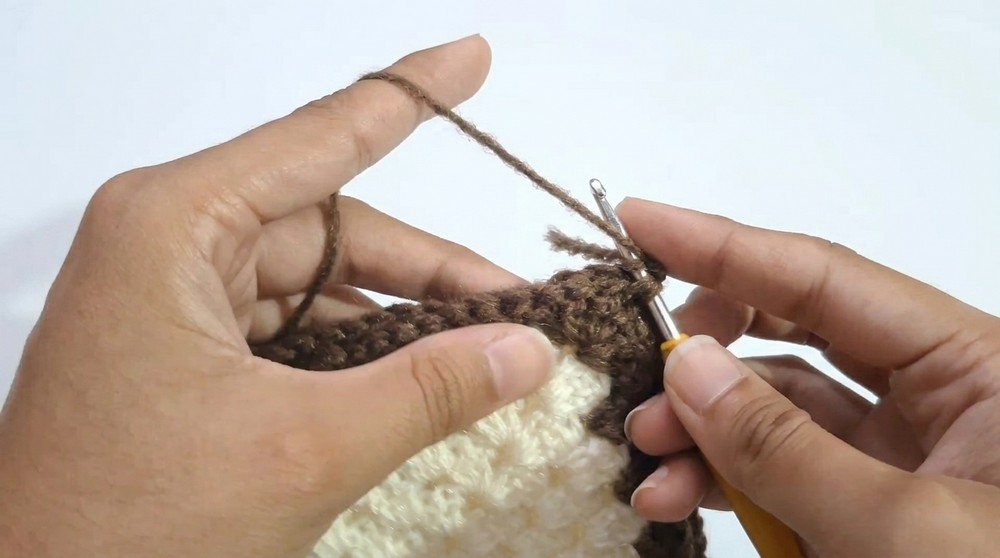
Insert hook into front loop of first square and back loop of adjacent square, yarn over, pull through both loops and stitch on hook to join.
Bag Construction and Pattern
1. Prepare Granny Squares
Round 1:
- Make ten completed granny squares using your preferred pattern.
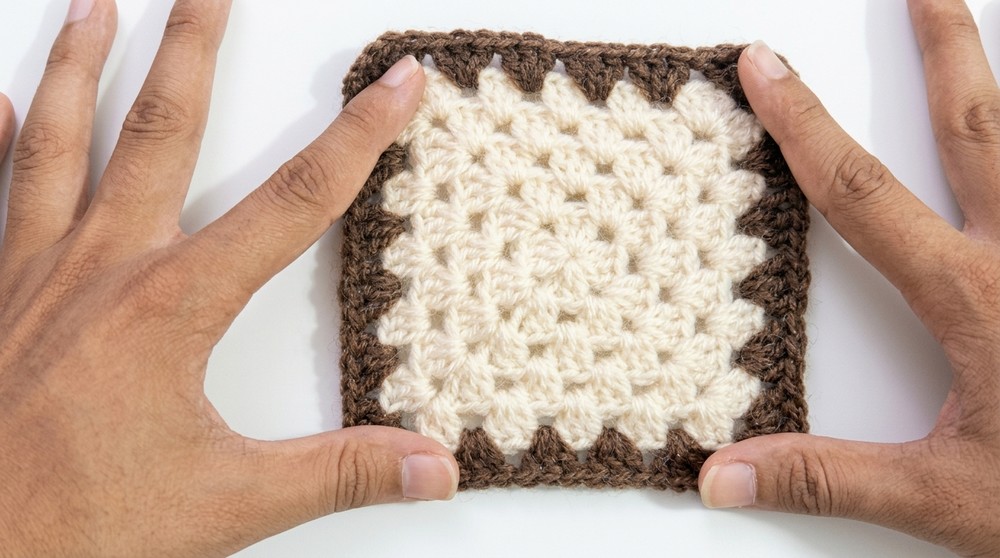
- Standard granny: Begin with a magic ring or chain-4 loop, work [3 dc, ch 2] four times, ending with sl st in beginning dc.
- Work subsequent rounds to yield a 4" square, using [3 dc, ch 2] at corners and [3 dc] along edges.
Note:
Fasten off and weave in ends for all squares.
2. Assembly and Joining
Round 2:
- Arrange the completed squares in your desired layout—typically, two rows of five squares each for symmetry.
- With back sides facing outward, prepare to join.

Round 3 (Joining Squares):
- Use brown yarn and crochet hook.
- Working with two squares at a time:
- Insert hook into front loop of first square and back loop of the second square, starting at corner.
- Work sl st across the edge to join, creating a clean visible seam.
- Continue joining all adjacent squares in your layout; join each square to its neighbor until all form the tote’s base.
Round 4 (Side Panel Assembly):
- Fold arrangement to align side and base panels.
- Use stitch markers to secure the panels before final joining.
- Join the sides with the same slip stitch method, maintaining orientation (back sides outward).
- Double-check alignment and seam placement.
3. Strap Construction
Round 5 (Strap Foundation):
- With brown yarn, make a slip knot.
- Chain 76 (adjust to desired length; measure as needed).
Round 6 (Strap Body):
- Work in back bars of chain (for strength and neat look):
- Row 1: sc in each chain across, turn.
- Row 2: Switch to beige yarn, sc across row, turn.
- Row 3: sc across with beige yarn, turn.
- Row 4: Switch back to brown yarn, sc across row, turn.
- Total four rows, yielding a sturdy and color-blocked strap.
Note:
If making two straps, repeat above steps for second strap.
4. Finishing Steps
Round 7 (Strap Attachment):
- With tote laid flat, fold strap ends by approx. 1" for reinforcement.
- Align strap ends at top corners of bag.
- Using brown yarn and darning needle:
- Sew folded ends onto top of the bag, leaving three stitches on either side of attachment for security and spacing.
- Work back and forth through strap end and tote edge until firmly attached.
Round 8 (Final Attachment):
- Use brown yarn to attach straps at top corners.
- Secure each end in place with tight, neat stitches.
- Ensure the strap is centered and symmetrical.
Assembly & Finished Size
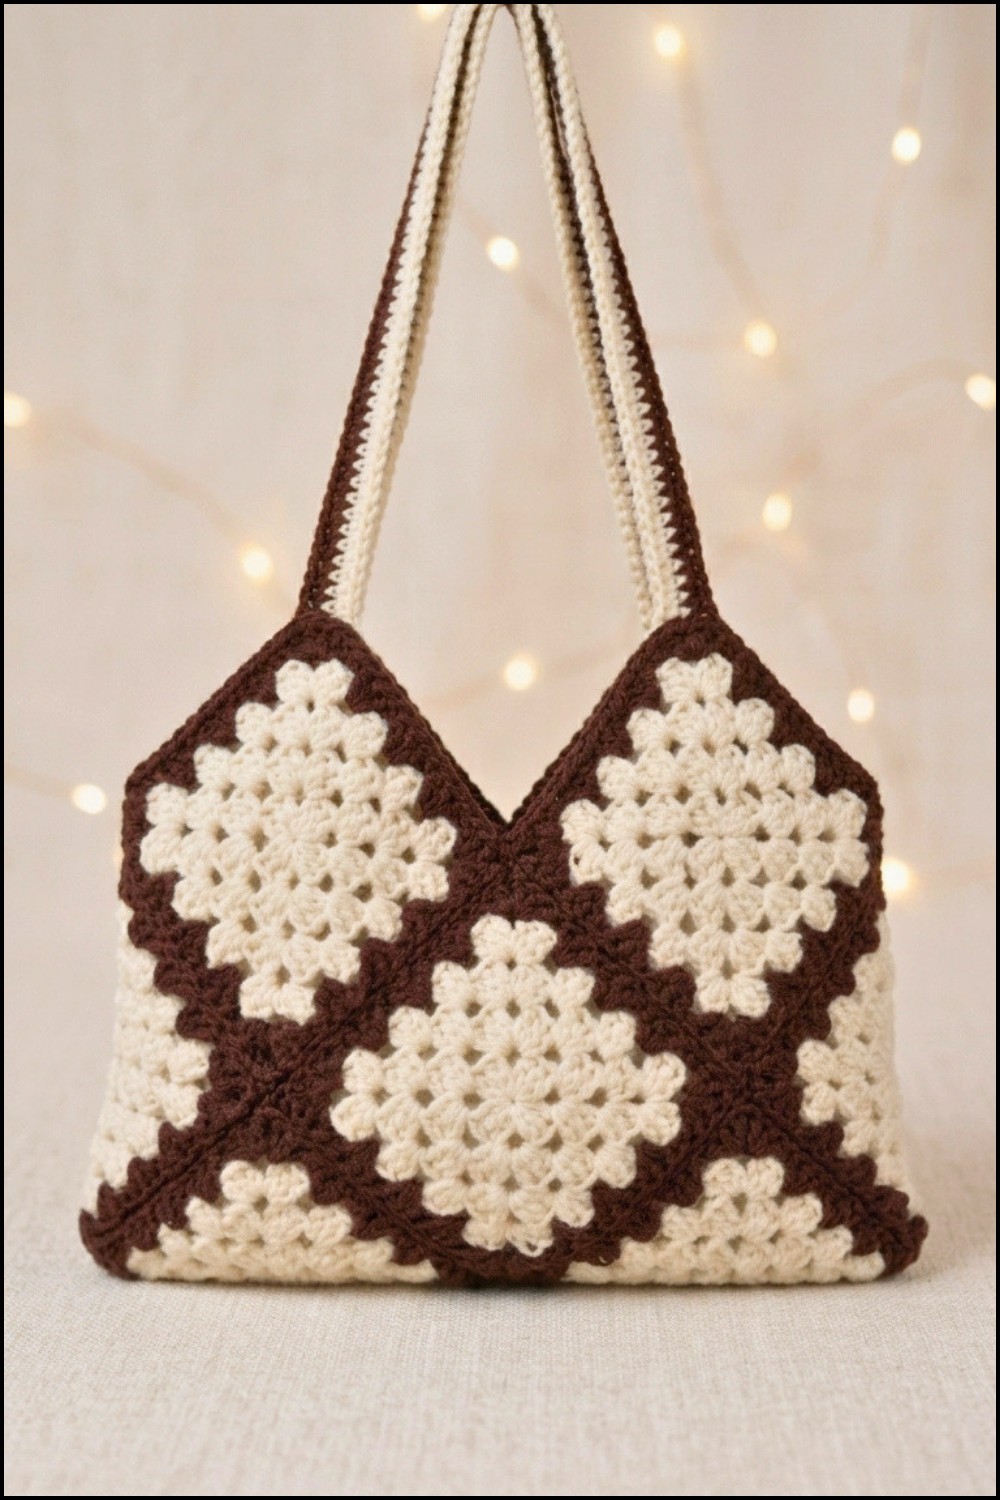
- After attaching the straps and checking all seams, turn the bag right side out.
- Your tote should measure about 12" x 12", and the straps should be strong and balanced.
Conclusion
This granny square tote bag pattern blends timeless motifs with practical assembly techniques. The result is a sturdy, stylish accessory fit for daily use, customizable through color and strap length. The slip stitch join provides crisp, decorative edging, while the color-blocked straps offer a contemporary flair. With just basic stitches and a thoughtful layout, crafters are encouraged to adapt the squares and colors to reflect their unique style. The clear instructions and reliable construction methods make this a rewarding project for beginners and intermediate crocheters that yields a useful finished item with lasting appeal.




Leave a Reply