

Create a charming Crochet Mushroom that adds a cozy touch to your home decor or makes a thoughtful handmade gift for friends and family.
Amigurumi are small, cute crocheted toys full of charm and personality. One favorite project is a little mushroom with a friendly look that adds warmth wherever it is placed. This tiny mushroom can serve well as a gift, a decoration, or a unique collectible for any crochet Lover.
Fun Crochet Mushroom Free Pattern Ideal for Plush Toy Collections
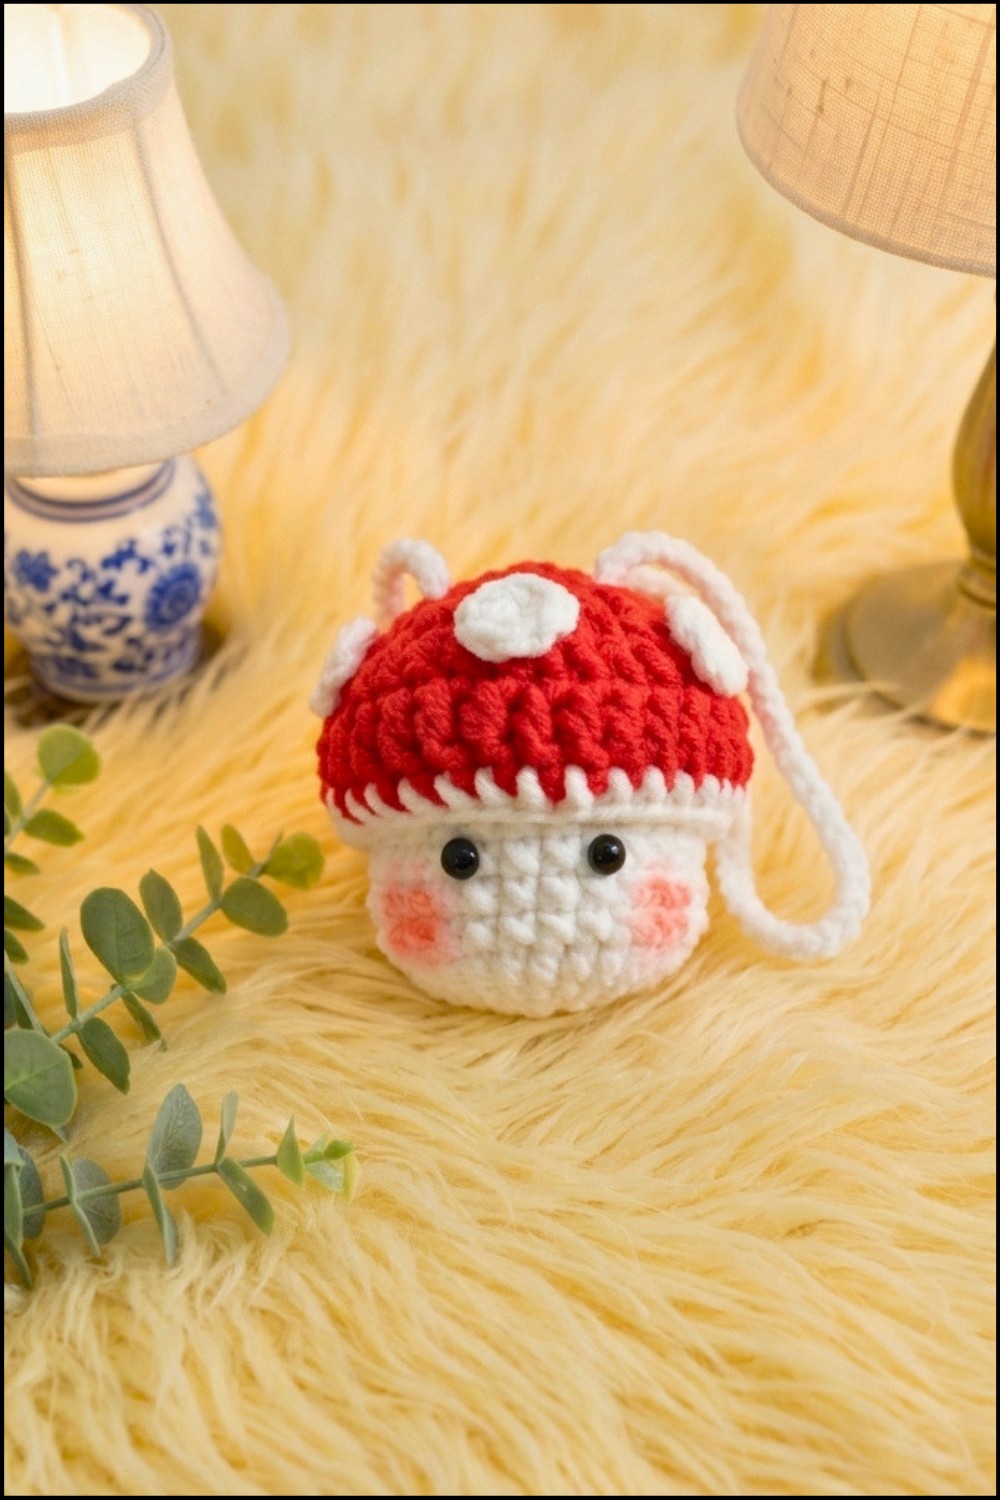
This crochet mushroom fits easily in the palm of your hand. It features a round cap with a sturdy stem, often shown in bright, contrasting colors that make it stand out. Simple but thoughtful details help give this figure a lively and cozy feel.
Good for beginners and those with some crochet experience, this project involves basic techniques like working in rounds, increasing and decreasing stitches, and joining pieces smoothly. Small additions like embroidered features or attaching safety eyes add character without difficulty.
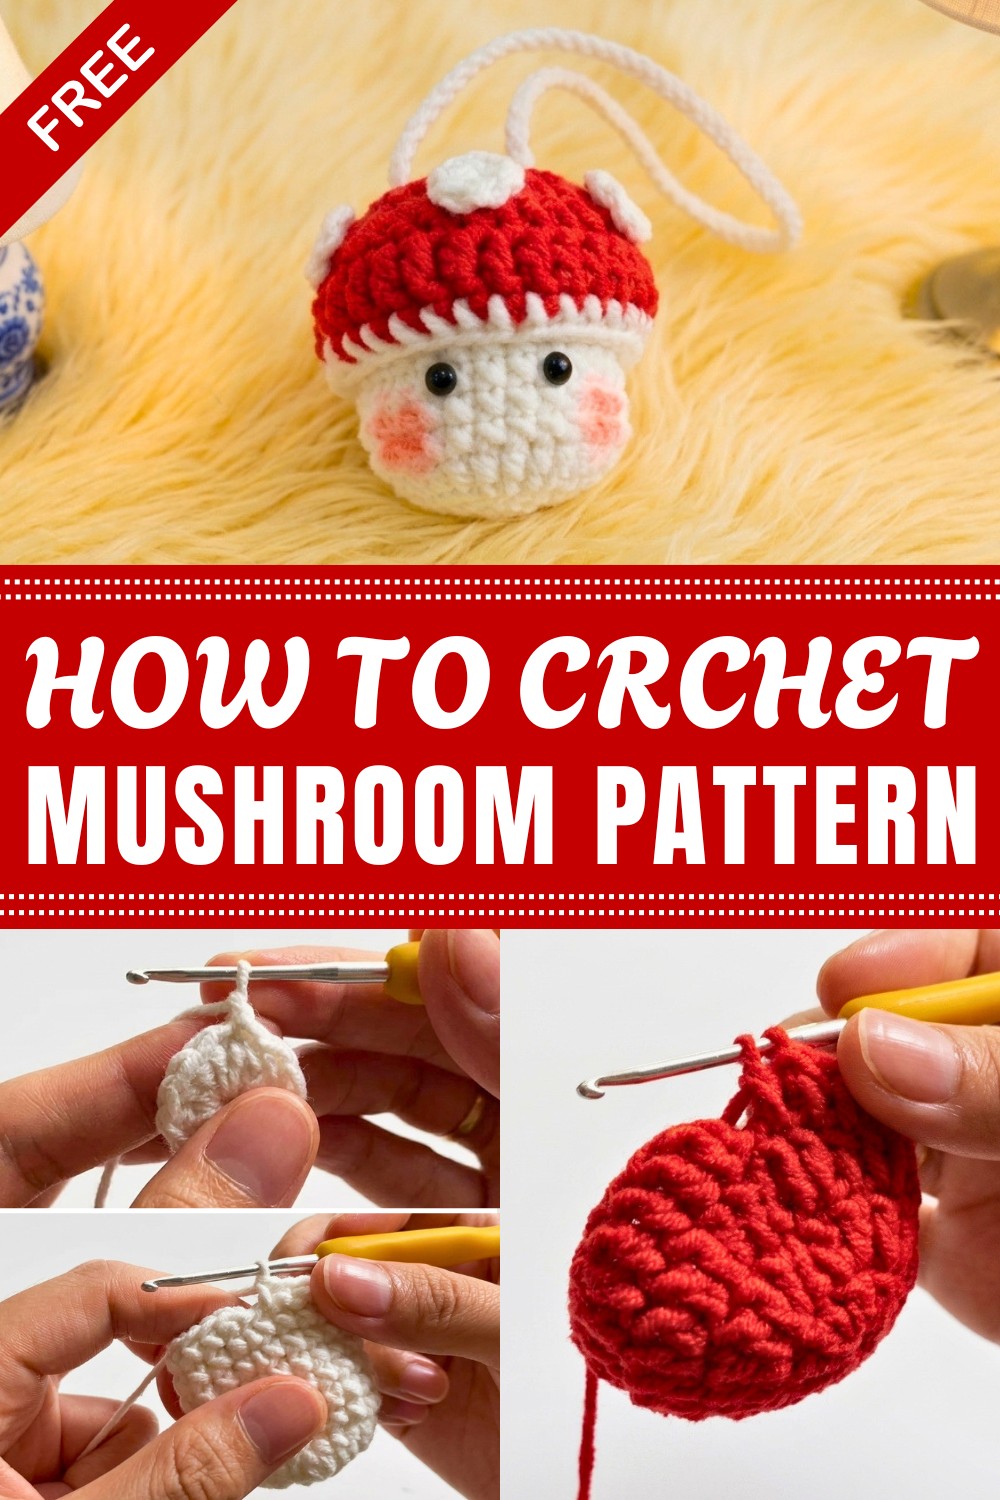
The crochet mushroom can be used in many ways—placed on shelves as a cute home accent, added to bags as a fun charm, or given as a thoughtful handmade gift. It also works well as a playful desk companion or a unique piece in an amigurumi collection.
A crochet mushroom fits nicely into any amigurumi collection and offers a pleasant crochet challenge. Scroll down to see how this small figure can find its place in your crafting routine.
Crochet Baby Mushroom Amigurumi Pattern
Today, I invite you to crochet an irresistibly cute mushroom amigurumi with me. This simple step-by-step tutorial is great for beginners and amigurumi lovers. With clear rounds and highlighted stitches, you’ll create a charming mushroom that's perfect as a desk buddy, bag charm, or gift.
Quick Overview Of Pattern
- Soft, chubby mushroom amigurumi made in easy parts: stalk, cap, and white spots.
- Worked in the round, no seams.
- Basic stitches only: half double crochet, double crochet, and single crochet.
- Quick assembly with fabric glue or hot glue.
Notes
- Amigurumi is worked in continuous spirals unless otherwise stated.
- Place a stitch marker in the first st of each round to keep track.
- Adjust size by using thicker/thinner yarn and matching hook.
- Stuff the mushroom firmly for the best shape.
Skill Level
Beginner / Easy
- Must know how to: magic circle, half double crochet, double crochet, single crochet, increase.
Materials
- Yarn: Lucaton yarn (recommended) or similar sport/DK weight (in cream/white and red)
- 2.5 mm crochet hook
- Yarn needle
- Toy stuffing
- Scissors
- Hot glue (for assembly)
- Optional: black yarn/thread for face
Measurements / Sizing
- Finished mushroom is approx. 5–6 cm tall with a cap diameter of ~5 cm.
- Size may vary slightly with yarn and stuffing.
Gauge
- No strict gauge; denser/tighter stitches yield best shape.
- For reference: 12 hdc in magic circle ≈ 2.5 cm diameter flat.
Stitch Abbreviations
| Abbreviation | Meaning |
|---|---|
| mc | magic circle |
| ch | chain |
| sc | single crochet |
| hdc | half double crochet |
| dc | double crochet |
| inc | increase (2 sts in one st) |
| sl st | slip stitch |
| st(s) | stitch(es) |
Special Stitches
- Magic Circle (mc): Make a loop, work stitches into the ring, pull tight.
- Increase (inc): 2 stitches in the same space.
- Cluster: For mushroom cap (if desired), follow specific instructions for "cluster" if referenced in original language.
Your Crochet Guide
1. Mushroom Stalk (Cream or White Yarn)
Round 1:
- Create a magic circle (mc).
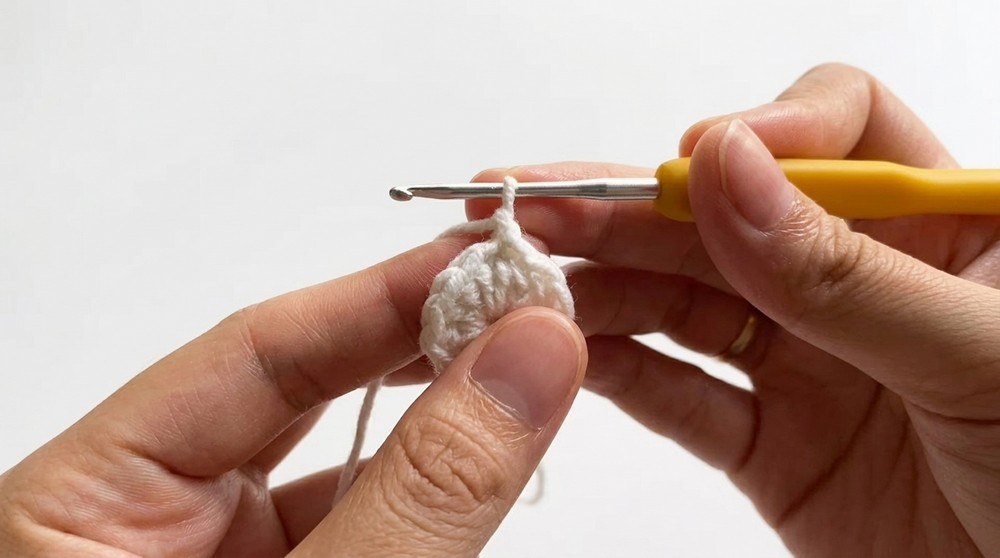
- Work 12 hdc into the ring. (12 sts)
- Pull tight to close.
Round 2:
- 12 inc: Work 2 hdc in each st around. (24 sts)
- Place a stitch marker on the first st of the round.
Rounds 3–9:
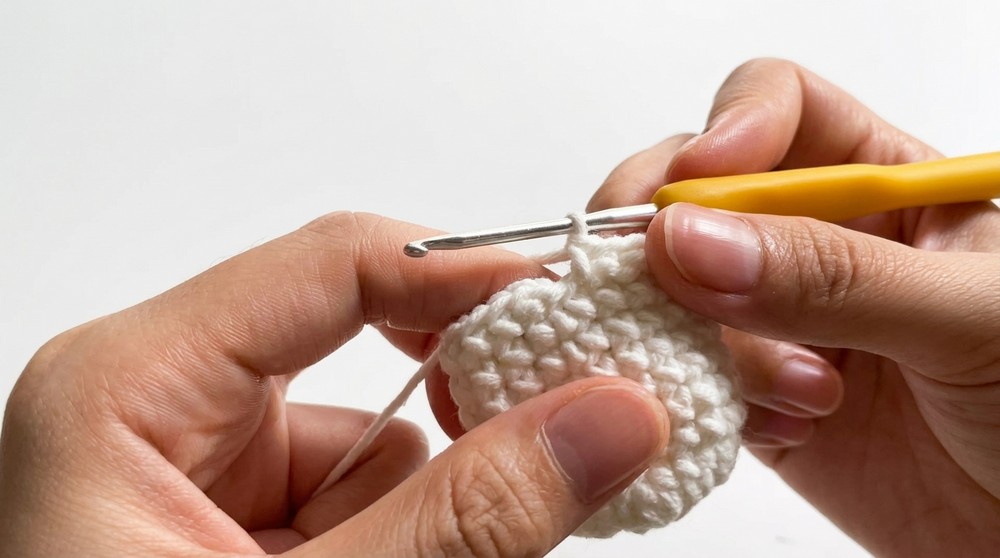
- Hdc in each st around. (24 sts per round)
- Work 7 rounds total; stuff the stalk after round 6 and as you continue.
- At the end of round 9, fasten off and leave a long tail for sewing later.
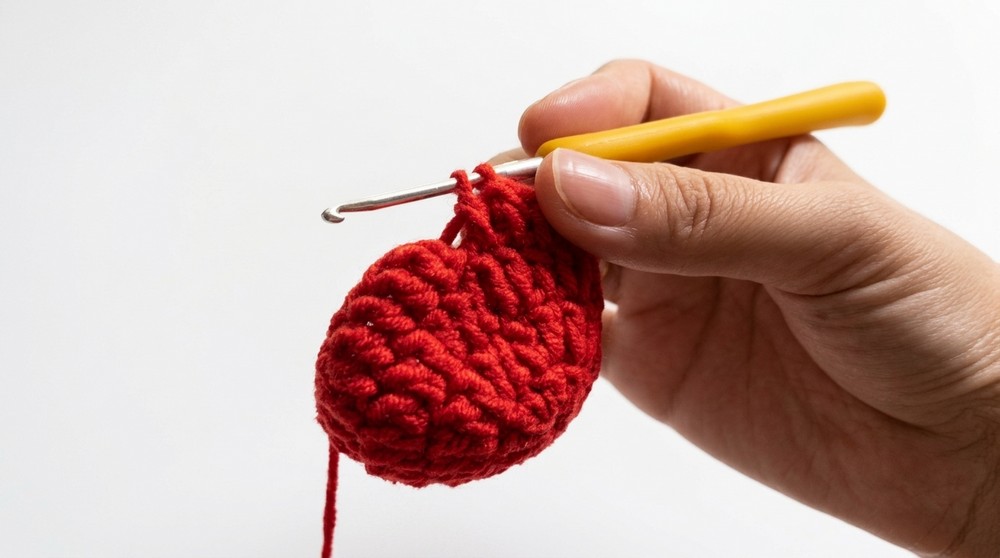
2. Mushroom Cap (Red Yarn)
Round 1:
- Create a mc.
- 10 dc into ring. (10 sts)
- Pull tight to close.
Round 2:
- Inc Round (Cluster Version): (For each st: 2 dc in same st.)
- 2 dc in each st around. (20 sts)
Round 3:
- 1 dc in each st around. (20 sts)
- Optional: Change yarn color to white/cream on last dc for the next part.
Round 4:
- With a white/cream yarn (cap underside):
- 1 sc in each st around. (20 sts)
- Fasten off, leaving a long tail for sewing to the stalk.
3. Mushroom Spots (White Yarn)
Make 6 Spots:
- For each spot:
- Create mc.
- 6 sc into magic ring.
- Pull tight, fasten off, leaving a short tail for glue/sewing.
Assembly & Finished Size
- Stuff the stalk firmly.
- Position the cap (red part on top) on the stalk.
- Use the yarn tails and yarn needle to stitch cap to the top of the stalk, aligning the cap’s edge to the stalk’s opening.
- Weave in all ends.
- Attach white spots:
- Evenly space spots on the mushroom cap.
- Secure each one with hot glue or a couple of stitches.
- Add face details (optional):
- Use black thread/yarn to embroider eyes and mouth.
- Add gentle blush with fabric paint or pink crayon if desired.
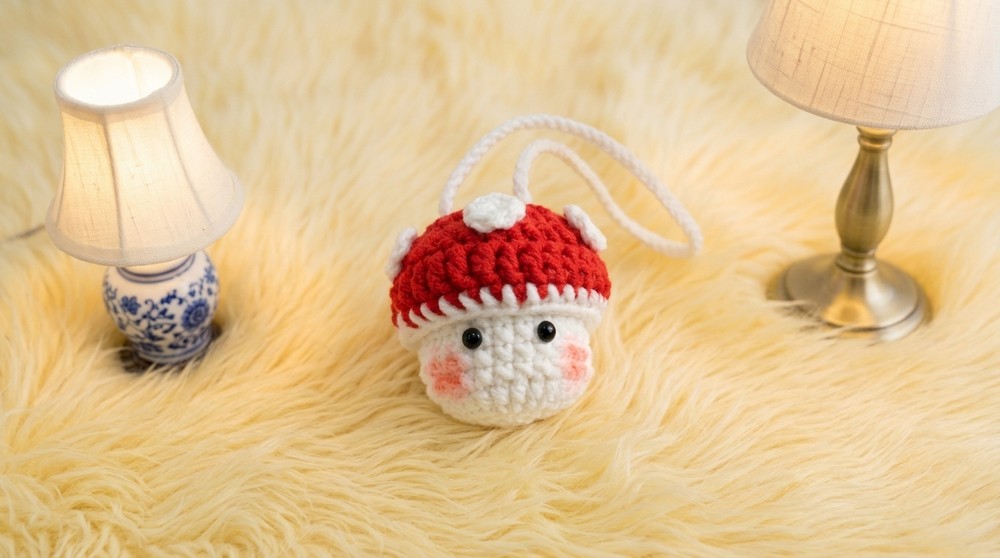
Finished Size: About 5–6 cm tall, cap diameter 5 cm (varies with yarn/hook).
Conclusion and Ending Words
Congratulations! You’ve just finished crocheting an adorable, plump baby mushroom. Personalize with different spot placements or facial expressions, or use colorful yarn for fantasy mushrooms. Whether as a keychain, toy, or sweet decoration, your handmade mushroom will surely brighten the day. Thank you for joining this crochet session—see you next time for more fun patterns.




Leave a Reply