

Try making a charming Crochet Reindeer Christmas Tree, a delightful and easy holiday decor piece that adds warmth and festive cheer to your home.
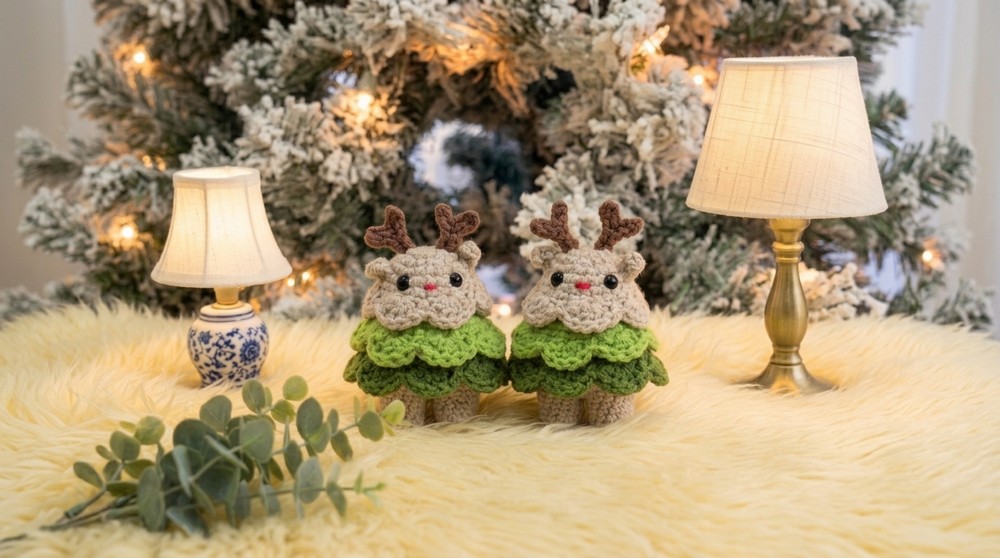
The holiday season is a special time to add warm and cheerful decorations to your home. One lovely option is a Crochet Reindeer Christmas Tree. This charming decoration looks like a small tree with soft branches and a happy reindeer face that brings a smile to anyone who sees it.
Free Crochet Reindeer Christmas Tree Pattern for Seasonal Home Décor
You can choose many different colors for the tree. Traditional green for the tree and brown for the reindeer work well, but any colors can be used to suit your style. The size can be adjusted, from small enough for a table to larger pieces for more space.
This crochet tree is both pretty and practical. It can be placed on shelves, mantelpieces, or windowsills to add a festive feel. It also makes a thoughtful handmade gift during the holidays. Smaller versions are great as ornaments or stocking stuffers. Children can enjoy making simpler versions as holiday activities.

The main stitch used is the double crochet, which gives the branches a soft and full look. The reindeer’s face and antlers use simple stitches such as single crochet and slip stitch, adding clear, cute details.
Overall, the Crochet Reindeer Christmas Tree is an easy and joyful project that adds a homemade touch to Christmas decorations. It suits all ages who want to add a special touch to their holiday season
Crochet Reindeer Christmas Tree Amigurumi Pattern
This adorable little Christmas tree with a reindeer face. We’ll use soft amigurumi yarn in two shades of green and brown for the trunk and reindeer details. This festive tree is built layer by layer and can be finished as a keychain, hanging ornament, or cute holiday decoration.
Pattern Basic Points
Tree Top (Walnut Color, with Reindeer Face)
- Magic Ring
- Worked in continuous spirals
- Rounds of single crochet increases for shaping
- Final round is a shell/“fan” edge
Tree Middle Layer (Light Green)
- Repeat same base as top for first 4 rounds
- More increase rounds for added width and height
- Final round is a shell/“fan” edge
Tree Bottom Layer (Dark Green)
- Same starting rounds as top and middle
- More increase rounds to enlarge further
- Finished with shell/“fan” edge
Tree Trunk (Light Brown)
- Starts with a magic ring
- Short increase sequence
- Many rounds of single crochet for a long trunk
Antlers & Ears (Dark Brown and Nut Color)
- Worked in chains and slip stitches for shaping
- Small but effective shaping
Details
- Simple embroidery for eyes and nose
Special Notes
- Consistency in tension is important for making sure layers fit snugly and look neat.
- All three tree layers are made as separate pieces, then sewn together.
- You may sew pieces carefully for security, or use glue if preferred.
- Light stuffing in the trunk helps keep its shape.
- The tree can be used as a keyring, ornament, or just for display.
- Optional: Add a cord or ribbon at the top for hanging.
Skill Level
Confident Beginner/Intermediate:
Familiarity with magic ring, increasing in rounds, shell stitch, working with small pieces, and basic embroidery is required.
Materials
- Yarn: Amigurumi yarn, approx. 2mm thick
- Two shades of green (for tree)
- Walnut shade (for top, reindeer face)
- Light brown (for trunk)
- Dark brown (for antlers & embroidery)
- Red (for nose)
- Crochet Hook: 2.5 mm
- Stuffing: Small amount for trunk
- Yarn needle: For sewing parts and embroidering face
- Scissors
- Optional: Keyring, ribbon
Measurements / Sizing
- Tree height: Approx. 10–12 cm (4–5 in) including trunk
- Tree width: Varies by layer, base is widest (approx. 6–7 cm / 2½ in)
- Trunk: About 2–2.5 cm long
Gauge (Stitch Pattern if applicable)
- Working in single crochet rounds; use firm tension for neat shape.
- Gauge not critical but should be tight for no stuffing to show.
Stitch Abbreviations
| Abbreviation | Full Term |
|---|---|
| mr | magic ring |
| ch | chain |
| sc | single crochet |
| inc | increase (2 sc in next st) |
| sl st | slip stitch |
| st(s) | stitch(es) |
| hdc | half double crochet |
| dc | double crochet |
Special Stitches
- Magic Ring (mr): Create a loop, work the indicated number of sc in the ring, pull tail to close.
- Shell Fan: Skip one stitch, work 5 double crochets in next stitch, skip one, sc in next—repeat around edge for “waves.”
Step-by-Step by Pattern
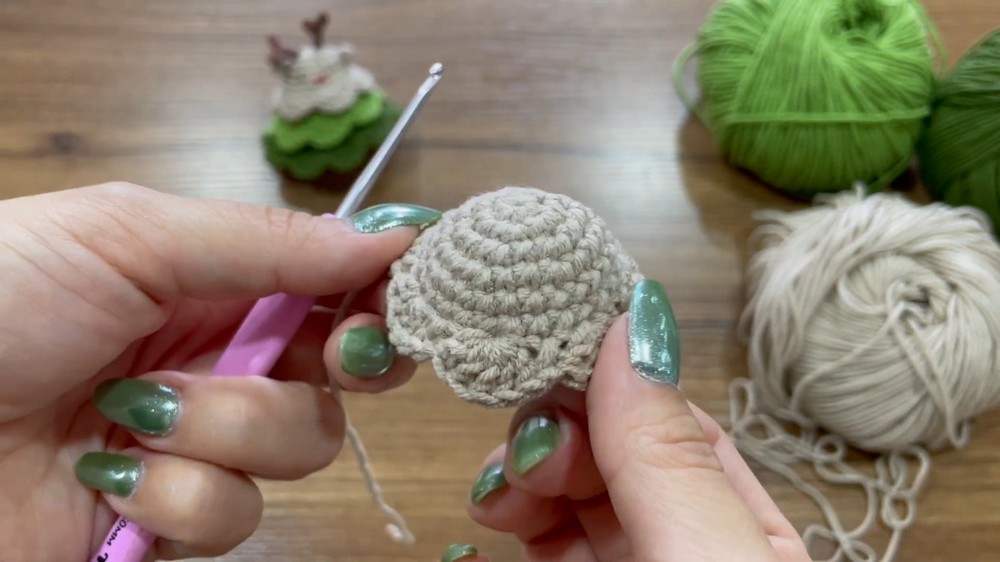
Tree Top (Reindeer Face, Nut Color)
Round 1
- Make a magic ring, ch 1 (does NOT count as st).
- Work 6 sc into ring. (6 sts)
Round 2
- Inc (2 sc) in each st around. (12 sts)
Round 3
- [1 sc, inc] repeat around. (18 sts)
Round 4
- [2 sc, inc] repeat around. (24 sts)
Rounds 5–6
- Sc in each st around. (2 rounds, 24 sc each)
Round 7 (fan edge)
- [1 sc, skip 1, 5 dc in next st, skip 1] repeat.
- End: Join with a sl st to first sc.
- Cut yarn with a tail long enough for sewing.
Second Layer (Light Green)
Rounds 1–4
- Work exact same as top (walnut) piece (24 sts at end of round 4).
Round 5
- Sc in each st around. (24 sc)
Round 6
- [2 sc, inc] repeat around. (32 sts)
Rounds 7–8
- Sc in each st around. (32 sc each)
Round 9 (fan edge)
- [1 sc, skip 1, 5 dc in next st, skip 1] repeat.
- End: Join with sl st, leave tail for sewing.

Third Layer (Dark Green)
Rounds 1–4
- Same as above (24 sts)
Round 5
- [3 sc, inc] repeat around. (30 sts)
Round 6
- Sc in each st around. (30 sc)
Round 7
- [4 sc, inc] repeat around. (36 sts)
Rounds 8–9
- Sc in each st around. (36 sc each)
Round 10 (fan edge)
- [1 sc, skip 1, 5 dc in next st, skip 1] repeat.
- End: Join with sl st, leave tail for sewing.
Trunk (Light Brown)
Round 1
- Magic ring, ch 1. Work 6 sc in ring. (6 sts)
Round 2
- Inc in each st around. (12 sts)
Rounds 3–12
- Sc in each st around. (12 sc each, 10 rounds total)
- Finish with a sl st, leave a long tail for sewing.
- Add a small amount of stuffing before closing.
Antlers (Dark Brown, make 2)
- Make a slip knot, ch 5.
- Beginning in second ch from hook: 2 sl st.
- Ch 3, in second ch from hook: 2 sl st.
- On remaining 2 ch from original, sl st in each.
- Fasten off. Leave a tail to attach.
Ears (Make 2, Nut Color, worked directly onto head)
- Fold tree top in half, count 3 rounds down from top of the “face.”
- Join yarn in the round, ch 3.
- In the second ch from hook: sc, in the next ch: hdc.
- Insert hook into tree edge, sl st to anchor, cut yarn and hide tails.
- Repeat for other ear on the opposite side.
Face Embroidery
- Eyes: With dark brown yarn and needle, at the round where ears are joined, count 2 stitches outward for each eye. Insert yarn for first eye, skip row down, back up to start. Knot in back. Eyes should be 4 stitches apart.
- Nose: With red yarn, go to center between eyes, embroider a tiny horizontal dash for the nose.

Assembly & Finished Size
- Layer Up: Place the walnut top above the light green middle, then over the dark green bottom. Sew each layer securely together along the single crochet round just under the fan edge.
- Attach Trunk: Lightly stuff the trunk section and sew to the base of the dark green layer.
- Add Ears and Antlers: Use tails to sew securely on either side of the face, counting rounds for even placement.
- Add Face Details: Embroider eyes and nose as above.
- Finishing: Weave in all loose ends.
Optionally, sew or glue on a keyring, yarn loop, or ribbon to the tree top for hanging or attaching.
Final Size: Approx. 10–12 cm tall, 6–7 cm wide (depending on yarn and gauge).
Conclusion
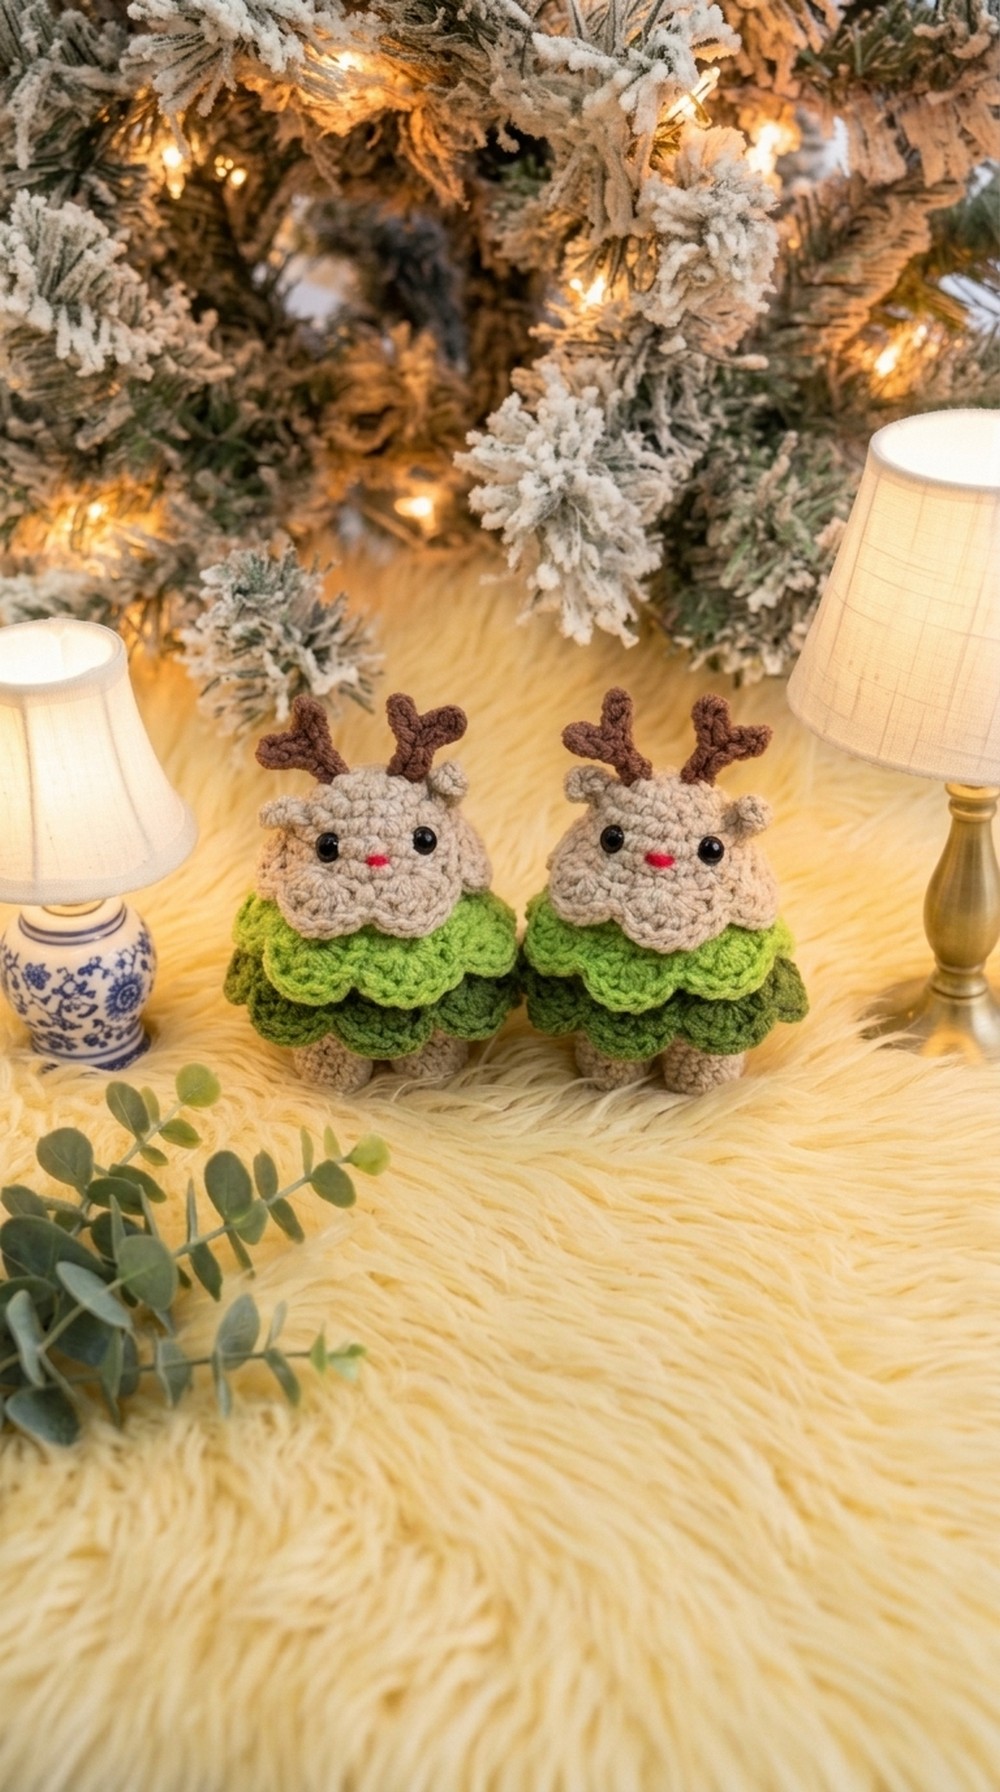
Your delightful little crochet reindeer tree is complete! Whether it’s for your Christmas tree, as a whimsical keychain, or a thoughtful gift, this design brings holiday cheer in an adorable amigurumi style. You can play with colors, add more decorations, or personalize with charms and ribbons.




Leave a Reply