

Add a charming handmade touch to your holiday decorations with Crochet Santa Claus that brightens your home and brings festive joy this holiday season.
This cute little holiday figure brings warm and cheerful vibes to any room with its classic red suit, fluffy white beard, and happy smile. The Crochet Crochet Santa Claus is a fun and charming project that works well as a decoration, a small gift, or a festive collectible.
Mini Crochet Santa Claus Free Pattern for Holiday Gift Ideas
Measuring about 6 to 8 inches tall, this Santa has a soft, round body with simple but sweet details like a pointed hat, tiny boots, and a little belt. These features make it a great addition to shelves, mantels, or near the Christmas tree.

This project suits those familiar with basic crochet skills. It involves easy stitches such as single crochet and double crochet, along with working in the round and shaping techniques like increasing and decreasing. These simple methods help give the figure its smooth curves and clear features.
Using regular worsted weight yarn and a standard crochet hook, this figure can be completed in a few hours or a few days, making it a relaxed and enjoyable project. The mix of basic stitches and shaping creates a festive piece that adds a cozy, handmade touch to the holiday season.
The Crochet Crochet Santa Claus offers a wonderful way for crochet lovers to add soft, festive charm to their holiday decorations or gift list with familiar crochet techniques.
Santa Claus Amigurumi Pattern
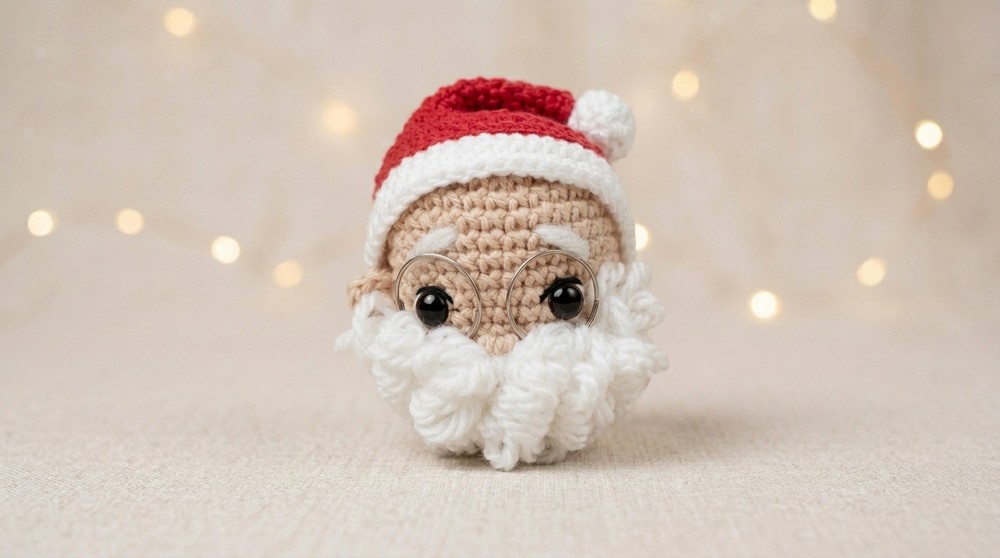
This amigurumi Santa Claus is crafted using the same head and basic structure as Mrs. Claus, ensuring uniformity across the collection. The pattern makes use of wool or amigurumi yarn, and Santa’s recognizable details—his iconic hat, fluffy beard, and accessories—are added with engaging finishing techniques including yarn-wrapped bows and charming assembly steps.
Pattern Highlights
Construction
- The head is created with a classic amigurumi technique and is the same as Mrs. Claus’s head.
- The body, begun with a base chain, is worked in rows and joined in the round for seamless construction.
- The hat and beard are constructed and attached separately for a full, layered look.
Features & Details
- Santa’s signature beard is made from yarn bows and attached under the nose, filling out to the sides for a plush, realistic effect.
- The mustache and eyebrows are made from wool or amigurumi yarn.
- Eyeglasses can be faked with creatively used keychain rings if wire is unavailable.
Notes
- Consistency in tension gives Santa a neat, well-proportioned appearance.
- Using wool for the beard creates a more voluminous effect; thinner yarn may require more “bows” for fullness.
- Santa’s head and face assembly are identical to Mrs. Claus’s from the previous project—refer back to that section for shaping and basic steps.
Skill Level
Advanced Beginner
This project uses continuous rounds, color changes, basic stitch techniques, and introductory hand-sewing and assembly. It is suited for those with foundational amigurumi experience, confident with following straightforward increases, decreases, and surface detail work. The beard and face require some hand assembly but are accessible with patience.
Materials
- Wool or amigurumi yarn (red, white, beige/skin-tone, a touch of brown for hat/eyebrows)
- 3 mm crochet hook
- Tapestry needle
- Polyester fiberfill stuffing
- Small black or safety eyes (or use embroidery if preferred)
- Scissors
- Textile glue for beard and accessories
- Optional: Keyring/small craft rings for improvised eyeglasses
Measurements / Sizing
- Finished figure height approx. 12–13 cm (varies with yarn and tension)
- Hat is snug and sized in proportion to the head circumference
(Schematic Reference)
- Body circumference: approx. 12–14 cm at widest point
- Head circumference: approx. 14–15 cm at widest point
Gauge (and Stitch Pattern if applicable)
- Gauge is not critical but ensure firm stitches to contain stuffing and shape
- Worked in single crochet throughout except for specific embellishments
Stitch Abbreviations
| Abbreviation | Meaning |
|---|---|
| ch | chain |
| sc | single crochet |
| sl st | slip stitch |
| inc | increase (2 sc in one stitch) |
| dec | decrease (sc two together) |
Special Stitches
- Surface Slip Stitch: Used for attaching color—work by inserting the hook into the front loop of the base row to create a decorative edge with contrasting yarn.
- Yarn Bow for Beard: Wrap yarn around two fingers twice, cut, fold, and knot in the middle to form a “bow.” Attach as a beard segment.
The Pattern
Head & Face (Same as Mrs. Claus)
- Begin with the head pattern from Mrs. Claus.
- Work the head, eyes, mouth, nose, and ears exactly as in that reference, using beige/skin-tone yarn.
- (Note: See your previous video or written Mrs. Claus pattern for full step-by-step instructions.)
Body
- With red yarn, ch 48, plus 1 for turning.
- Work 1 sc in each chain for 48 sc.
- Turn and work a second row, 1 sc in each sc (48).
- Join both ends of the strip with 1 sc to form a ring, working the foundation stitches together.
- Work one stitch in each base stitch for the entire second row, keeping 48 sc.
- Fasten off and neatly finish the round by weaving in yarn ends.

Skirt/Base
- Insert hook into the remaining loops from the chain foundation (opposite the joined base).
- Ch 1 and evenly work 1 sc in each of the 48 loops.
- Continue for a full round, then join with sl st and cut yarn.
Transition to Hat
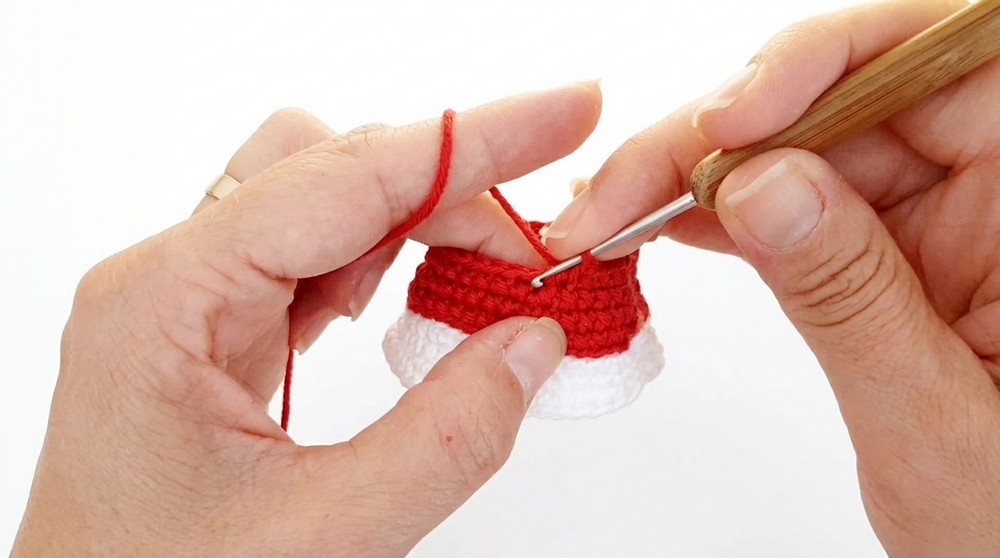
- Attach red yarn to the inside loops of the last row worked, preparing for the hat.
- Surface slip stitch: With red, sl st in each inside loop of the previous round.
- Continue with red (Rows 5 forward):
- Row 5: Sc in each loop around (48 sc).
- Row 6: 6 sc, 1 dec—repeat to end (42 sts).
- Row 7: 5 sc, 1 dec—repeat to end (36 sts).
- Row 8: 4 sc, 1 dec—repeat to end (30 sts).
- Row 9: Sc in each st across (30 sc).
- Row 10: 3 sc, 1 dec—repeat to end (24 sts).
- Row 11: 2 sc, 1 dec—repeat to end (18 sts).
- Rows 12–13: Sc in each stitch (18 sts).
- Row 14: 1 sc, 1 dec—repeat to end (12 sts).
- Rows 15–17: Sc in each st (12 sts).
- Row 18: 6 consecutive decreases (6 sts).
- Rows 19–20: Sc in each st (6 sts).
Hat Pom-Pom
- With white yarn, join at outer loops of final round, ch 1.
- For each of the 6 outer loops, work inc (2 sc in each), ending up with 12 sts.
- Next two rows: Sc in each st (12).
Hat Shaping and Closure
- Next row: 6 dec (will have 6 sts).
- Add stuffing prior to full closure, if desired.
- Fasten off, thread tail through remaining stitches, pull tight to close.
Embellishments
Beard
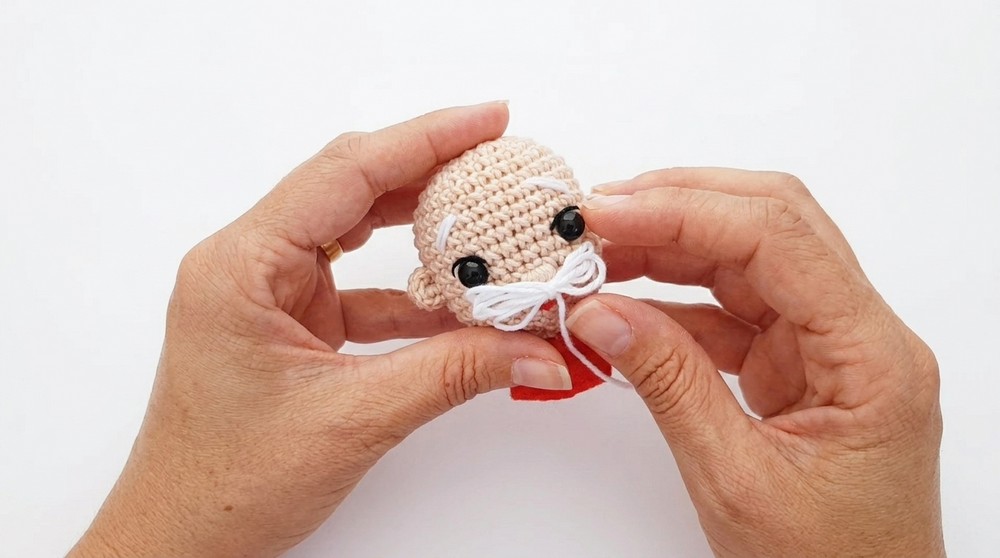
- Use wool or amigurumi yarn. Wrap around two fingers, 2–3 times for each segment.
- Cut and knot in the middle for a bow.
- Make 10–12 bows (add more for thinner yarn).
- Attach bows under the nose and across the face, layering as needed for fullness.
Eyebrows & Mustache
- Form as for beard (using wool or yarn) and attach above the eyes/nose.
Glasses (Optional)
- Use a miniature key ring split in two, or small craft rings.
- Gently glue and pin in place above the mustache and around the eyes.
Assembly & Finished Size
- Attach eyes and embroider face as per Mrs. Claus reference.
- Pin and glue yarn bows onto face for beard, adding more for fullness as needed.
- Attach mustache and eyebrows in matching color.
- Sew or glue glasses in place, being careful not to damage the underlying crochet.
- Shape Santa’s hat into position.
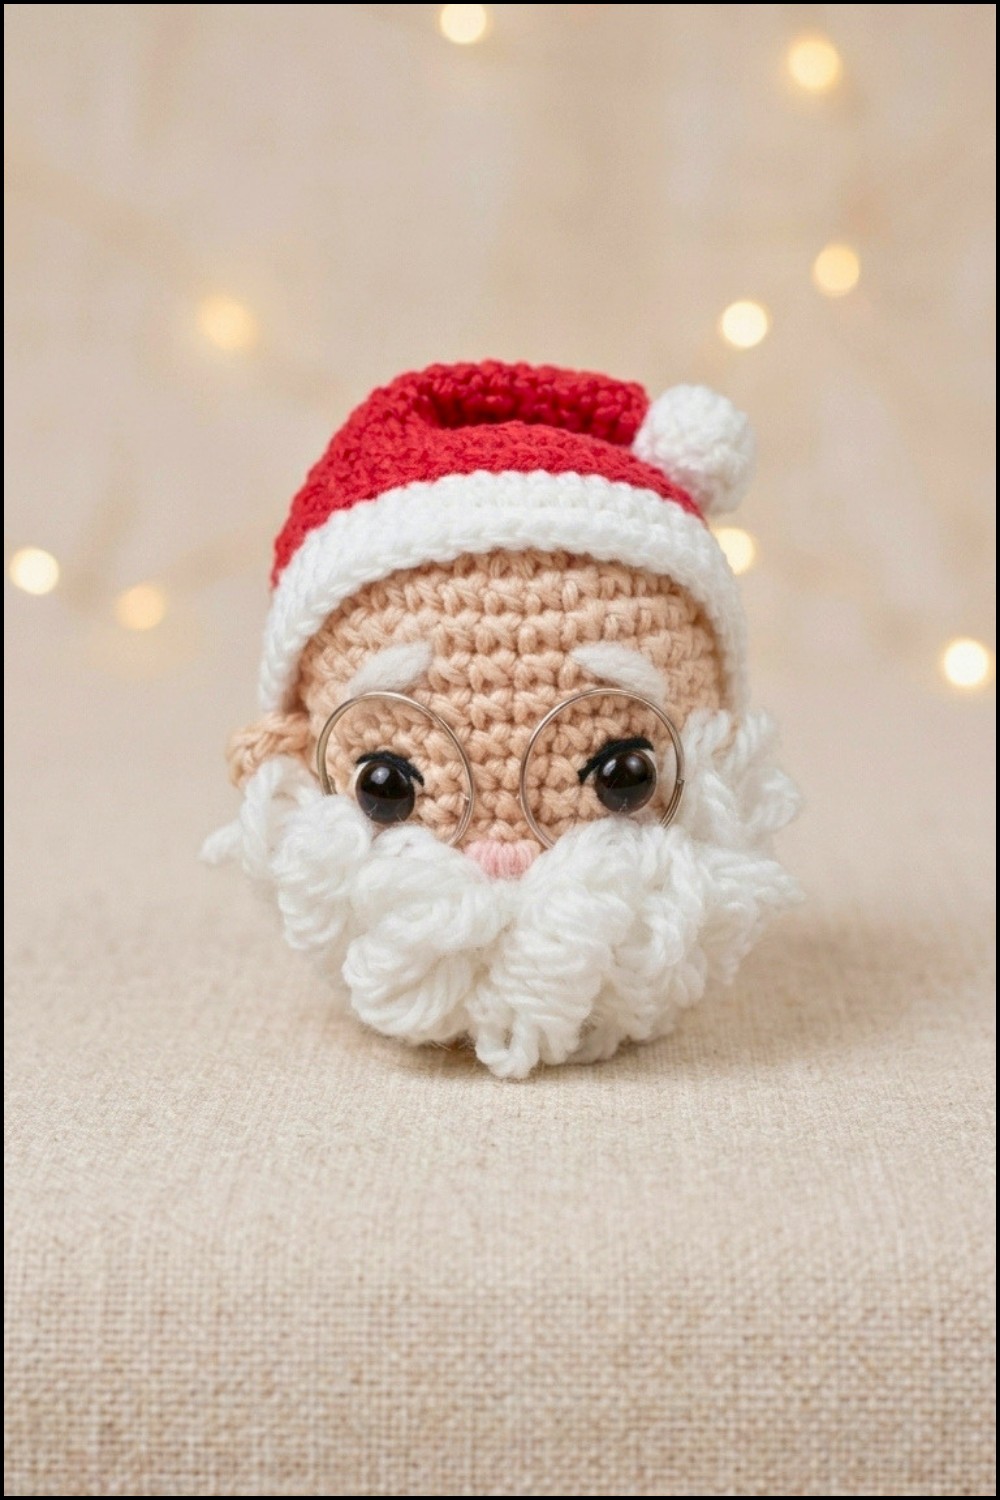
Finished Size: 12–13 cm height, with a full and fluffy beard.
Conclusion
This Santa Claus amigurumi design provides a delightful and classic addition to any holiday collection, focusing on consistency of style across figures for cohesive display. The volume and detail of the beard, expressive eyebrows, and playful adaptations like improvised glasses ensure each Santa is lively and full of character. The project is accessible for advanced beginners and above, emphasizing neat assembly, resilient construction, and personal adaptation. With careful attention to detail and embellishment, each Santa becomes a charming, memorable figure fit for gifts, collections, or festive décor.



Leave a Reply