

Try this charming Crochet Reindeer that adds holiday cheer and warmth to your home with this easy and fun handmade crochet project today.
A cute and soft little animal that anyone can love is perfect for decorating your room during holidays like Christmas or even all year round. The Crochet Reindeer comes in different sizes — small enough to hold in your hand or big enough to sit on a shelf. The fun part is you can also change its colors! Maybe a classic brown or beige reindeer, or perhaps add red, white, or even blue. This makes the reindeer special and unique just like you.
Free Crochet Reindeer Pattern That Makes a Sweet Holiday Gift
The shape is simple but sweet. It has tiny legs to stand, a round body that is soft to touch, and little antlers that make it look like a real reindeer. You can put it on a desk, on your bed, or use it as a gift for someone you care about. Making a crochet reindeer can also be a wonderful way to spend time with family or friends, sharing smiles and creativity.
One important stitch used to make this reindeer is the single crochet stitch. This stitch makes the fabric tight and smooth so the stuffing stays inside. It also helps the reindeer keep its shape after it is finished. Because the stitches are simple, even beginners and children can try making their own crochet animals with a little help.
Whether you want a charming little toy, a decoration, or a gift, the project is a great choice. It is soft, colorful, and fun to make. This project lets you use and try different looks. Give it a go and watch how a few stitches turn yarn into a lovely reindeer friend!
Reindeer Sphere Ornament (Amigurumi) Pattern
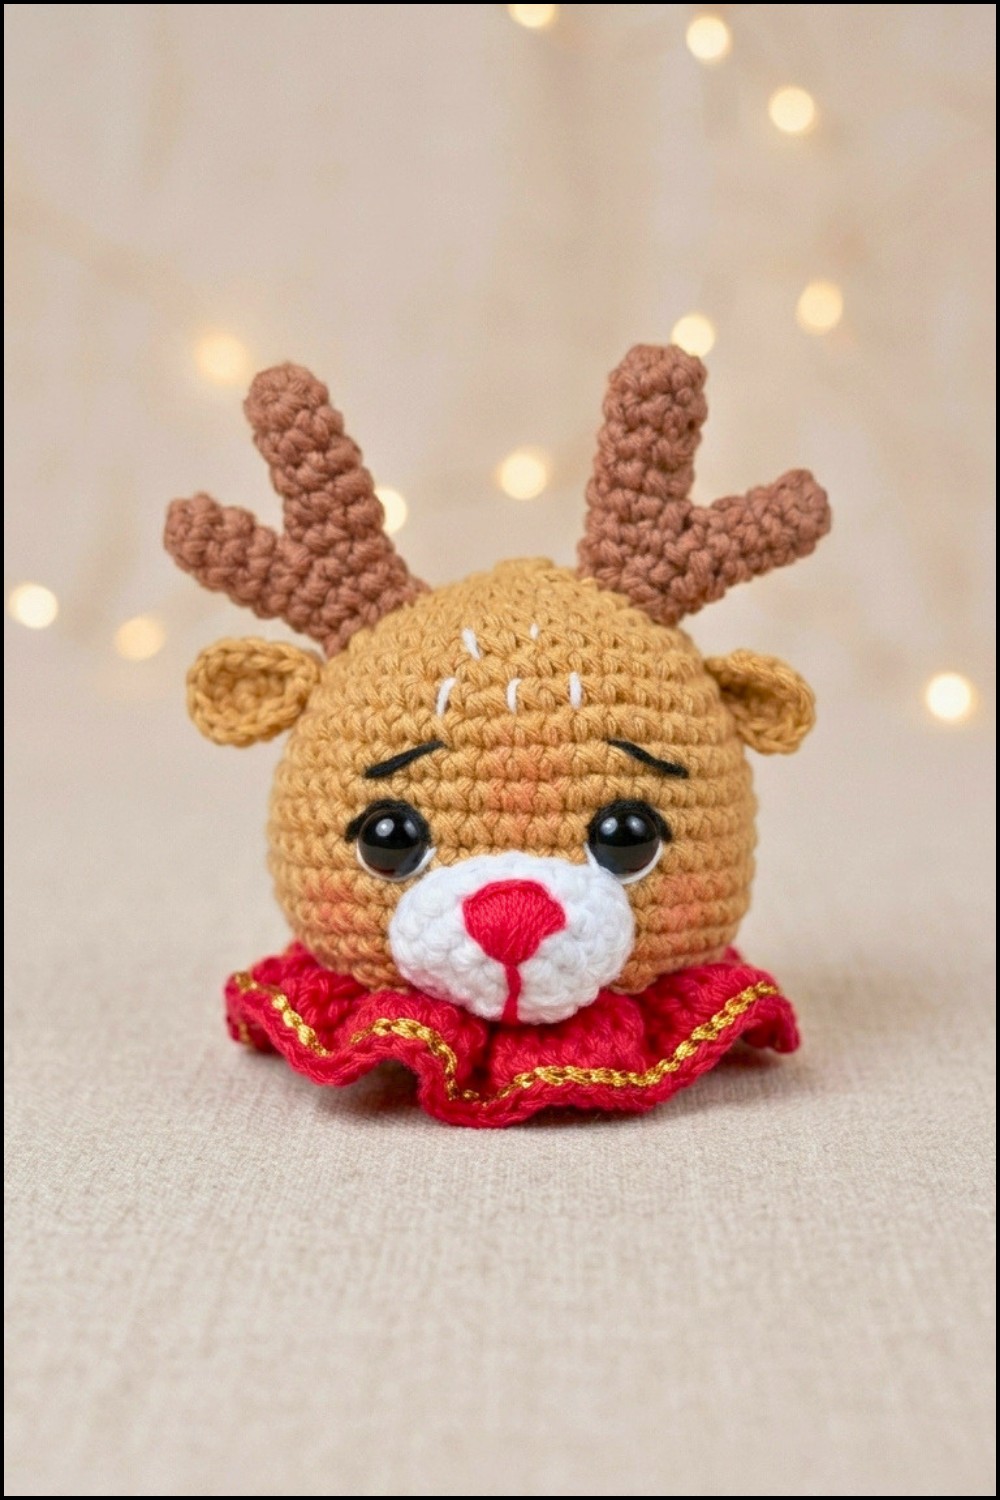
Create a charming little reindeer sphere ornament, perfect for holiday decorating. The pattern guides you through each step, using clear rounds and color changes, resulting in an adorable ornament full of character. Let’s first see our materials and then move step by step through the project.
Pattern Basic Points
Construction Method
- The ornament is crocheted in continuous rounds, primarily using single crochet and increases.
- The project features key color changes, basic embroidery, and creative face details.
- Main sphere is worked first, then decorated with sewn or glued features, including ears, horns, mouth, and embroidery.
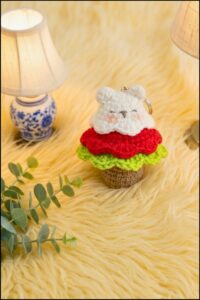
- Final assembly includes blush and a hanging gold thread for ornament display.
Design Details
- The face, horns, ears, and neck frill are all made and assembled individually.
- Embroidery is used for cute facial details such as eyes, eyebrows, and spots.
- Blush and a gold hanging thread finish the project for festive appeal.
Special Notes
- Use a stitch marker or contrasting thread to keep track of the start of rounds.
- Tight and even stitches are key for a firm, symmetrical sphere—avoid loose areas by maintaining even tension.
- Carefully count stitches during increases/decreases, particularly as rounds grow larger.
- For safety eyes, follow the specific placement steps for symmetry.
- Use a needle to compact stuffing inside, ensuring the ornament holds its shape well.
- Horns and ears are sewn securely to withstand handling as a hanging ornament.
Skill Level
Beginner to Intermediate:
You should be comfortable working in the round, basic color changes, following detailed round sequences, and doing simple embroidery and hand-sewing for assembly.
Materials
- Yarn:
- Cotton, size 6 in bean brown (or other coffee-like shades), carmine, red, black, white, and gold.
- Filling: Pillow filling for stuffing.
- Safety Eyes: Size 9.
- Blush: For cheek detail.
- Embroidery Needle
- Crochet Hook: 2.20 mm
- Silicone Glue (for optional assembly/gluing parts)
- Scissors
Measurements / Sizing
- Estimated Diameter: Approximately 6–7 cm, depending on yarn used and tension.
- Ideal as a Christmas tree ornament or festive display decor.
Gauge
Not essential; amigurumi projects focus on fabric density. Use a hook small enough to prevent stuffing from showing.
Stitch Abbreviations
| Abbreviation | Term |
|---|---|
| MR | Magic ring |
| ch | chain |
| sc | single crochet |
| inc | increase (2 sc in same stitch) |
| dec | decrease |
| sl st | slip stitch |
| BLO | back loop only |
| dc | double crochet (US terminology) |
Special Stitches
- False X Stitch: Insert hook under yarn, pull up a loop, complete using specific over/under instructions for a distinctive look.
- Invisible Decrease: Insert hook into front loops only of the next 2 stitches, yarn over and pull through, yarn over again and finish the sc.
- Cluster for Frill: 3 dc in one stitch for a ruffled edge.
Pattern
Sphere (Head & Body)
With bean brown or tobacco color:
- Round 1: MR, ch 1 (does not count), 6 sc using false X stitch. Pull tight, sl st to close. (6 sts)
- Round 2: Ch 1. 6 inc (2 sc in each stitch), sl st to close. (12 sts)
- Round 3: Ch 1. (sc, inc)* repeat all around, sl st to join. (18 sts)
- Round 4: Ch 1. (2 sc, inc)* repeat, sl st to join. (24 sts)
- Round 5: Ch 1. (3 sc, inc)* repeat, sl st to join. (30 sts)
- Round 6: Ch 1. (4 sc, inc)* repeat, sl st to join. (36 sts)
- Round 7: Ch 1. (5 sc, inc)* repeat, sl st to join. (42 sts)
- Round 8: Ch 1. (6 sc, inc)* repeat, sl st to join. (48 sts)
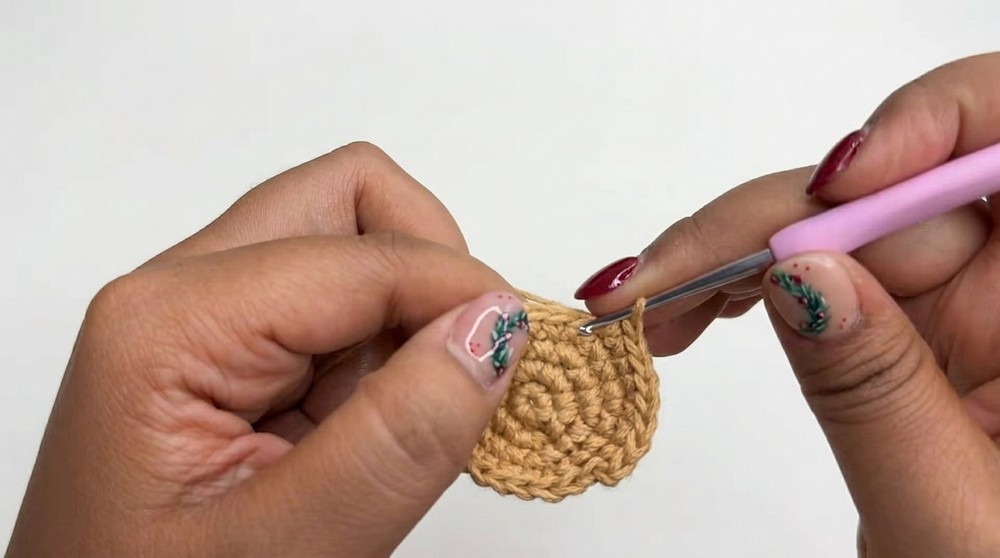
- Rounds 9–16: Ch 1. 48 sc in each round, sl st to join at end. (48 sts per round)
Shaping and Closing the Sphere
- Round 17: Ch 1. (6 sc, dec)* repeat, sl st to join. (42 sts)
- Round 18: Ch 1. (5 sc, dec)* repeat, sl st to join. (36 sts)
- Round 19: Ch 1. BLO (4 sc, dec)* repeat, sl st to join. (30 sts)
- Round 20: Ch 1. (3 sc, dec)* repeat, sl st to join. (24 sts)
Pause for Facial Features and Stuffing:
- Insert safety eyes between rounds 12 and 13, approximately 6 stitches apart.
- Embroider highlights and eyebrows using white and black yarn/thread as detailed below.
- Embroider white forehead spots if desired.
- Round 21: Ch 1. (2 sc, dec)* repeat, sl st to join. (18 sts)
- Round 22: Ch 1. (sc, dec)* repeat, sl st to join. (12 sts)
Stuff firmly here, compact with a needle as needed.
- Round 23: Ch 1. 6 dec around, sl st to close. (6 sts)
- Finish off; use needle to weave through front loops and close opening.
Neck Frill
With carmine or red:
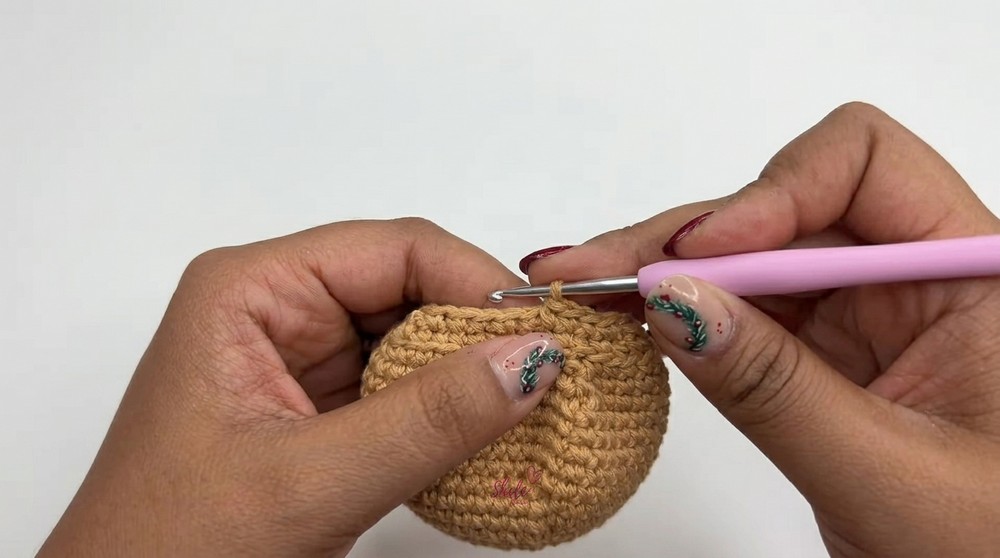
- At the FLO from Round 19 (where you worked BLO previously), join yarn.
- Ch 3 (counts as first dc), 2 dc in same st.
- (In each stitch around: 3 dc) for a frilly ruffle.
- At end, sl st to join.
- Round 2: Ch 1, sc in each dc around, sl st to join.
- Finish off, hide end.
- For final embellishment, surface slip stitch around previous row, sl st to finish, cut and hide end.
Mouth (Snout/Muzzle)
With brown:
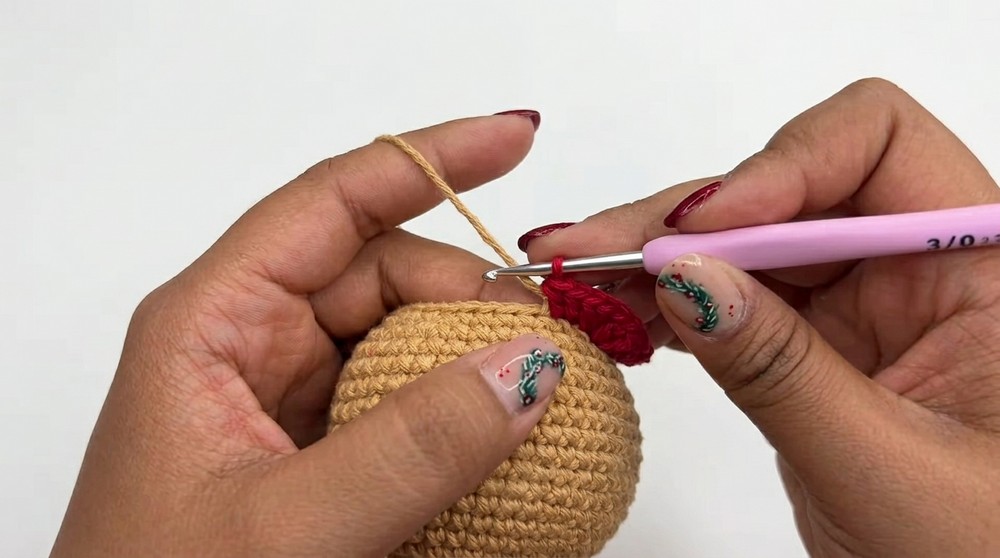
- Round 1: MR, ch 1, 6 sc. Sl st to join.
- Round 2: Ch 1. (3 sc in 1, 2 sc, 3 sc in 1, 2 sc) for a total of 10 sc. Sl st to join.
- Round 3: Ch 1, (sc, 2 inc, 3 sc, 2 inc, 2 sc). Sl st to join. (14 sts)
- Round 4: Ch 1. 3 sc, inc, 6 sc, inc, 3 sc. Sl st to join. (16 sts)
- Leave long tail, sew or glue in place.
- Use red thread to embroider the nose, forming a small triangle and filling it in.
Ears (Make 2)
With brown:
- Round 1: MR, ch 1, 6 sc. Sl st to join.
- Round 2: Ch 1. 6 inc. Sl st to join. (12 sts)
- Leave long tail to sew to sphere.
Horns (Make 2 per side, Short and Long)
Shorter Horn:
- Round 1: MR, ch 1, 6 sc. Sl st to join.
- Round 2-4: Ch 1, 6 sc, sl st to join (6 sts per row, 4 rounds in total).
- Fasten off.
Longer Horn:
- Round 1: MR, ch 1, 7 sc. Sl st to join.
- Rounds 2–5: Ch 1, 7 sc, sl st to join (for 5 rounds).
- Without cutting, join the shorter horn with sl st.
- Continue: sc in each st of first (6 sts), then sc in each st of second (7 sts) = 13 sts.
- Next round: (sc, dec) around. (9 sts)
- Final round: sc in each st. (9 sts)
- Fasten off, leave tail for sewing.
Facial Embroidery
- White thread: Embroider two highlights at center/top of each safety eye.
- Black thread: Embroider an eyebrow above each eye, starting two stitches above the eye, angling slightly upward for the expressive look.
- White thread: Embroider 2-3 spots on forehead for extra cuteness.
Assembly & Finished Size
- Sew (or glue) snout centrally, keeping it between and slightly below safety eyes.
- Sew ears equidistant and symmetrically on top sides of the sphere.
- Attach and sew horns above ears, following video for correct placement (short horn down, long horn up).
- Attach neck frill just below the face—ensure ruffle sits evenly.
- Shade cheeks with a touch of blush.
- Cut ~20 cm gold thread, knot and sew/insert for hanging loop at top of sphere.
- Hide all thread tails neatly inside the ornament.
Finished Ornament Diameter: ~6–7 cm, perfect for Christmas tree décor.
Conclusion
This detailed walkthrough ensures your finished piece is both charming and sturdy, ready for gifting, decorating, or cherished display throughout the holiday season.


Leave a Reply